After slicing your model in Bambu Studio, you can view the detailed information of different layers, such as line type, filament, print speed, and printing path. Also, you can add custom operations for any layer, such as a custom G-code, pause, and changing filament.
¶ Basic information
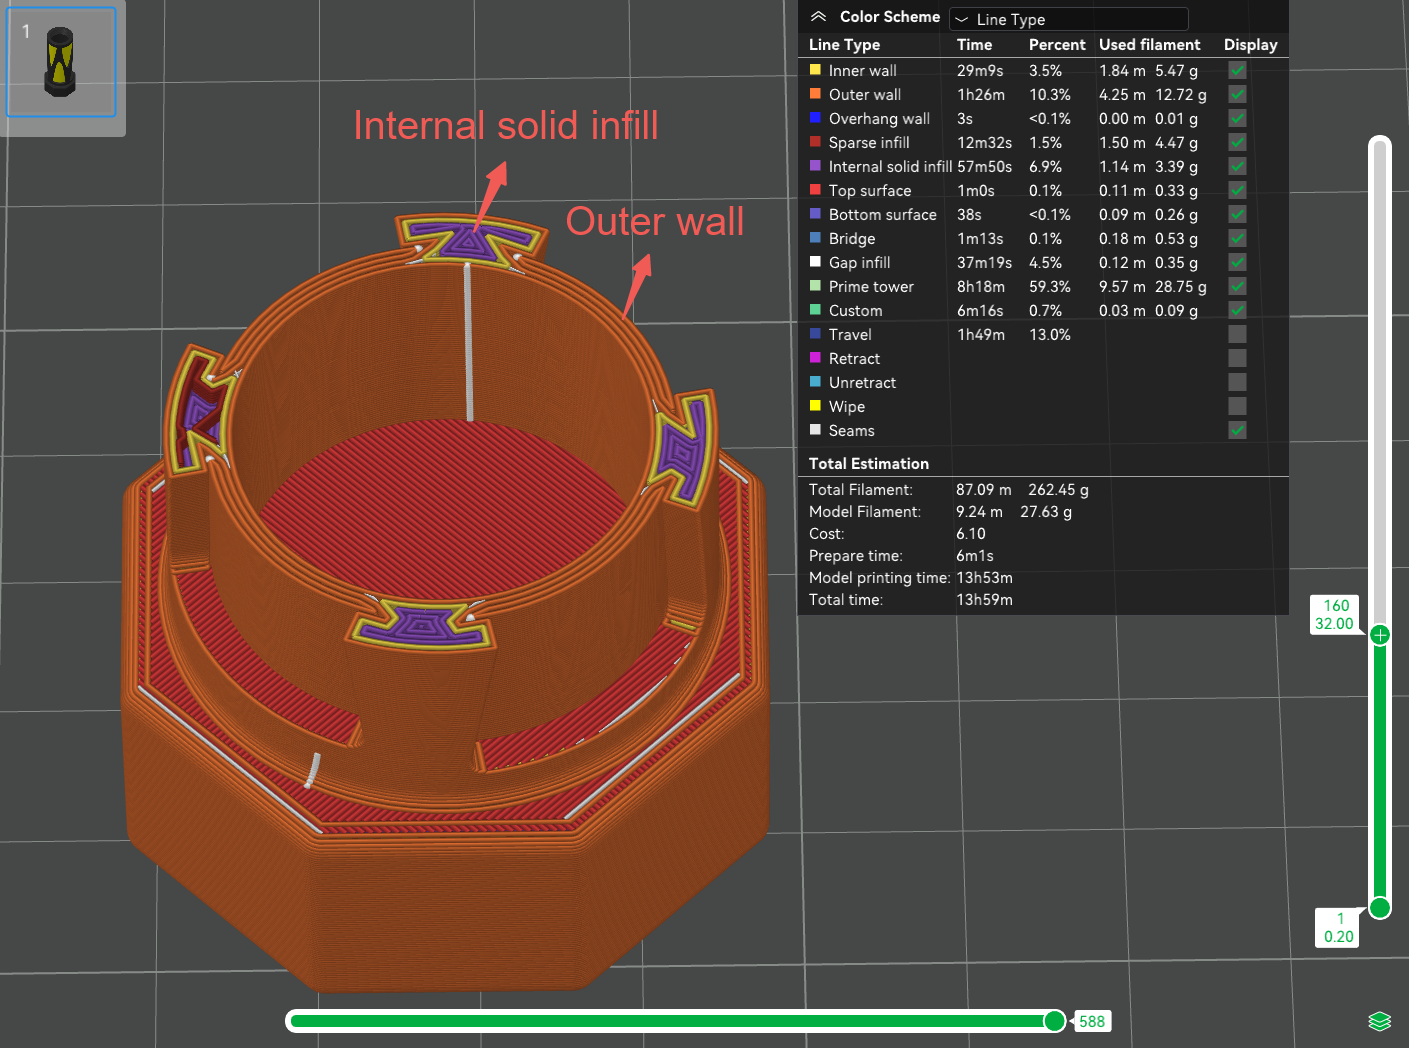
¶ Line type
Different line types are displayed in various colors. For each line type, you can see its print time, percentage of overall print time, and the length and weight of filament used. For more information, please see Line width.
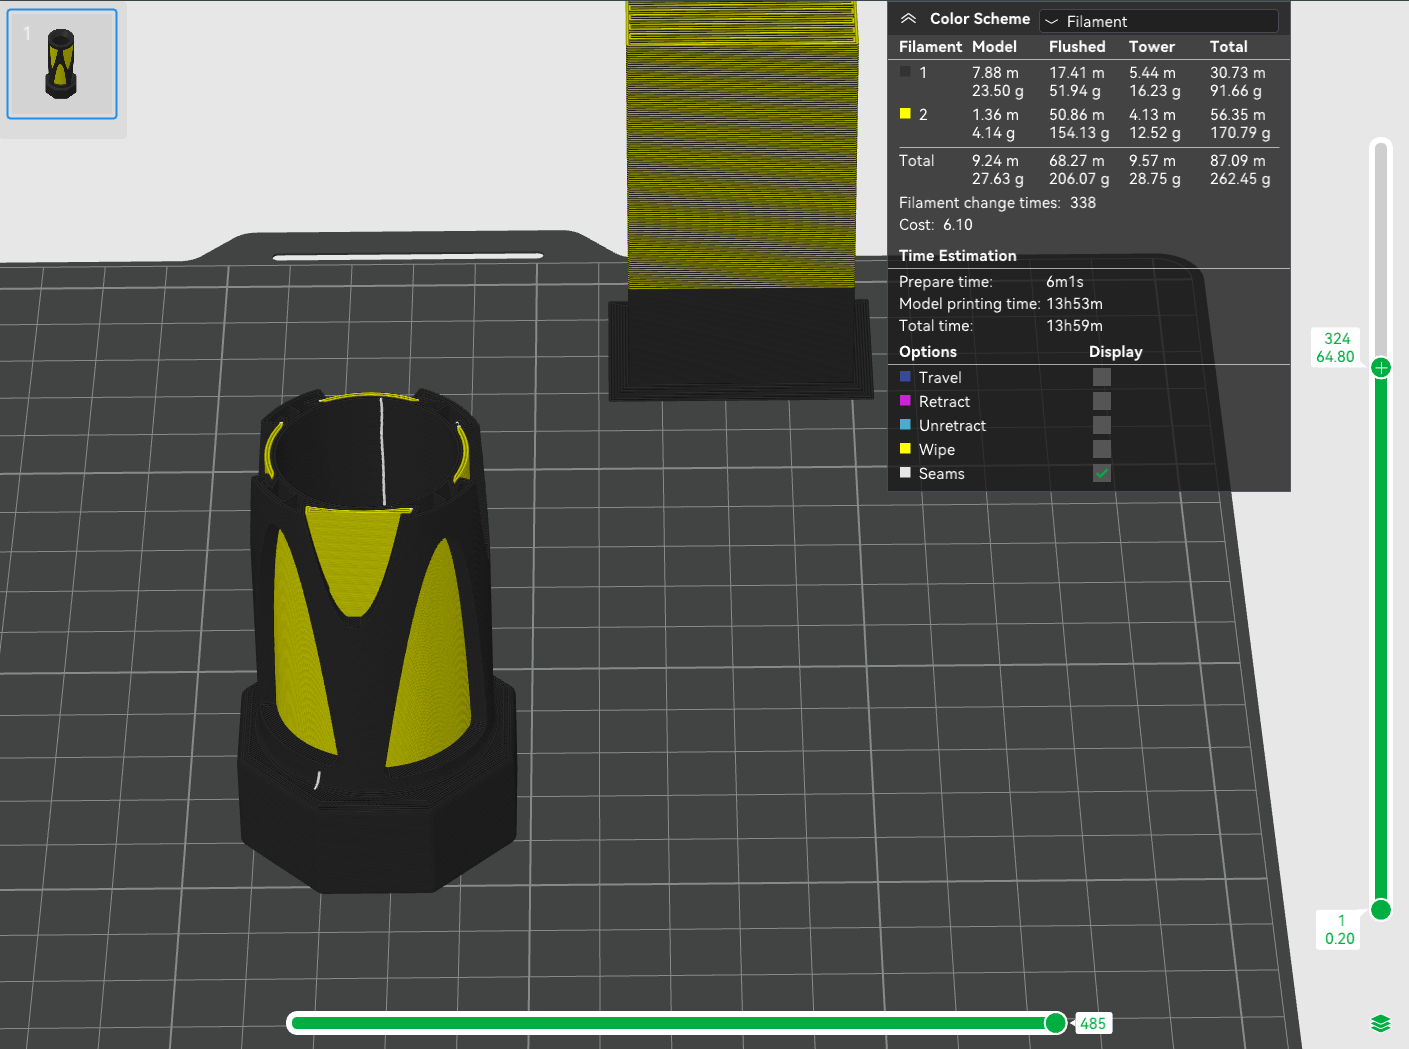
¶ Filament
Displays the colors of filaments used, and the length and weight of filament used for printing the model, flushing, and prime tower.
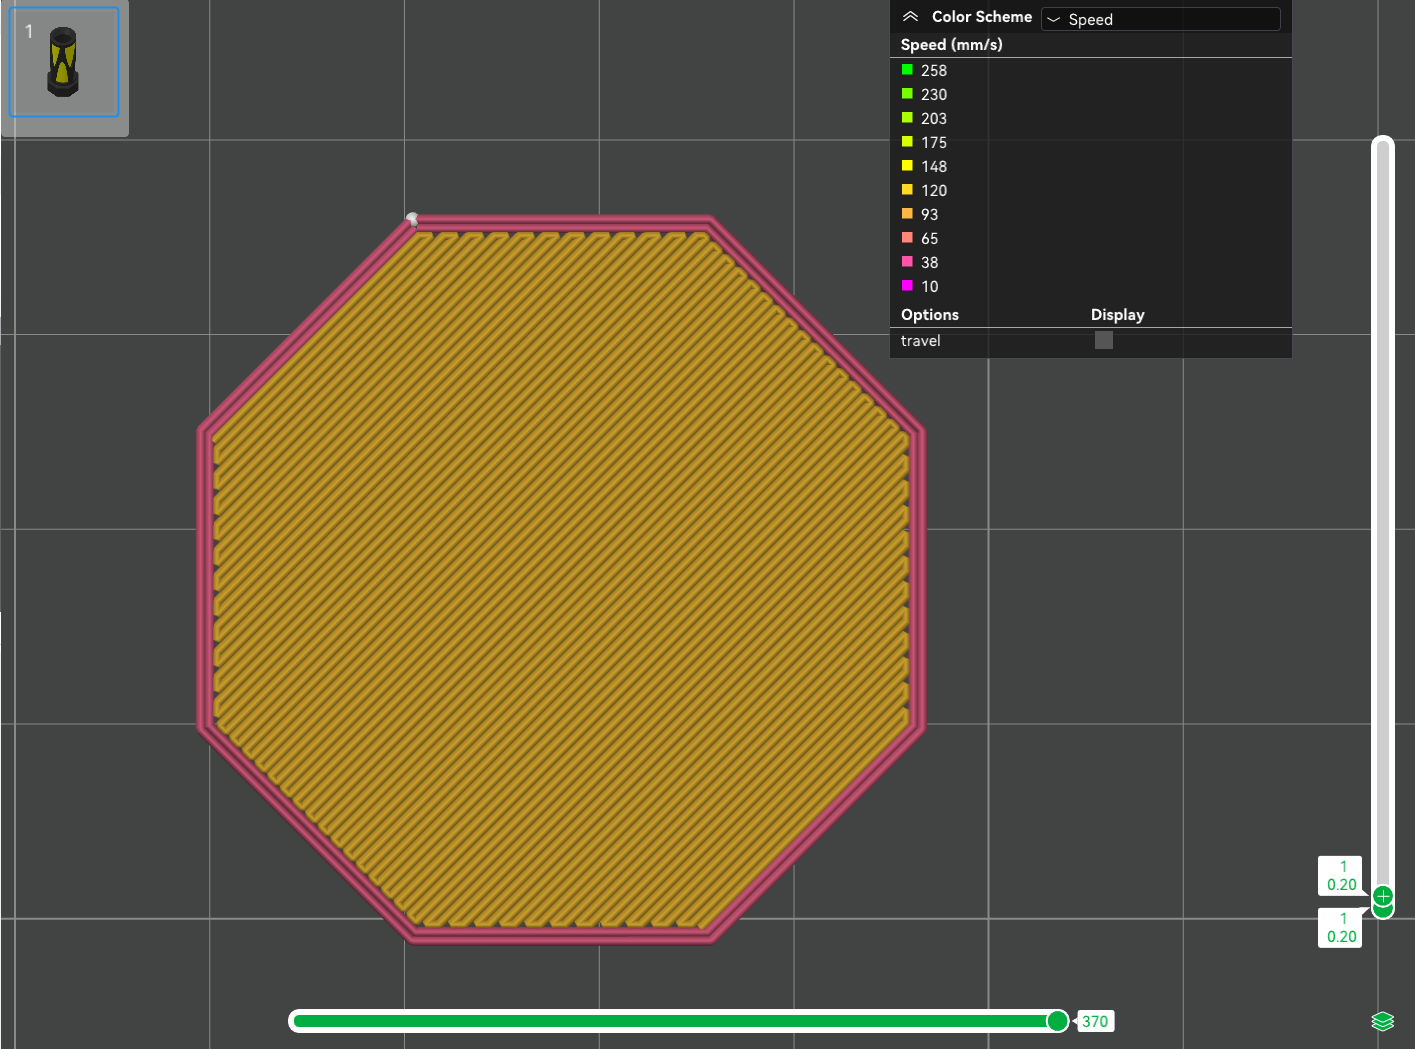
¶ Speed
Different print speed is displayed in different colors. The bigger the number, the faster the printer will print that area.
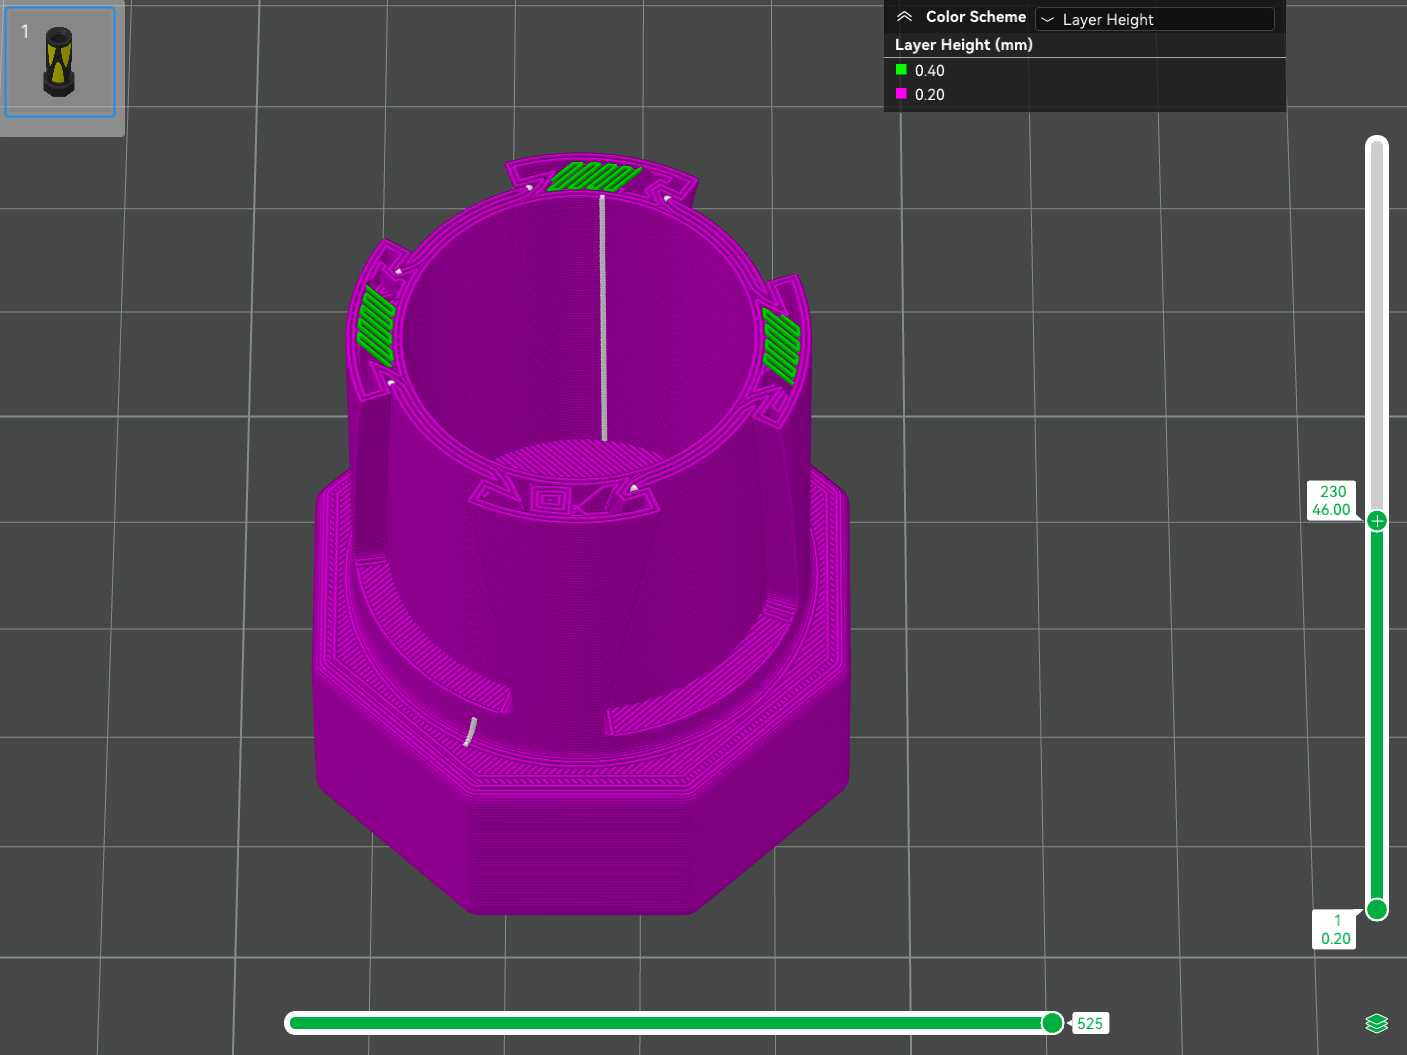
¶ Layer height
During FDM 3D printing the model is built layer by layer, so we also consider the layer height as the vertical resolution of the model, that is, the lower the layer height, the higher the fineness of the model. Different layer height is displayed in different colors. The brighter the color, the higher the layer. You can also use the variable layer height function to customize the height of each layer. For more information, please see layer height.
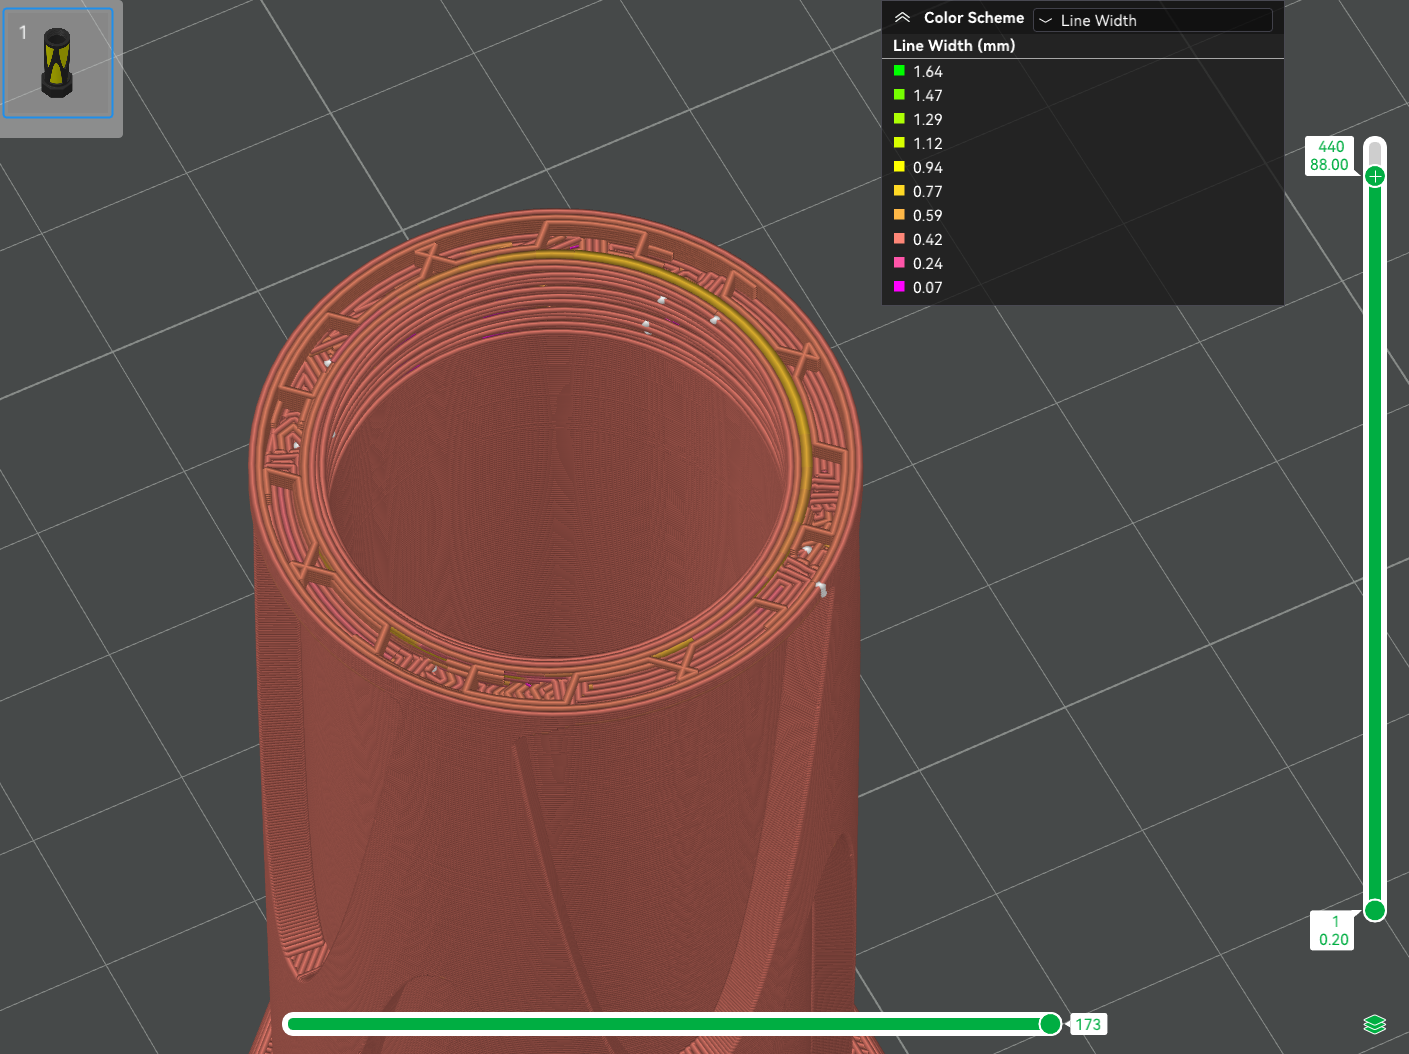
¶ Line width
Line width means the width of a single melted filament extruded by the nozzle during the printing. Usually, the width of the extruded material is almost the same as the diameter of the nozzle. Different line widths can affect print quality, speed, strength, and detail. For example, increasing the line width can enhance the interlayer contact area and improve layer adhesion, but it may reduce the level of detail in the model. For more information, please see line width.
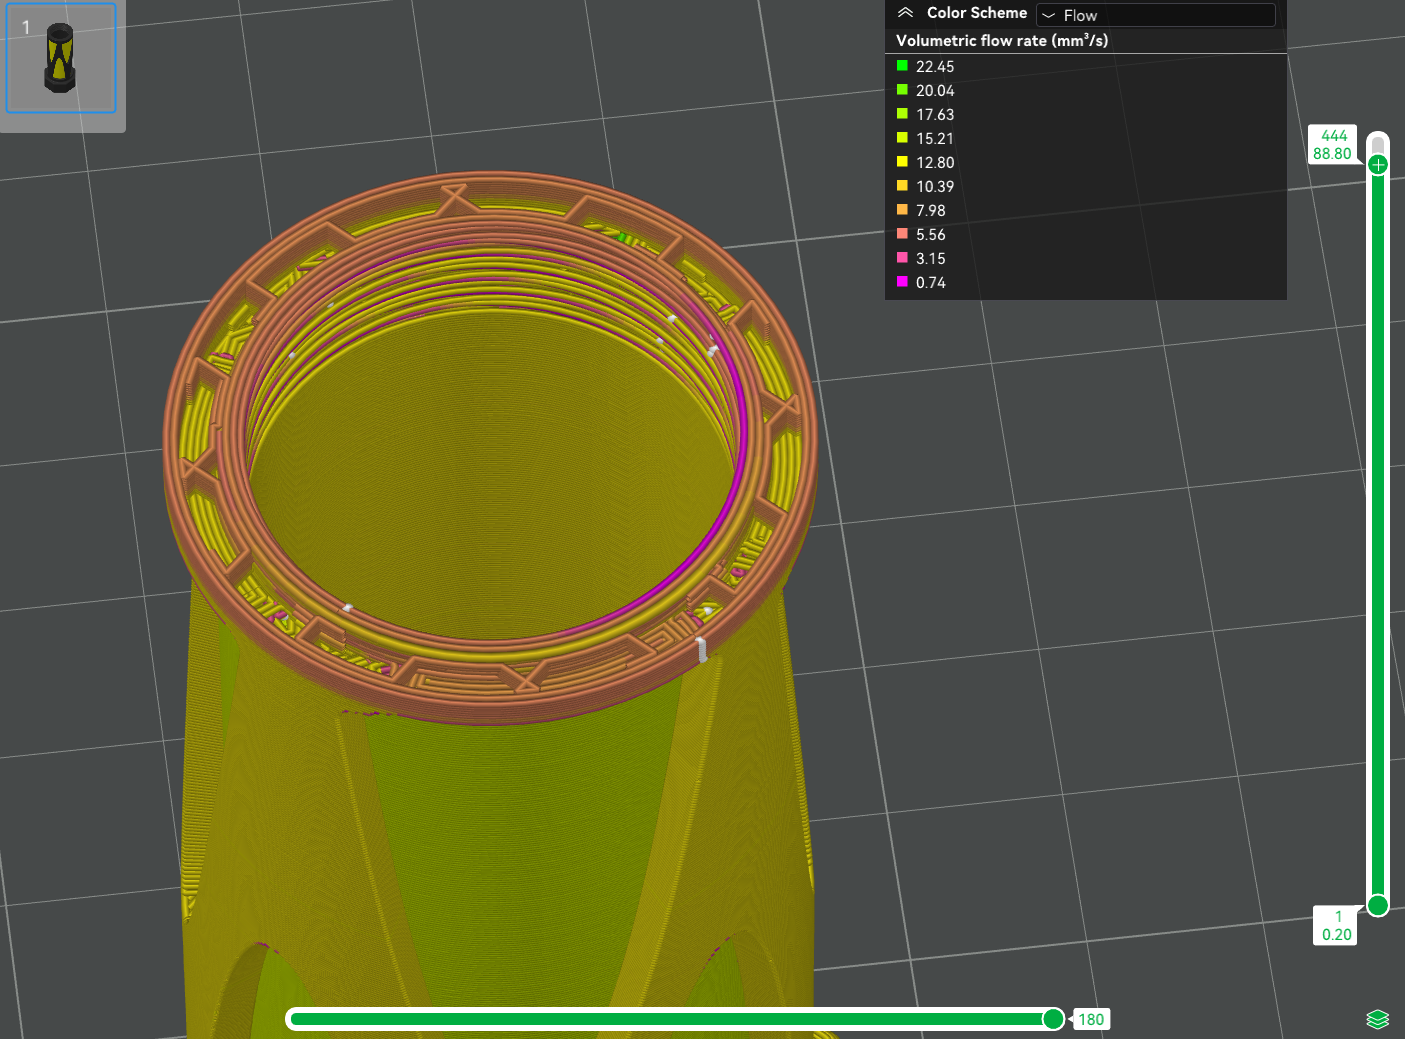
¶ Flow
Displays the volumetric flow rate of filament on various positions. The printer has a maximum limitation on volumetric flow rate for various types of filaments, that is, the maximum amount of filament to be extruded per unit time. Maximum volumetric flow rate = cross-sectional area of extruded line * maximum printing speed.
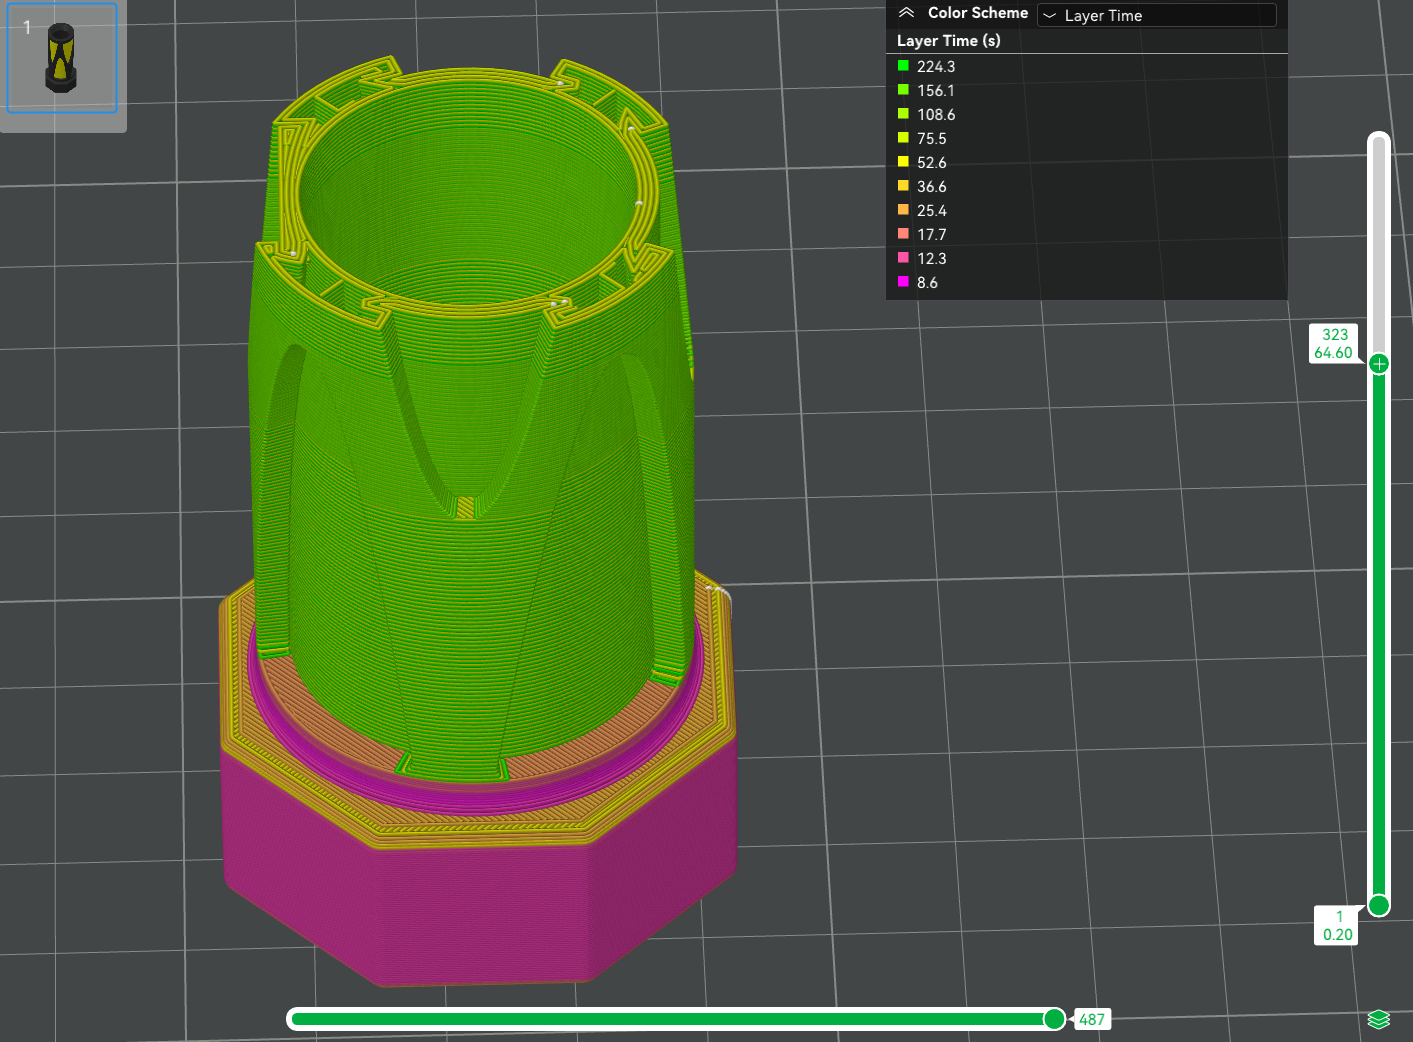
¶ Layer time
Displays the print time for each layer. Normally, the larger the area, the longer the print time.
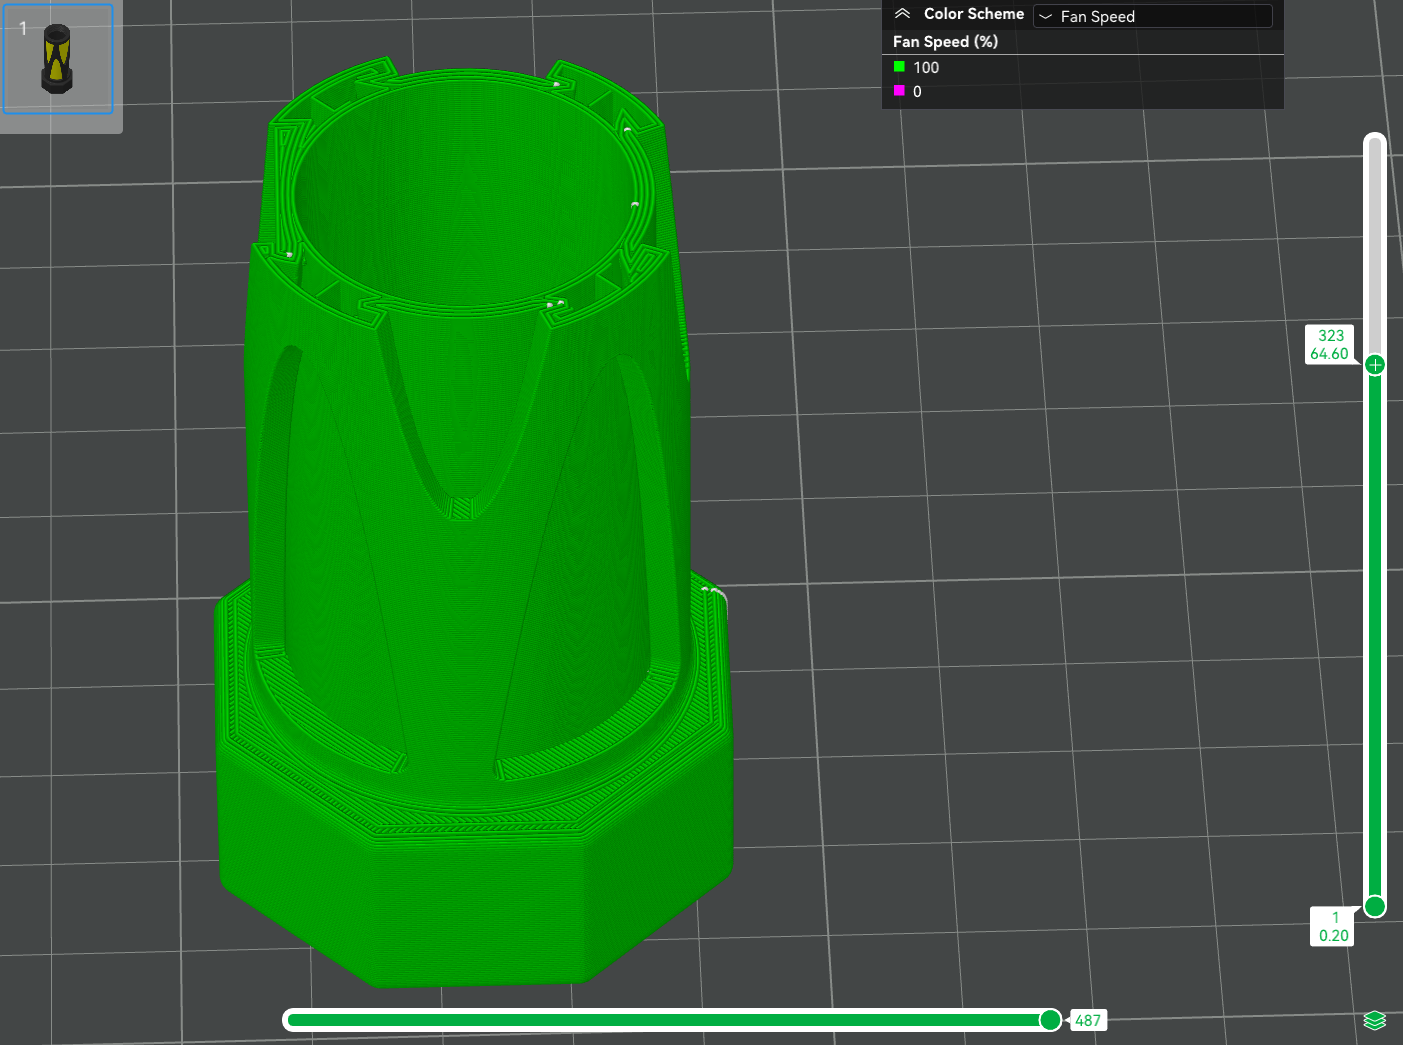
¶ Fan speed
Displays the part cooling fan speed on different layers. The higher the speed, the faster the filament cools down. For more information on cooling, please see auto cooling in filament settings.
¶ Temperature
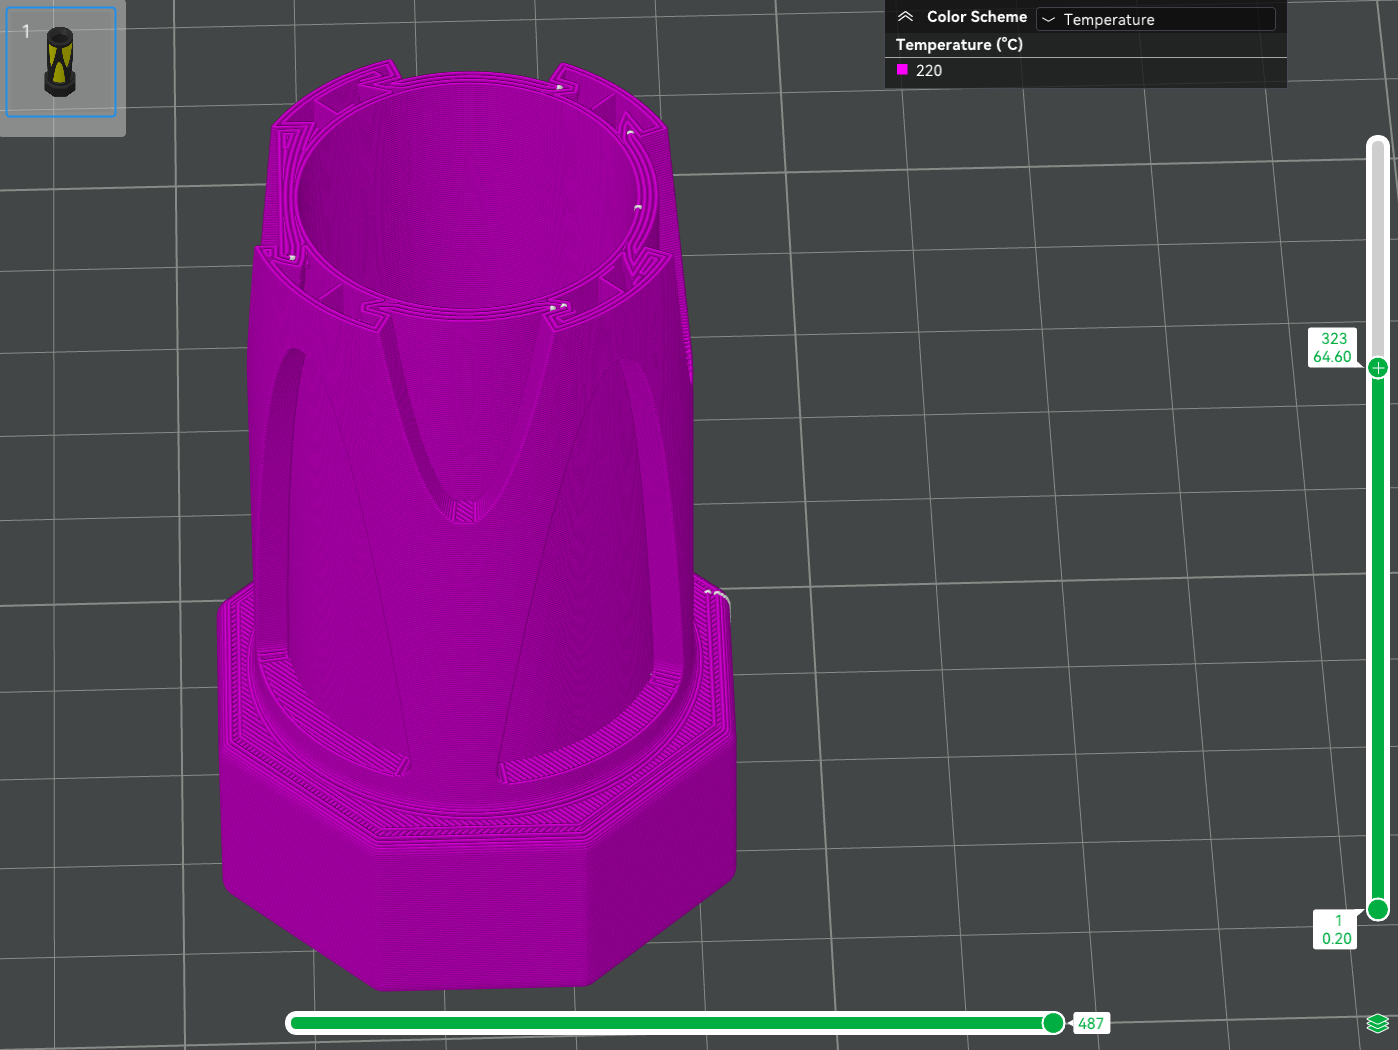
Displays the nozzle temperature of different layers. When printing with one type of filament, the nozzle temperature will be consistent throughout the whole process. If you print with multiple types of filaments (with an AMS), the nozzle temperature may varies.
¶ How to use
Drag the bars on the right and bottom to see the information and print path of different layers. Use the arrow keys on the keyboard to conveniently navigate one at a time.
The bar on the right shows the model's layer number, layer height, and print time, while the one on the bottom shows the print path of the selected layer.
Select a layer and click ![]() on the lower-right corner to see only that layer. Now, drag the bar and you can see one layer at a time. Click the icon again to go back to displaying all layers. If you want to view a specific layer, right-click the "+", select Jump to Layer, and enter the number of the layer.
on the lower-right corner to see only that layer. Now, drag the bar and you can see one layer at a time. Click the icon again to go back to displaying all layers. If you want to view a specific layer, right-click the "+", select Jump to Layer, and enter the number of the layer.
If you modify any parameters, you will need to slice the model again. If you want to go back to the preparation page, click Prepare on the upper-left corner.
Right-click the "+" and you can use the following functions:
-
Add Pause: If a pause is added to a layer, the printer will stop before printing that layer. You need to manually resume printing. For example, adding a pause to layer one will cause the printer to stop before printing layer one. (Tips: Add a pause to layer one so that the printer will stop before printing layer one. Then, you can remove the flow calibration lines on the build plate, and then manually resume printing. Now, the flow calibration lines will not occupy the area on the build plate, allowing you to print models with larger first layers.)

-
Add Custom G-code: Custom G-code can be added to a layer to achieve various personalized settings. For example, M104 S250 means to heat up the nozzle to 250 °C before printing the layer. The temperature tower function can be done by adding different G-code to specified the printing temperature of different layers.
-
Change Filament:This function allows you to change filament at any layer. Please note that this function can only be used with an AMS.
¶ Applications
This function is useful for you to adjust the printing parameters better and improve the print quality.
- Inspect print path: By inspecting the print path layer by layer, you are able to check if the G-code is generated by Bambu Studio as expected. This allows you to discover and rectify potentials issues in advance.
- Meet personalized needs: Pausing during printing allows to you embed objects, such as a magnet, into the model. These objects can be securely locked inside after the print is complete.
- Optimize support structure: Checking the support structure on different layer makes it possible to optimize the generation methods and positions. Make sure areas are getting enough support and remove unnecessary support. Also, ensure the contact points between the model and support are reasonable to reduce the impact on the surface quality of the model. For more information on support, please see Support.
- Adjust infill patter: Check the infill pattern (such as grid, triangles and honeycomb) to optimize the infill pattern. The infill density can be both appropriate for the model strength and reduce filament waste. Additionally, the infill direction should be reasonable to improve the structural strength of the model.
- Evaluate layer height settings: Evaluate the effect of the current layer height settings on the details and surface quality of the model. Consistent layer heights across the model can avoid print qualities such as ripples on the surface. If smaller layer heights are configured, see if they are appropriate for the positions that need more details.
- Speed up printing: Make necessary optimizations to shorten the print time of areas that need longer to print.
- Analyze for potential issues: Check through the layers to discover and solve potential problems in advance. For example, identify overhangs and ensure adequate support or adjust the print parameters to reduce overhangs; check the print paths in transition areas to ensure smooth transitions and avoid poor inter-layer adhesion.
¶ End notes
We hope that the detailed guide we shared with you was helpful and informative.
We want to ensure that you can perform it safely and effectively. If you have any concerns or questions regarding the process described in this article, we encourage you to reach out to our friendly customer service team before starting the operation. Our team is always ready to help you and answer any questions you may have.
Click here to open a new ticket in our Support Page.
We will do our best to respond promptly and provide you with the assistance you need.