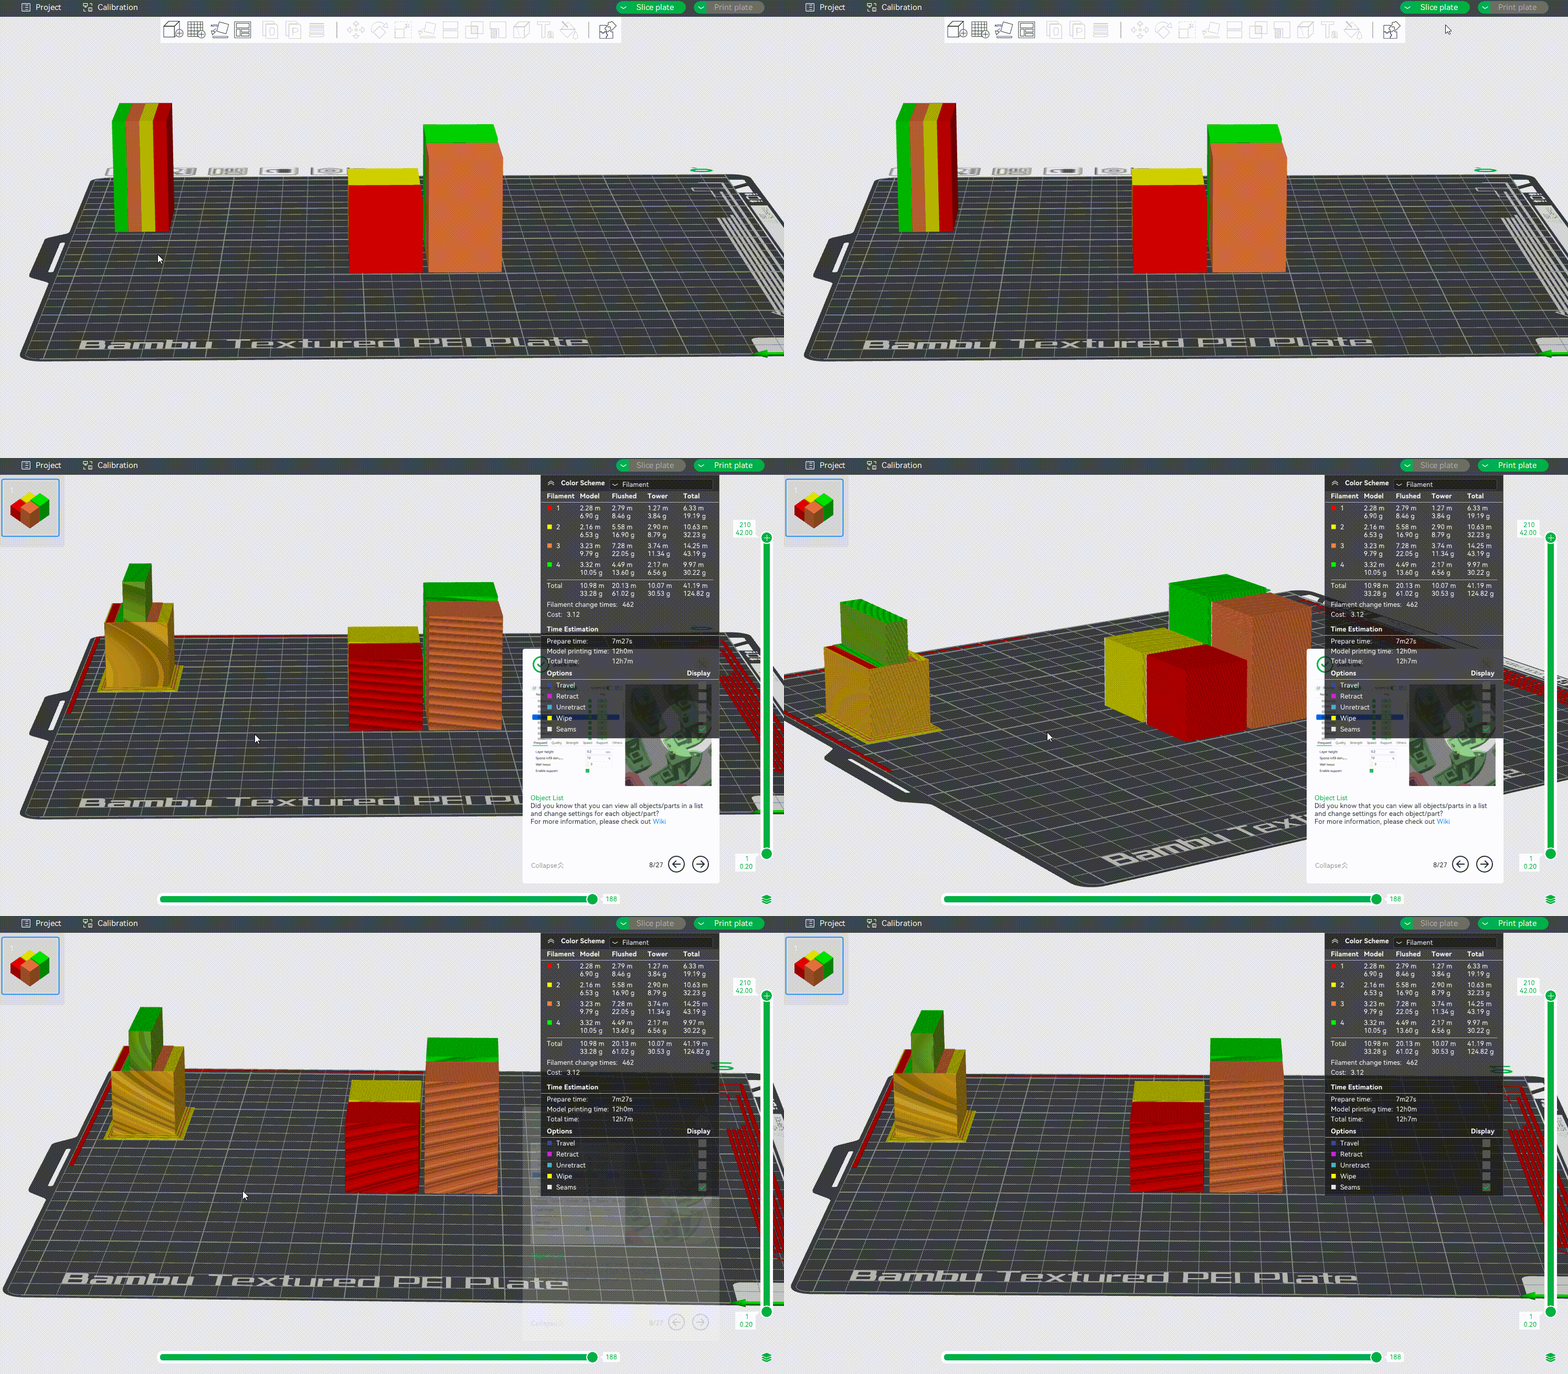
¶ Why do we need the prime tower?
In 3D printing, we usually need a prime tower in multi-color printing tasks or when the smooth mode time-lapse is enabled. After the tool head travels or purging the filament, some residual material may still be left on the nozzle. Enabling the prime tower can clean up the residue on the nozzle and stabilize the chamber pressure inside the nozzle, to avoid appearance defects when printing objects.
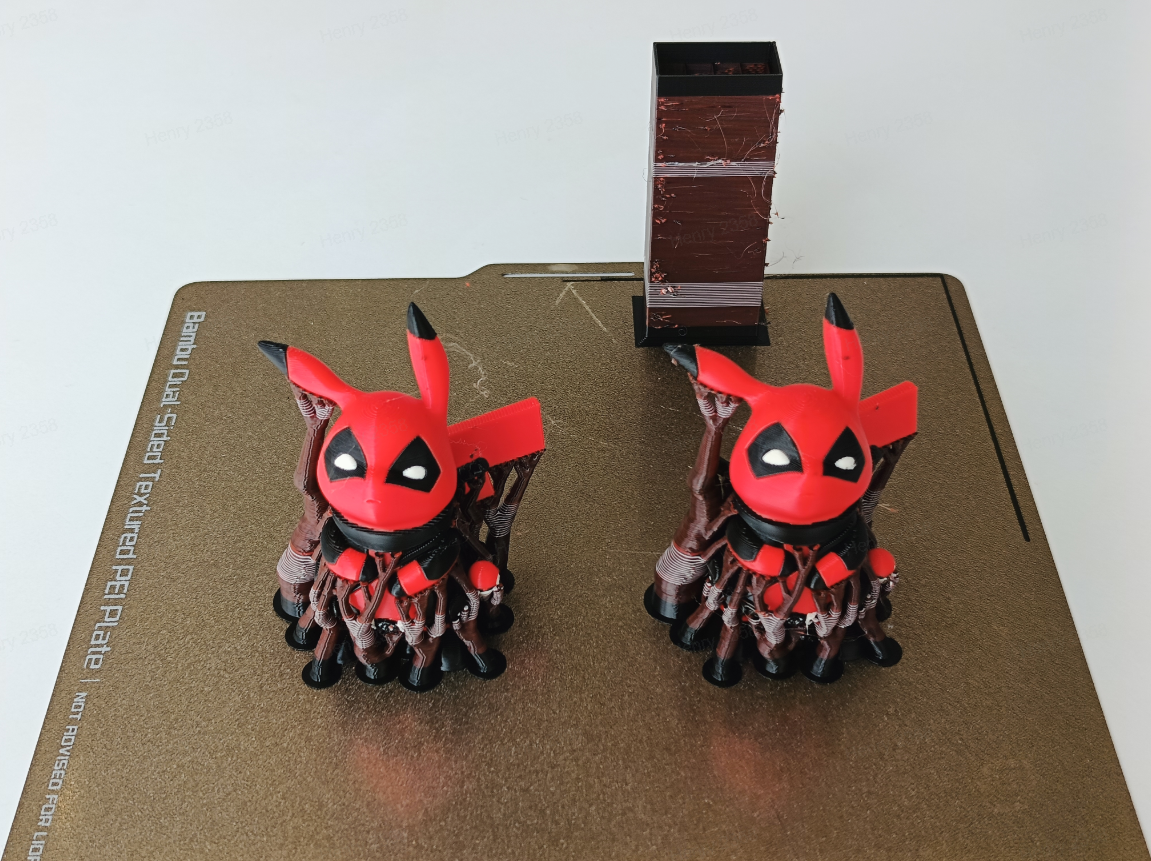
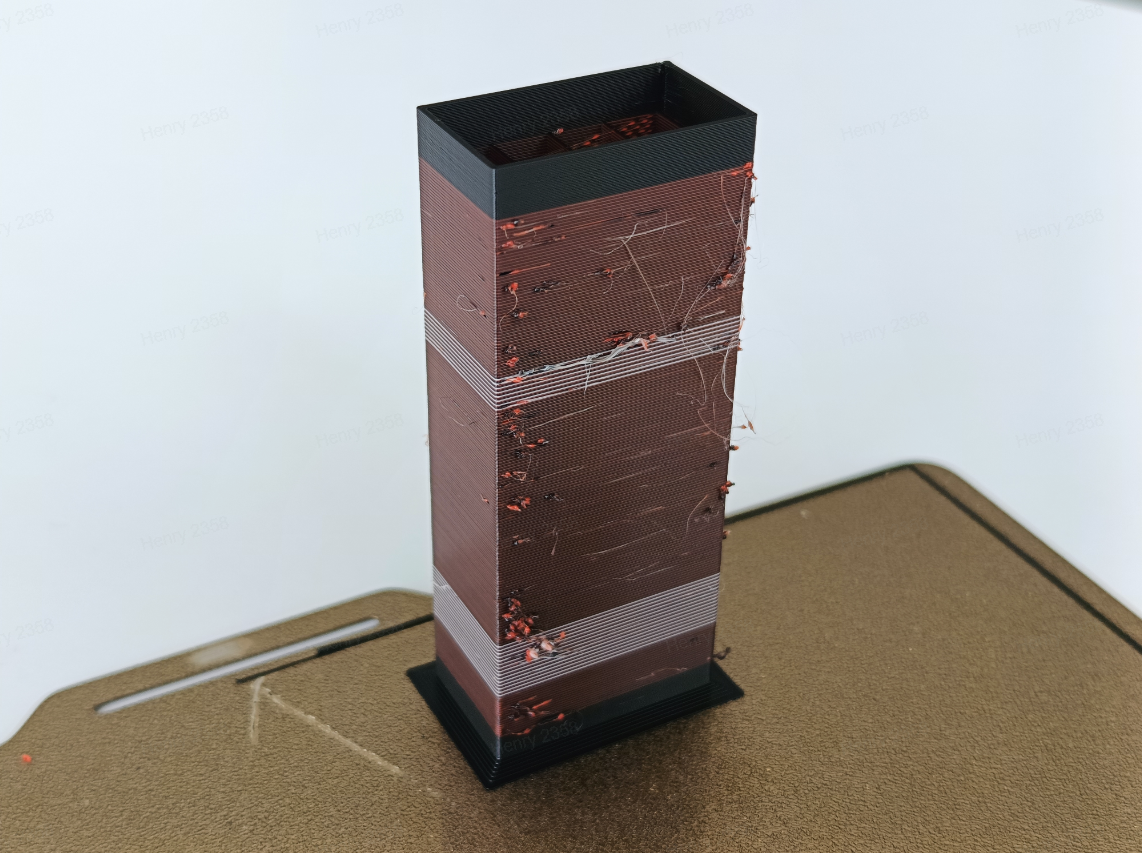
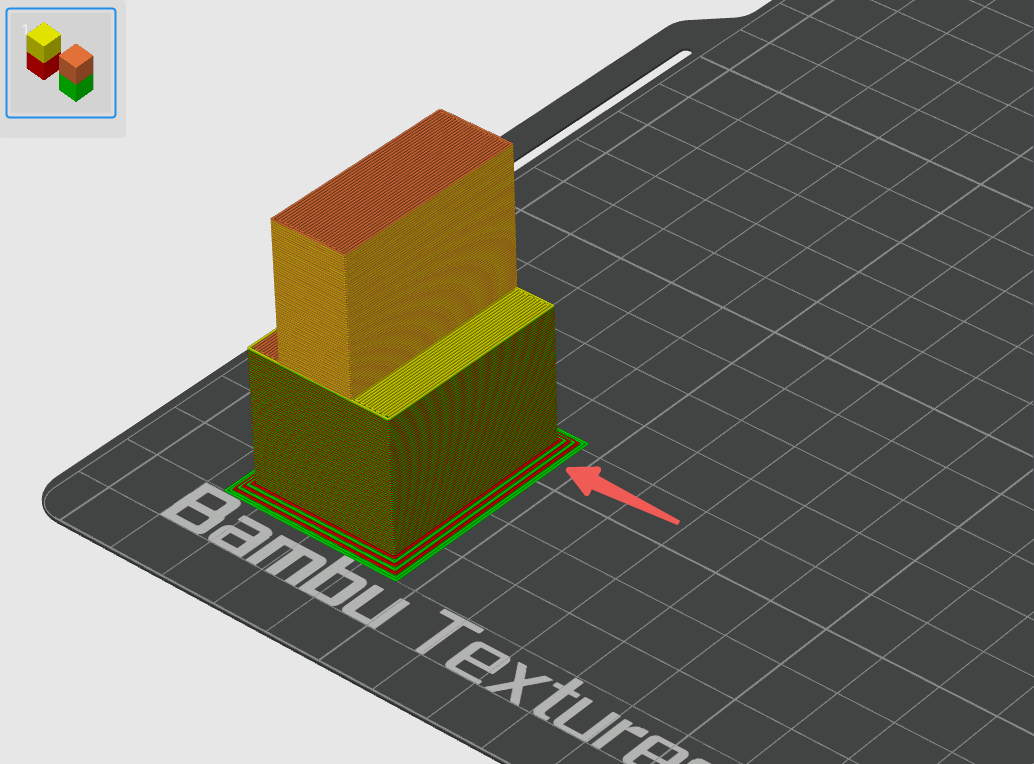
From the figure below, we can see that the surface of the prime tower absorbs a lot of defects, and it can help the surface of the printed model be more clean and tidy:
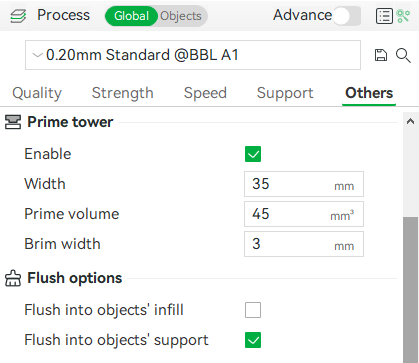
The prime tower is enabled by default but will only be generated on the build plate for multi-color printing tasks or when smooth mode time-lapse is selected. You can enable or disable it in Process —— Other —— Prime tower.
¶ Prime tower for multi-color printing
The explanation of the shape and parameters of the prime tower for multi-color printing is as follows.
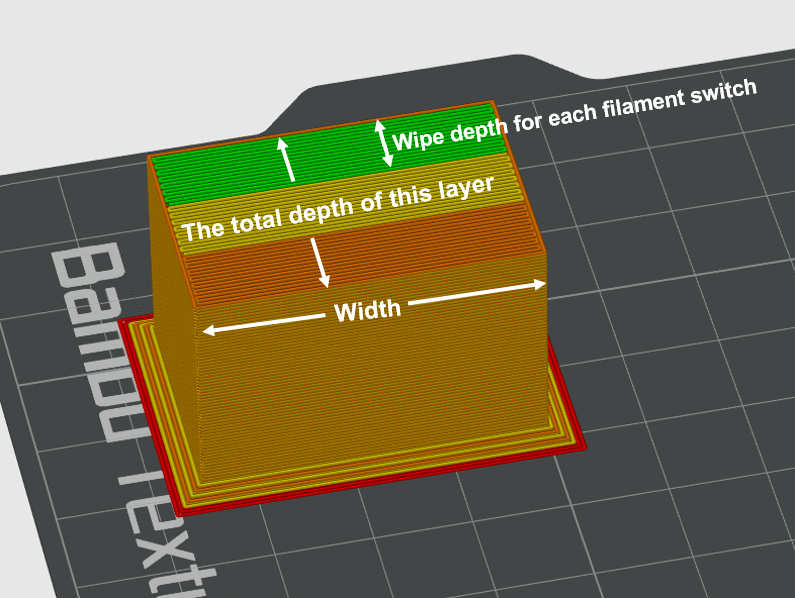
Width: The width of the tower can be customized by the user so that all tower layers use the set width.
Prime volume: Represents the volume printed on the tower for each filament switch. This refers to the wiping volume on the prime tower, which differs from the flushing volume set when changing the filament.
Note: Flushing volume = The volume of flushing in the excess chute + The volume of flushing into support/infill/objects.
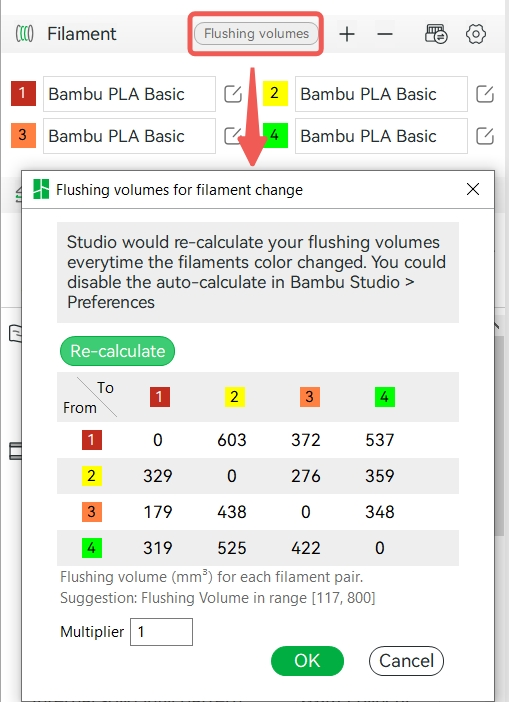
In each filament change, the length of printing on the tower can be calculated according to the set prime volume, layer height, and line width.
The number of turns = the length to be printed for each filament change/the width of the prime tower, indicating how many times it needs to be turned back and forth on the prime tower during the filament change, recorded as the number of turns.
Tower depth for each filament change = the number of turns * line width.
The total depth of the single-layer tower = (number of turns * line width) * number of filament changes in this layer.
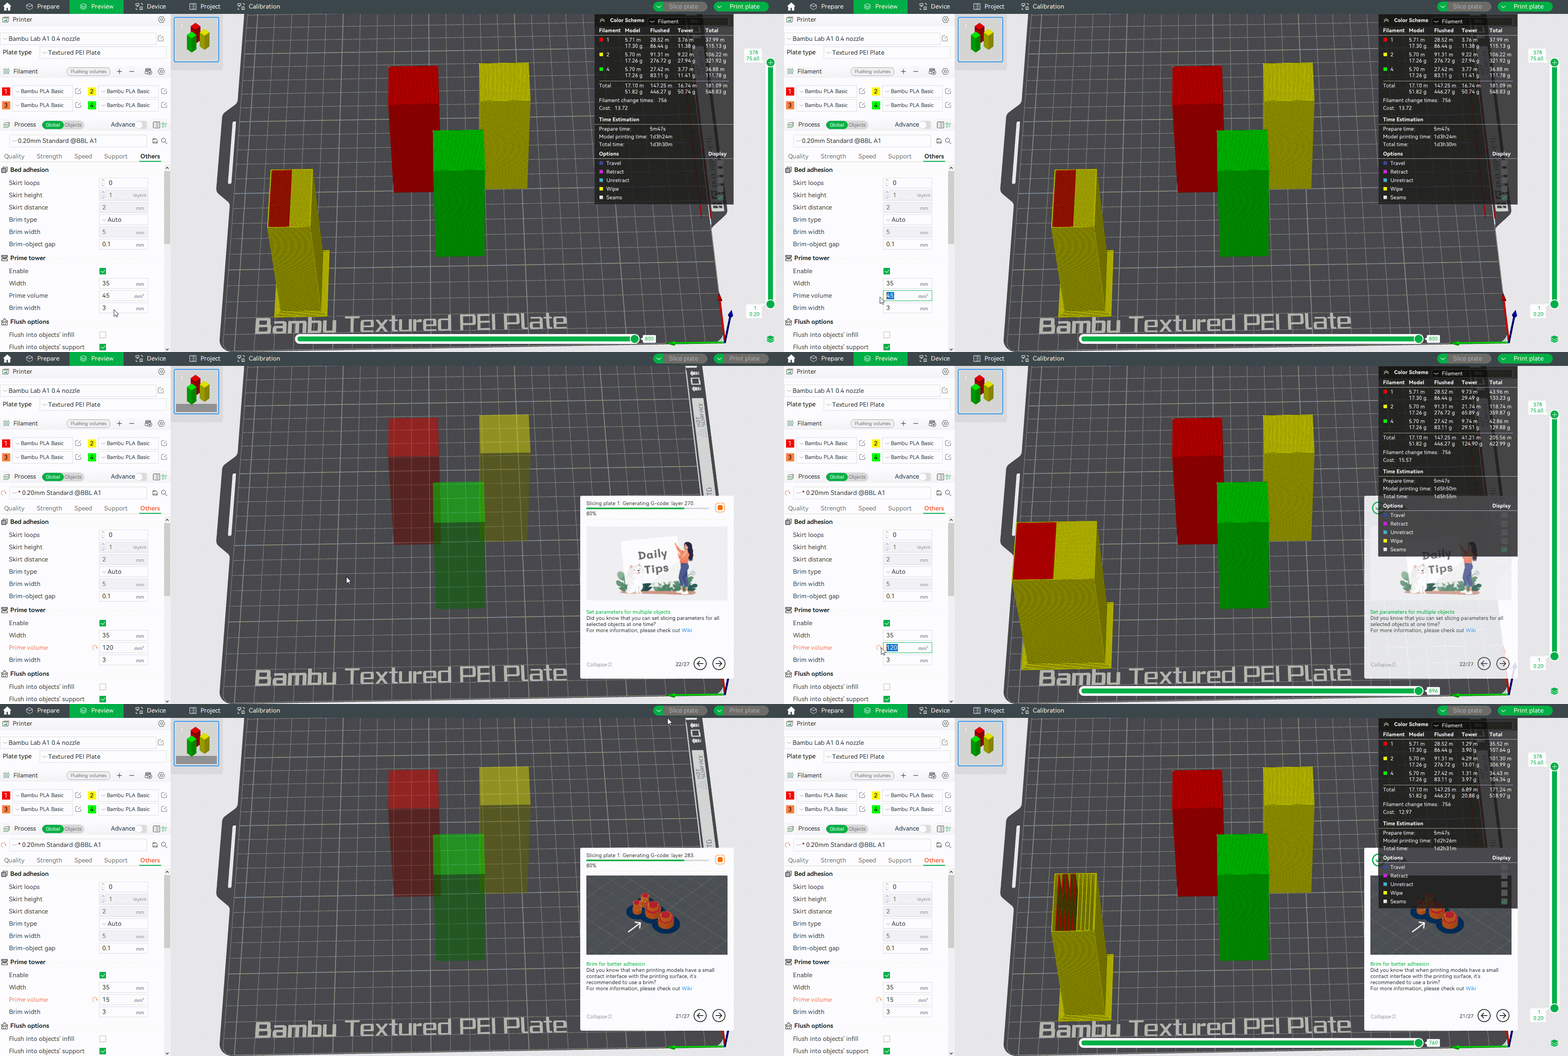
Therefore, the more times a single layer changes the filament, or the greater the total prime volume amount, the greater the depth of the tower of this layer. However, if the total wiping volume of this layer is small, there will be a minimum depth limit at the bottom of the tower to prevent the tower from being too narrow and falling off during printing. When the prime volume is less, the tower still needs to ensure a certain depth, so the lines of the nozzle turning back on the tower will be sparse, rather than densely arranged. As shown in the GIF below:
If the amount of wiping amount required between different layers is different, and the calculated lower layer tower depth is smaller than the higher layer, the lower layer tower depth will be forced to be equal to the higher layer.
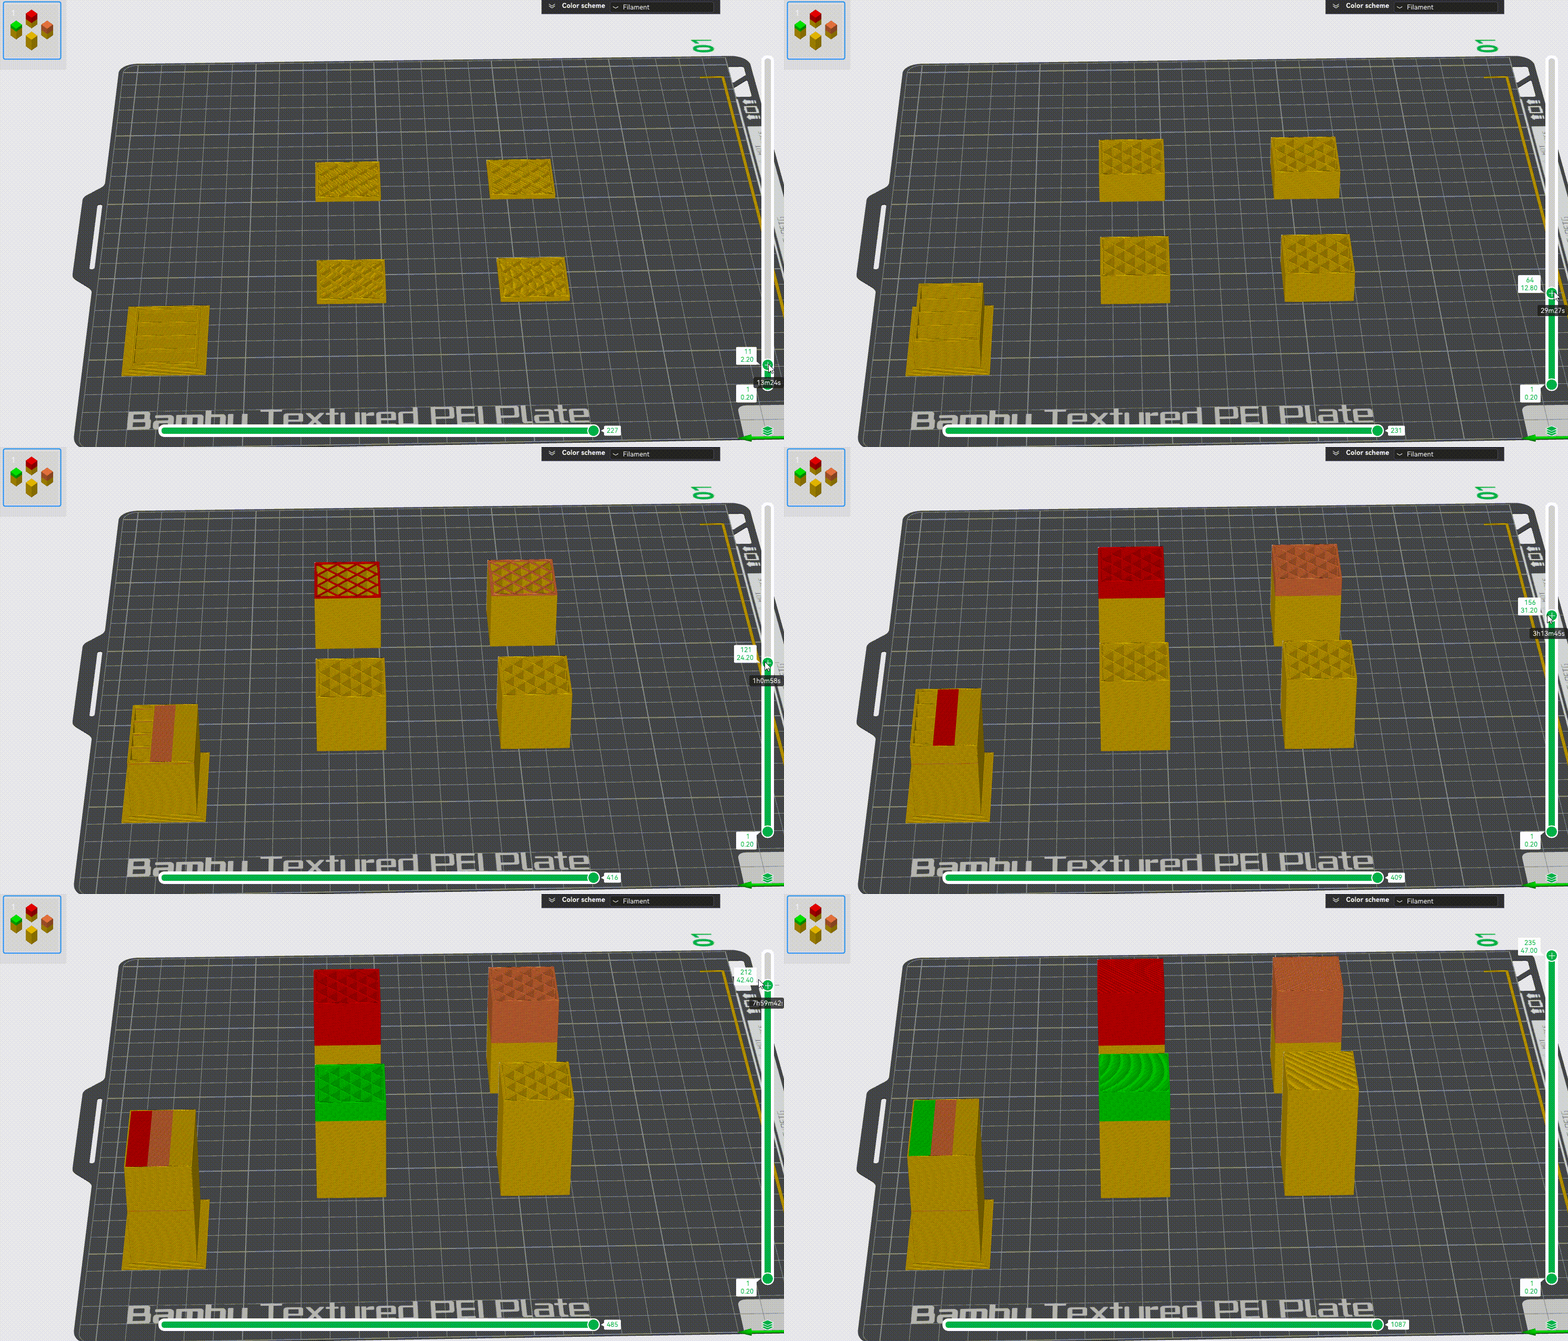
If the calculation shows that the higher layer tower depth is less than the lower layer tower depth, the tower depth of the higher layers is reduced and then centered as much as possible.
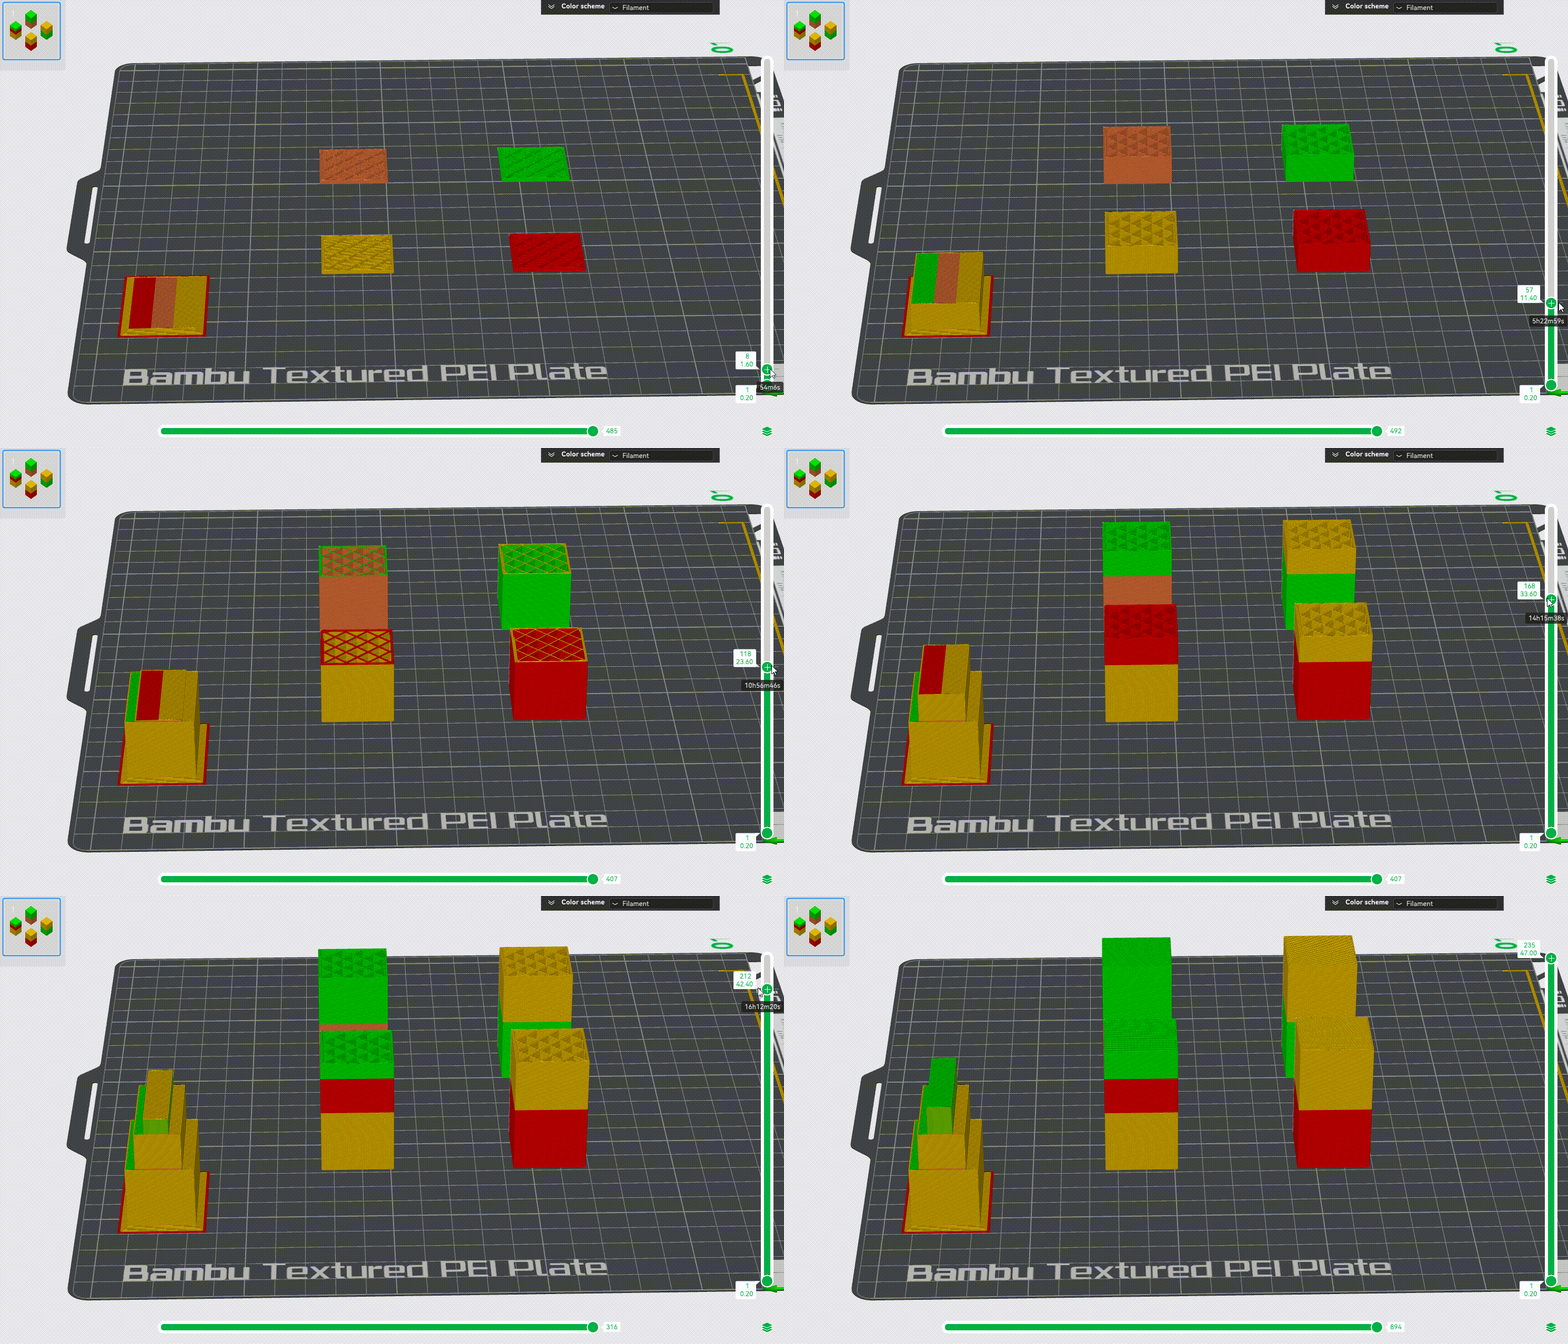
The height of the prime tower: The height of the prime tower is increased in sync with the objects, and the height of the tower for multi-color printing will stay in the last layer of color change. As shown in the following GIF, after the last color change, since the subsequent printing does not need to switch the filament, there is no need to wipe the nozzle in the prime tower. Some objects may need to change colors at a very high height, and the prime tower will print from the first layer until the layer that last color changes.
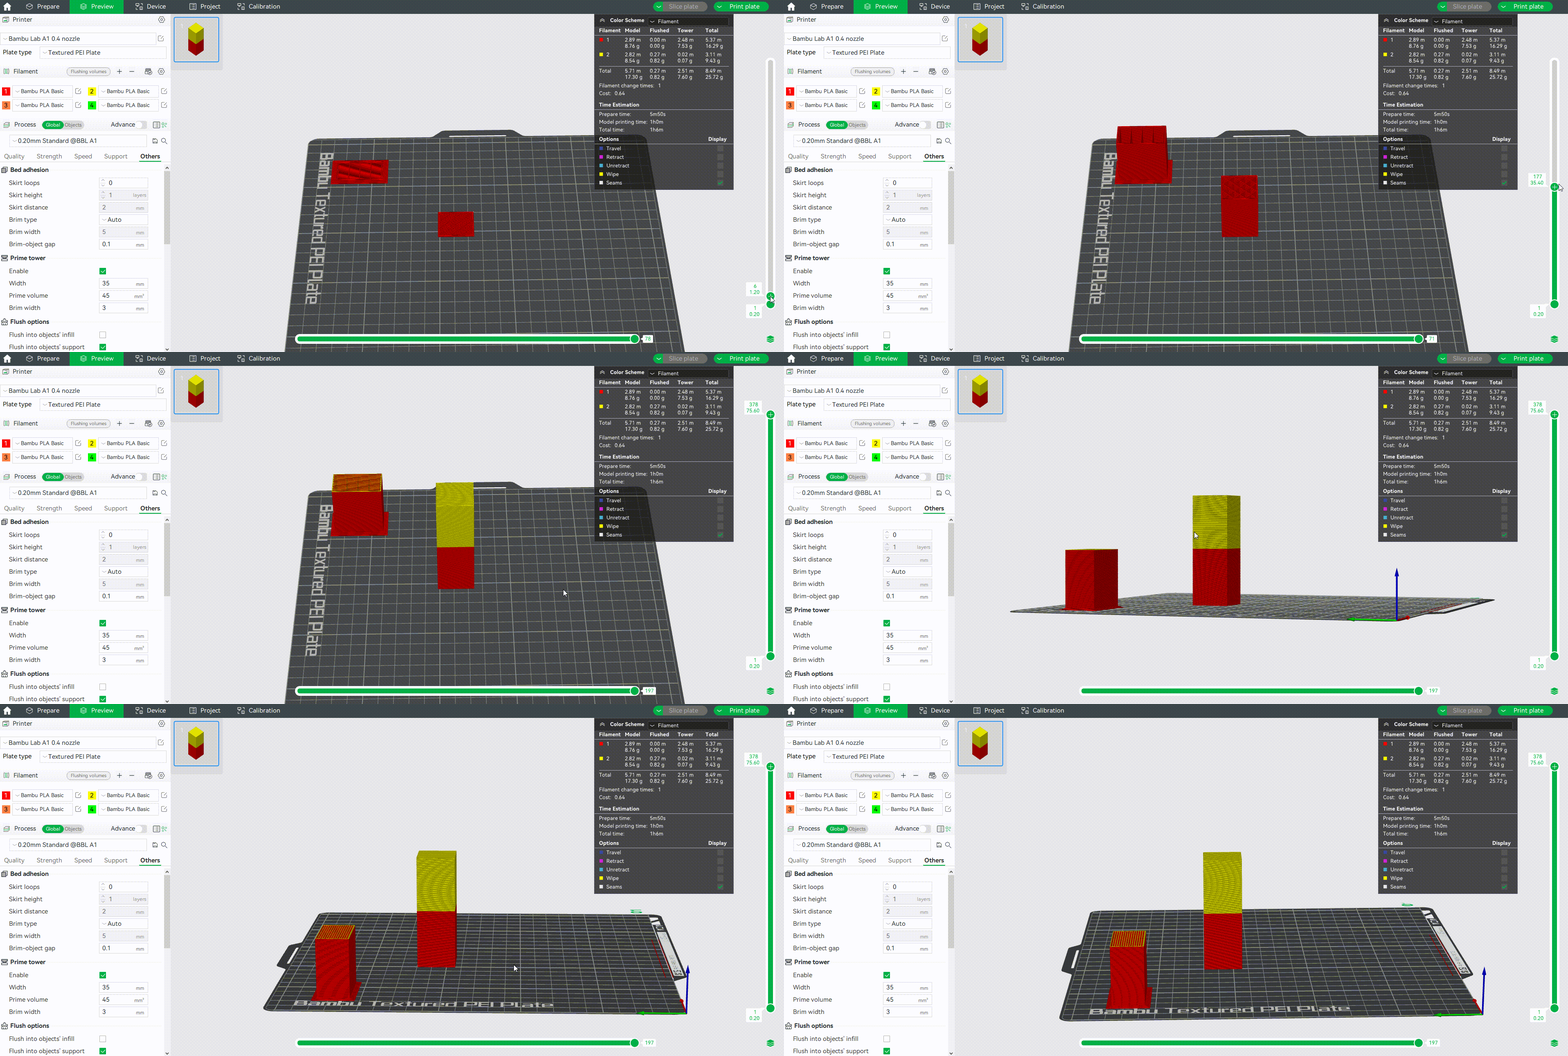
Brim width: It is used to set the width of the brim at the bottom of the wiping tower. Adding a brim can make the prime tower more stable and prevent it from falling off during printing.
¶ Prime tower for time-lapse
In addition to multi-color printing, the prime tower is also used for time-lapse photography. If you enable time-lapse in smooth mode, after printing each layer, the tool head will move to the excess chute and then take a snapshot. Since the melted filament in smooth mode may leak out of the nozzle when taking snapshots, it is also necessary to use the prime tower for nozzle wiping. When "Smooth Mode" is selected in time-lapse photography, a prime tower is generated on the build plate. So, in this way, it can also generate a prime tower for single-color printing tasks. You can refer to the wiki for details about time-lapse: Timelapse Functionality Introduction | Bambu Lab Wiki
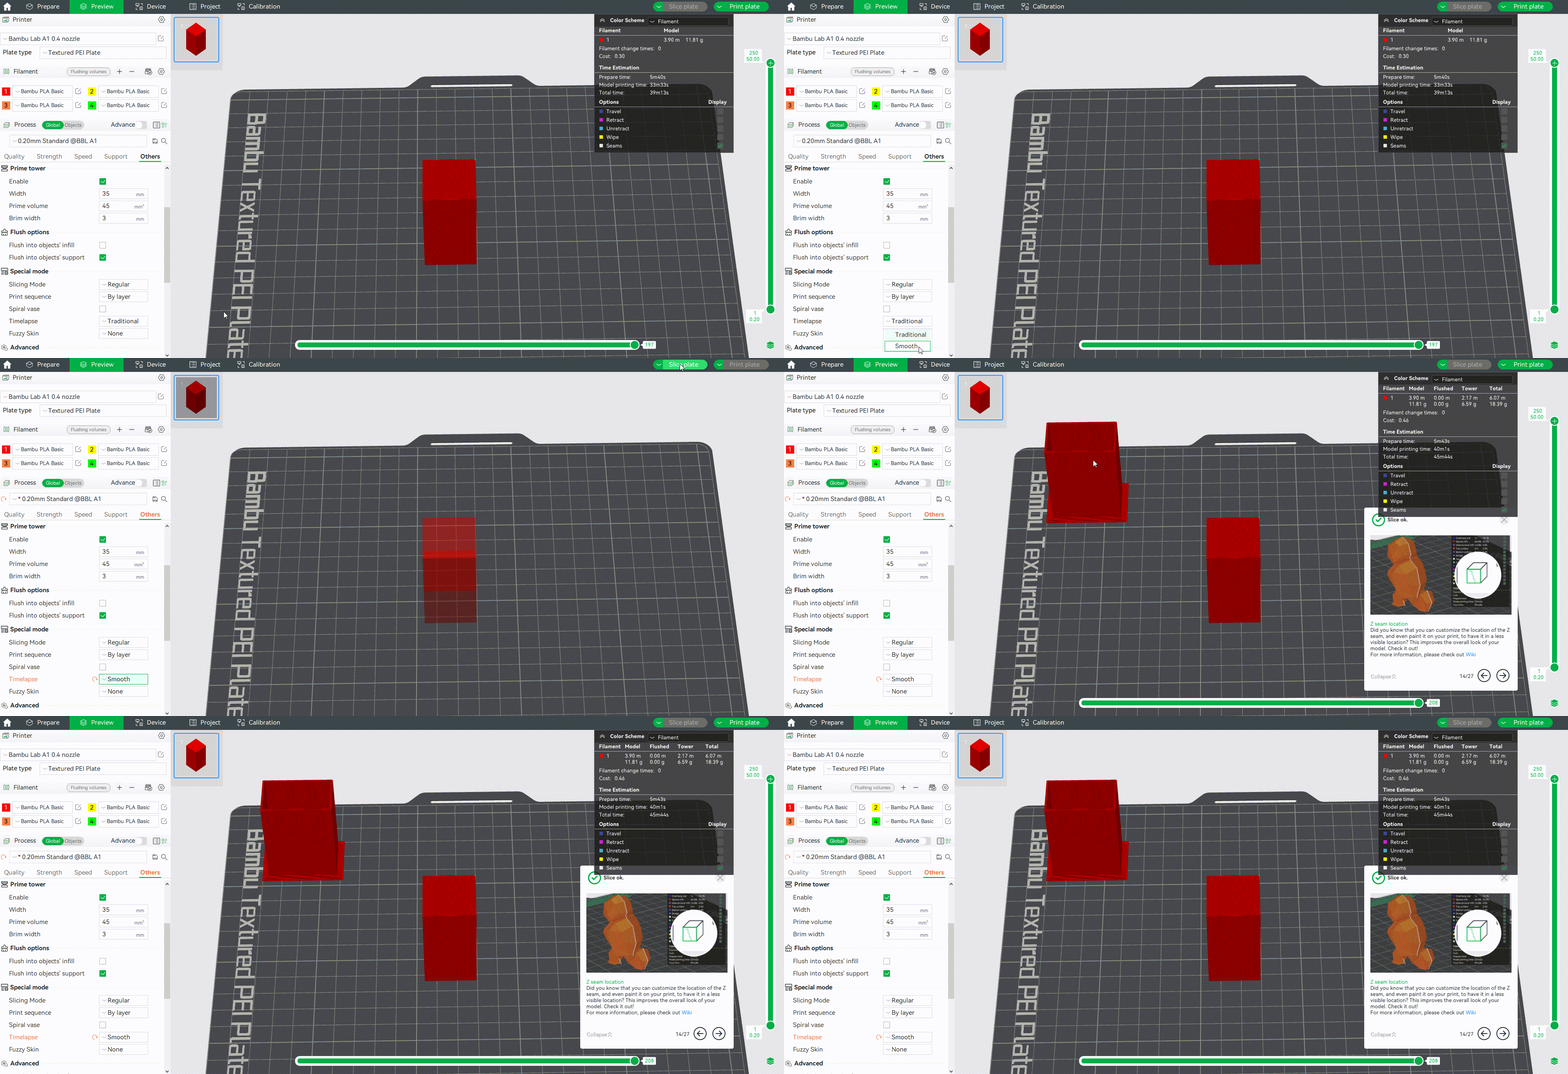
However, suppose the current print task is already a multi-color print task. In that case, the smooth mode time-lapse photography will reuse the multi-color prime tower to wipe and will not generate an additional tower for time-lapse.
Width: Like the prime tower for multi-color printing, it is used to set the width of the tower, and the user can customize it so that all tower layers adopt the set width.
Prime volume: We cannot set the prime volume for time-lapse prime tower, it is only composed of two outer walls, the middle is hollow, and the depth is fixed.
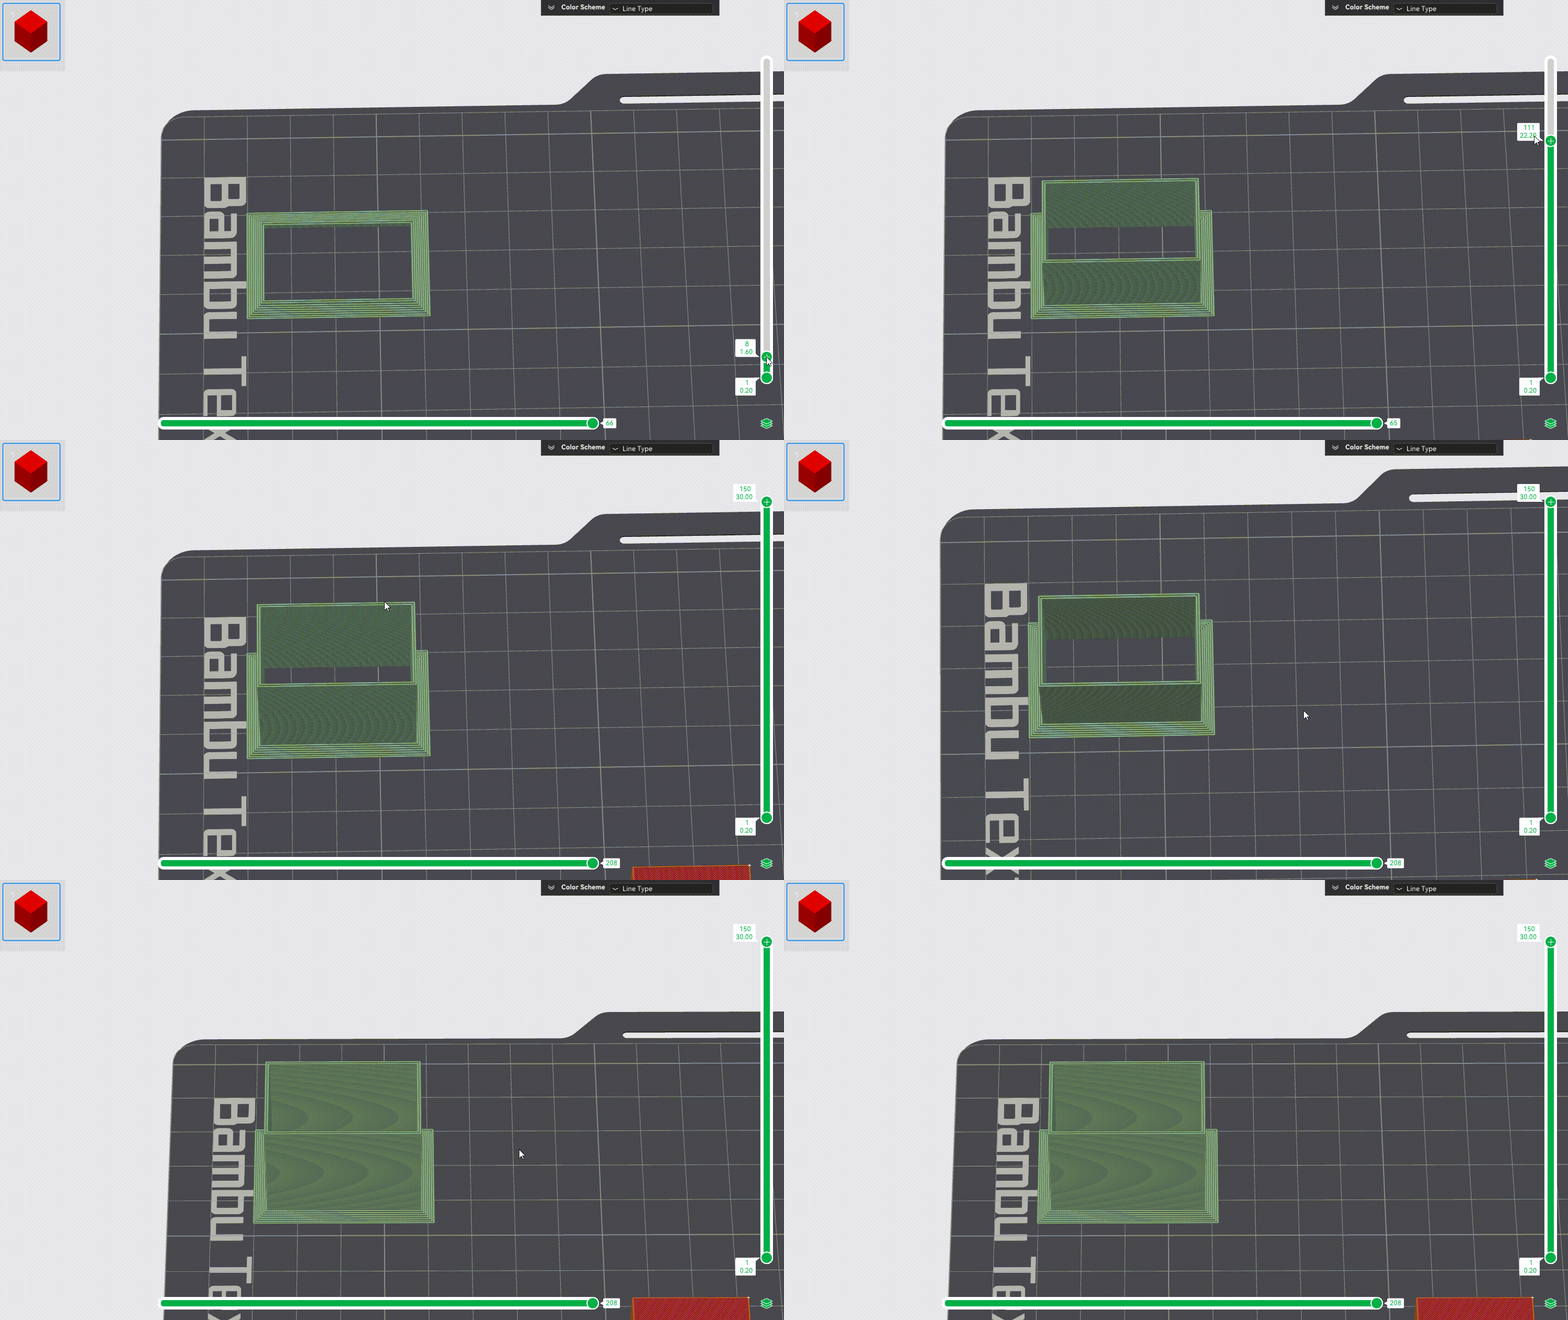
The height of the prime tower: Since the principle of time-lapse is to take a snapshot after each layer is printed, the nozzle needs to be wiped on each layer, so the height of the time-lapse prime tower is equal to the highest object on the build plate.
¶ Matters needing attention
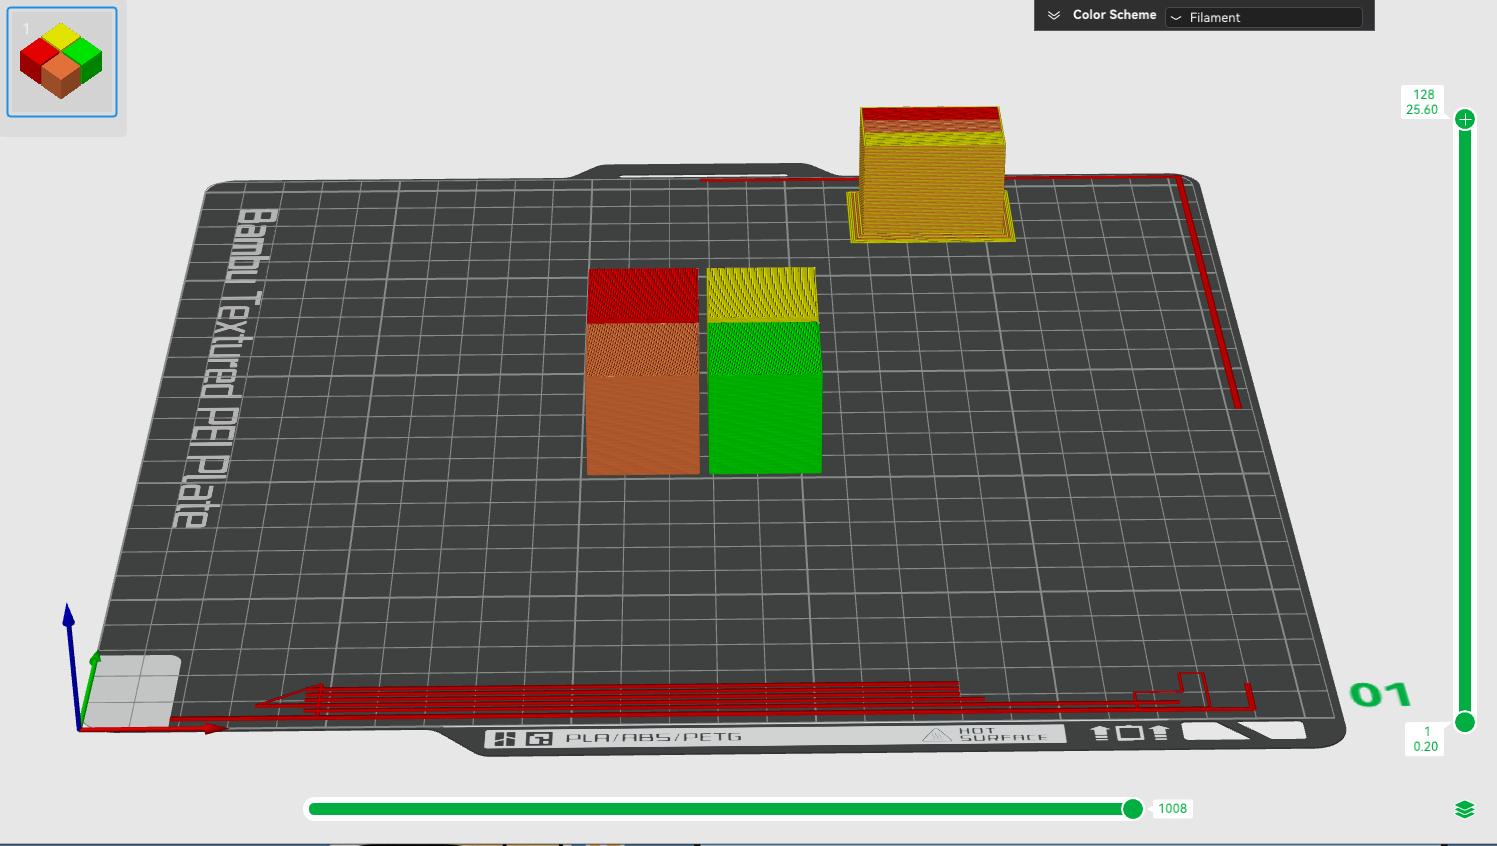
1. For X1 series printers, the prime tower should not be placed in front of the excess chute (the left rear position of the build plate), which will affect the AI detection function of the printer, and the filament piled-up detection of the excess chute cannot be carried out normally. It is recommended that the prime tower be placed on the right rear of the build plate, as shown in the following figure:
2. The prime tower before slicing is only a schematic diagram, and it does not represent the accuracy of shape, color, and height. The accurate shape, color distribution, and height can be previewed after slicing.
