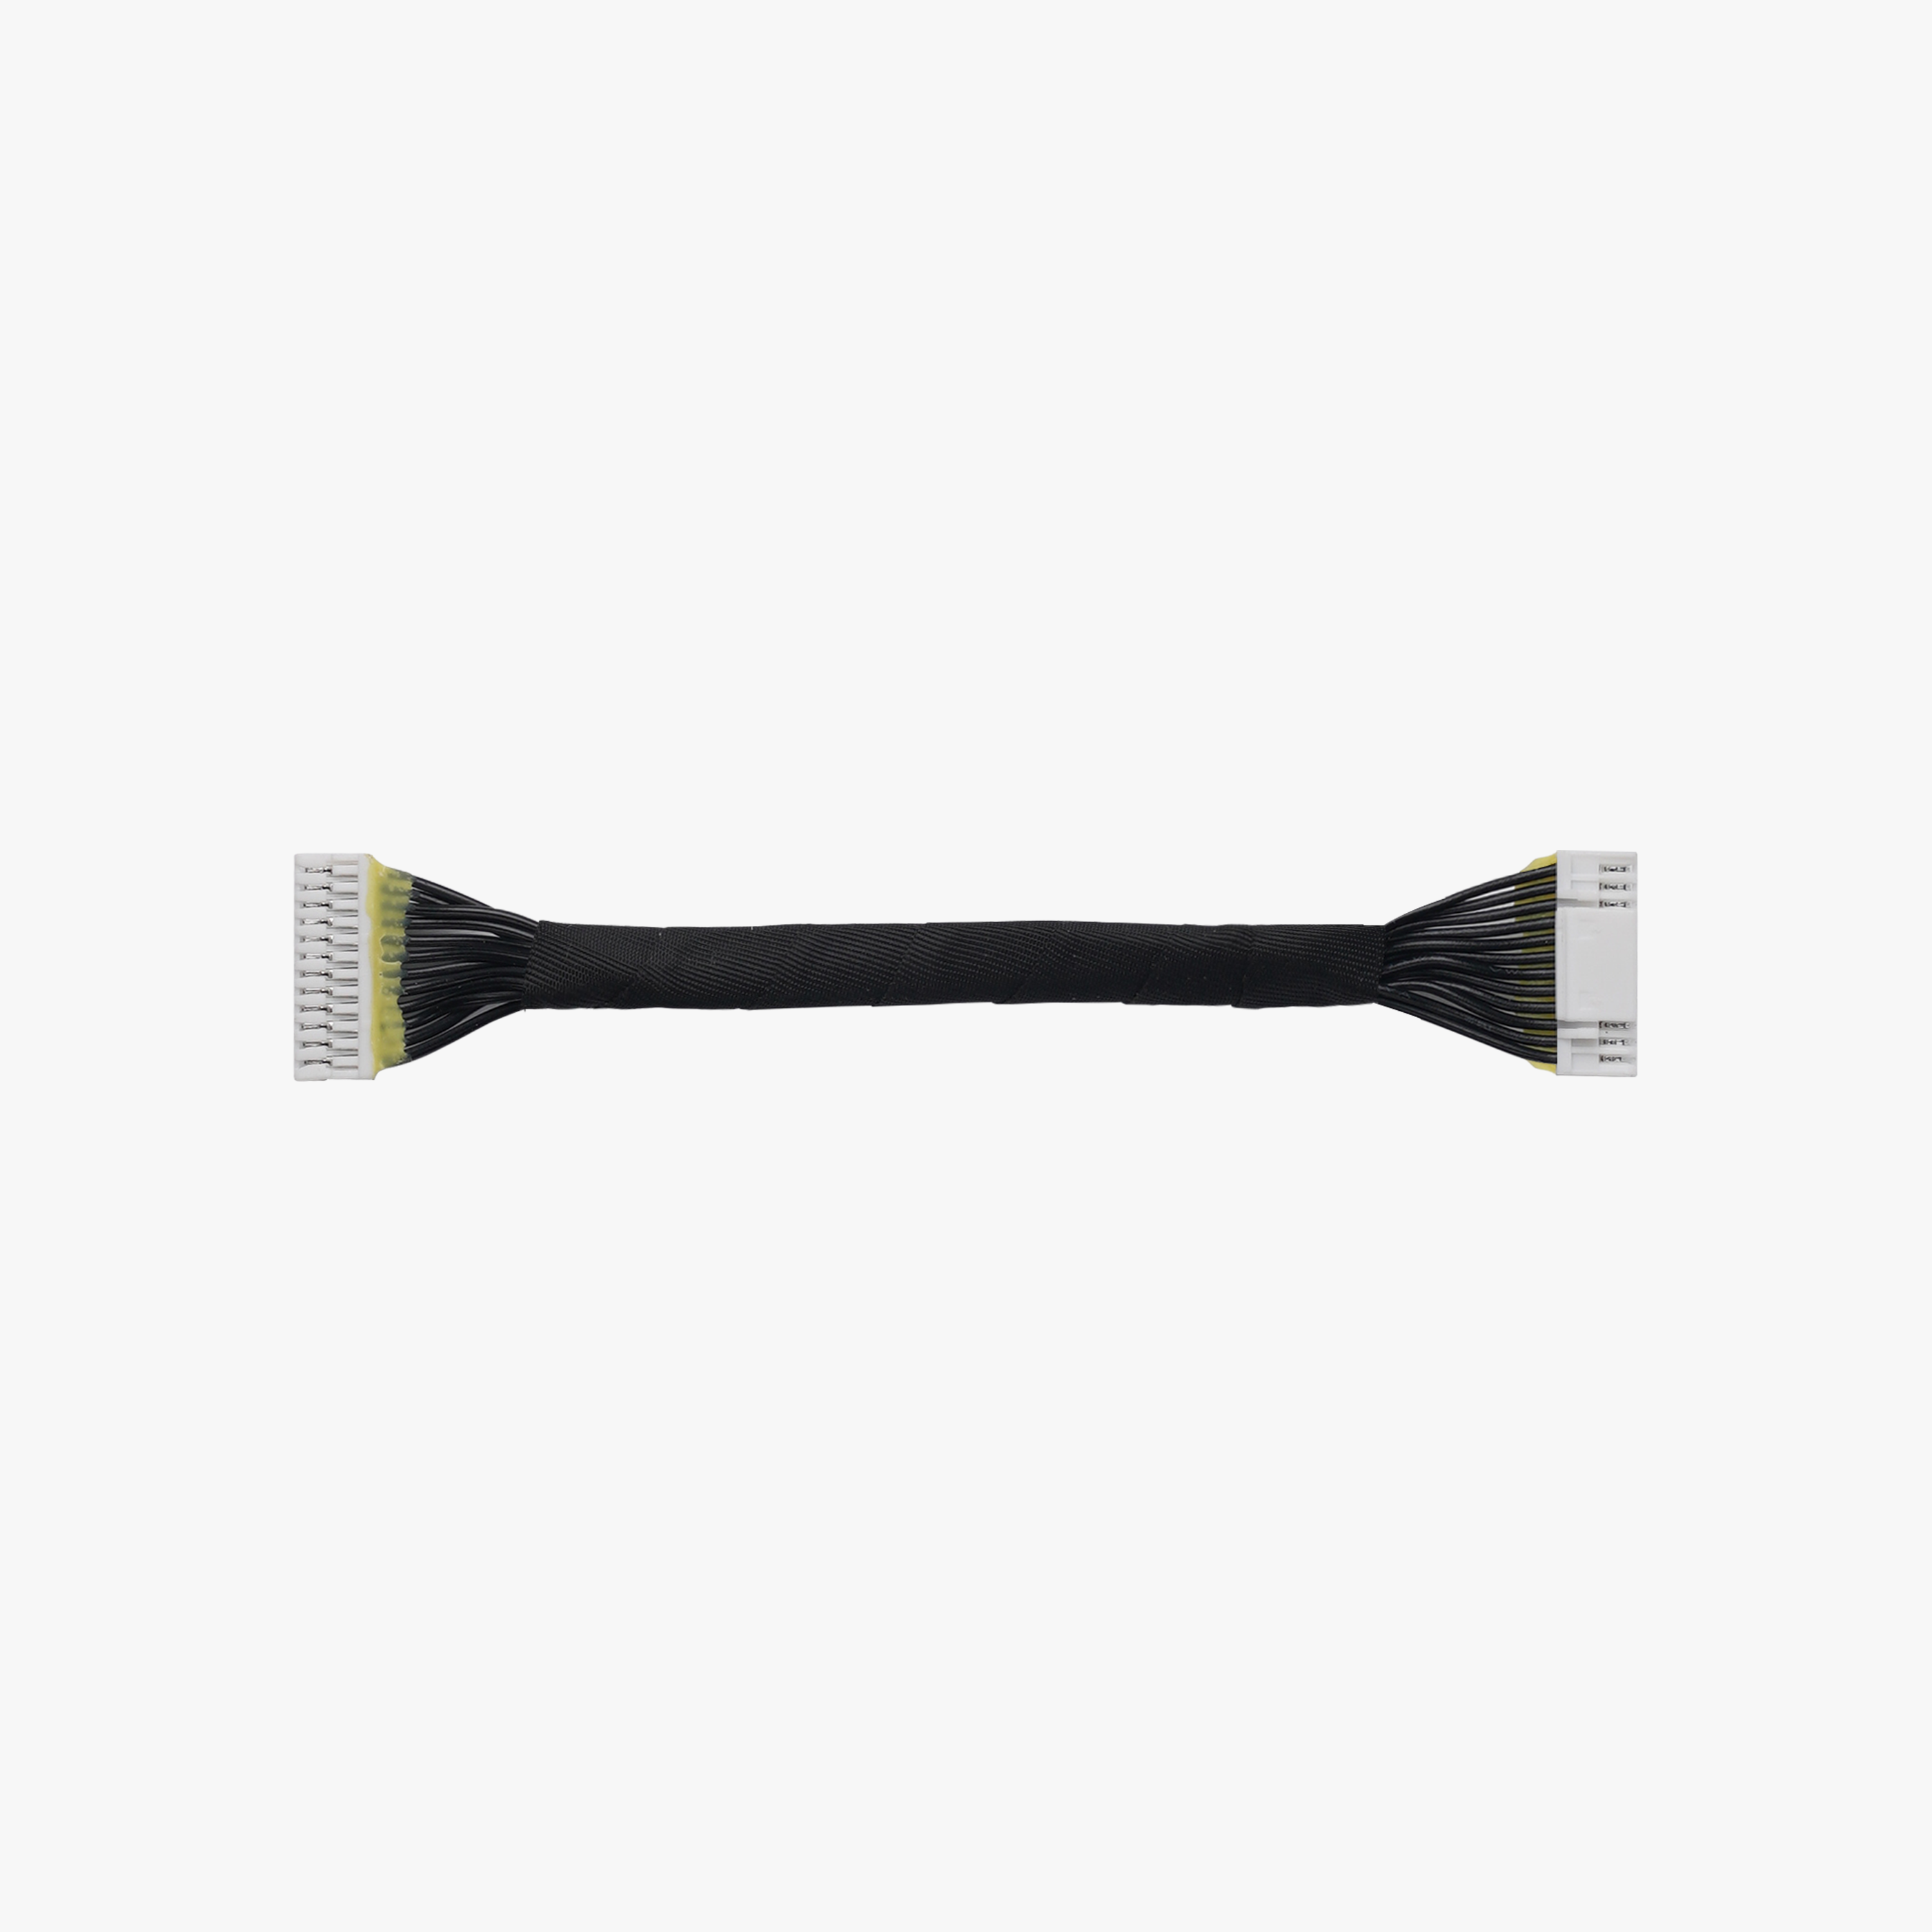
¶ Screen Connector Cable
¶ Tools and materials needed
- H2.0/1.5 Allen key
- Flat tweezers
¶ Preparation
To prepare for the next steps, shut down the printer and safely remove the MicroSD card.
¶ Disassembly Guide
¶ Step 1: Remove the screen and the front cover
- For P1P, please refer to the related content of the Screen and Front cover to remove the screen and front cover.
- For P1S, please refer to the related content of the Screen and Front cover to remove the screen and front cover.
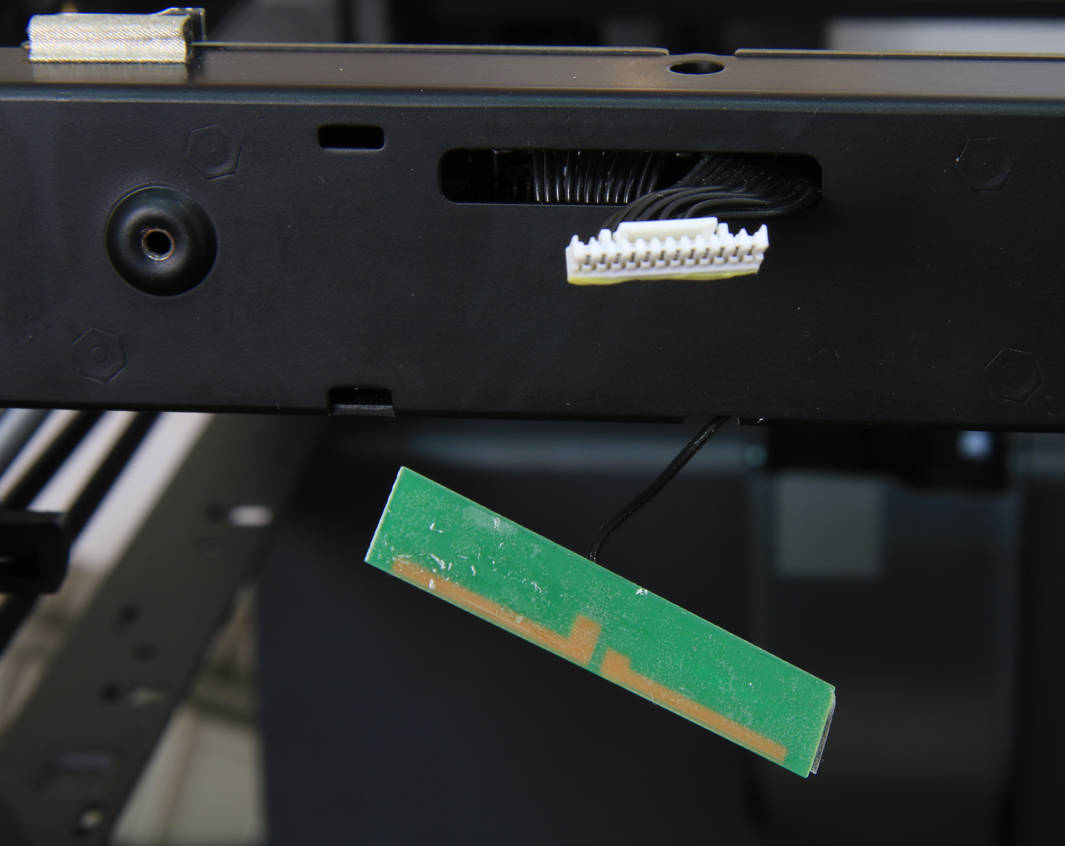
¶ Step 2: Remove the sealing foam
Remove the sealing foam by hand, being careful not to use too much force to avoid damaging the components on the AP motherboard.

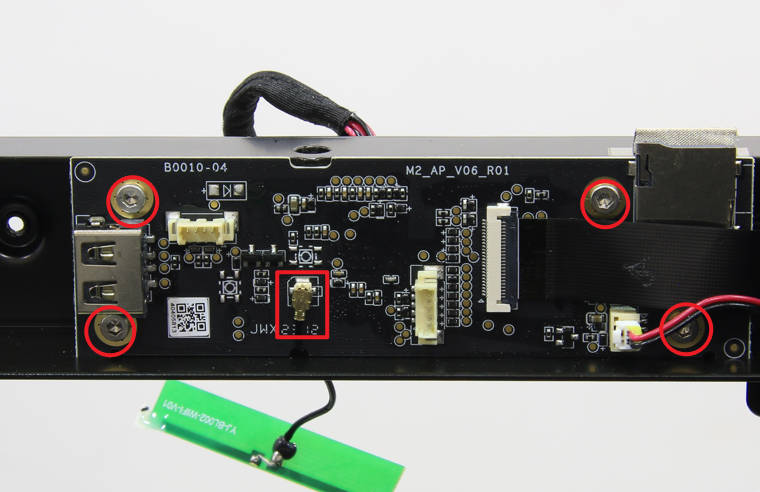
¶ Step 3: Disconnect the WIFI antenna and remove screws
- After the power is turned off, you can directly use a screwdriver to lift up the WIFI antenna and disconnect it.
- Use the H2.0 Allen key to remove the 4 screws that hold the AP board in place.
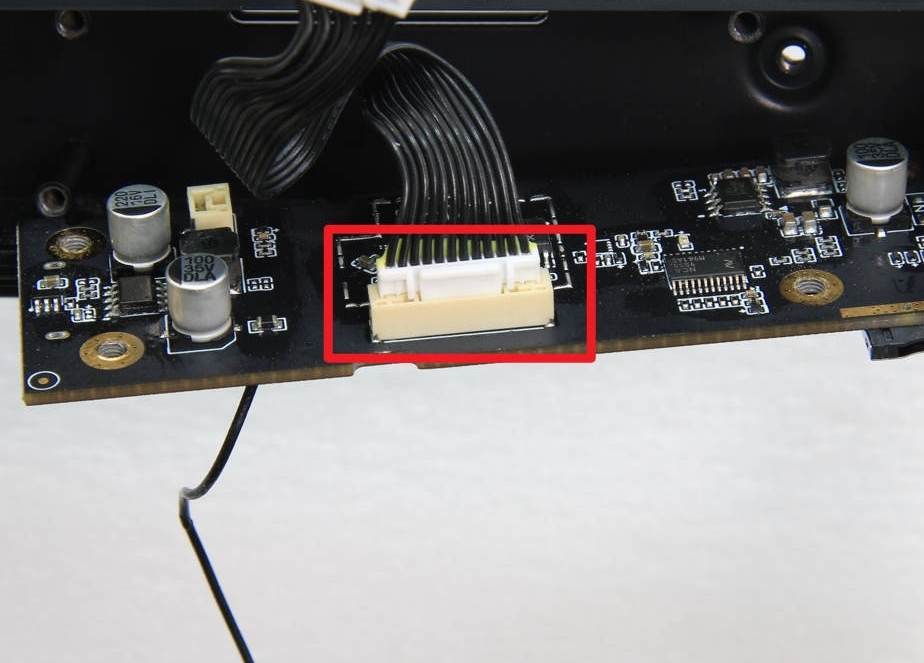
¶ Step 4: Disconnect the screen connector cable
Remove the AP board from the frame and disconnect the screen connector cable.
¶ Assembly Guide
¶ Step 1: Connect the Cable
Connect the new screen connector cable to the AP board.

¶ Step 2: Install the AP board
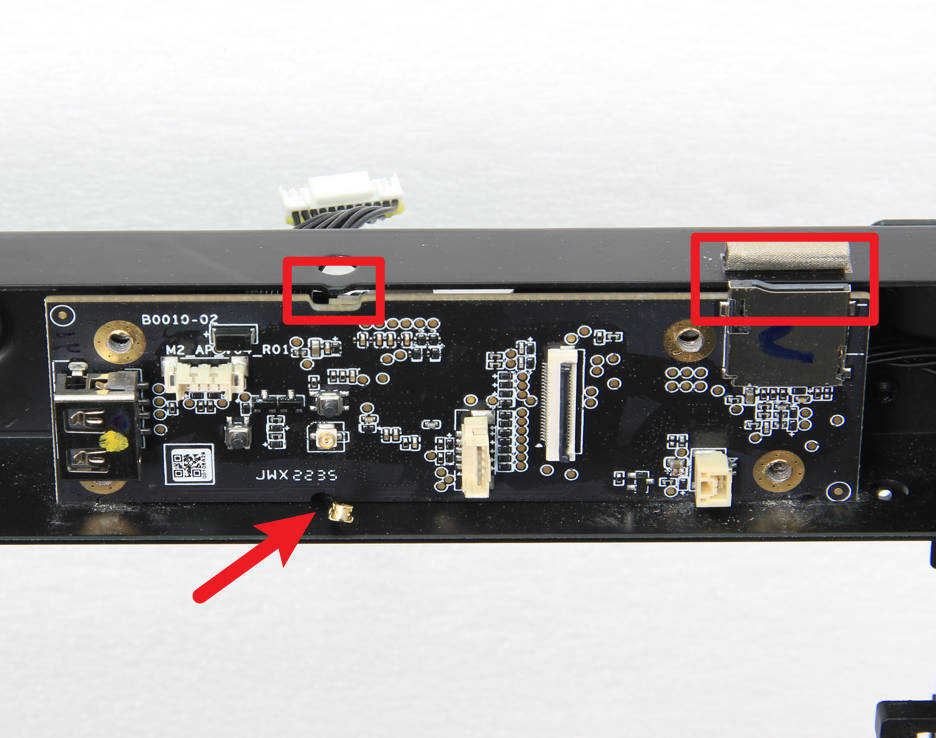
Place the AP board and pass the screen connector cable through the cable hole. Note that the WIFI antenna below needs to be routed through that hole.
Install the AP board onto the frame according to the notch position of the MicroSD card slot.
¶ Step 3: Lock screws
After installing the AP board, use the appropriate screws to secure it in place. Then, carefully connect the WIFI antenna to the AP board.

¶ Step 4: Attach the sealing foam
To complete the installation process, reapply the sealing foam to the surface of the AP board as shown in the image below.

¶ Step 5: Install the front cover and the screen
Refer to the related content of the Front cover and Screen to install the screen and front cover.
¶ How to verify
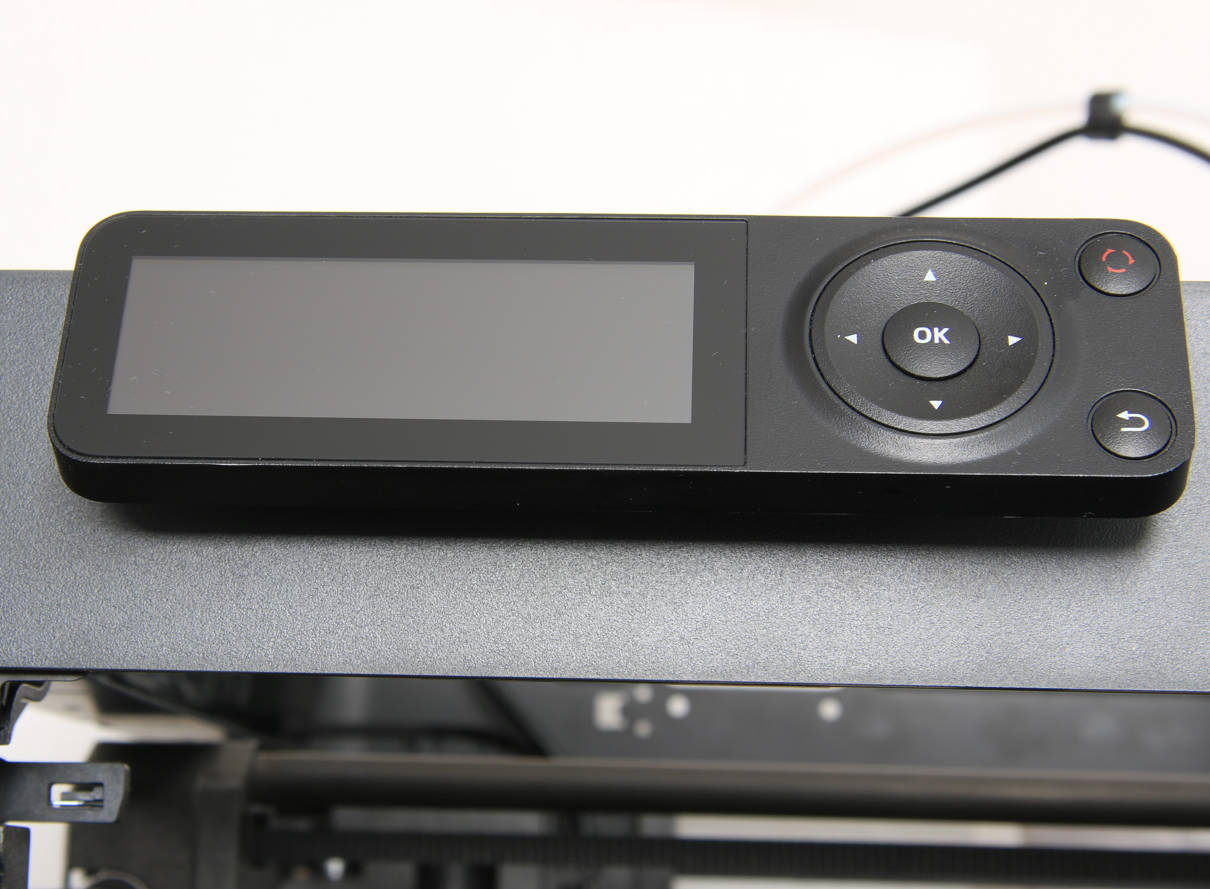
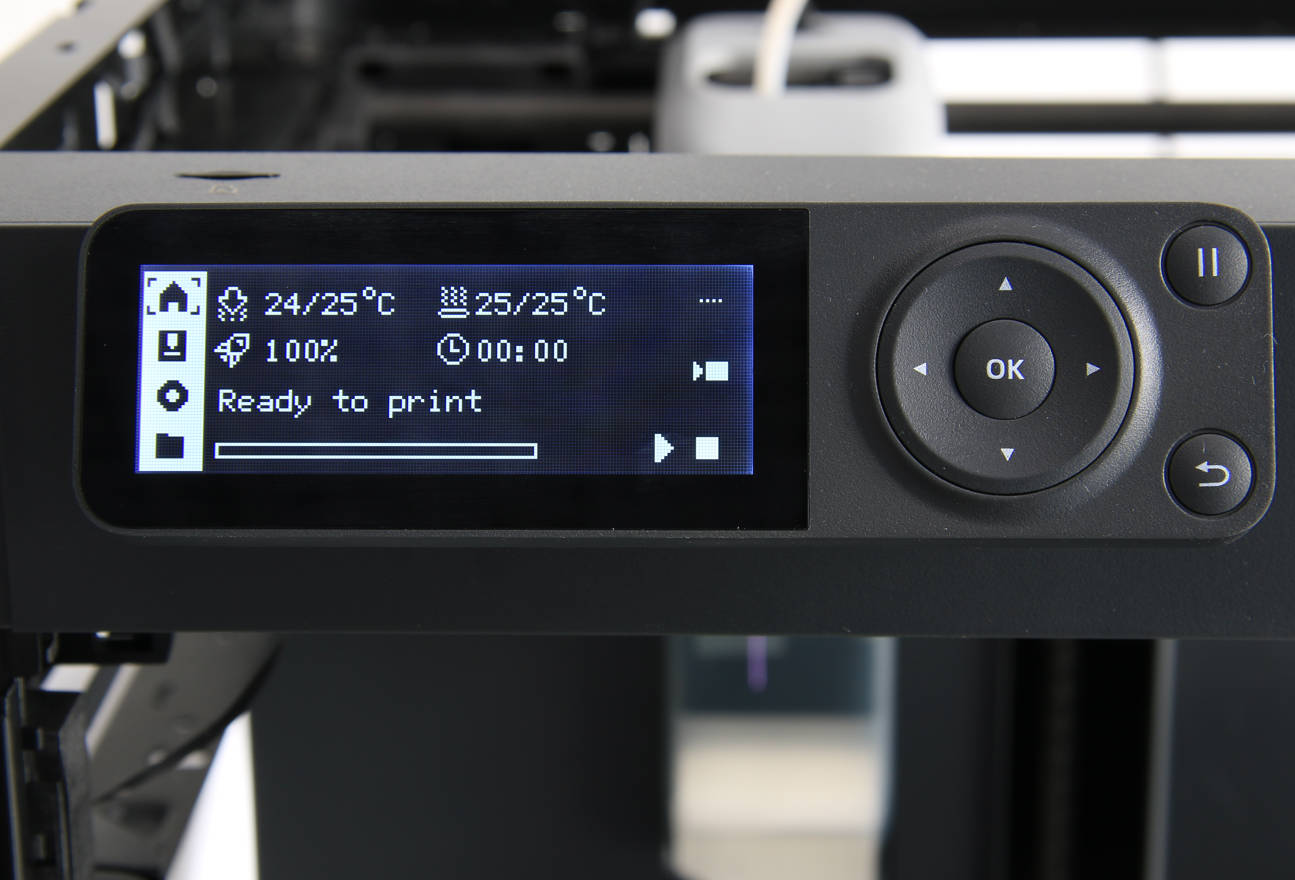
Power on the printer, confirm that the screen can be displayed normally and that the buttons on it can respond normally, then the installation is successful.
¶ End Notes
We hope the detailed guide provided has been helpful and informative.
If this guide does not solve your problem, please submit a technical ticket, we will answer your questions and provide assistance.
If you have any suggestions or feedback on this Wiki, please leave a message in the comment area. Thank you for your support and attention!