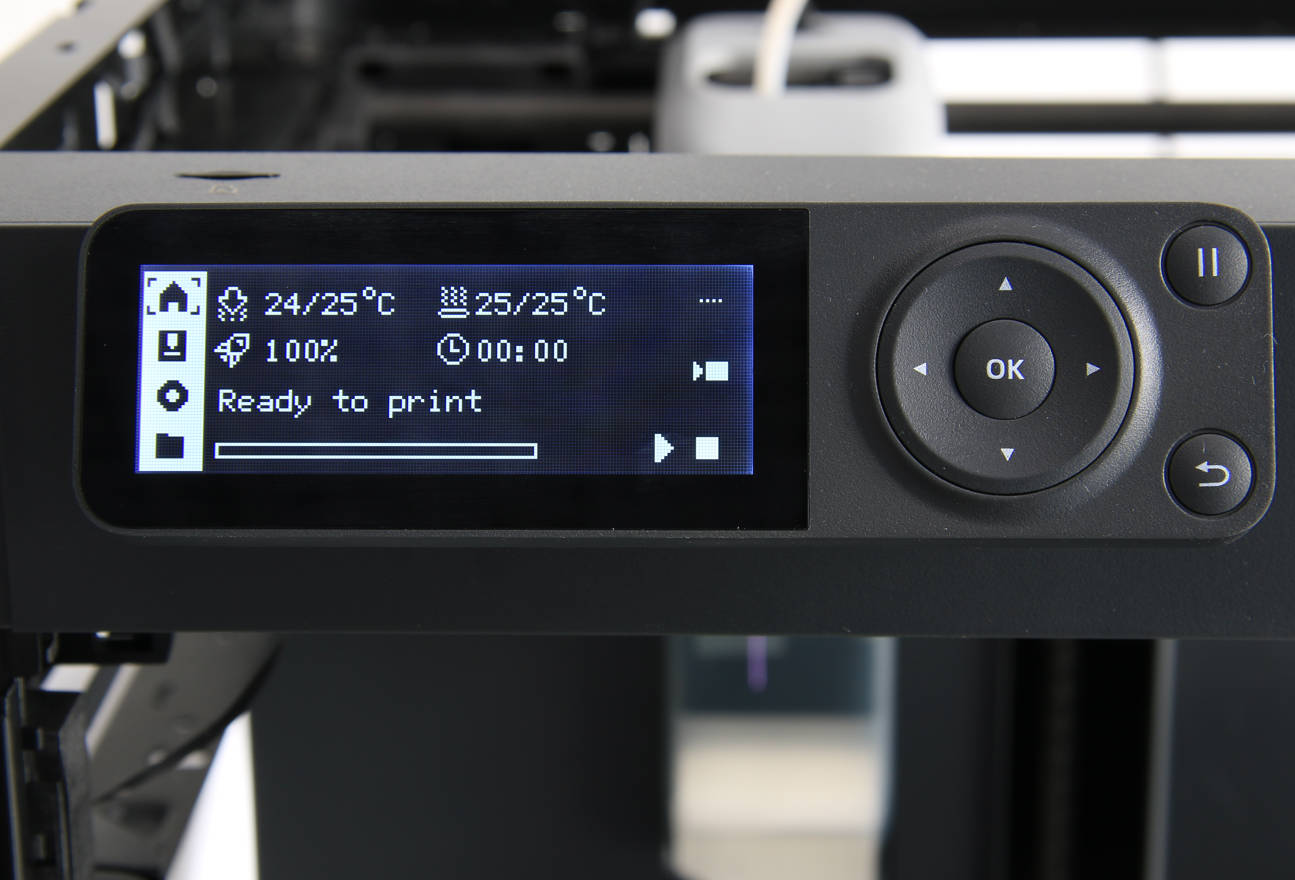
¶ Front cover
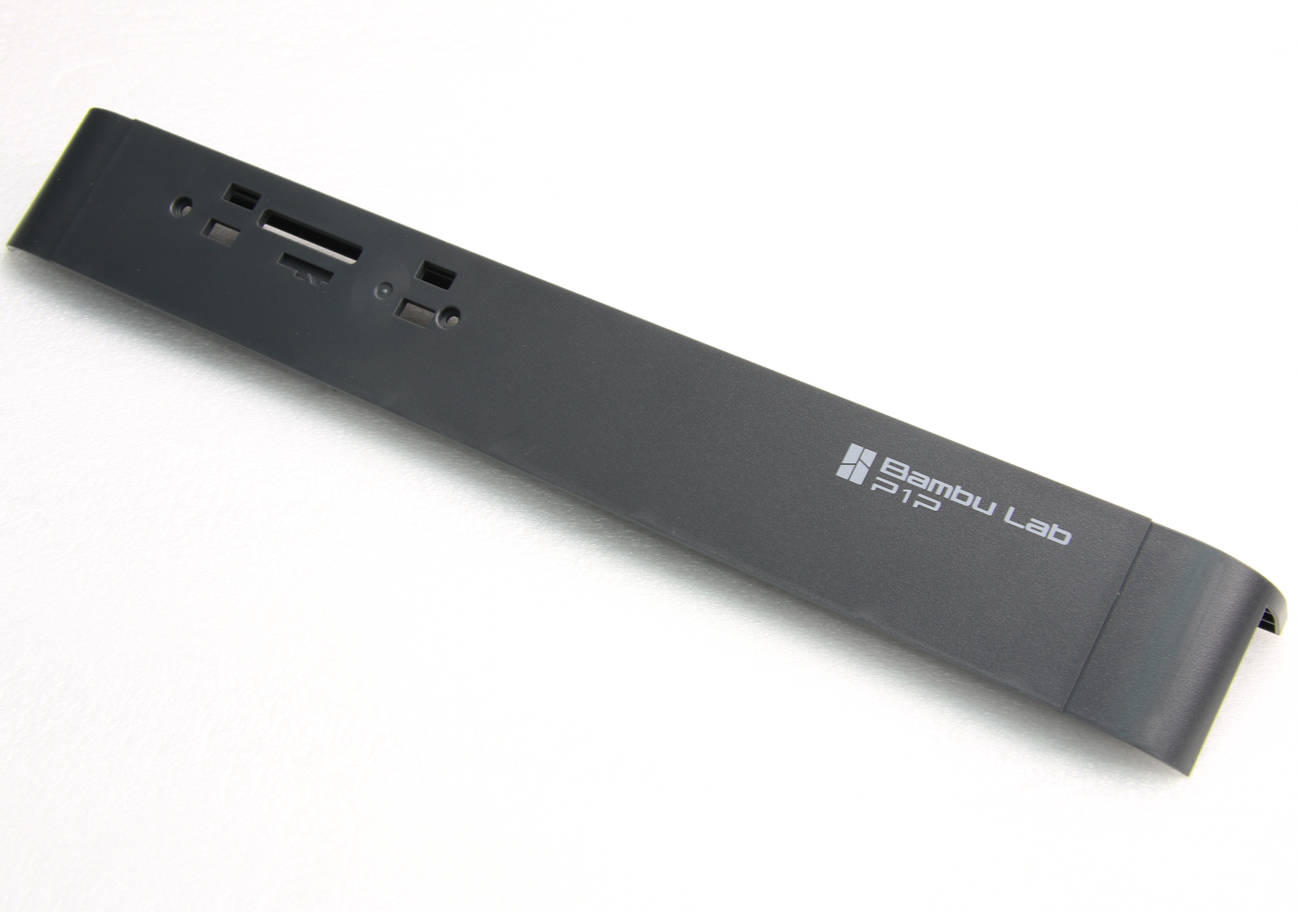
¶ Tools
H2.0 hex key
Tweezers
¶ Preparation
Power off the printer, and eject the SD card.
¶ Disassembly
¶ Step 1 - Remove the screen
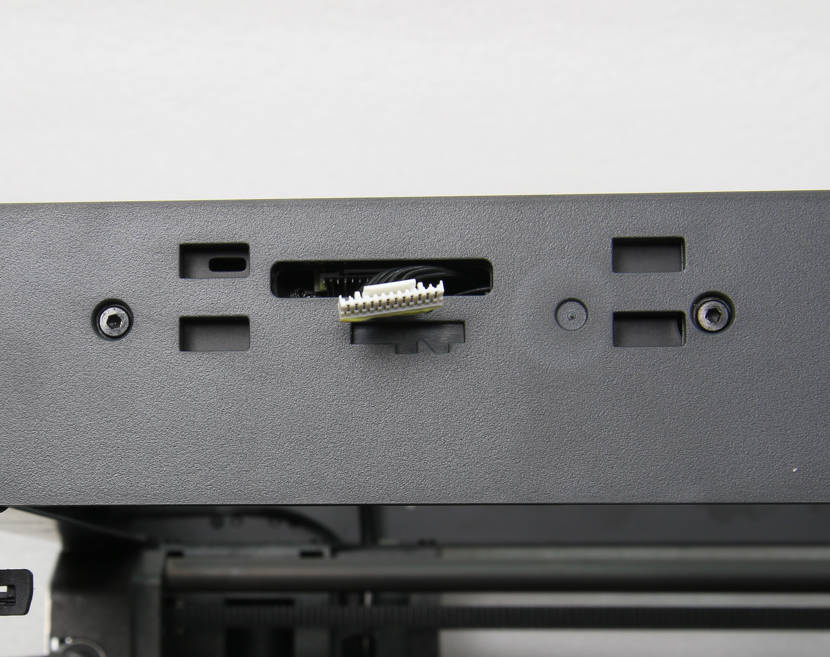
Refer to the relevant content of Screen to remove the screen.
¶ Step 2 - Remove 3 screws
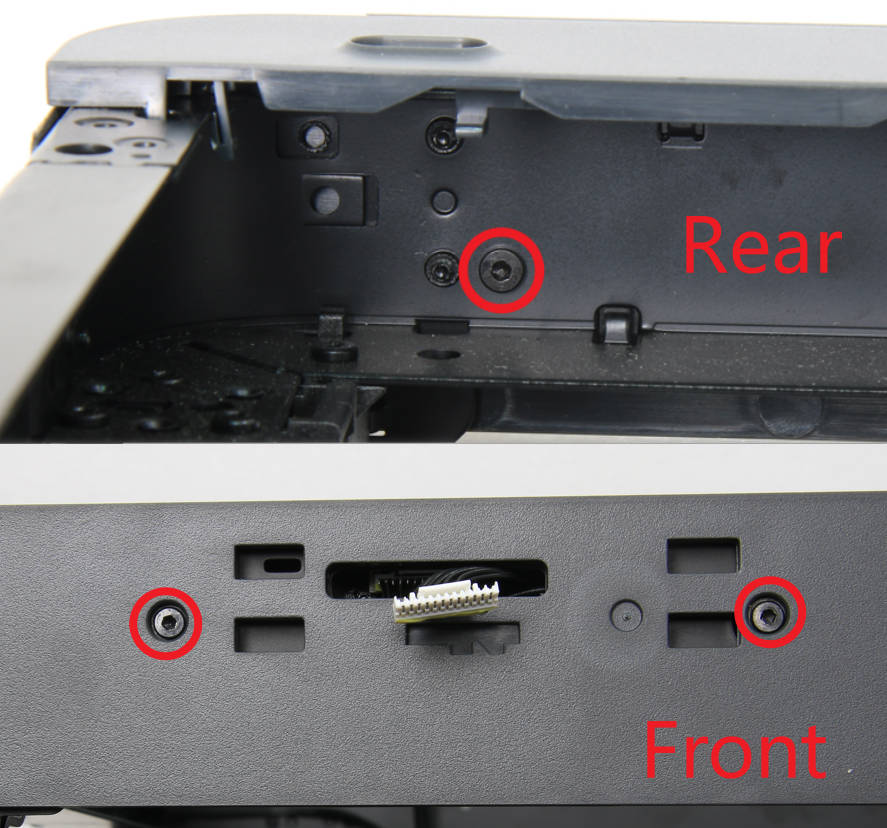
Remove 1 coarse pitch screw and 2 fine pitch screws.
¶ Step 3 - Remove the front cover
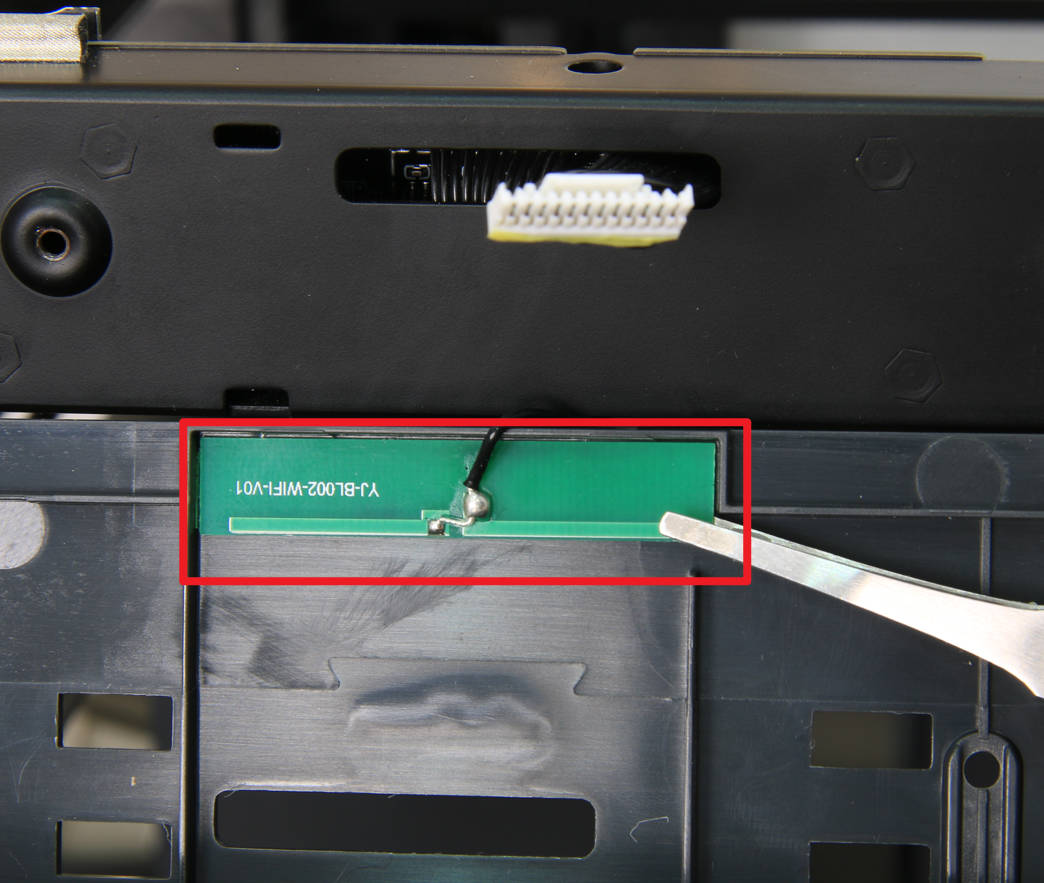
Loosen the front cover from the printer, remove the WIFI antenna with tweezers, and take off the front cover.
¶ Assembly
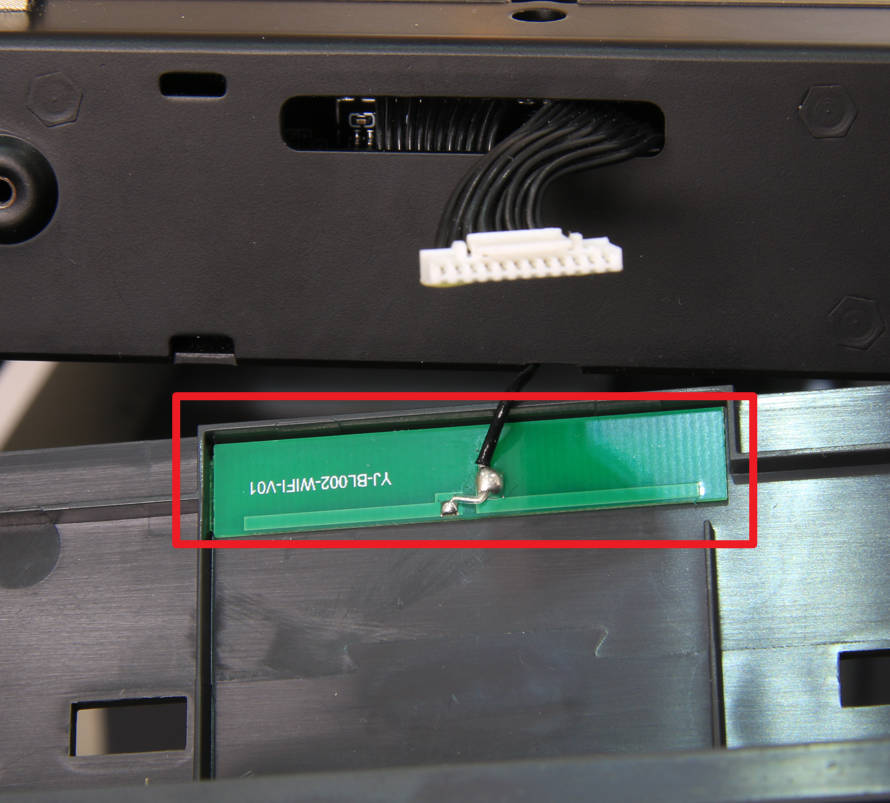
¶ Step 1 - Attach the WIFI antenna
Attach the WIFI antenna to the front cover, and stuff the excess WIFI cable back into the beam of the printer.
¶ Step 2 - Install the front cover
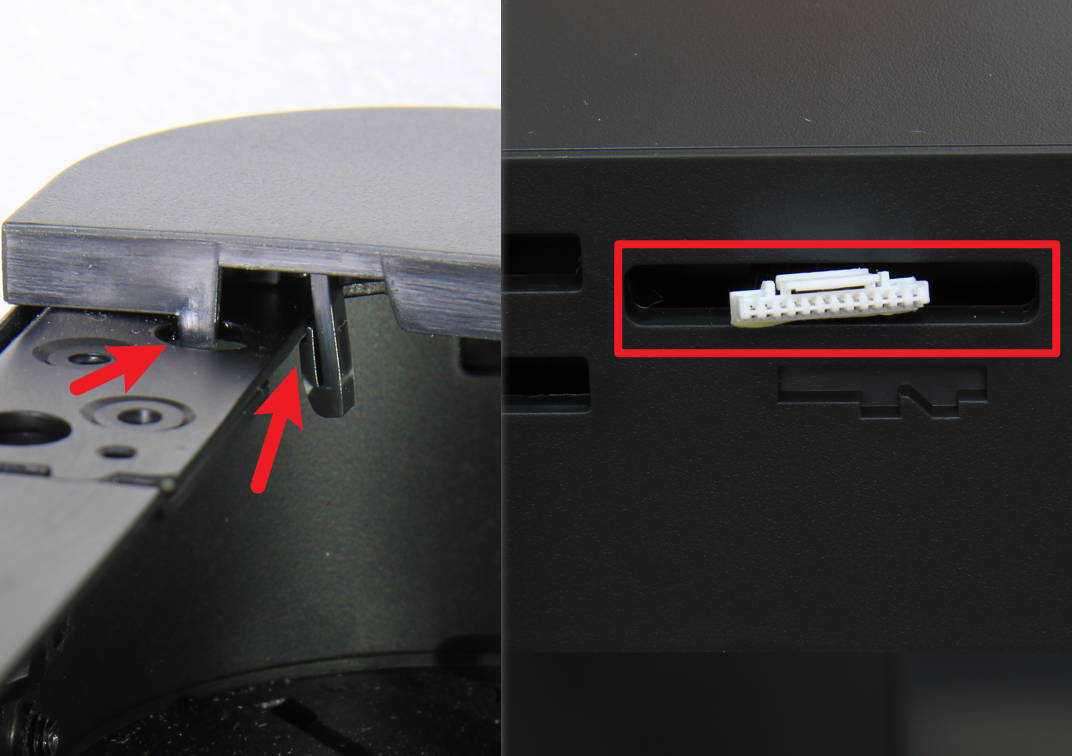
Install the front cover on the printer, pay attention to the buckle position on the right side, don't forget to pass through the screen cable.
¶ Step 3 - Lock screws
Lock in 3 screws to fix the front cover, the front 2 are fine-thread screws, and the rear 1 is a coarse-thread screw.

¶ Step 4 - Install screen
Refer to the relevant content of Screen to install the screen.
¶ How to verify
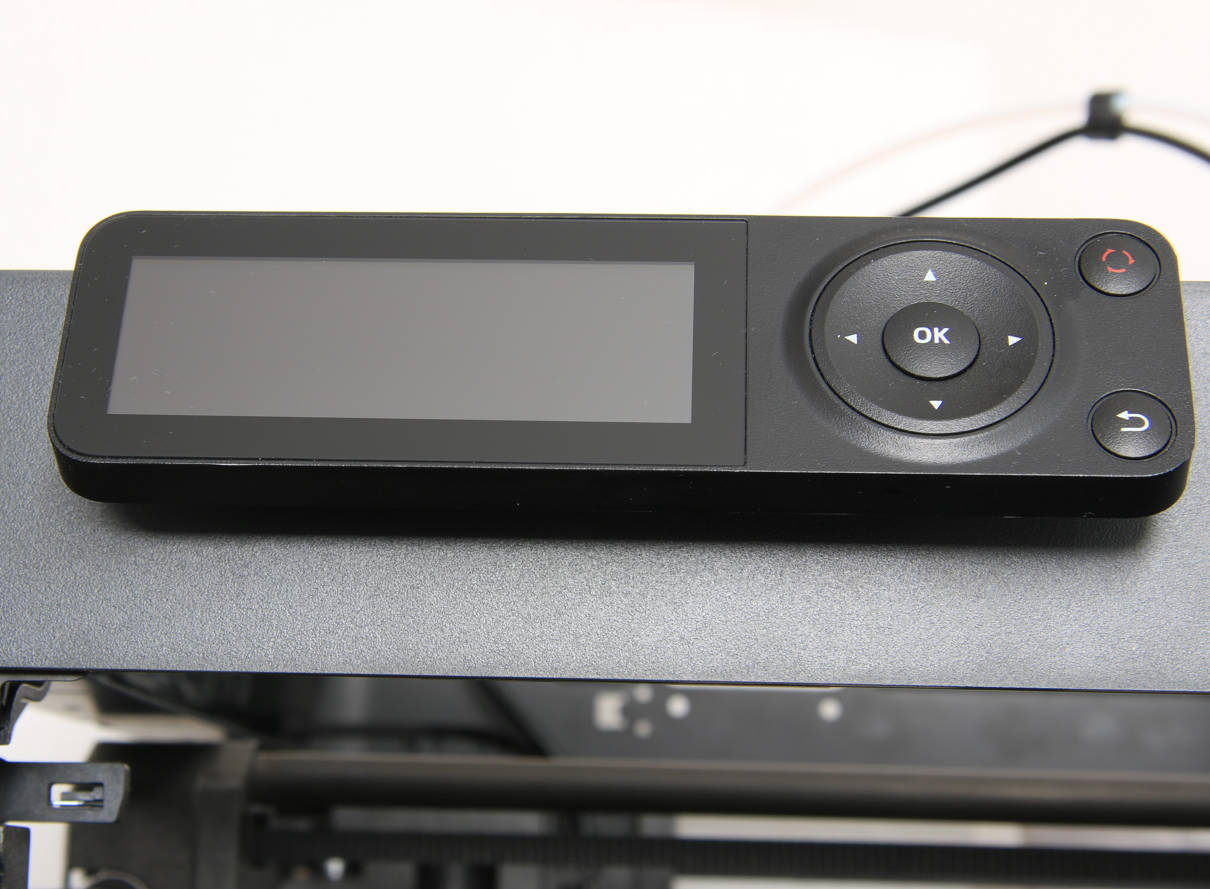
Power on the printer, confirm that the screen can be displayed normally and that the buttons on it can respond normally, then the installation is successful.
