¶ Cable cover
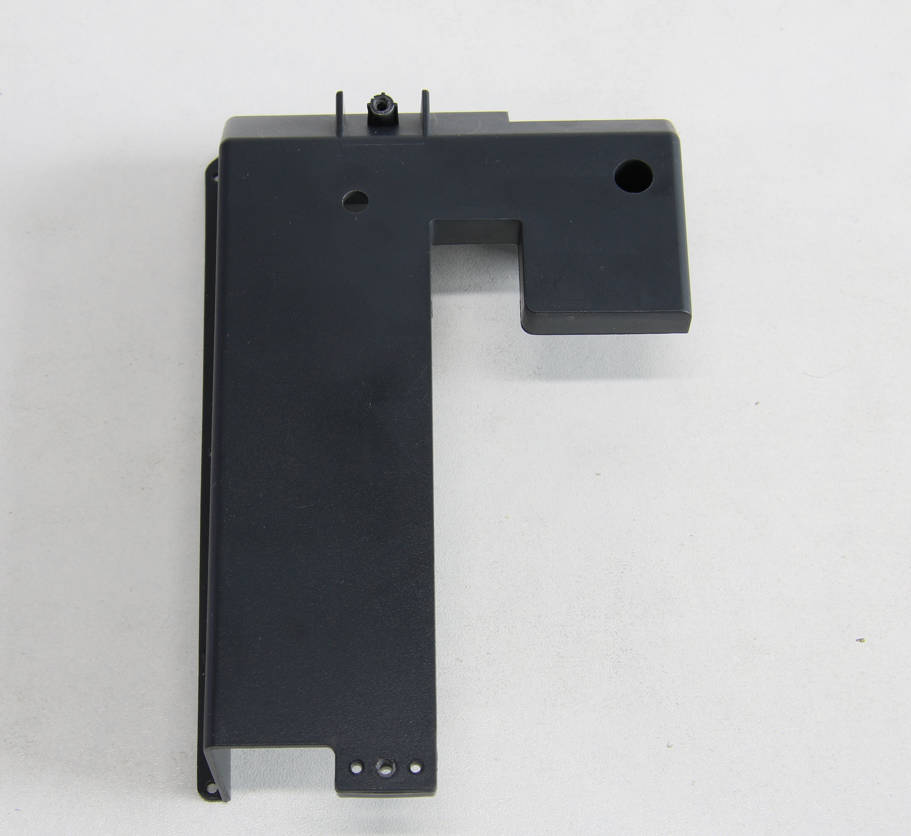
Note: There are no spare parts for this item
¶ Tools
H2.0/H1.5 hex key
¶ Preparation
Disconnect the power cord cable.
¶ Disassembly
¶ Step 1 - Remove the rear panel and excess chute
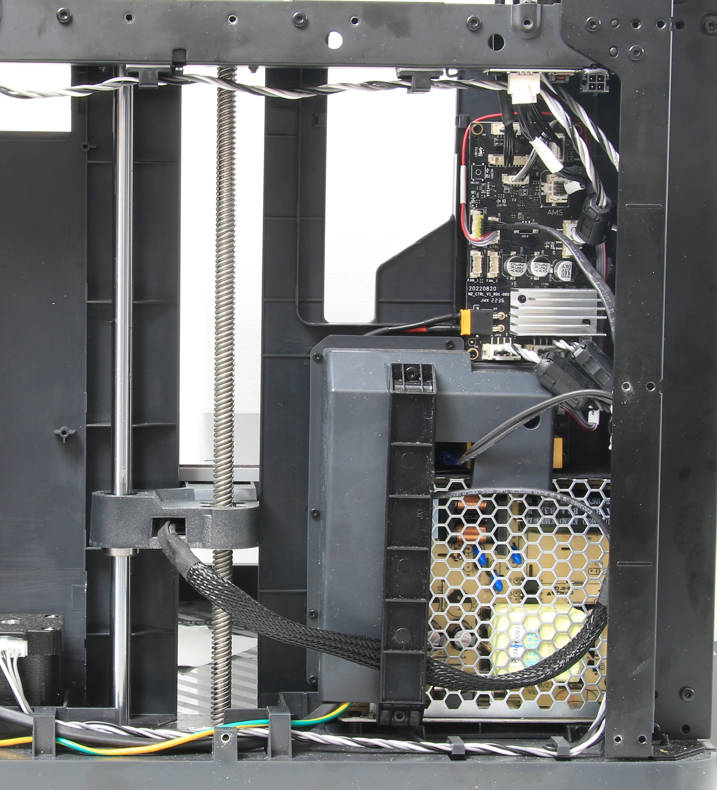
Refer to the related content of Rear panel and Excess chute to remove the rear panel and the excess chute.
¶ Step 2 - Remove the cable railing
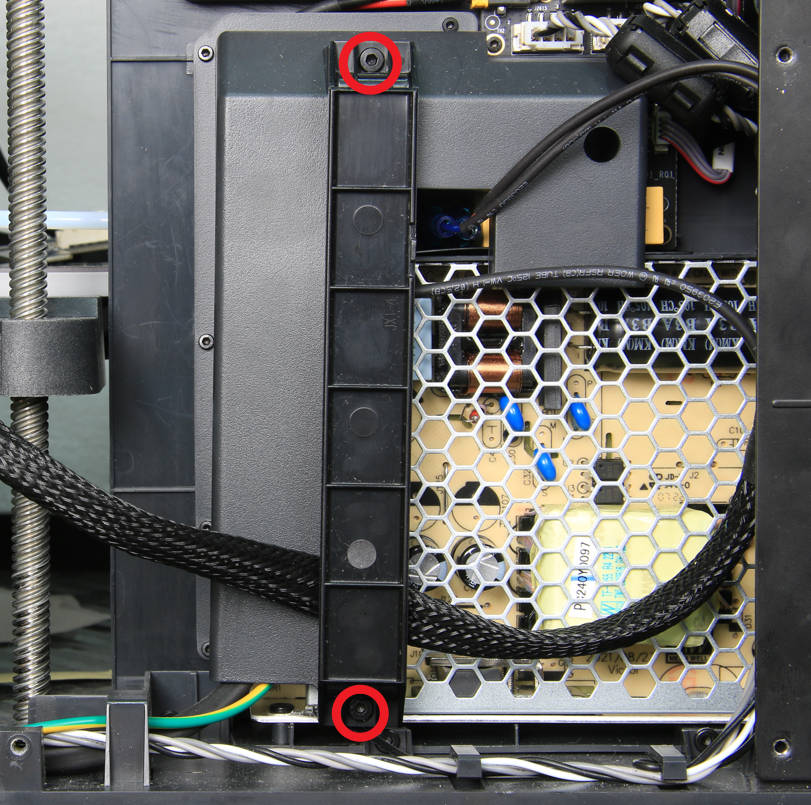
Remove the 2 screws as shown below with an H2.0 hex key, and then remove the cable railing.
¶ Step 3 - Remove the cable cover
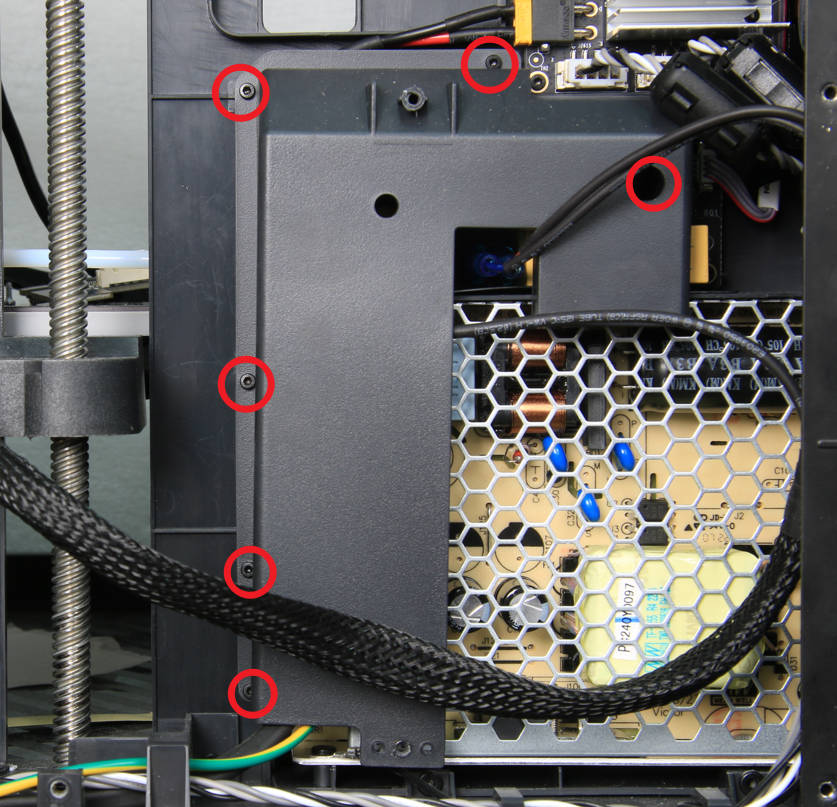
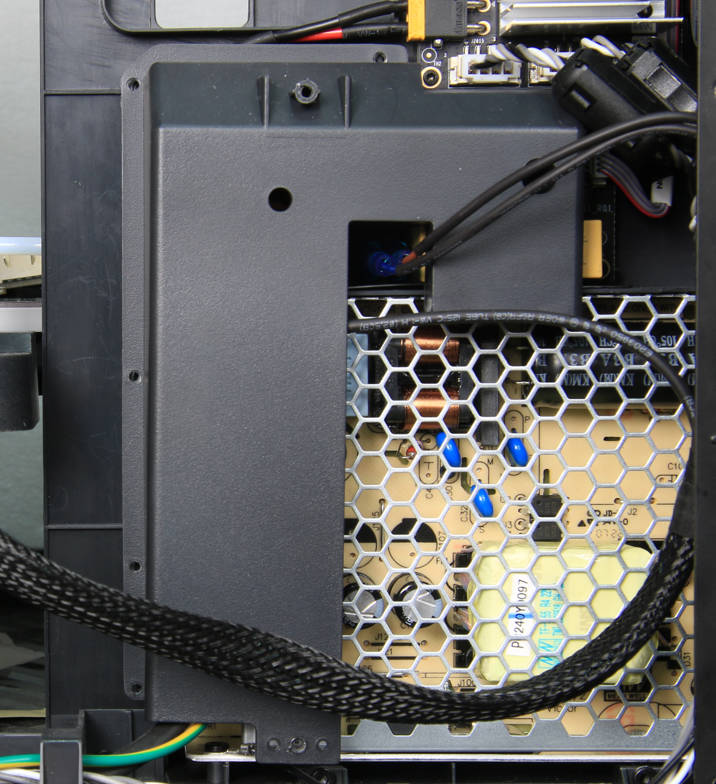
Remove the 6 screws of the cable cover with an H1.5 hex key, and then proceed to take off the casing.
¶ Assembly
¶ Step 1 - Install the cable cover
When installing the new cable cover onto the printer, be careful not to accidentally clip or catch any of the cables or wires. Once the cover is in place, secure it by tightening the screws.
 |
 |
¶ Step 2 - Install the cable railing
Reinsert the cable railing back to its original position and proceed to fasten the 2 screws.

¶ Step 3 - Install the excess chute and the rear panel
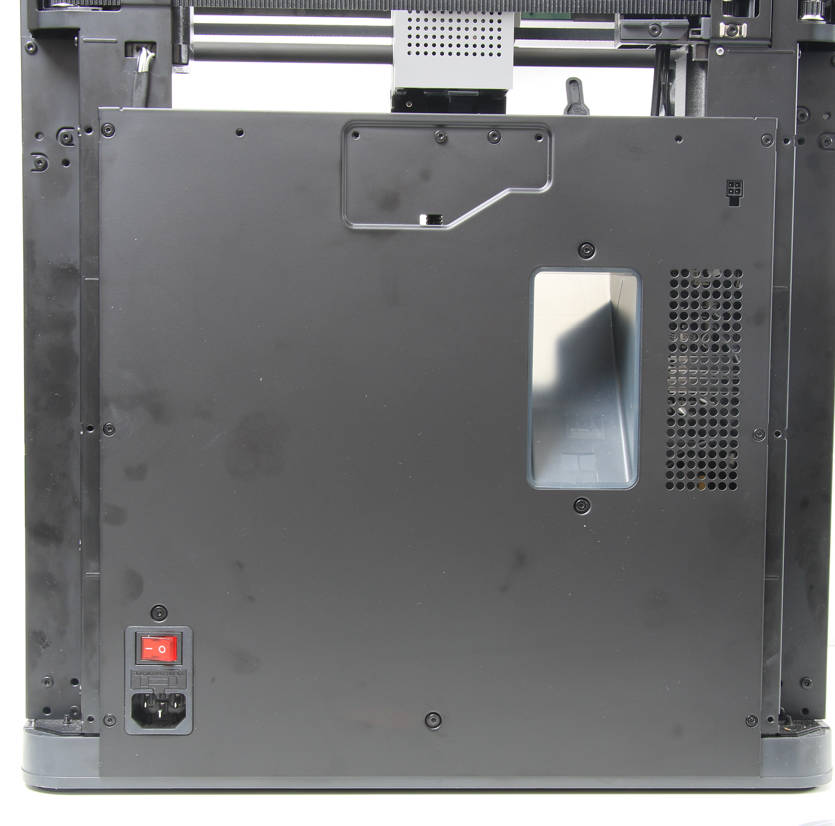
Refer to the related content of Excess chute and Rear panel to install the excess chute and rear panel.
¶ How to verify
Examine the installation ensuring the outer panel is properly attached and ensure all screws are correctly fastened.