¶ Introduction
This guide is intended to introduce the A1 series printer screen buttons and operating functions.
¶ Homepage
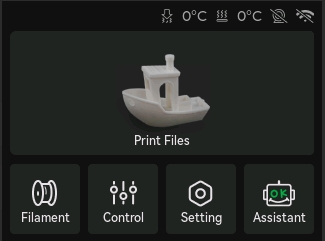
The homepage includes Print Files, Filament, Control, Setting, and Assistant. The upper right corner includes the icons for nozzle temperature, heatbed temperature, camera status and network status.
¶ Print Files
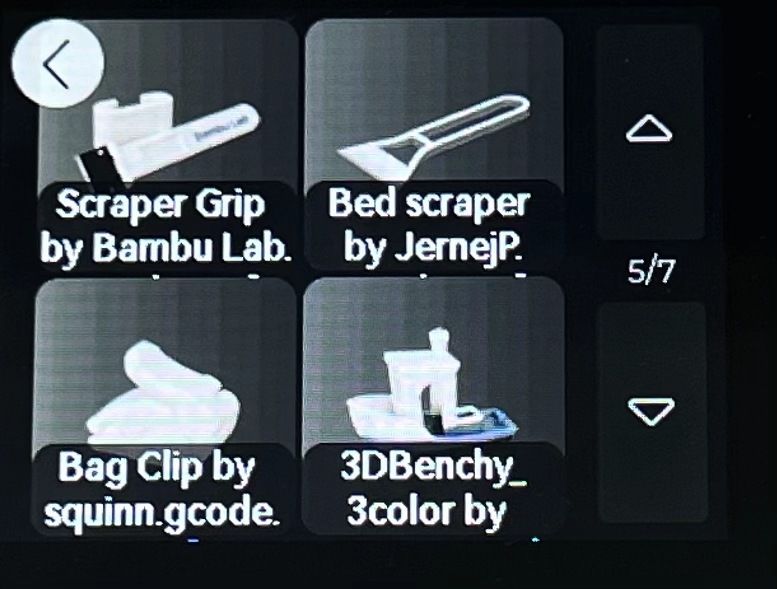
The Print Files page will display all sliced model files on the SD card, including printed files and files sent to the printer via Wi-Fi. Select the file you want to print and click Print in the upper right corner to start printing.
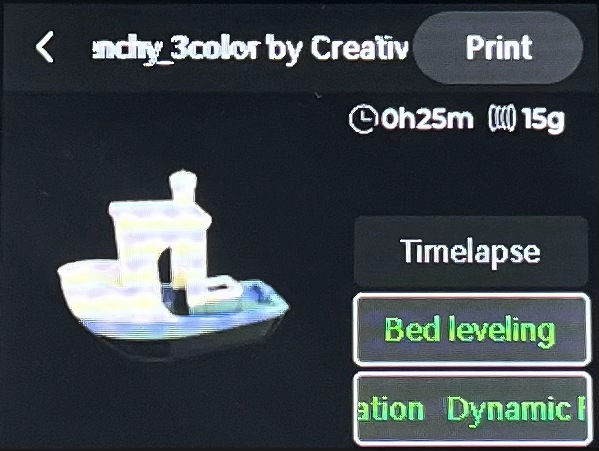
Also, timelapse, bed leveling and dynamic flow calibration can be turned on.
- Timelapse: Record each stage of the printing process.
- Bed Leveling: After initiating a print, the printer can level only a portion of the heatbed according to the model's outer contours. This feature does not need to be turned on and will automatically take effect after upgrading (supported by Bambu Studio version 1.9 and above)
- Dynamic Flow Calibration: Ensure that the flow response is synchronized with the toolhead movement by adjusting the amount of filament extruded by the printer. Please refer to this article for more information on this.
¶ Filament
 |
 |
-
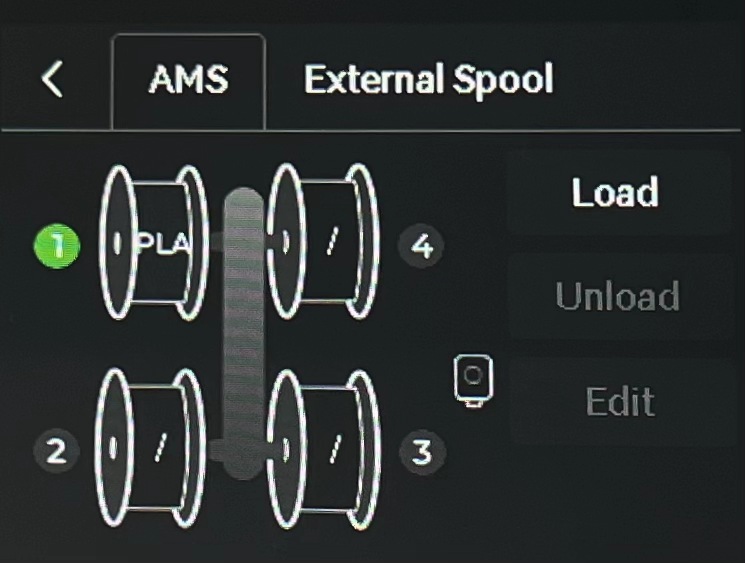
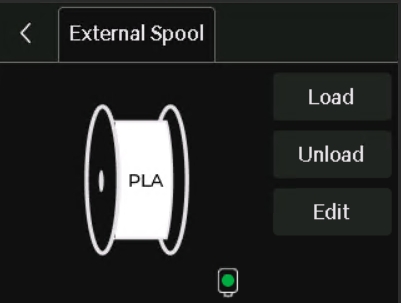
Load / Unload:When using AMS, you can select a spool and click the Load or Unload button to perform the corresponding operation. When using an external spool, you can directly click the button to perform the corresponding operation.
-
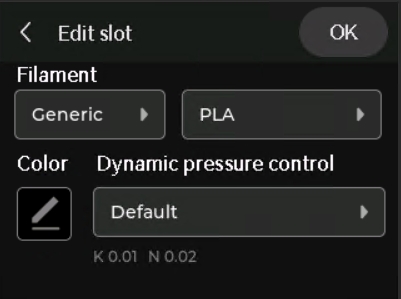
Edit:Select the filament manufacturer, type, color and dynamic pressure control.
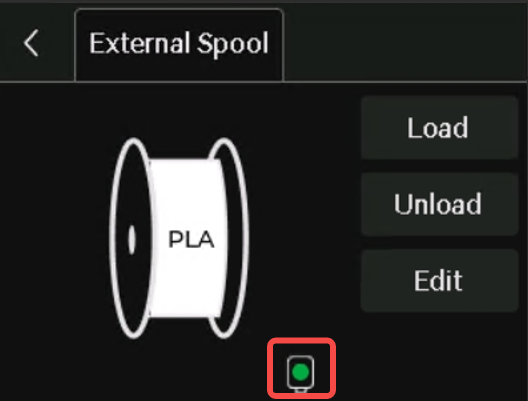
- Extruder: If the green light is on, the extruder filament sensor has detected the entry of filament.
¶ Control
¶ Control
-
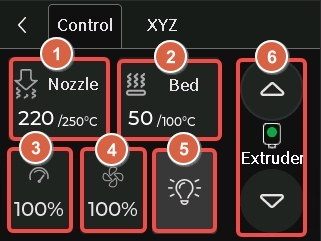
Nozzle Temperature:Enter a value to set the nozzle temperature.
-
Heatbed Temperature:Enter a value to set the heatbed temperature.
-
Speed:Set the printing speed mode.
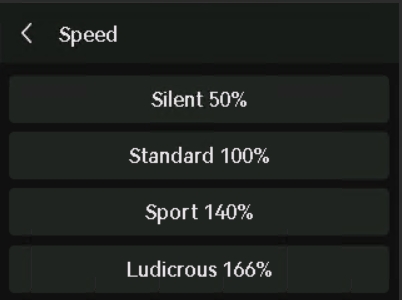
- Ludicrous:166% of normal print speed and acceleration
- Sport:140% of normal print speed and acceleration
- Standard:normal print speed and acceleration
- Silent:50% of normal print speed and acceleration
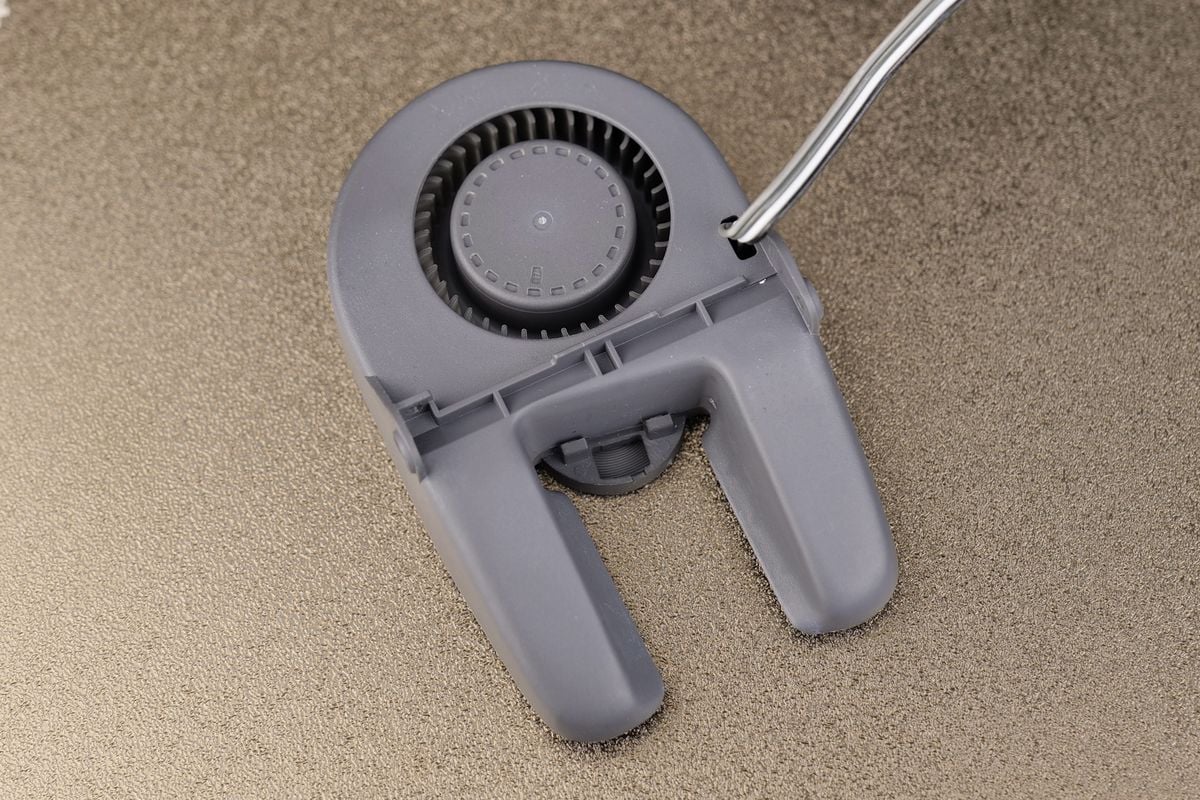
- Fan: Turn on or off the part cooling fan, auxiliary part cooling fan and chamber temperature regulator fan, and set the speed.
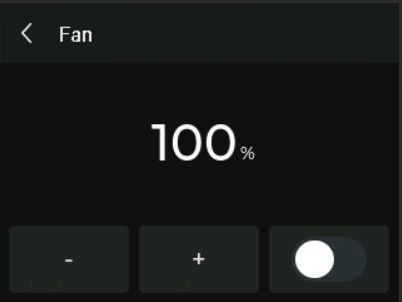
Part Cooling Fan:
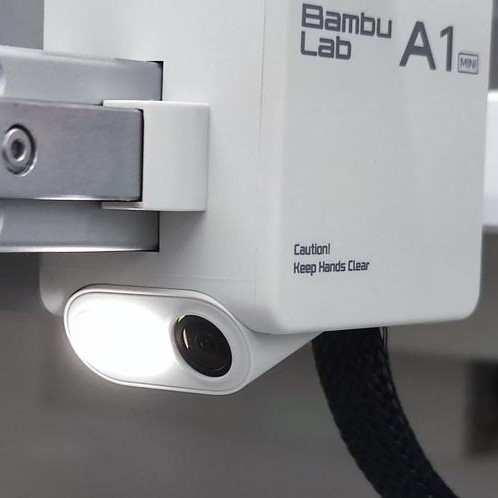
- LED Light:Click the icon to open or close the LED light.
- Extruder: Click the up and down buttons to manually extrude or eject 1 cm of filament. If the green light is on, the extruder filament sensor has detected the entry of filament.
¶ XYZ
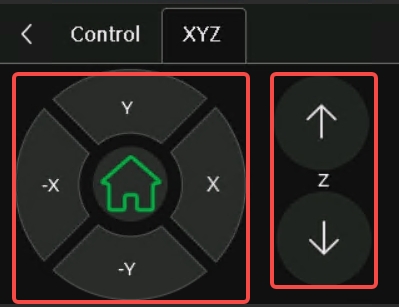
-
XY-axis control dial: Click the move buttons to control the toolhead movement in the X-axis and Y-axis.
-
Print Plate Lift Control: Click up and down buttons to raise or lower the heatbed.
¶ Setting
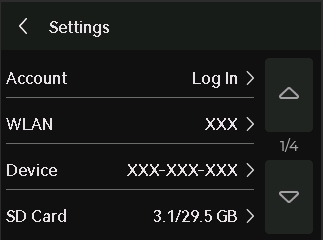 |
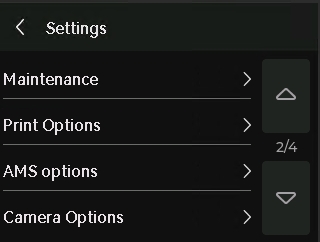 |
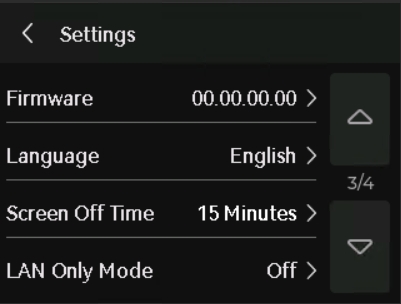 |
 |
¶ Account
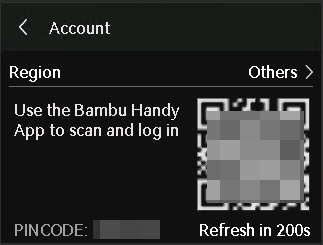
Scan the QR code with Bambu Handy to log in to your account.
¶ WLAN
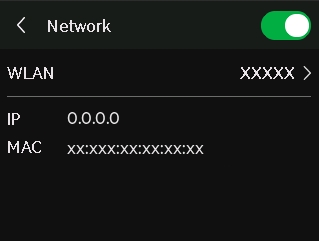
Set up the printer network and check the IP address and MAC address.
¶ Device
 |
 |
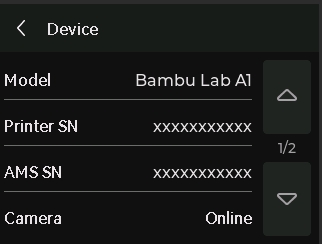
- Model: Check the printer model.
- Printer Serial Number: Check the printer serial number.
- AMS Serial Number: Check the AMS serial number.
- Camera: Check the camera status.
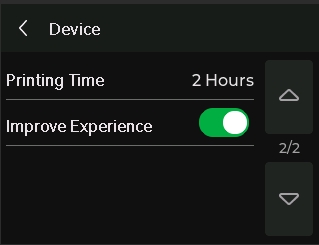
- Printing Time: Check the device usage time.
- User Experience Improvement Program: Once enabled, the machine data (such as printing time, error information, etc.) can be uploaded to the official backend for subsequent statistics and improvements.
¶ SD Card
 |
 |
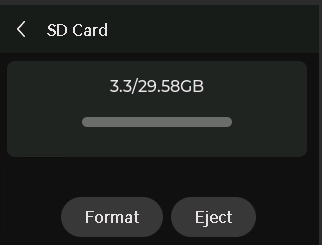
Check the printer SD card capacity, eject the SD card, or format it.
¶ Maintenance
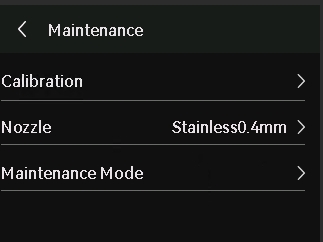
- Calibration: Calibrate the printer through motor noise cancellation, vibration compensation and auto bed leveling.

-
Motor Noise Cancellation: Reduce motor noise during printing, especially when printing for long periods of time or at high speeds, and makes the print surface smoother.
-
Vibration Compensation: When vibration is detected during printing, the position of the toolhead can be adjusted in real time to ensure printing accuracy.
-
Auto Bed Leveling: Adjust the distance between the nozzle and the print plate to ensure that the gap is consistent at each corner and to improve printing accuracy.
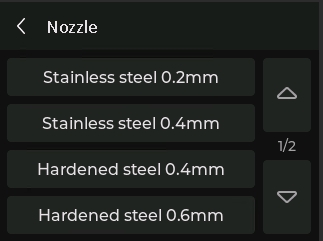
- Nozzle: If you have replaced accessories, you need to reset the nozzle to ensure printing quality.
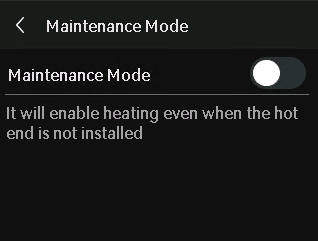
- Maintenance Mode: Select whether to turn on maintenance mode.
¶ Print Options
 |
 |
-
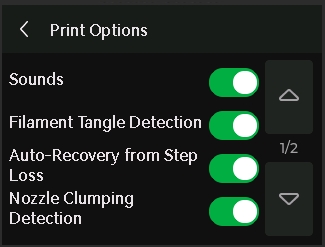
Sounds: If you turn on the option, the printer will emit a sound when it is turned on, when printing starts, and when printing ends.
-
Filament Tangle Detection:When the printer detects that the filament is tangled, it will automatically pause printing and pop up a reminder of filament entanglement. Please refer to this article for more information.
-
Auto-Recovery from Step Loss:When the motor detects a position shift, which means a lost step, during operation, the X, Y, and Z axes will be homed for positioning. Then, the printer will return to the position prior to the lost step to re-execute the G-code to ensure print quality. Please refer to this article for more information.
-
Nozzle Clumping Detection:When the printer detects that the nozzle is wrapped in molten filament, it automatically stops printing and alerts it to avoid further damage to the printer after the wrapping. Please refer to this article for more information.
-
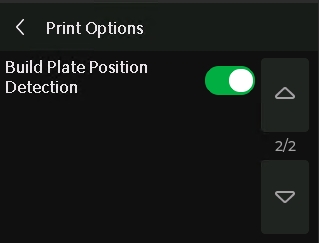
Build Plate Position Detection:The printer can detect whether the user has placed the build plate properly before the printing starts, avoiding direct printing on the heat bed and causing printing failure or even damage to the heat bed. Please refer to this article for more information.
¶ AMS Option
-
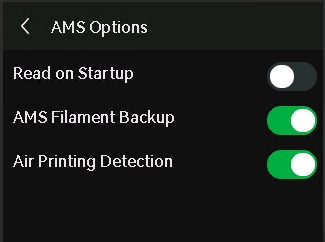
Reads on Startup:Read filament RFID on startup.
-
AMS Filament Backup:When a spool of filaments on AMS lite runs out, AMS lite can automatically switch to filaments with the same properties in other spool. Please refer to this article for more information.
-
Air Printing Detection:When the printer is printed with AMS lite, the printer monitors the sensor information of the AMS lite odometer in real-time. When it detects that the extruder cannot extrude the filament and the "air printing" occurs, the printer automatically cuts the filament and unloads it, pausing the printing task and reporting the error. Please refer to this article for more information.
¶ Camera Option
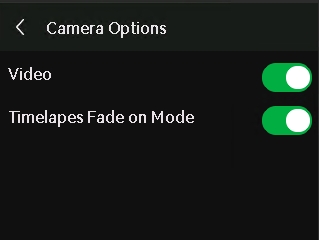
- Video: Record live video during the printing process.
- Timelapse Fade on Mode: When this mode is turned on, a cropping effect will appear when printing the first layer. As the number of layers increases, the image gradually changes from zooming in to zooming out. Click on this article to see more relevant information.
¶ Firmware
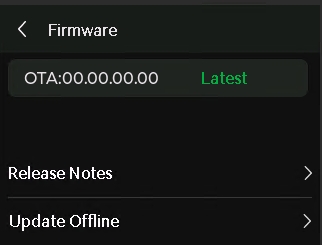
View the current version of the device, release notes for that version, and update offline.
¶ Language
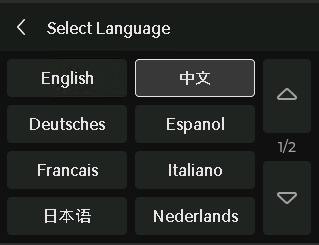
Select the language in which the printer screen is displayed.
¶ Screen Off Time
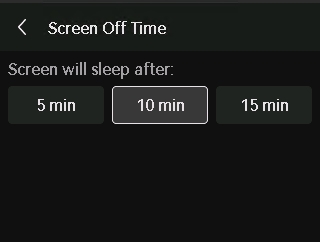
Select the length of time the printer will automatically sleep.
¶ LAN Only
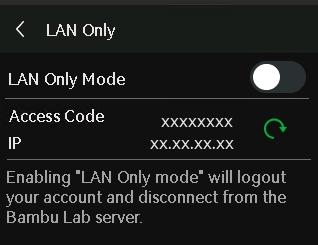
When turned on, the printer can only be connected and accessed within the local network and cannot be accessed or controlled remotely over the Internet.
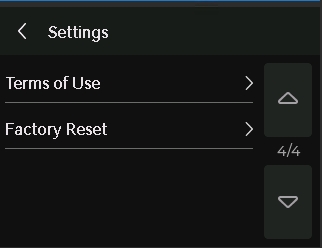
¶ Terms of Use
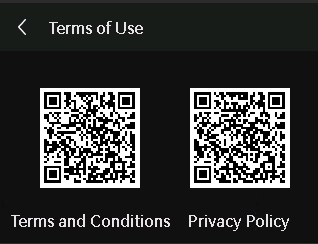
Scan the QR code to view the terms and conditions and privacy policy.
¶ Factory Reset
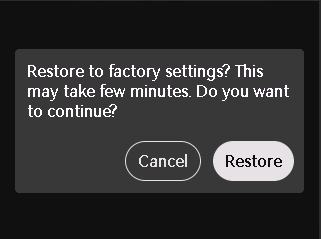
Reset the printer to the factory settings. Once reset, the settings cannot be restored.
¶ Assistant
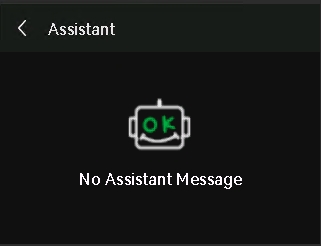
If the printer fails, you can view the relevant faults and solutions here.
¶ End Notes
We hope the detailed guide provided has been helpful and informative.
To ensure a safe and effective execution, if you have any concerns or questions about the process described in this article, we recommend submitting a technical ticket regarding your issue. Please include a picture or video illustrating the problem, as well as any additional information related to your inquiry.