If you're reading this, then you probably just got your brand new Bambu Lab X1 3D printer and you want to start slicing your own files. To make things easier, we compiled a quick guide to walk you through the steps of setting up Bambu Studio and slicing your first file.
¶ What is Bambu Studio?
Bambu Studio is our cutting-edge, feature-rich slicing software used to prepare the files for 3D printing. It contains project-based workflows, systematically optimized slicing algorithms, and an easy-to-use graphic interface, bringing users an incredibly smooth printing experience.
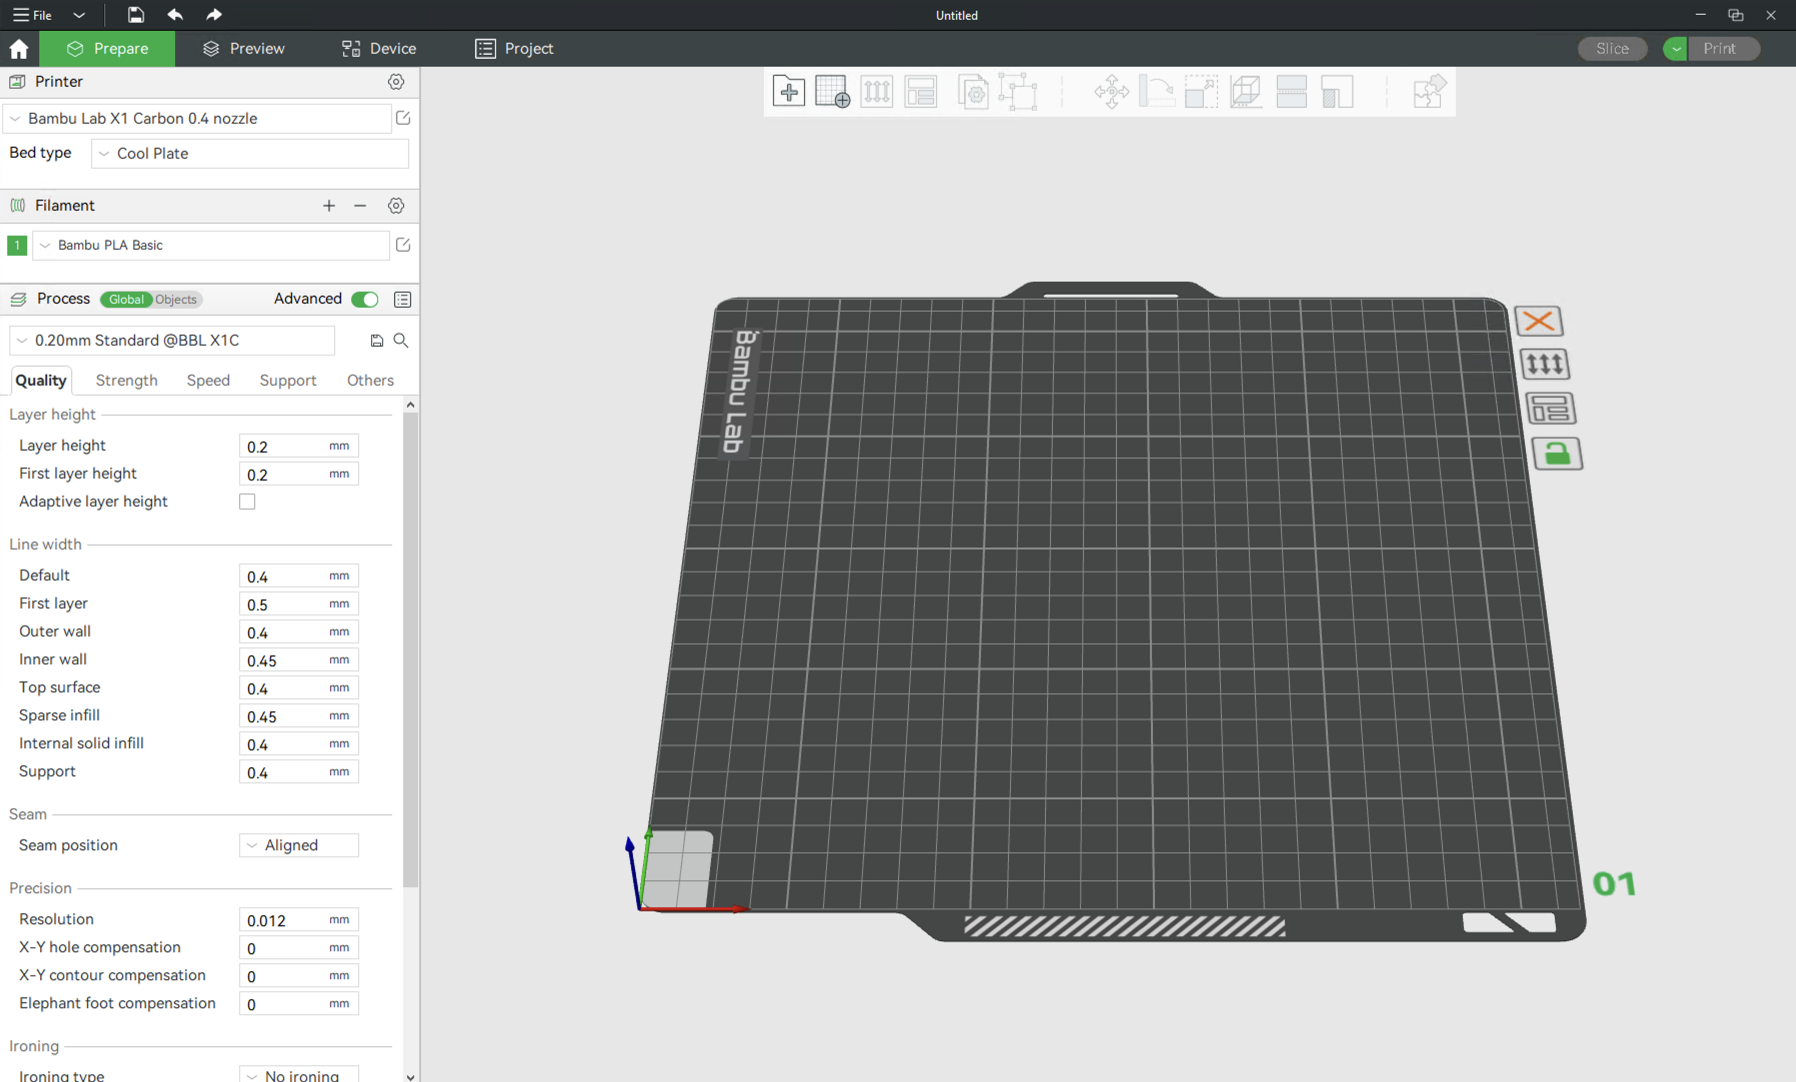
It is based on Prusa Slicer with custom features developed specifically for the X1 and X1C 3D printers.
¶ What is Bambu Handy?
Bambu Handy is a mobile app developed by Bambu Lab available for iOS and Android, which allows you to access all Bambu 3D printers remotely.
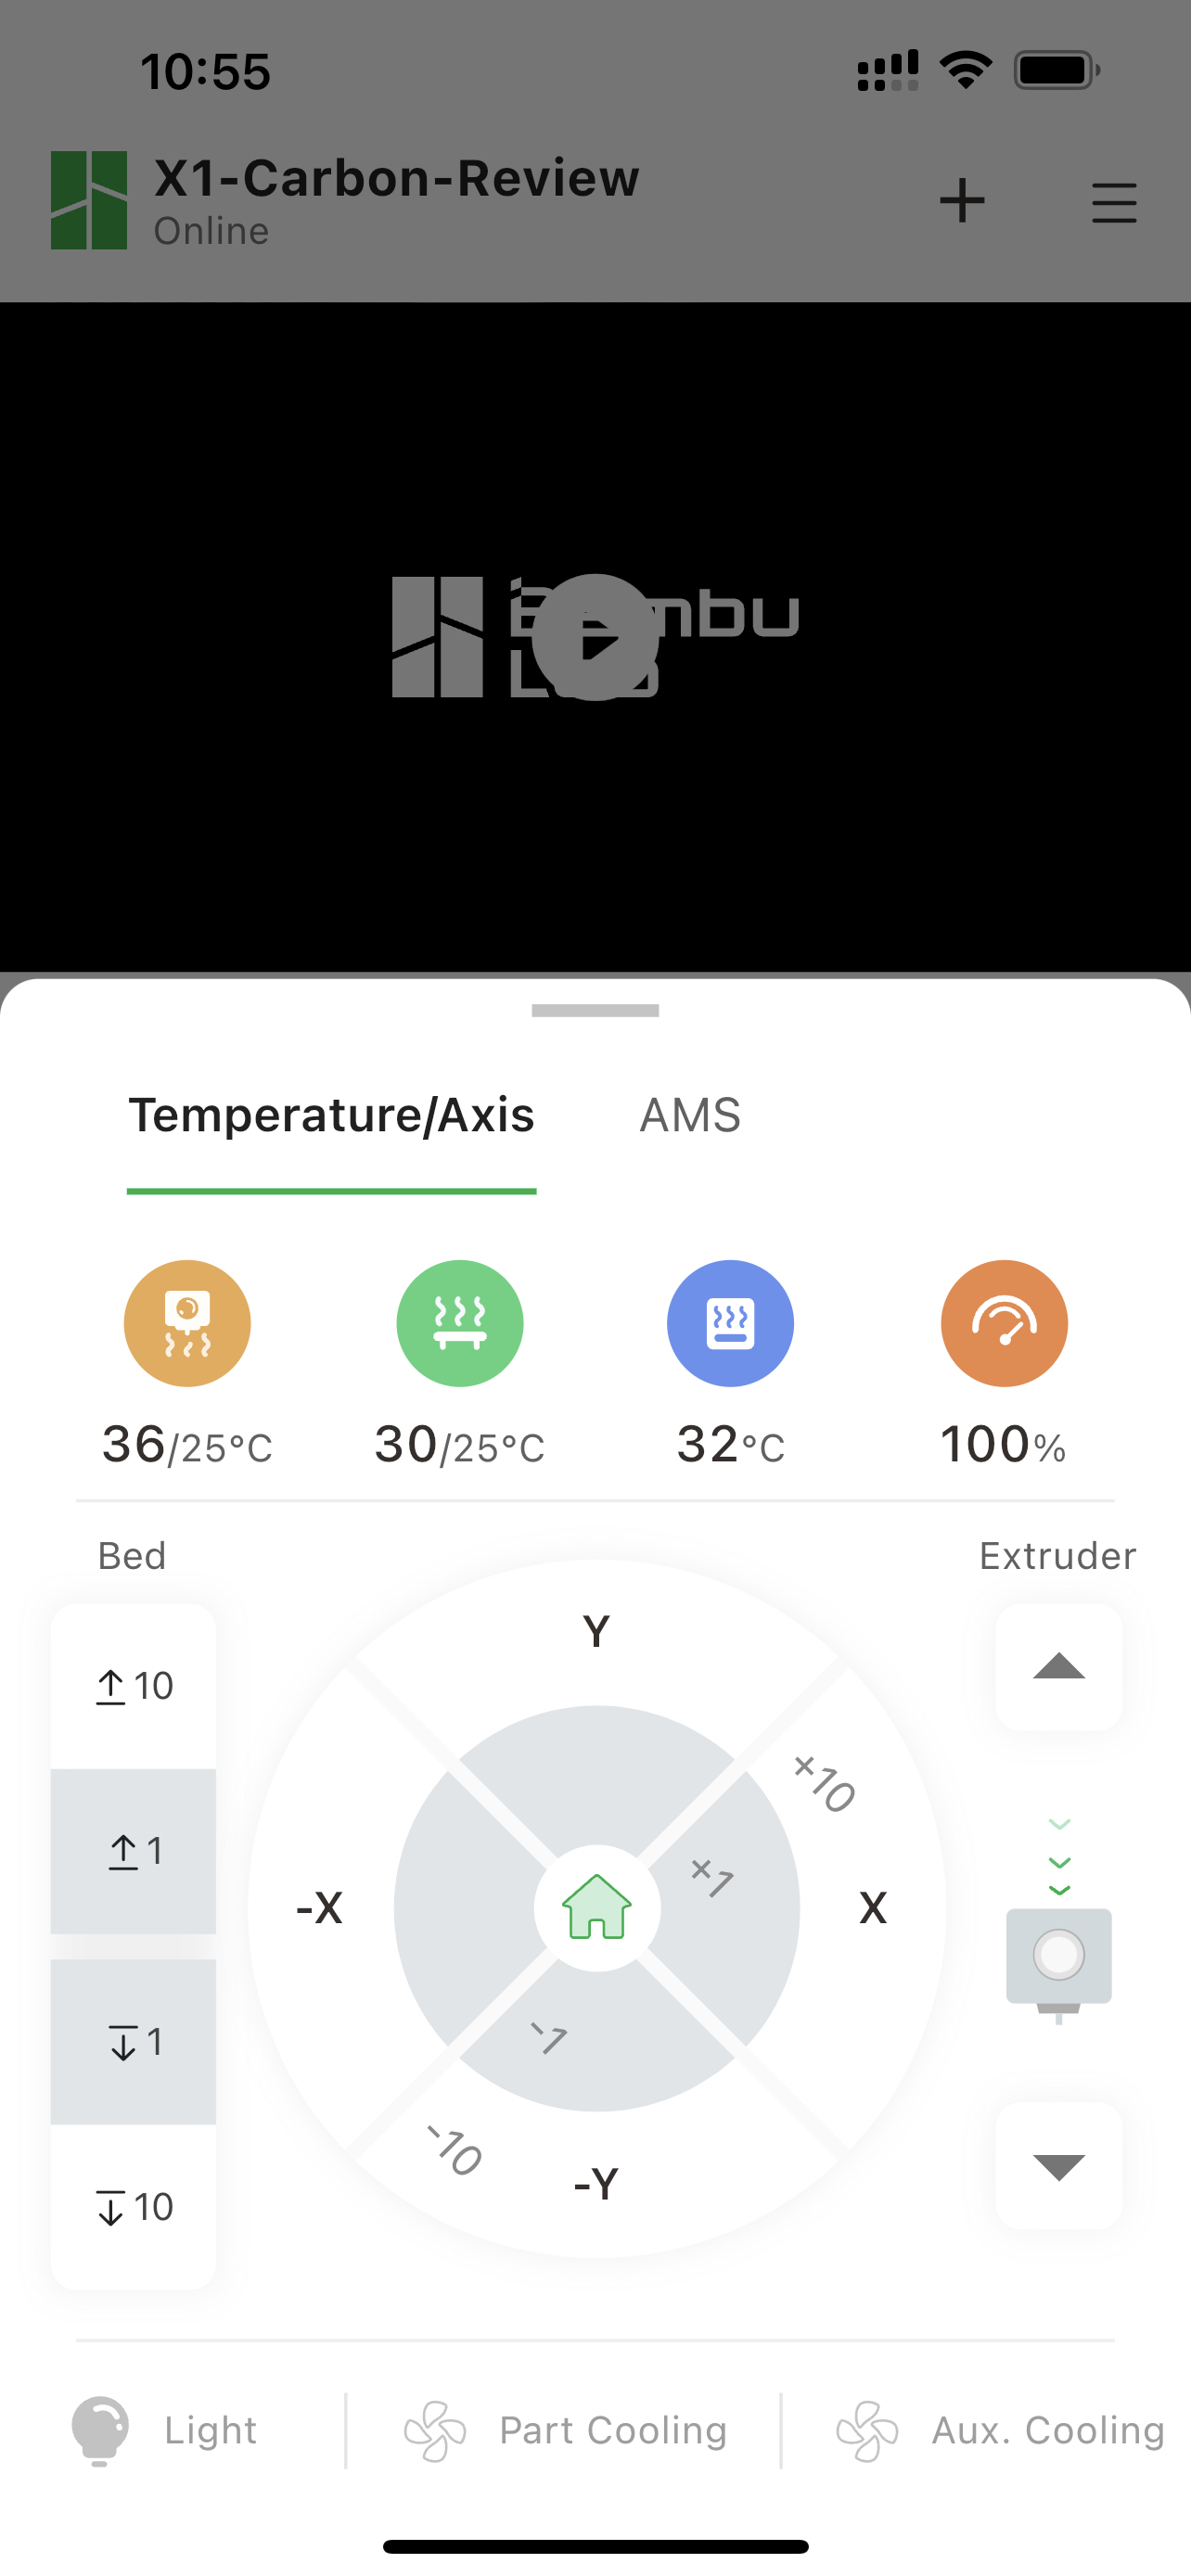
It provides full control over the printer movements and for the X1C, it also provides a live video feed to check on your printed model.
¶ Install Bambu Studio and Bambu Handy
Our Bambu Studio slicer is constantly being developed with patches and new features, so ensure you download the latest version by following this link: ---link to download---
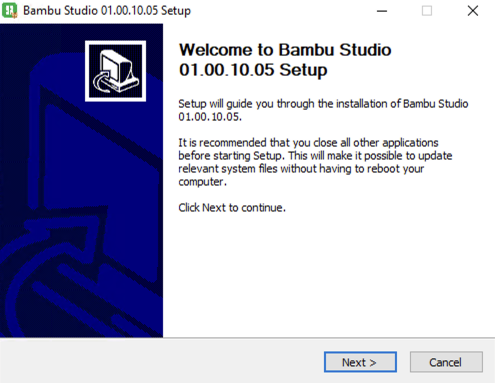
After downloading the file, simply double-click the installation file and go through the setup steps.
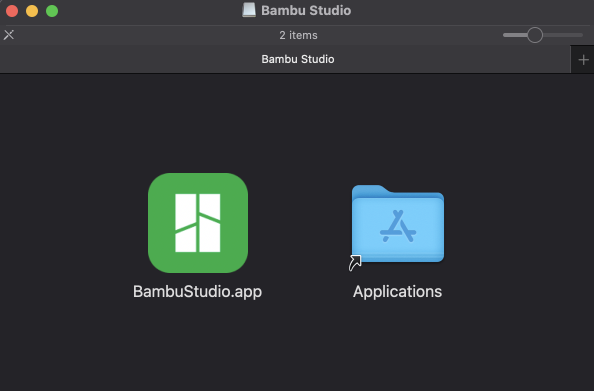
If you are running MacOS, simply open the .dmg file then copy the Bambu Studio app to the Applications folders on your Mac.
¶ Initial Configuration for Bambu Studio
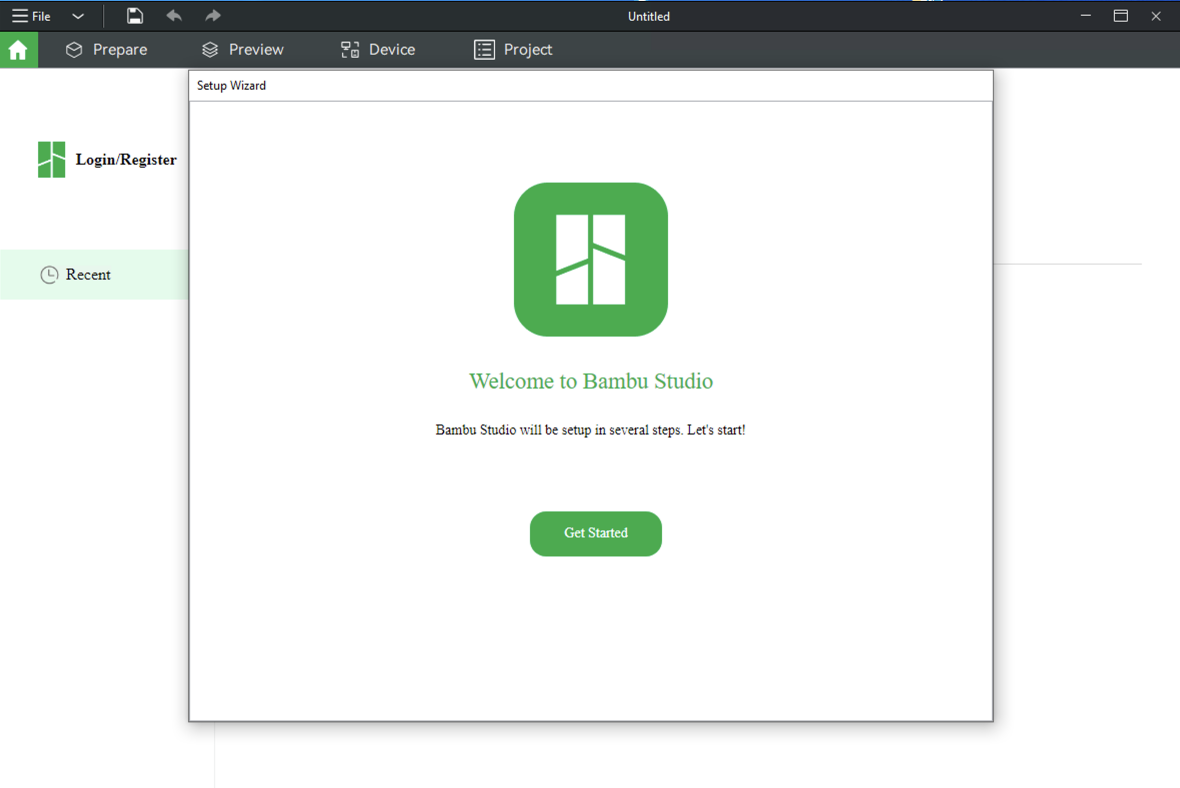
After installing Bambu Studio, you will be greeted by a quick setup wizard that takes you through the initial setup process. Click Get Started.
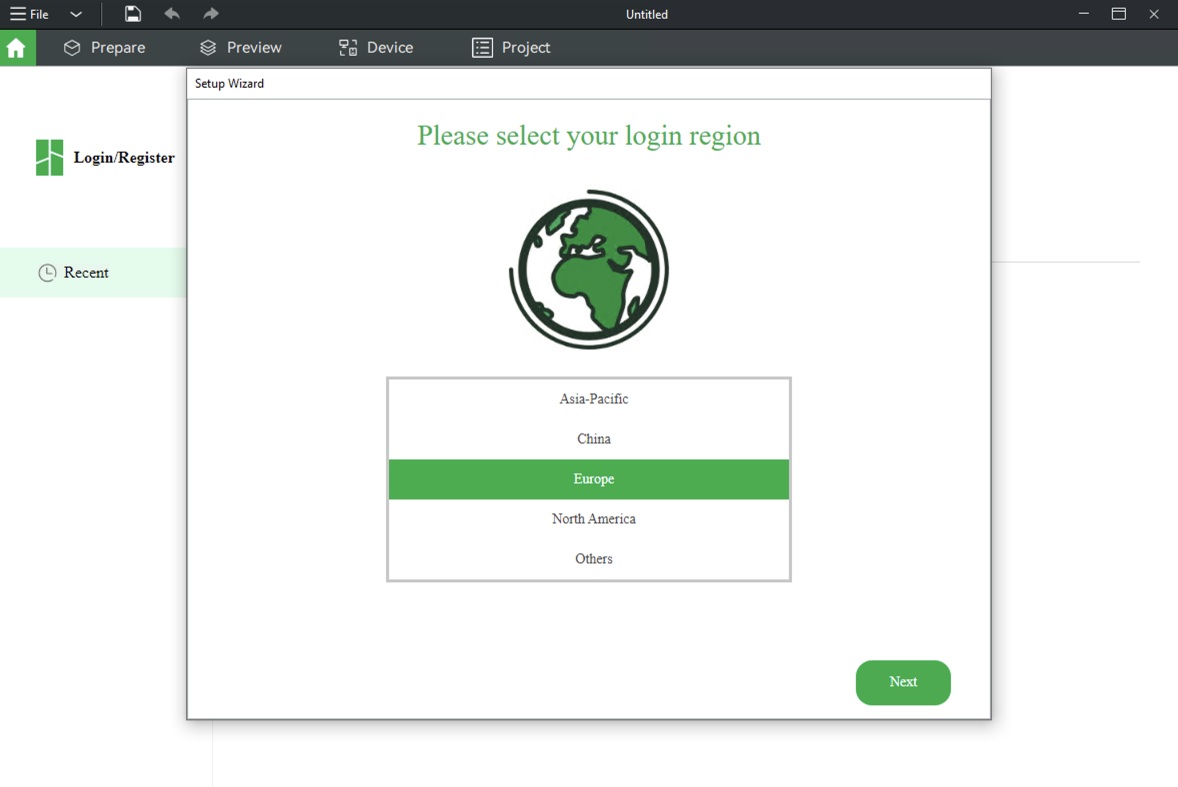
In the following screen, you will be asked to select your region. This is important as it will ensure you are accessing the closest server to your location for best performance and lowest latency.
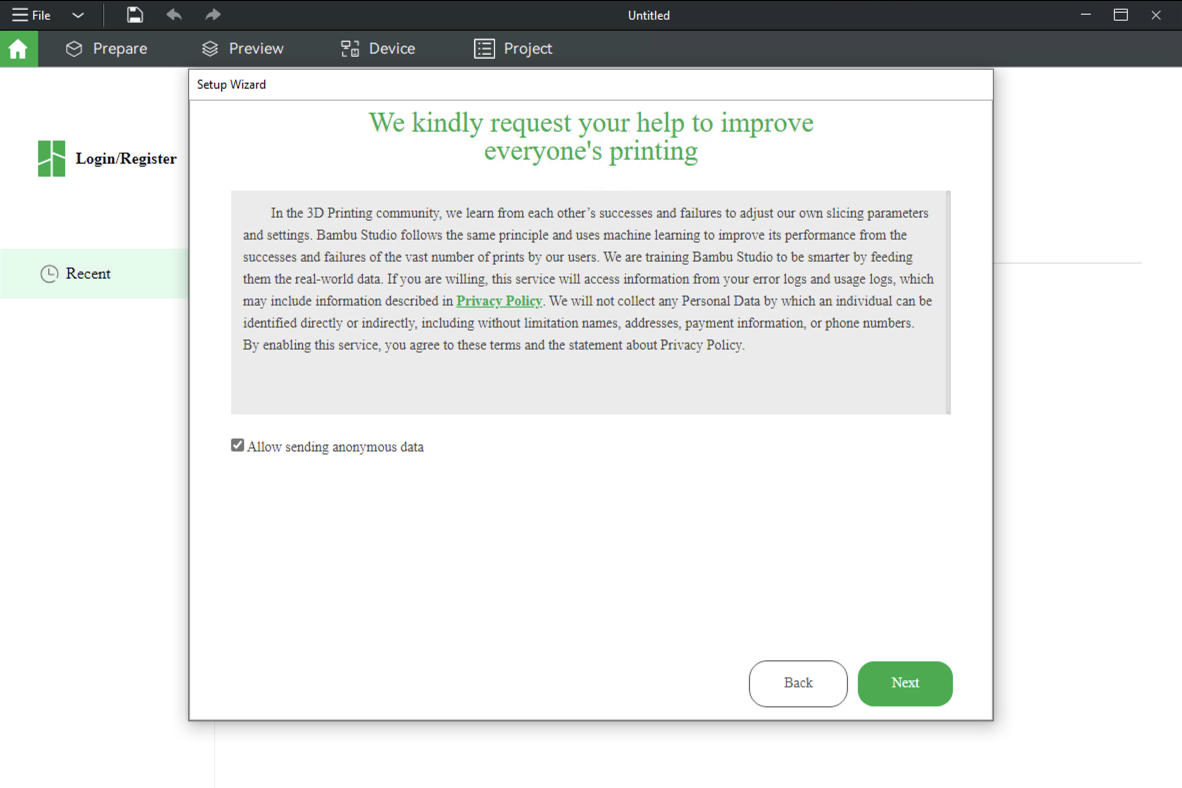
You can choose to send anonymous data to us regarding the printing settings used in the slicer. This will help us improve the user experience and printing performance.
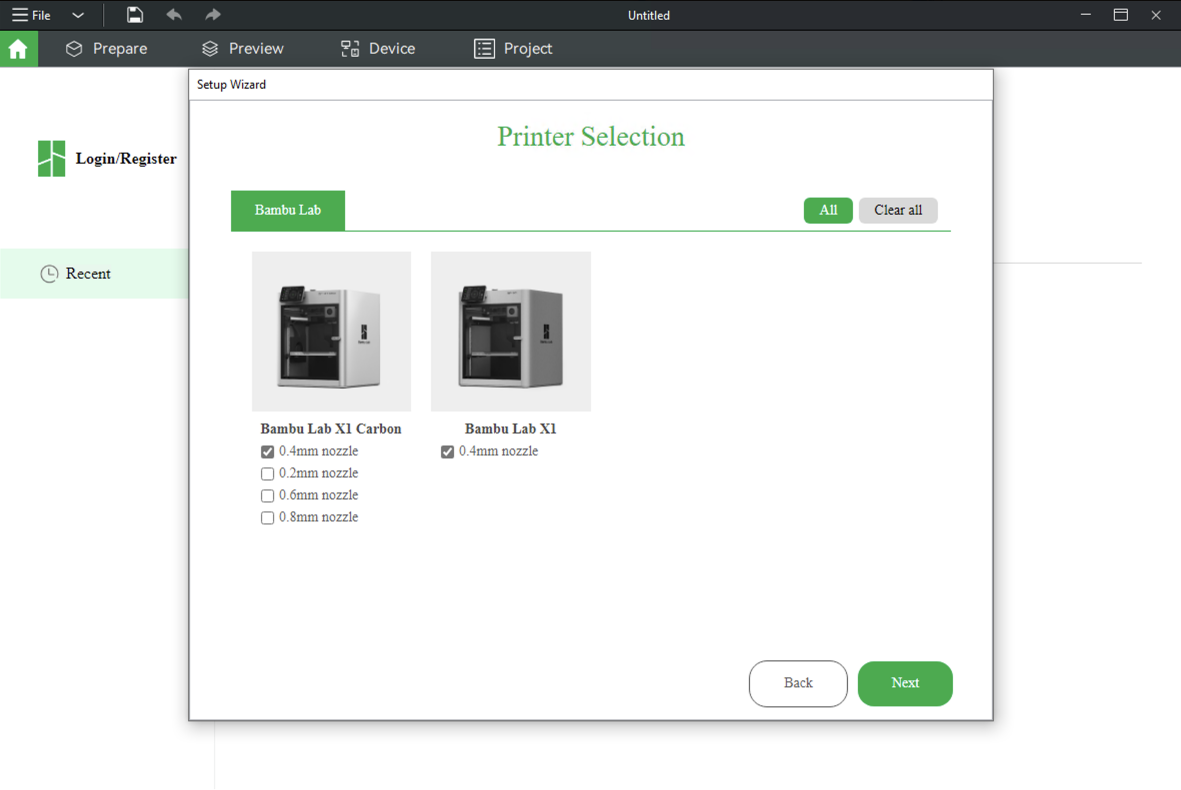
In the next screen you are asked to choose your printer and the nozzle type. The X1 comes with a 0.4 nozzle out of the box, so the default settings are ok, but if you plan to purchase other nozzle sizes, you can select them now.
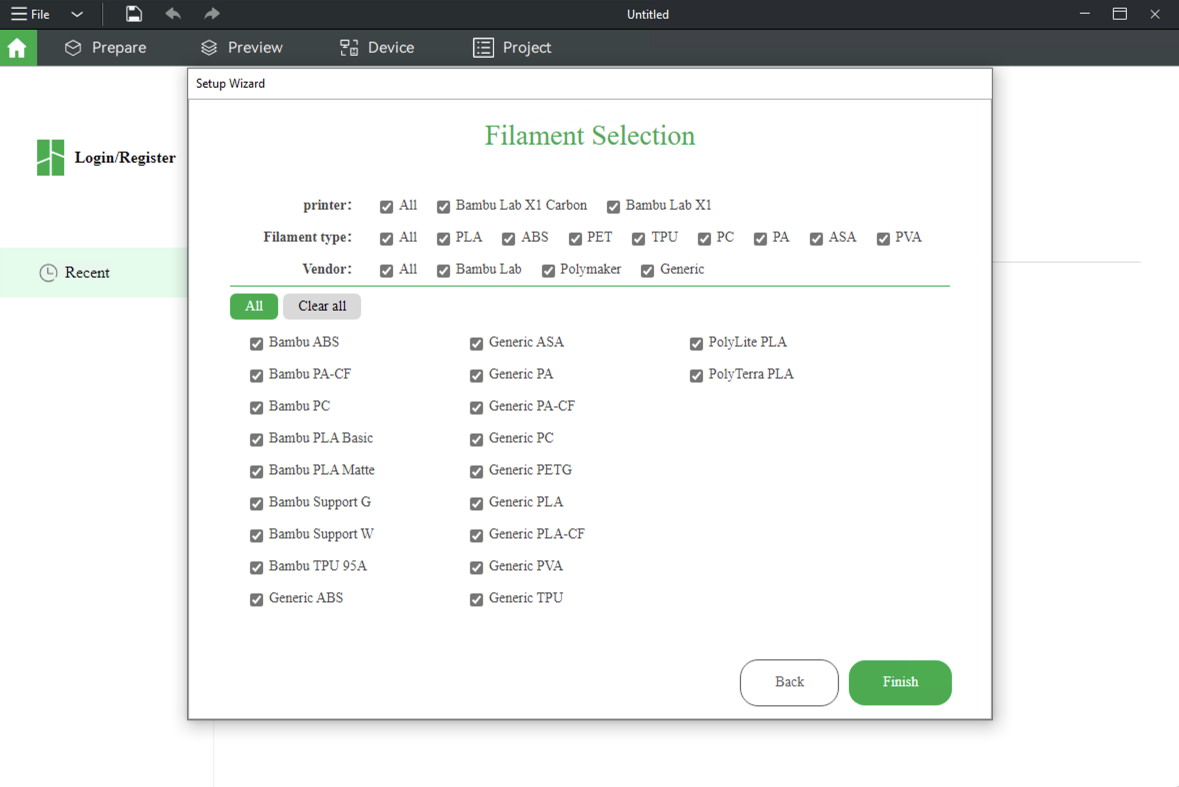
Finally, you are asked to select the filaments you plan to use. We recommend checking all the filaments, as they will be available in the slicer for future use.
¶ Create a Bambu Account
To use all the network functionality of the printer, you need to connect your X1 to the network and link it to your Bambu Lab Account.
You can do that from the Bambu Studio or from Bambu Handy.
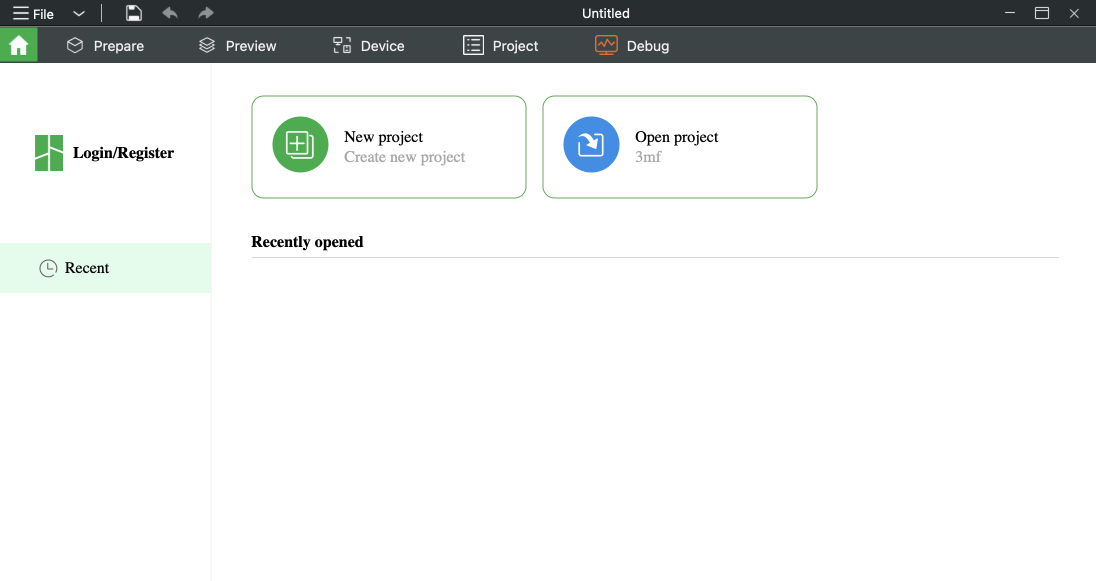
First, open Bambu Studio, and simply click on the Login/Register button
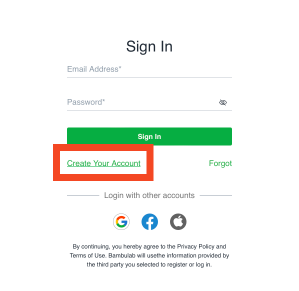
Next, click on the Create your account button
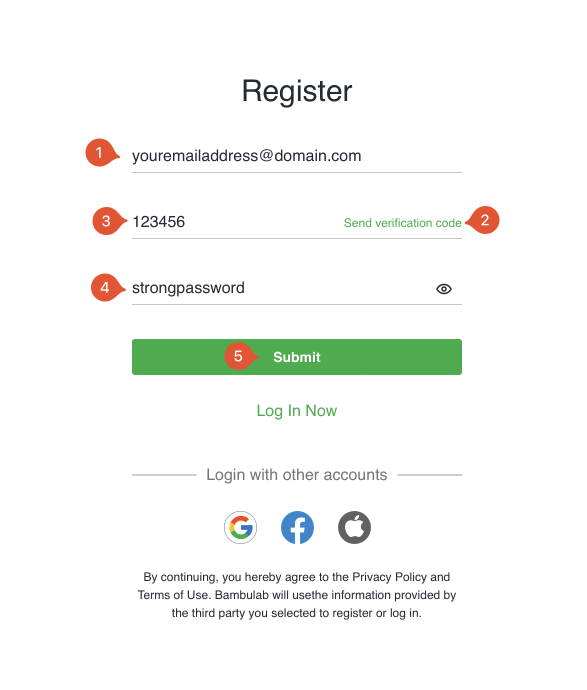
On the register page, enter your email address, then click on the Send verification code button. In a few seconds, you will receive a 6-digit code in your email address that needs to be entered in the code section.
Finally, choose a strong password then click Submit.
You can now login into Bambu Studio and Bambu Handy App.
¶ Link the printer to your Bambu Account
Now that you have a Bambu Account, you can link the printer to your account. We will do this using the Bambu Handy App.
Open the Bambu Handy App, then login using your account.

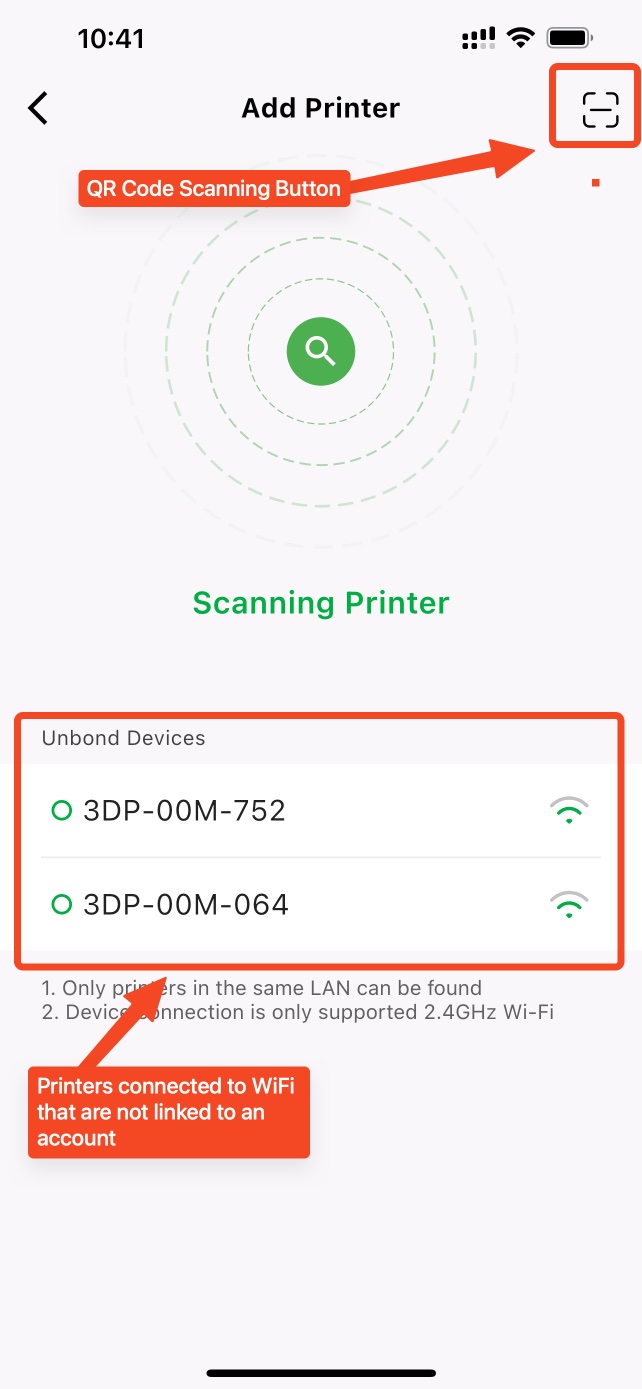
In the add printer page, the printers that have already been connected to WiFi will be shown. You can either select it from the list, or you can choose to scan the QR code shown on the printer touchscreen.
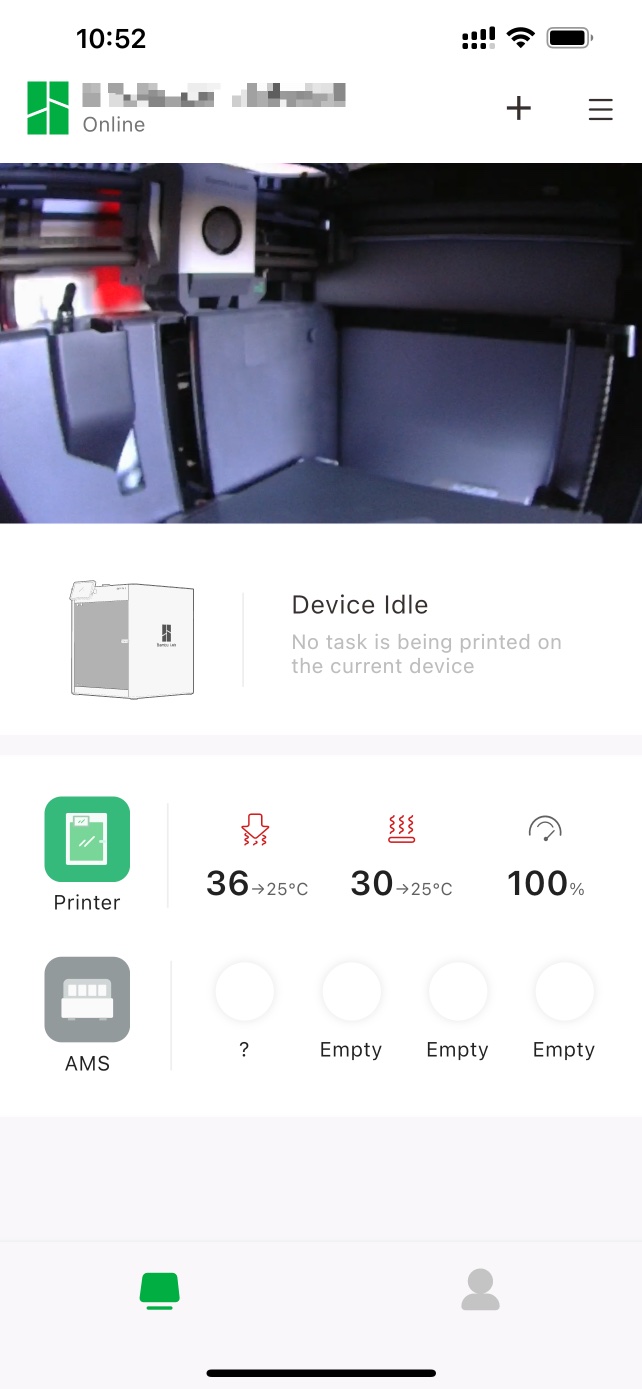
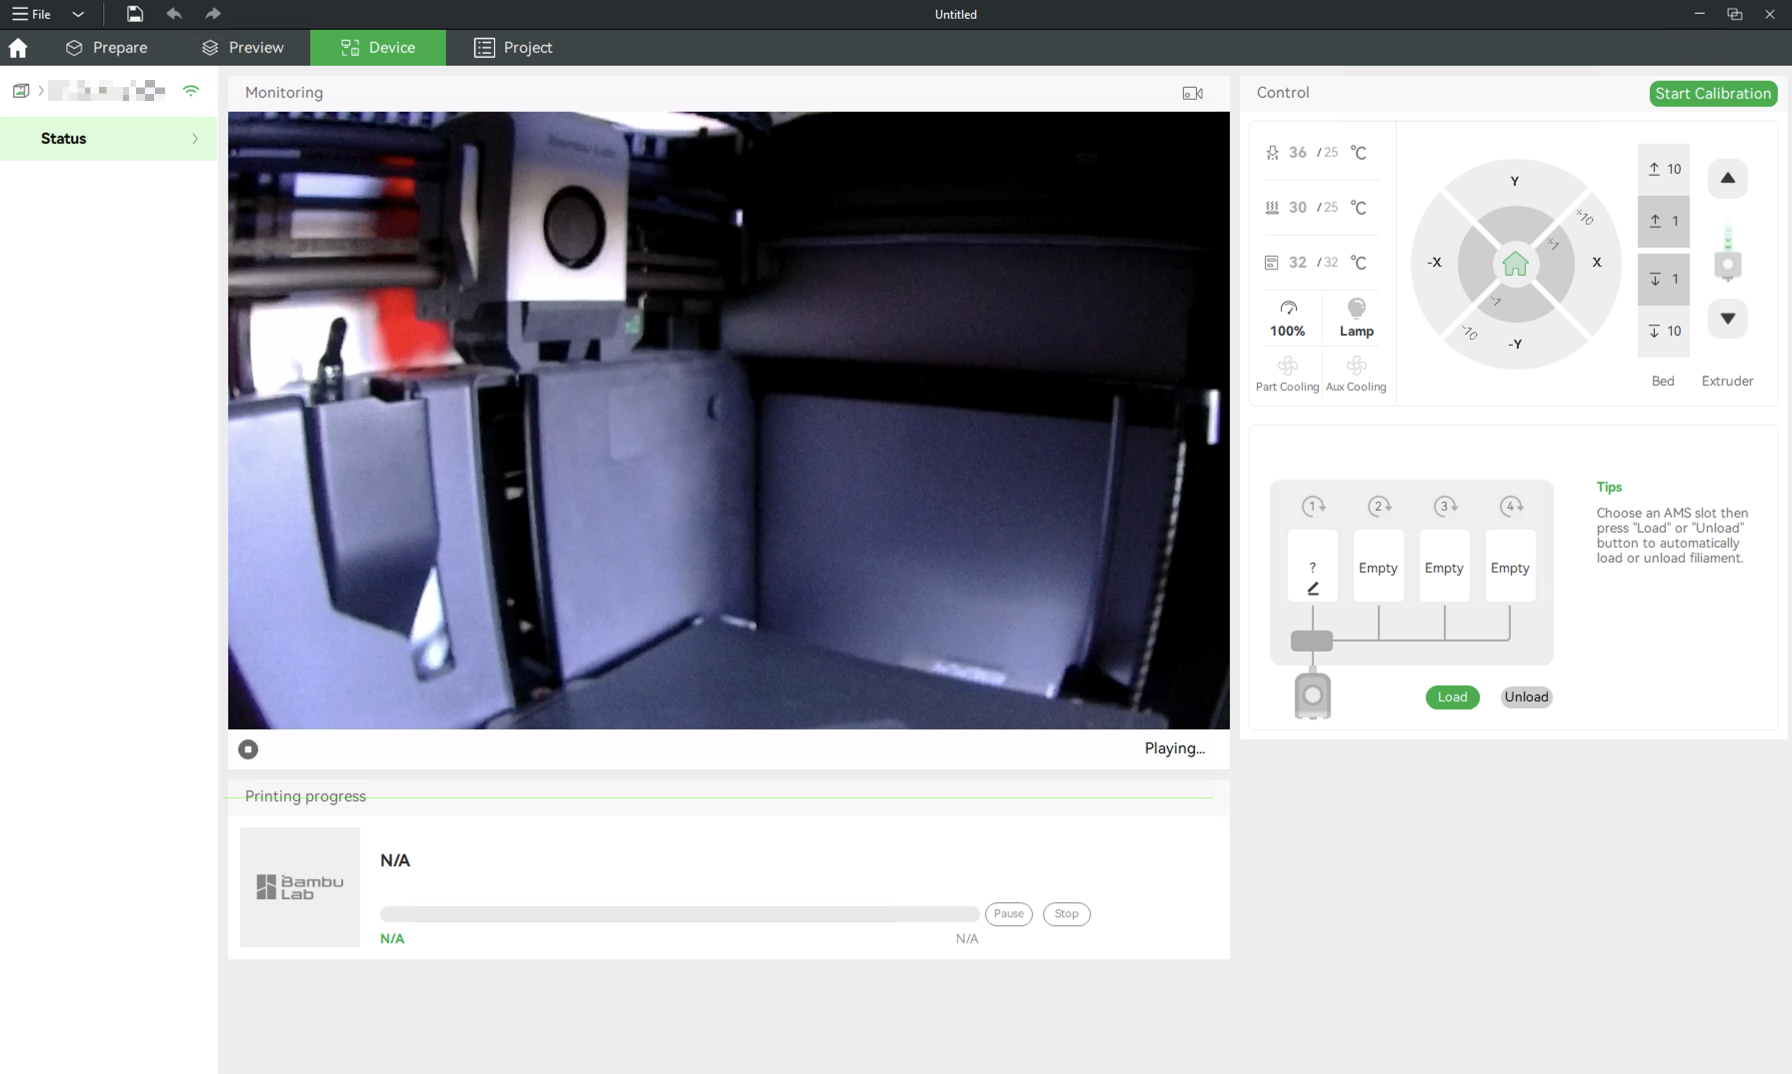
After you select one of the printers, or you scan the QR code, the machine will show up in Bambu Handy and in Bambu Studio.
¶ Slicing with Bambu Studio
To slice your first model, you need to drag and drop the file into Bambu Studio, then follow the steps:
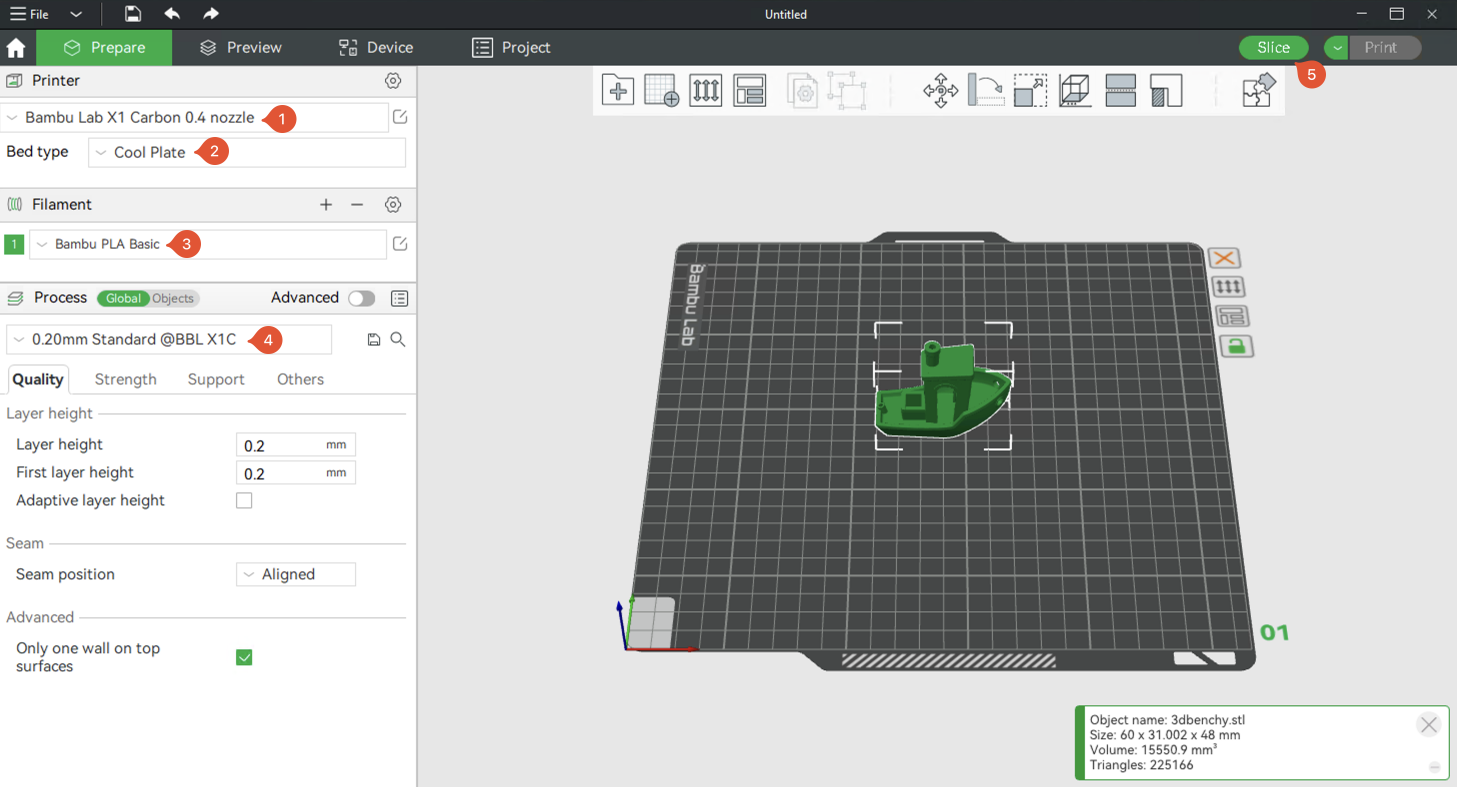
- Select the type of printer (For example, X1C).
- Select the bed type used on the printer (Cool Plate, Engineering Plate, or High Temp Plate).
- Select the filament type used for the print. It should be the filament installed in the first slot of the AMS.
- Select the slicing settings.
- Click Slice to generate the printing file.
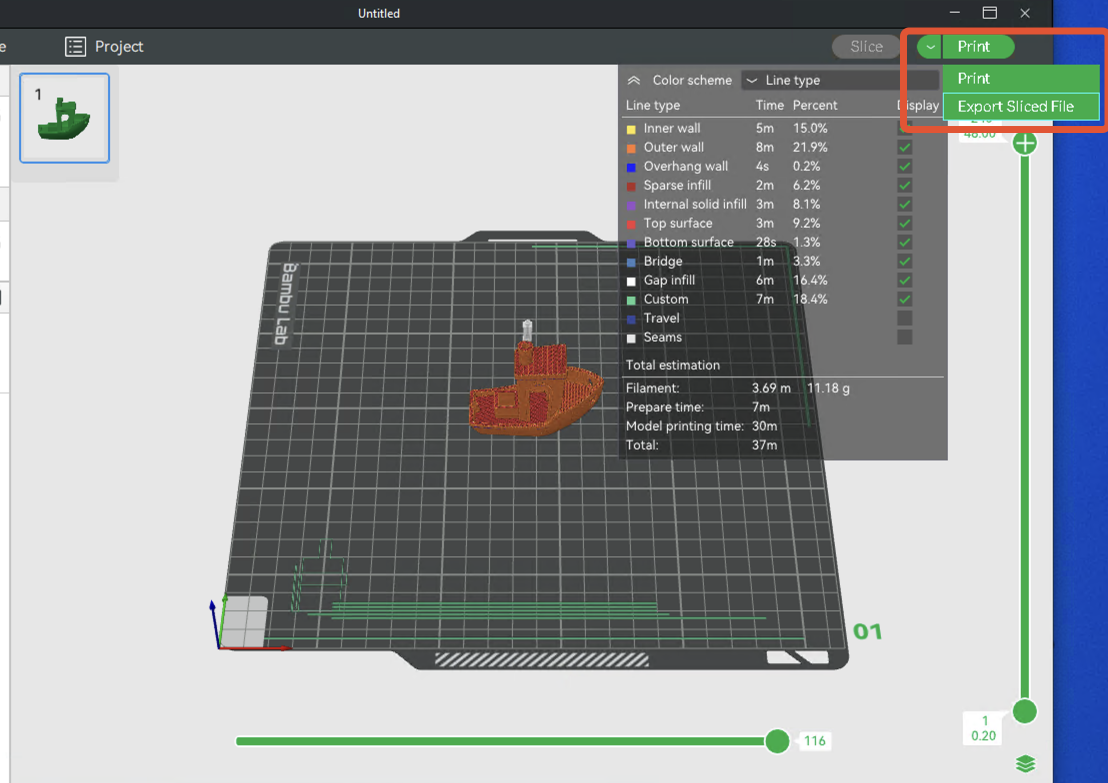
After the model has been sliced, you have the option to either click Print and send the file to the printer or to export the sliced file and print it using the SD card.
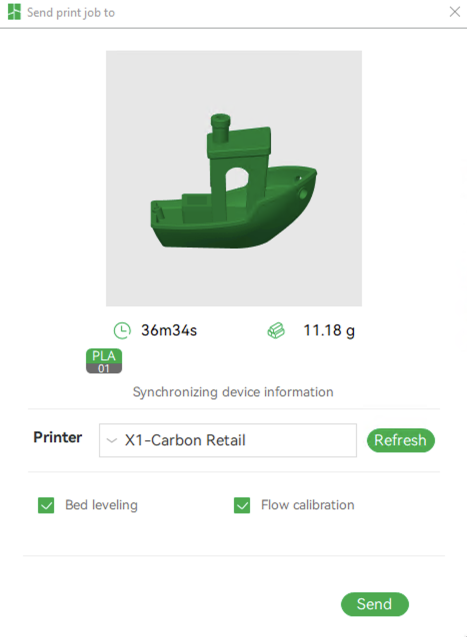
After you click on Print, you will be able to select the printer you want to use, and the type of calibration you want to perform before printing. The default options work great.
This was the final step. Now all you have to do is to wait for the model to be printed, which might be the hardest part :)