¶ What is the Front Glass Door?
This refers to the printer's front-facing glass door.
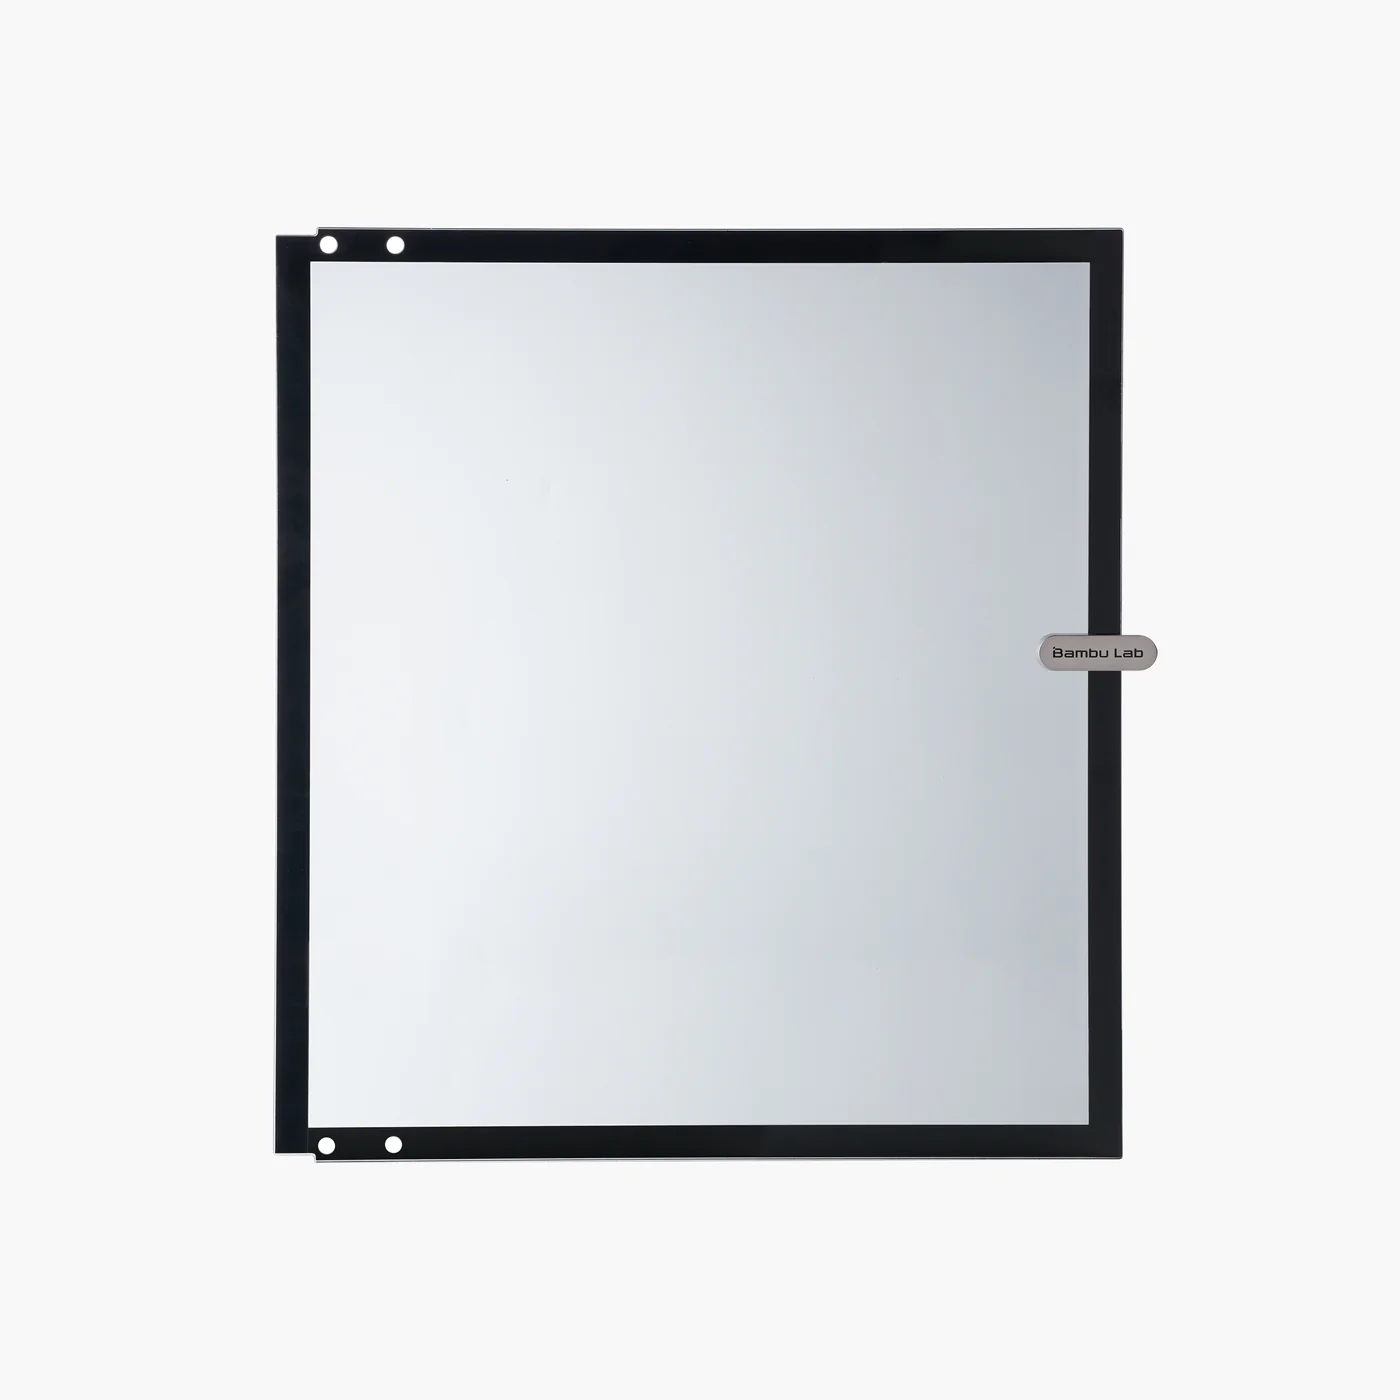
You can purchase it at our store here: Front Glass Door.
¶ When to use
When the front door is cracked or damaged
¶ Tools and materials required
- A new glass front door
- H2.0 hex key
¶ Safety warning and Machine state before starting operation
The glass is fragile, please exercise caution when removing and installing it to prevent it from falling. If the glass is damaged, be careful not to injure your hands.
Note: The front glass door of the new X1 and P1 series printers are secured with double-sided tape. To remove it, use a blower or scraper to gently lift the door. Please be careful!
¶ Operational guide
¶ Video guide
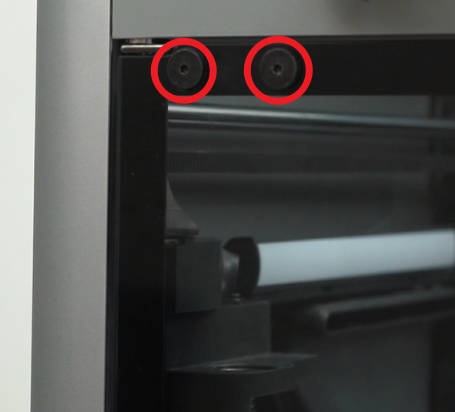
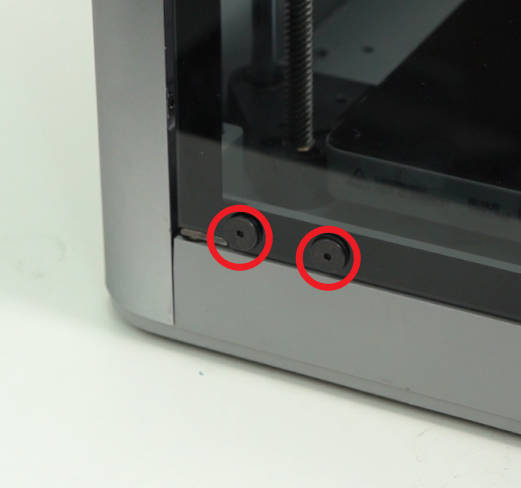
¶ Step 1 - Remove screws
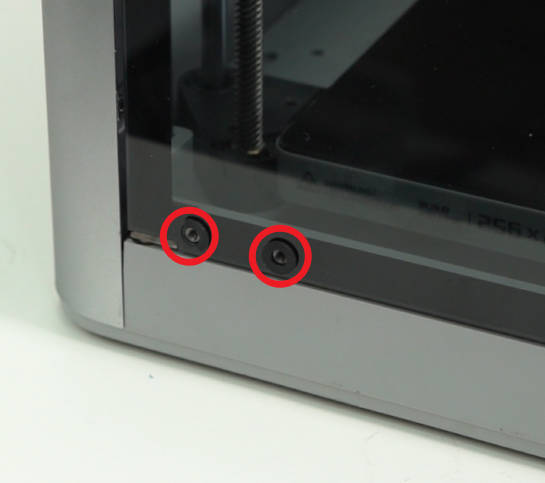
Remove the 4 screws securing the front door using an H2.0 hex key. Ensure you hold the glass door with your hands to prevent it from falling.
 |
 |
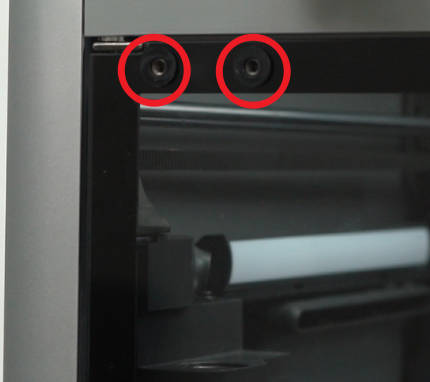
¶ Step 2 - Remove the silicone pads
Remove the 4 front door silicone pads by hand. Be sure to hold the glass door with your hand to prevent it from falling.
 |
 |
¶ Step 3 - Remove the front door
While holding the front door handle with one hand and the glass door with the other hand, remove the front door.
When disassembling the front door of the new X1 and P1 series printers, which are secured with double-sided tape, gently lift the door using a blower or scraper.

¶ Step 4 - Install the new front door
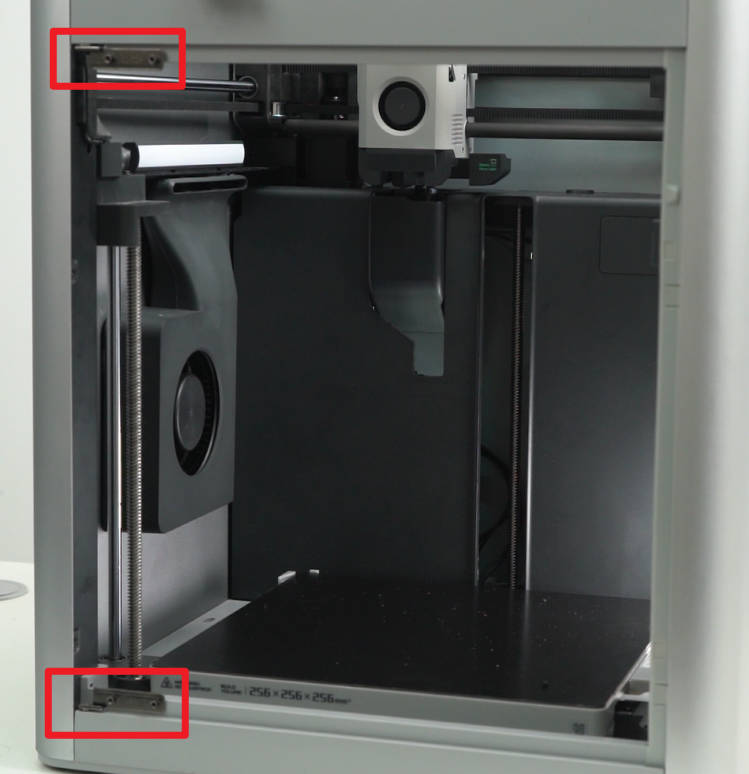
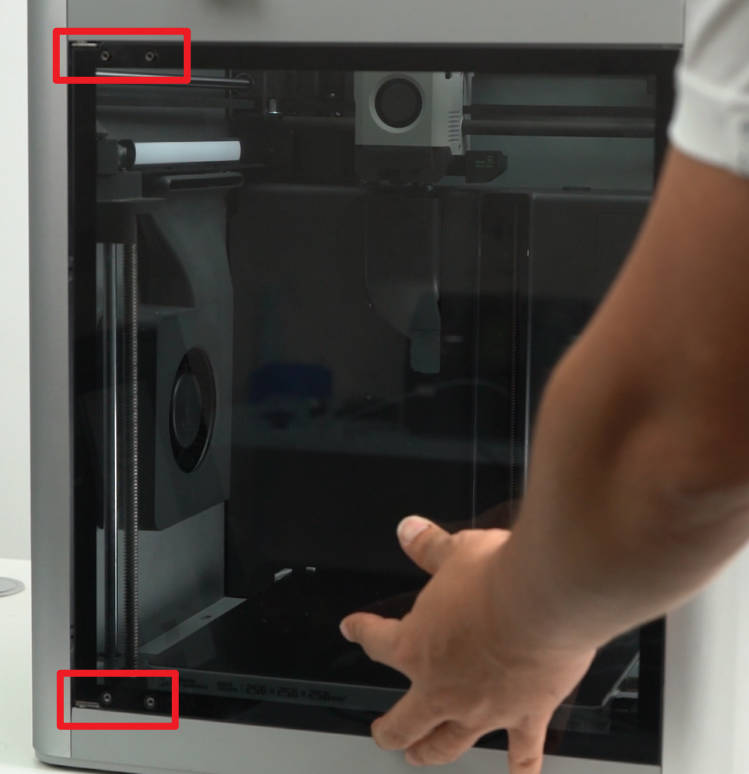
Align the 4 screw holes on the glass front door with the screw positions on the switch to install the door, and hold it with your hand.
 |
 |
¶ Step 5 - Install the silicone pads
Install the 4 silicone pads in sequence, while continuing to hold the glass door with your hand.
 |
 |
¶ Step 6 - Lock the front door screws
Lock 4 front door screws in sequence.
 |
 |
¶ To verify completion/success
Visually inspect the appearance to ensure that the screws are not protruding. Manually open and close the glass door to confirm that the movement is smooth and the closed position is normal.