¶ What is the rear panel?
The Rear Metal Panel we are talking about here refers to the metal panel installed on the back of the X1 and X1C (not for X1E).
Note: For X1E users, please refer to X1E Enclosure Installation Tutorial.
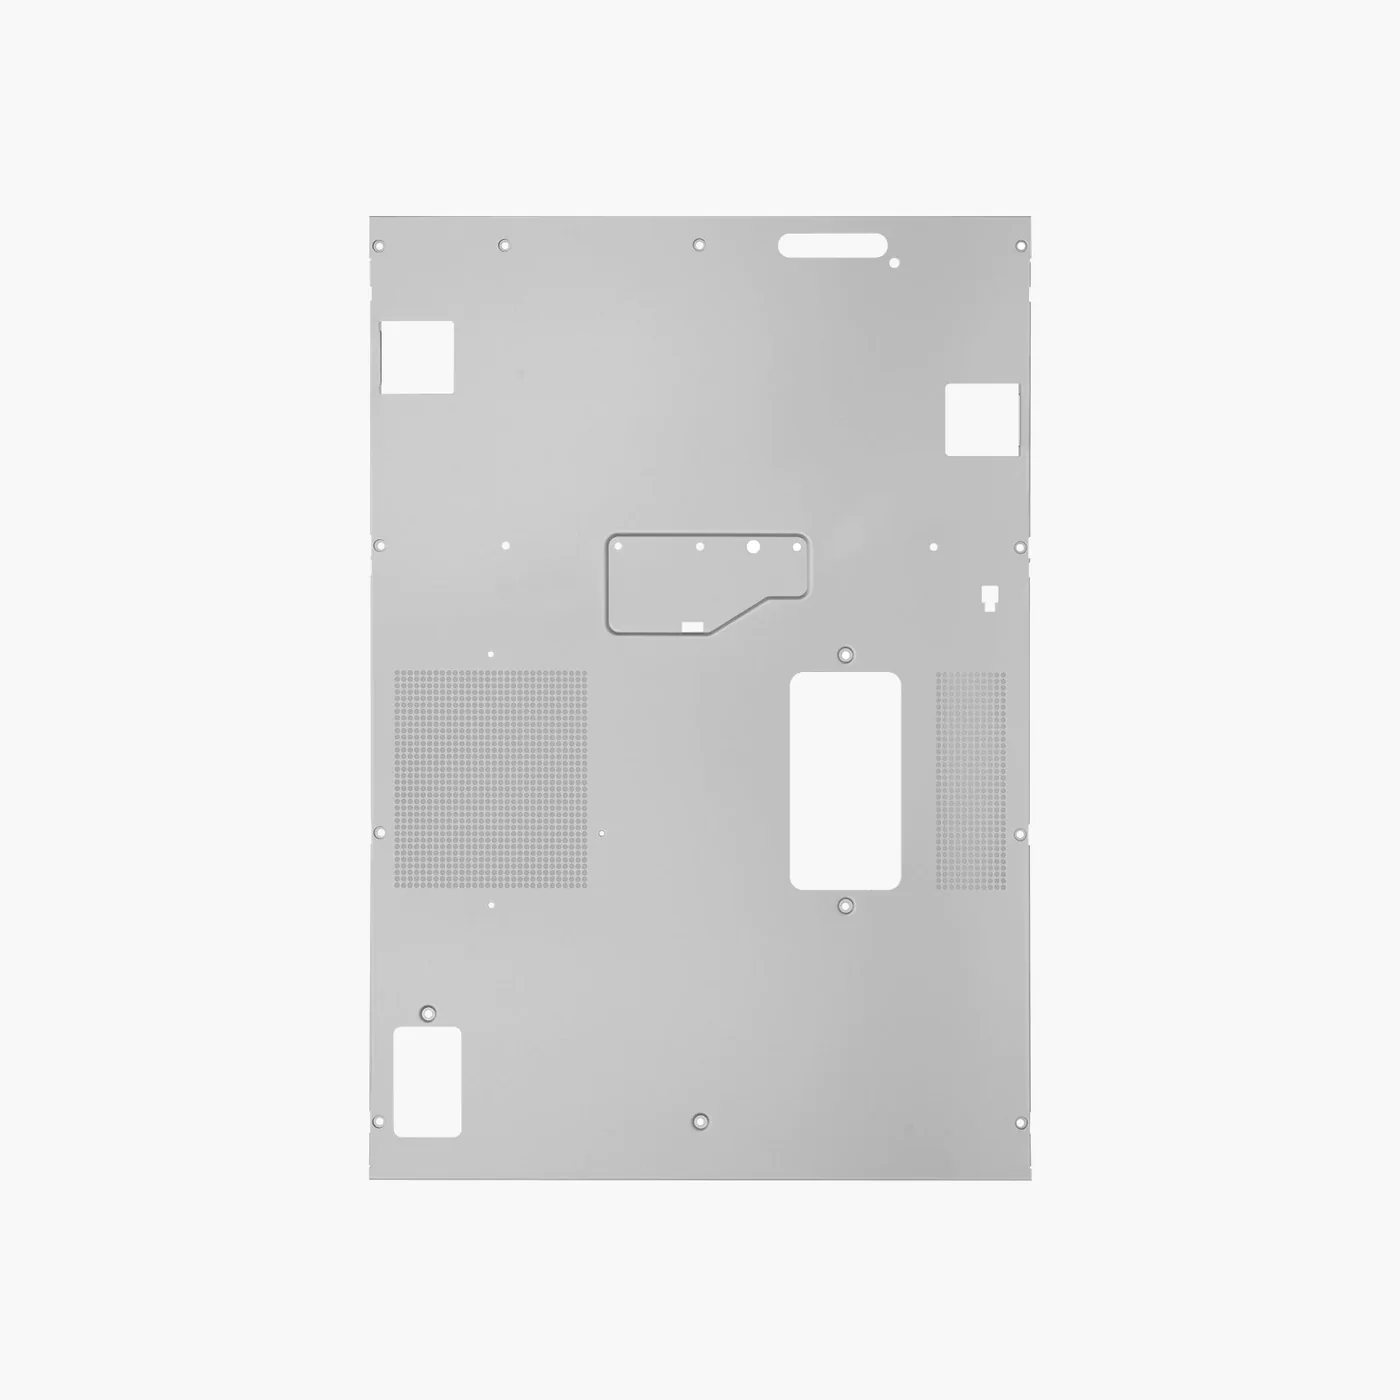
You can purchase it at our store here: Rear Metal Panel - X1 Series.
¶ When to use
The rear panel is obviously deformed due to transportation or maintenance, which will affect the use or installation.
¶ Tools and materials needed
- A new rear panel
- H2.0 Hex key
¶ Safety warning and Machine state before starting operation
Turn the power OFF and disconnect the power cord from the power socket.
¶ Operation guide
¶ Video guide
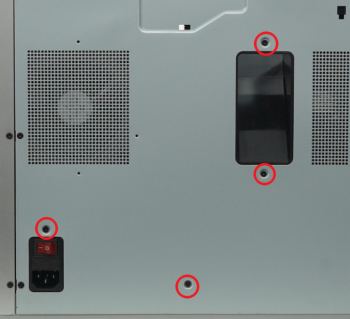
¶ Step 1 - Remove 4 screws
Remove the 4 coarse-thread screws with an H2.0 hex key.
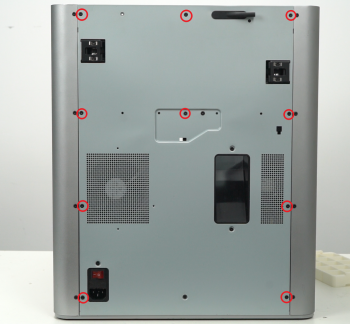
¶ Step 2 - Remove 10 screws
Remove the 10 fine-thread screws with an H2.0 hex key.
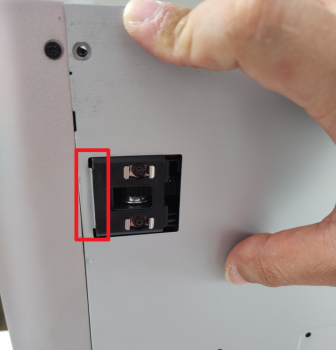
¶ Step 3 - Remove the rear panel
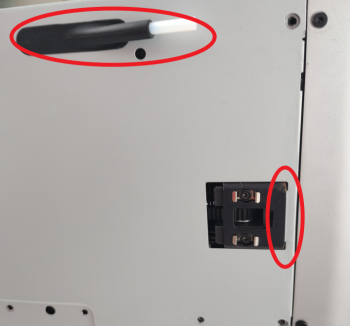
Remove the rear panel by unlocking the left side belt tension port first, and then the right side one to avoid getting stuck.
 |
 |
¶ Step 4 - Install the rear panel
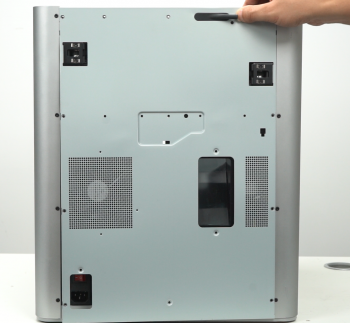
Pass the PTFE tube through the tube bracket, install first the right side belt tension port, and then the left side to install the rear panel.
 |
 |
¶ Step 5 - Lock 10 screws
Lock in the 10 fine-thread screws as shown in the picture below.

¶ Step 6 - Lock 4 screws
Lock in the 4 coarse-thread screws as shown in the picture below.

¶ How to verify completion/success
Check the appearance, the screws are not floating, and the rear panel is not deformed obviously.