¶ Auto orientation in Bambu Studio
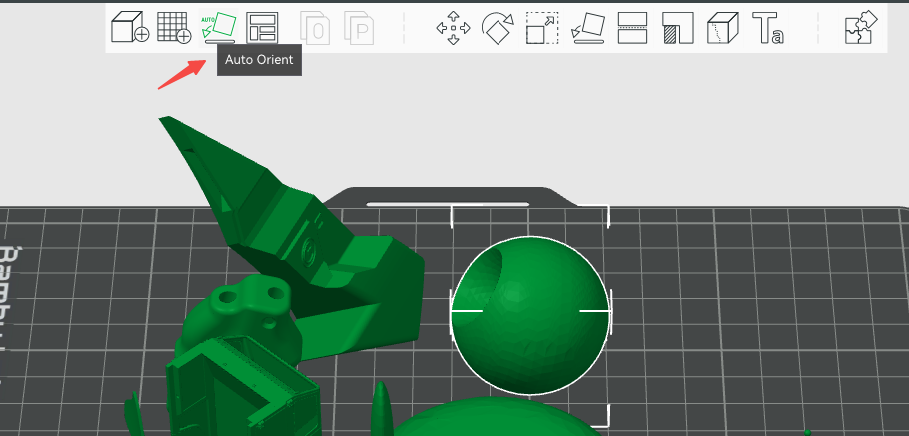
It is important to place objects in the correct orientation for successful printing. We have provided a useful tool called "auto-orientation" to automate this routine.

To quick start, please refer to this video
https://youtu.be/nHVVyyYI3Cs
¶ How it works
The auto Orientation button can be viewed as the "automatic version" of the "place-on-face" function. Basically, we find the best face to place based on several features of the selected object:
- Overhang area. We prefer a smaller overhang area because overhangs need support and supports can damage the interface surface more or less.
- Bottom area. We prefer a larger bottom area because the object sticks to the heat bed better.
- Convex hull area of all bottom points. We prefer a larger convex hull area because the objects are more stable during printing. (think of a trapezoid, we want the large base on the plate instead of the smaller top, more stability)
- Appearance area. We prefer not to generate supports on appearance surfaces.
Basically, we find several candidate orientations and calculate a cost function of all the mentioned features, then choose the one with the smallest cost.
However, accurately estimating the overhang area is difficult before slicing. One big challenge is bridging overhangs, which are usually not needed to support, even though the overhang angle is large. Detecting these kinds of features in a 3D mesh is difficult for now. So you might see wrong orientations sometimes, most of which are caused by bridging overhangs.
¶ How to use
Using this function is simple. There are 3 modes:
- Select an object or multiple objects, and click the button. The selected object(s) will be oriented.
- Do not select any object, and click the button. All objects will be oriented.
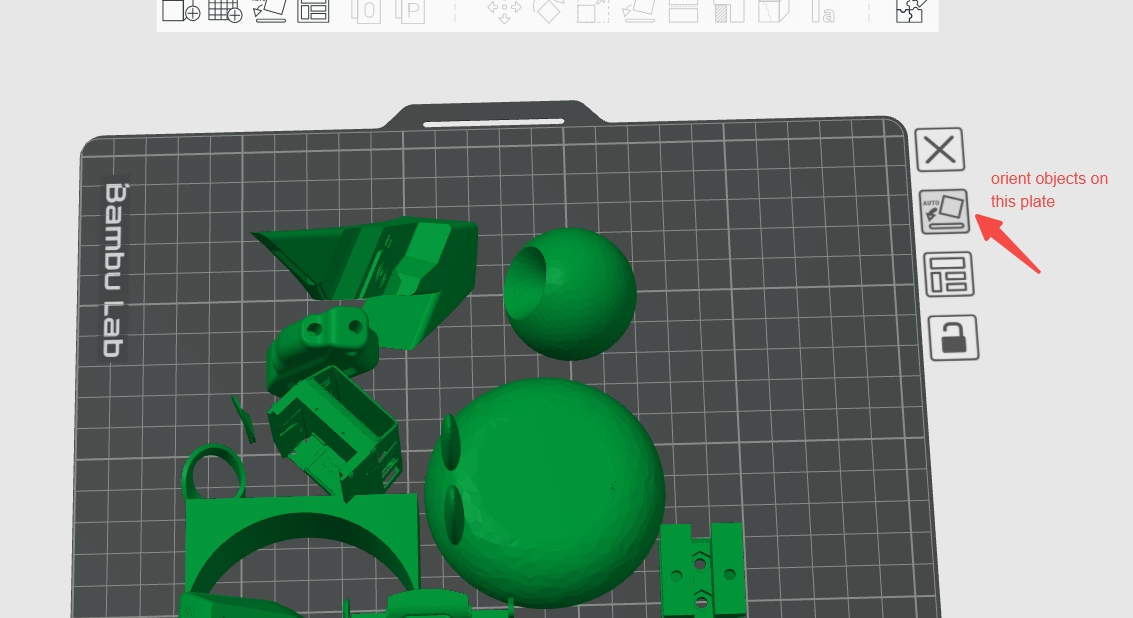
- Click the "auto-orientation" button next to a plate, then all objects on this plate will be oriented.
You may also lock a plate by clicking the lock icon next to it, then the objects on this plate will not be processed by auto orientation.
