¶ 1. Generate Assembly View for a model
In your CAD software, export the model as a complete STEP file. Then import the STEP file into Bambu Studio.
Bambu Studio will automatically parse the STEP file and convert it into a multi-part object. You can then split the multi-part object into multiple objects, which will greatly simplify the 3D printing process. During this process, the Assembly View will be generated automatically.

|
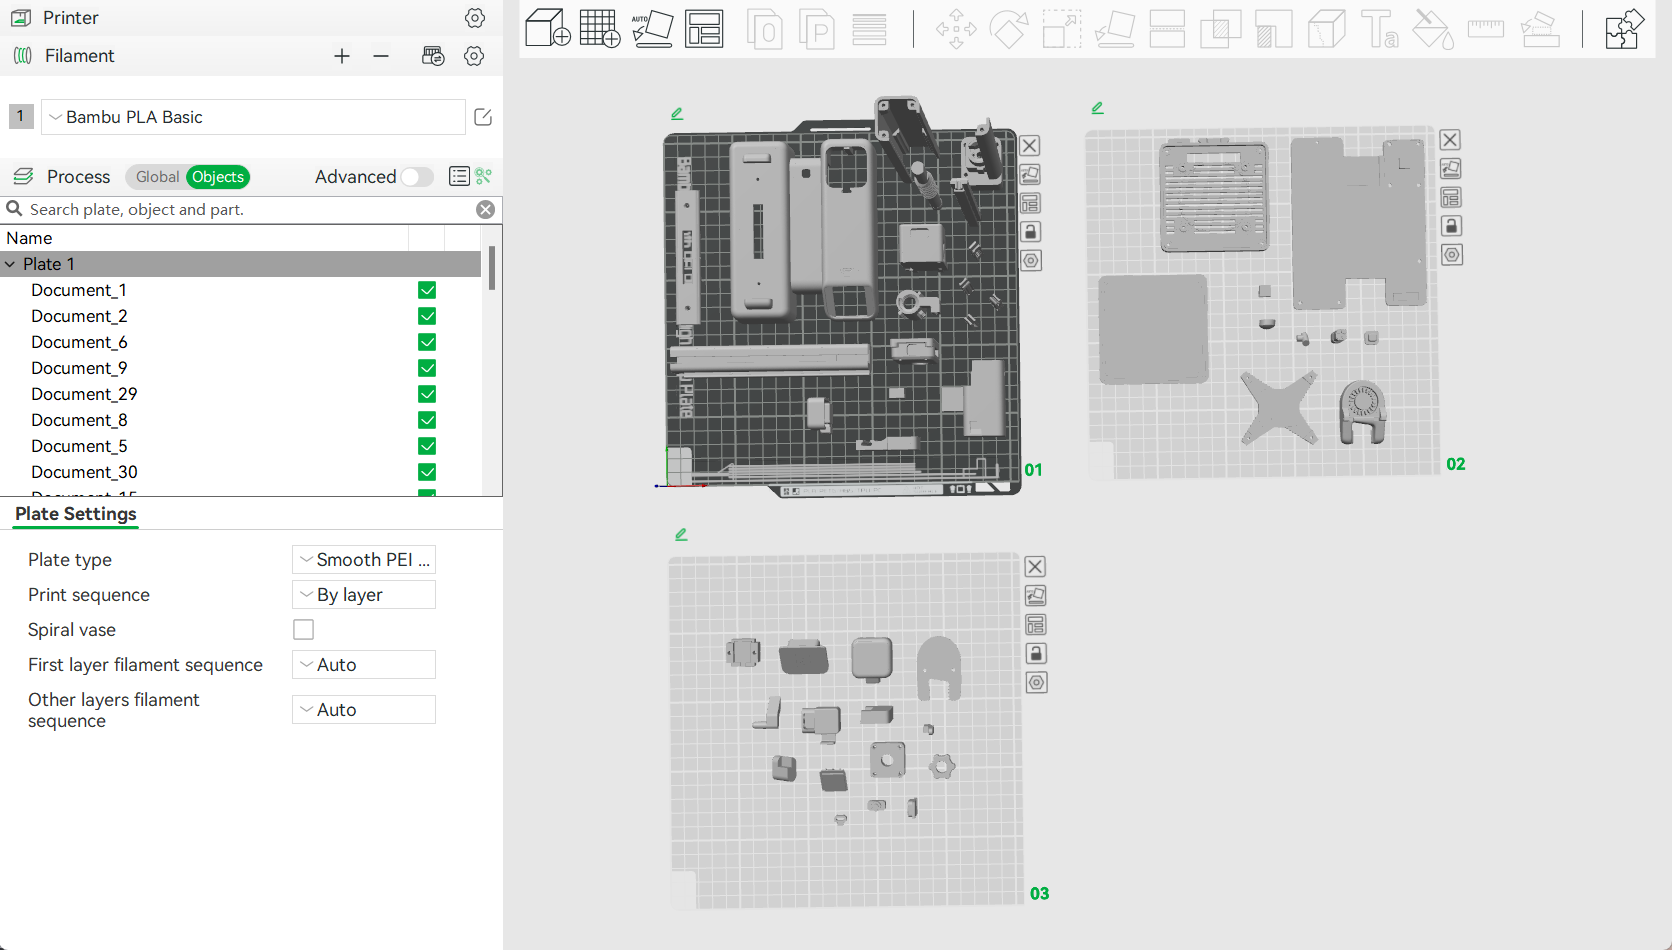
|
Then, you can colorize the model in the assembly view by clicking on the puzzle-like icon located on the toolbar (the tool on the far right side).

|
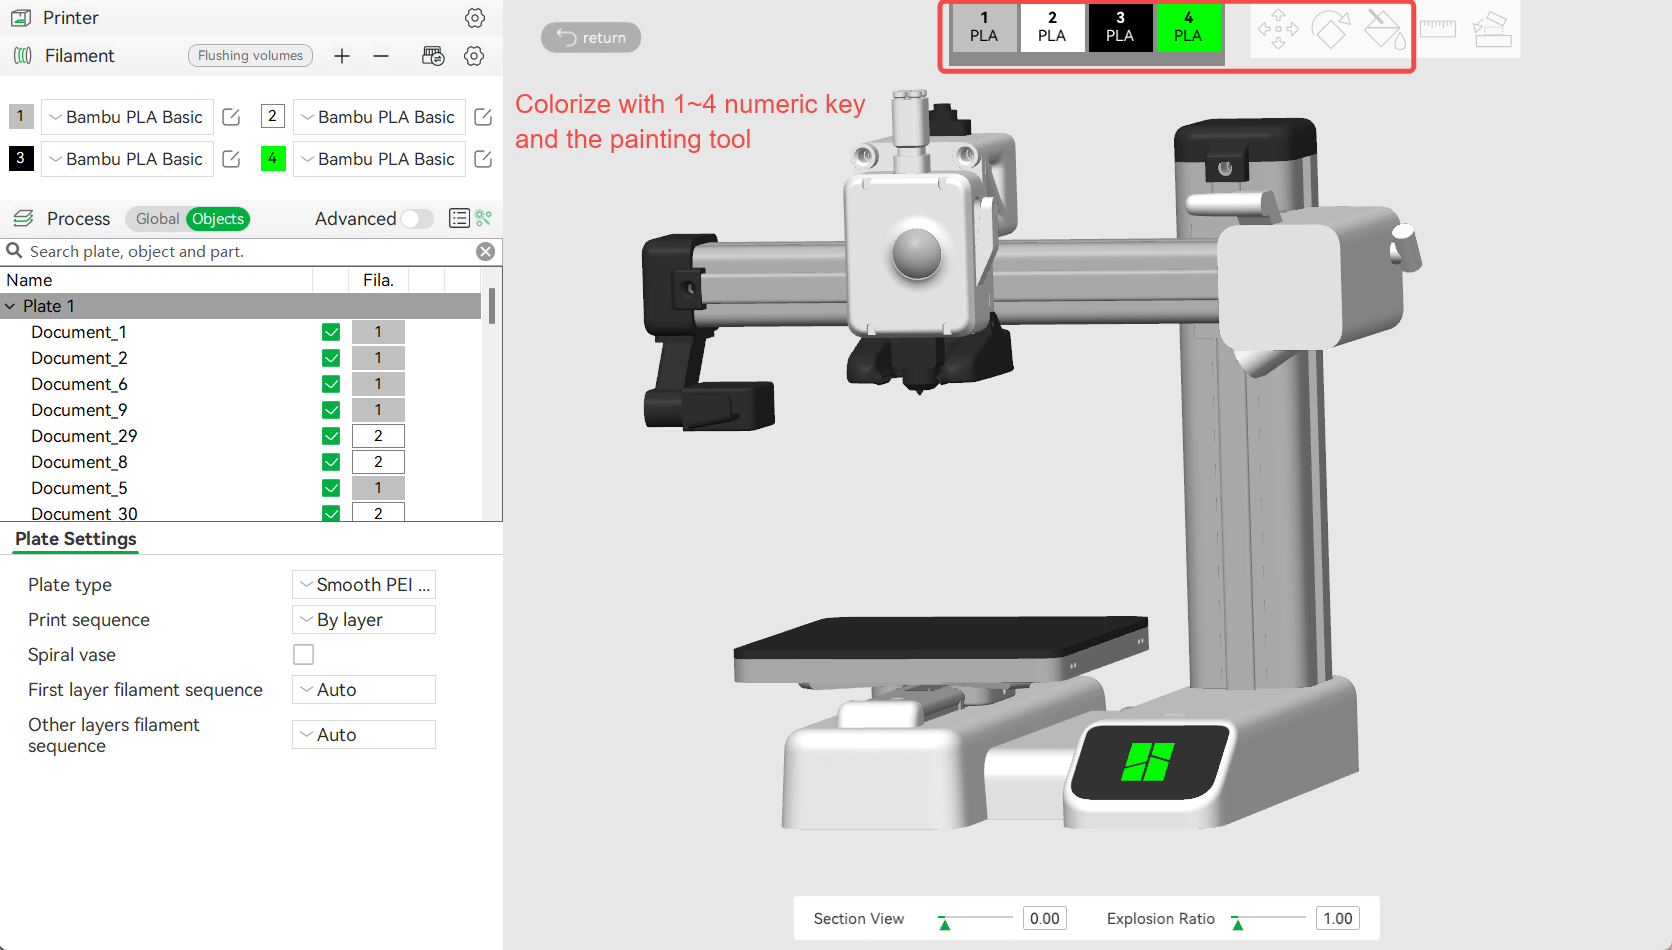
|
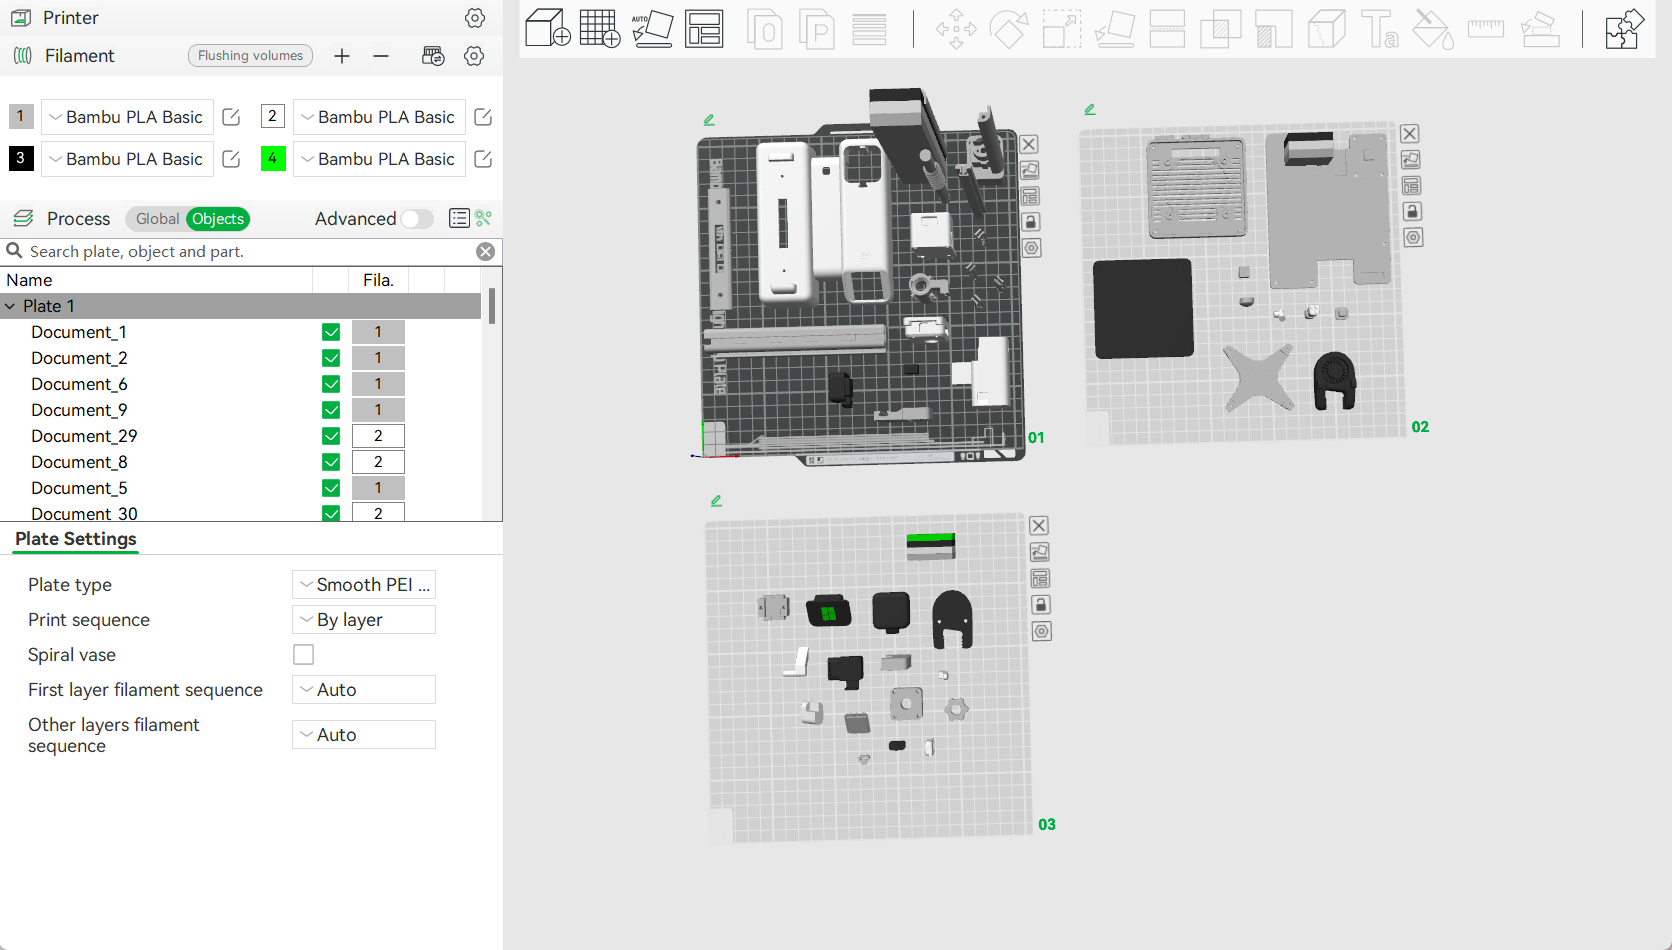
|
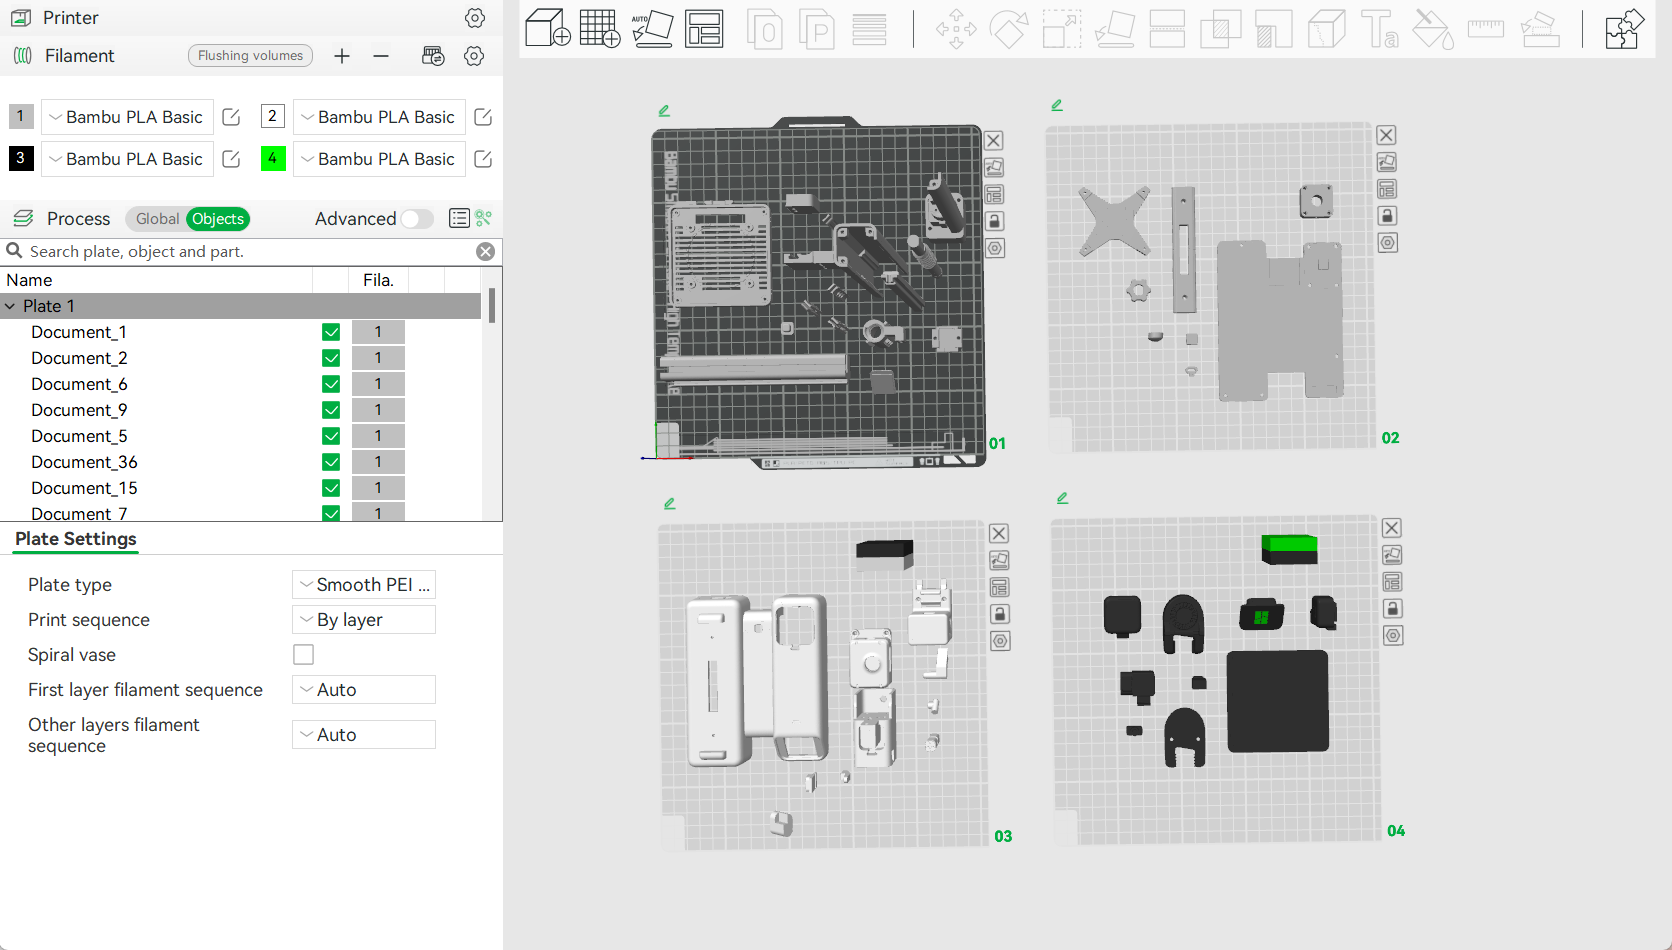
|
¶ 2. Maintenance of the Assembly View for a model
¶ 1) Update a model object
When you make changes to the model design in CAD software, you will also need to update the corresponding objects in the model's 3MF file in Bambu Studio.
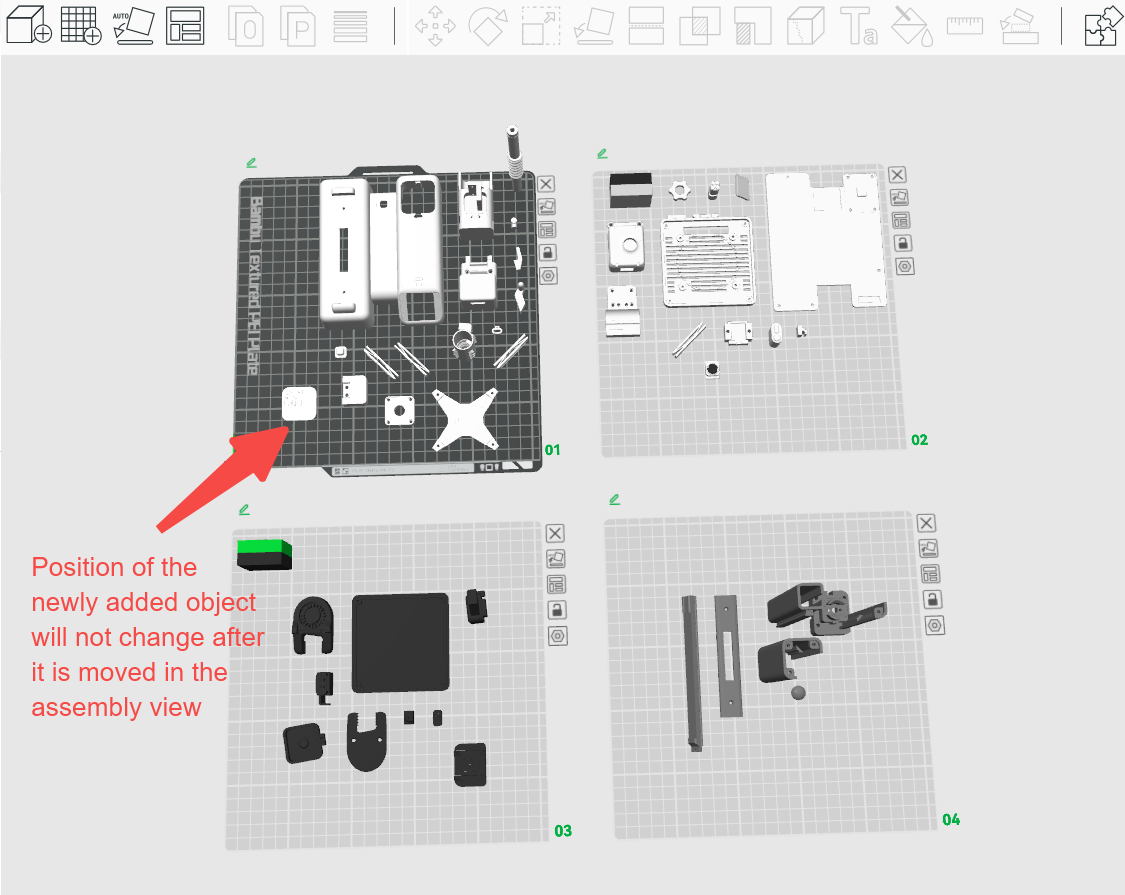
Simply deleting obsolete objects and adding new ones may disrupt the Assembly View, as Bambu Studio is unaware of the newly added objects' specific positions in the Assembly View.
The correct method to update a model object is as follows:
- Right-click on the model object.
- In the context menu, select "Replace with STL."
- Choose the updated STL file to replace the selected object in Bambu Studio.
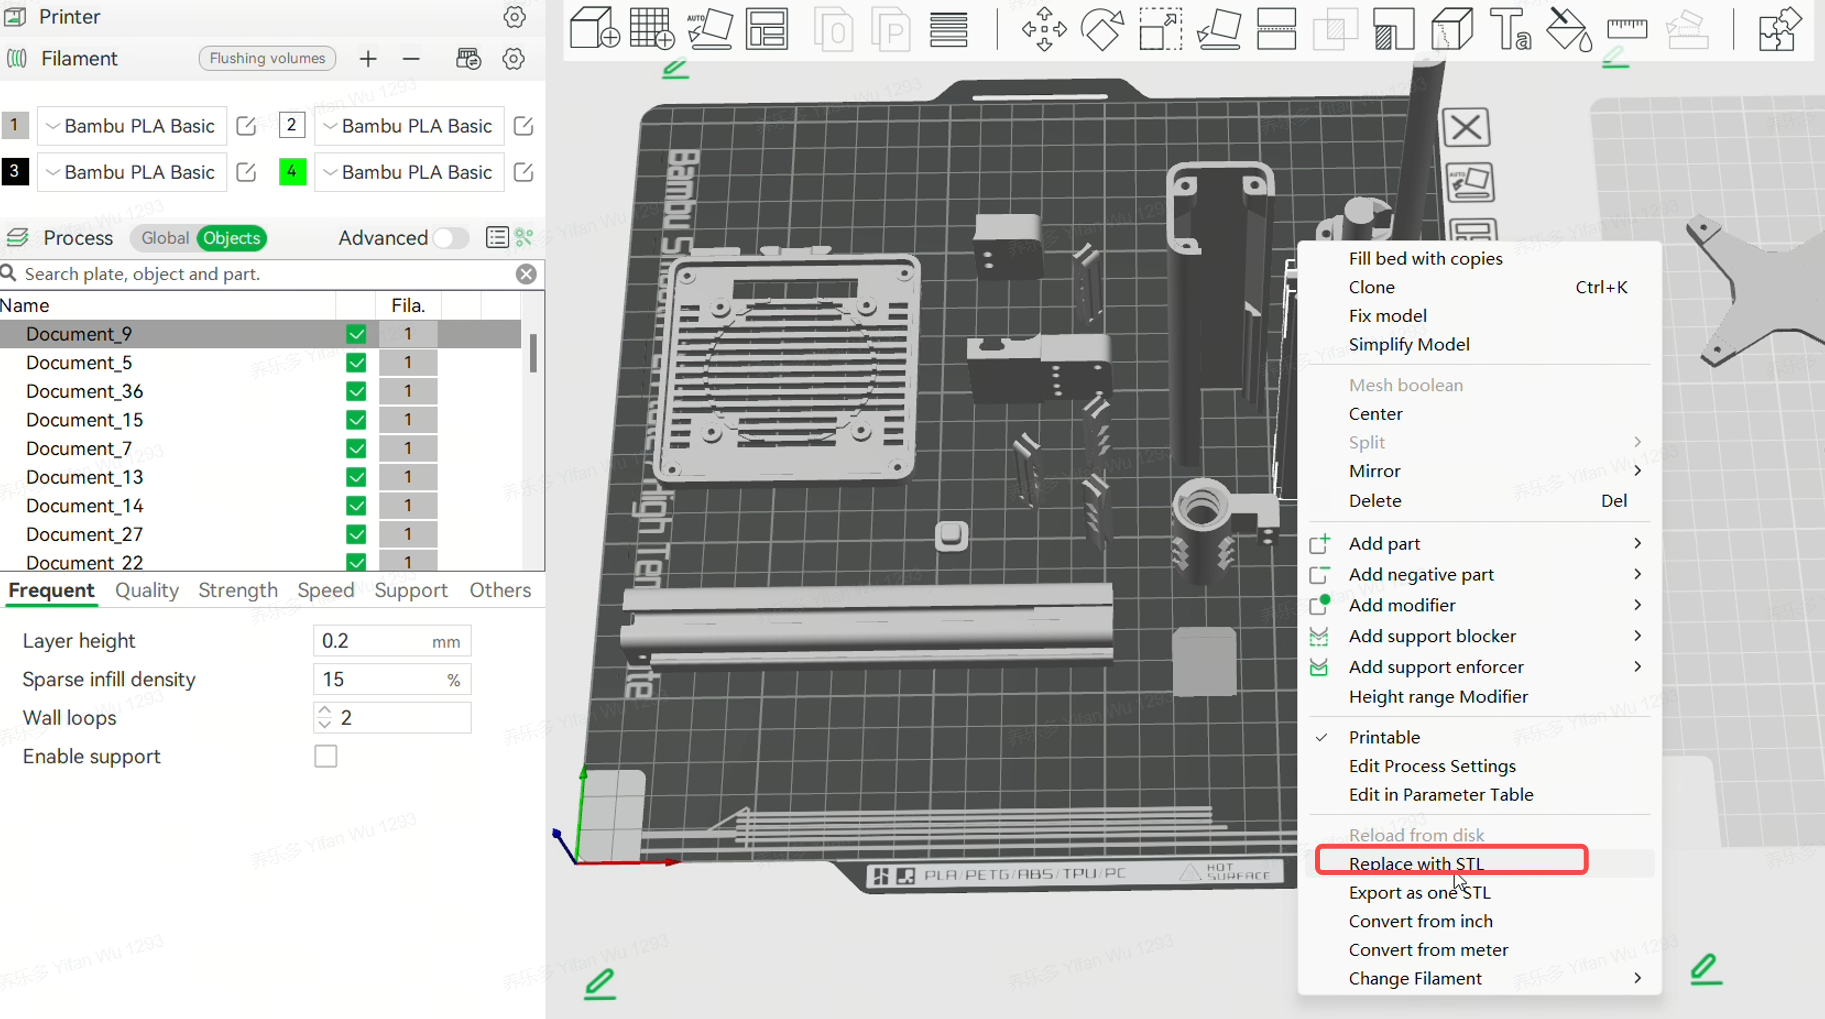
The spatial position (in the Assembly View) of the obsolete object will be transferred to the new one.
¶ 2) Add a new model object
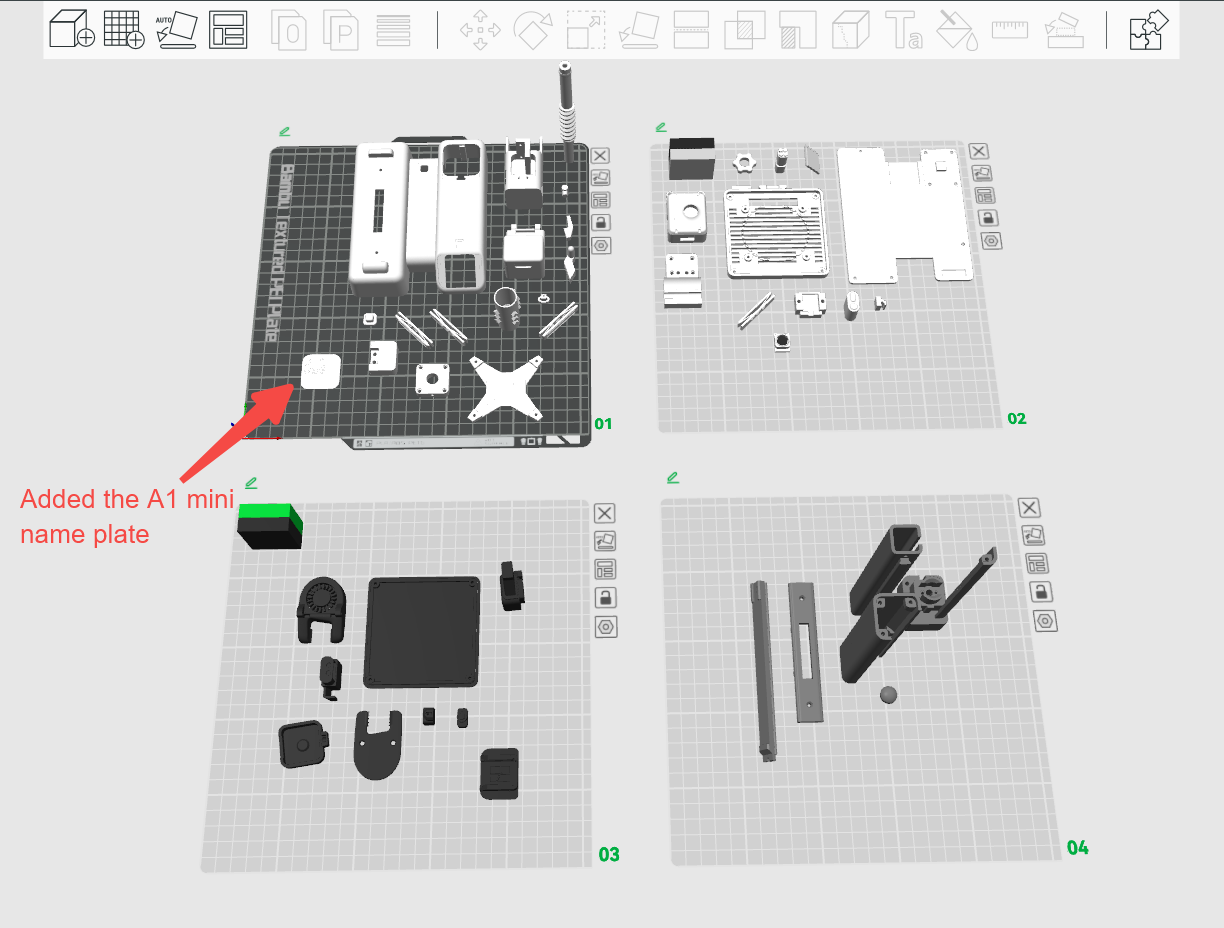
Sometimes, after creating a 3MF file in Bambu Studio, you may need to add new parts to your model design in CAD software. To incorporate these newly created parts into the 3MF file, please follow these steps:
- Export the newly added parts as STL files in your CAD software.
- Import these STL files into Bambu Studio.
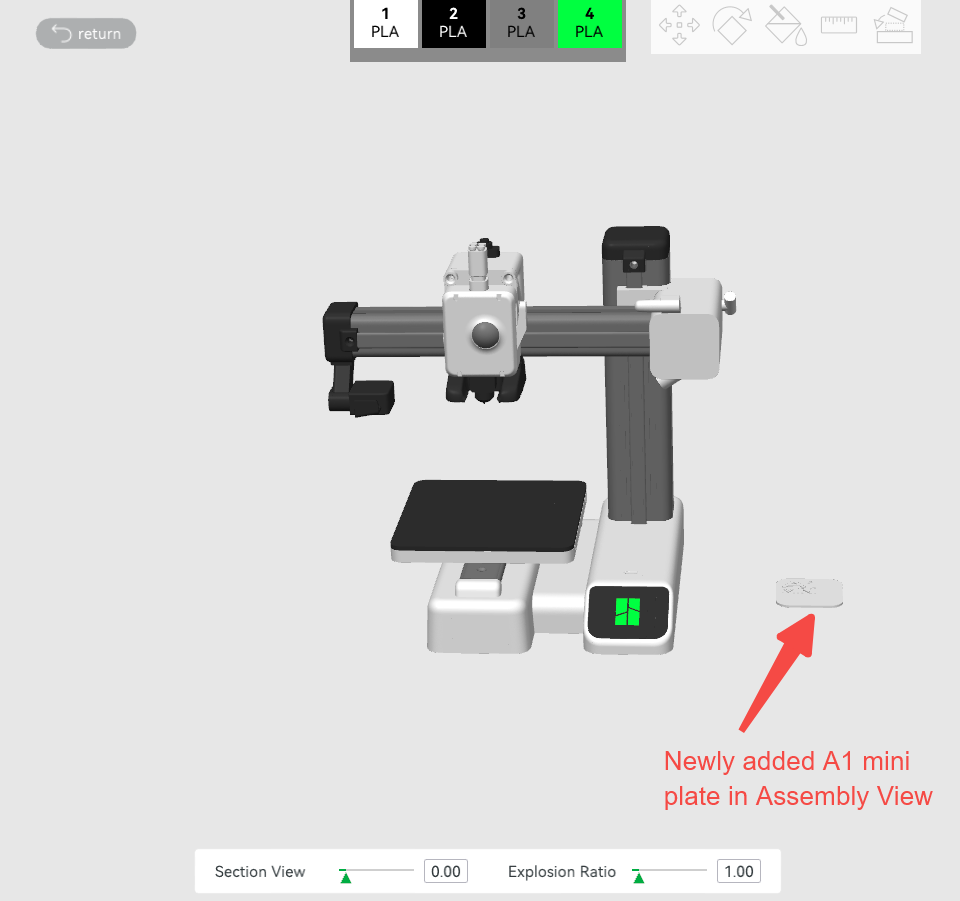
When prompted with a dialog asking whether to load these files as a single object with multiple parts, select "No." This will load each STL file as an individual object. - Navigate to the Assembly View in Bambu Studio.
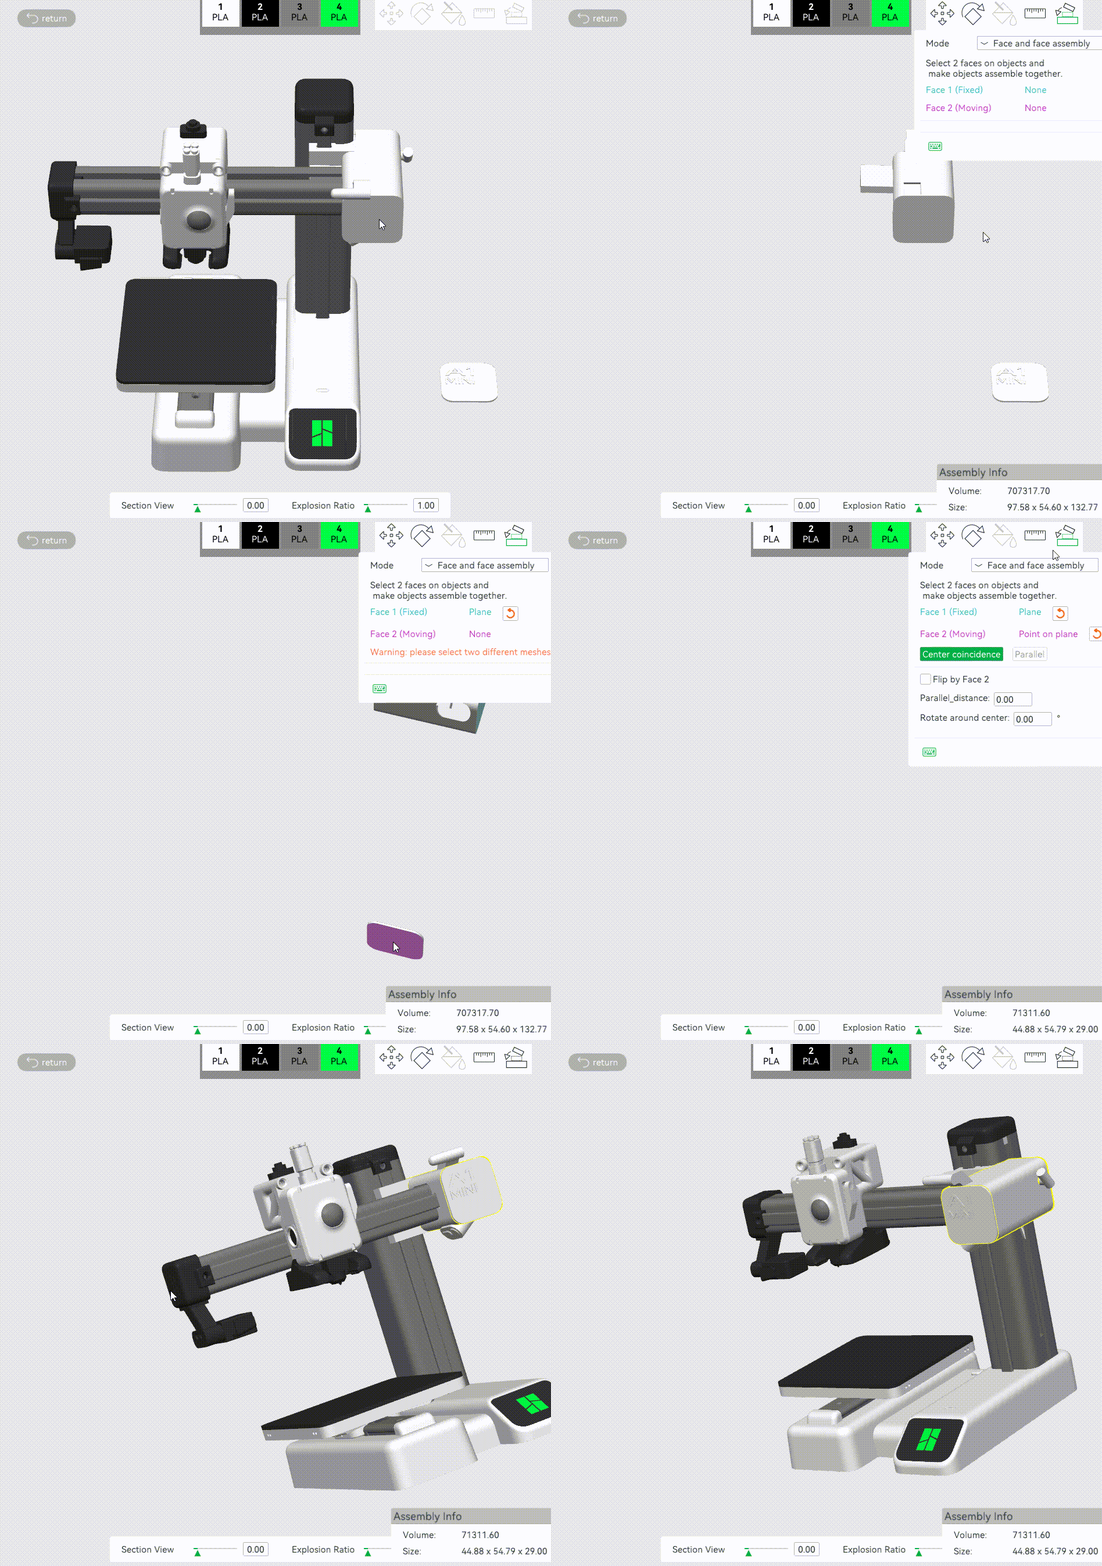
- Use the "Move" or "Assemble" tools to adjust the position of these new objects to the correct location.
- Save your changes and return to the Preview page.
|
|
|
|
¶ 3) Delete a model object
Deleting a model object will not break the Assembly View, so just do it as usual.