¶ Arc fitting
Most of the 3D models are composed of triangular meshes, which means that the arcs in the 3D models have been converted into curves in the STL file using a lot of short straight lines. You can check "Show Wireframe" in the "Simplify Model" function to see the triangular meshes that make up the model and the small lines that make up the arcs (refer to Simplify Model | Bambu Lab Wiki), as shown in the figure below.
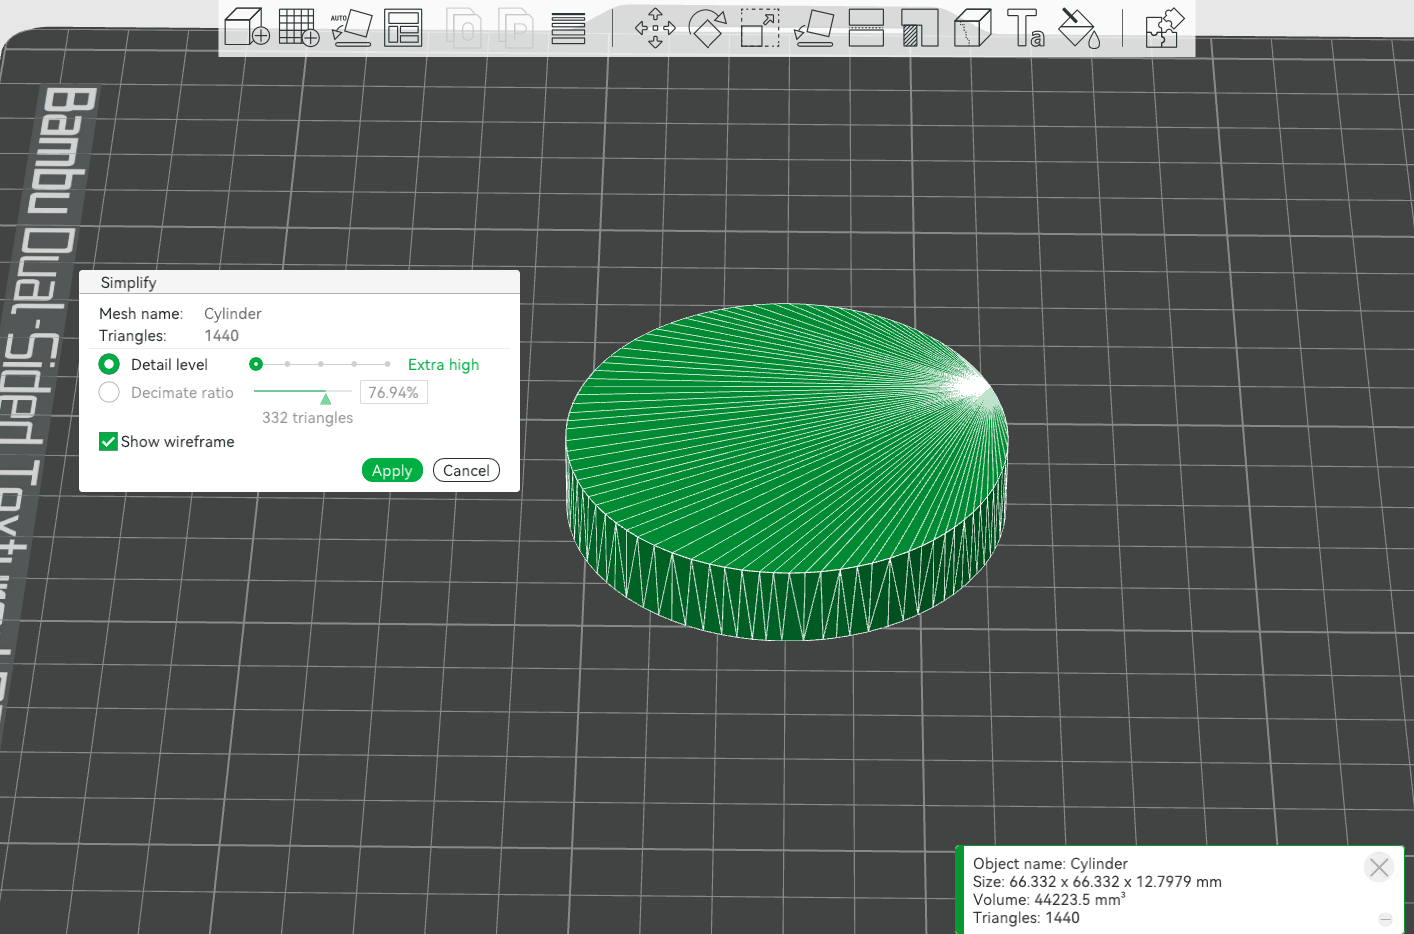
In this way, in the final slicing and printing, the tool head will also move and print according to this path. When the printer speed is slow, these dense paths have no obvious bad effect on print quality. However, when the printing speed is high, a large number of transient pulse signals will be generated at the turning point of the line segment, which will bring noise and vibration.
To remedy this problem, Bambu studio generates arc move paths by fitting them within certain acceptable tolerances, so that the resulting Gcode supports G2/G3 arc move. This can reduce the number of turning point of segments and make path more smooth, and reduce the vibration in the fast printing.
The arc fitting method is based on ArcWelderLib. Sincere thanks for opening the source code for such excellent work.
We printed one model twice and record the video to compare noise , vibration and quality.
¶ Working principle
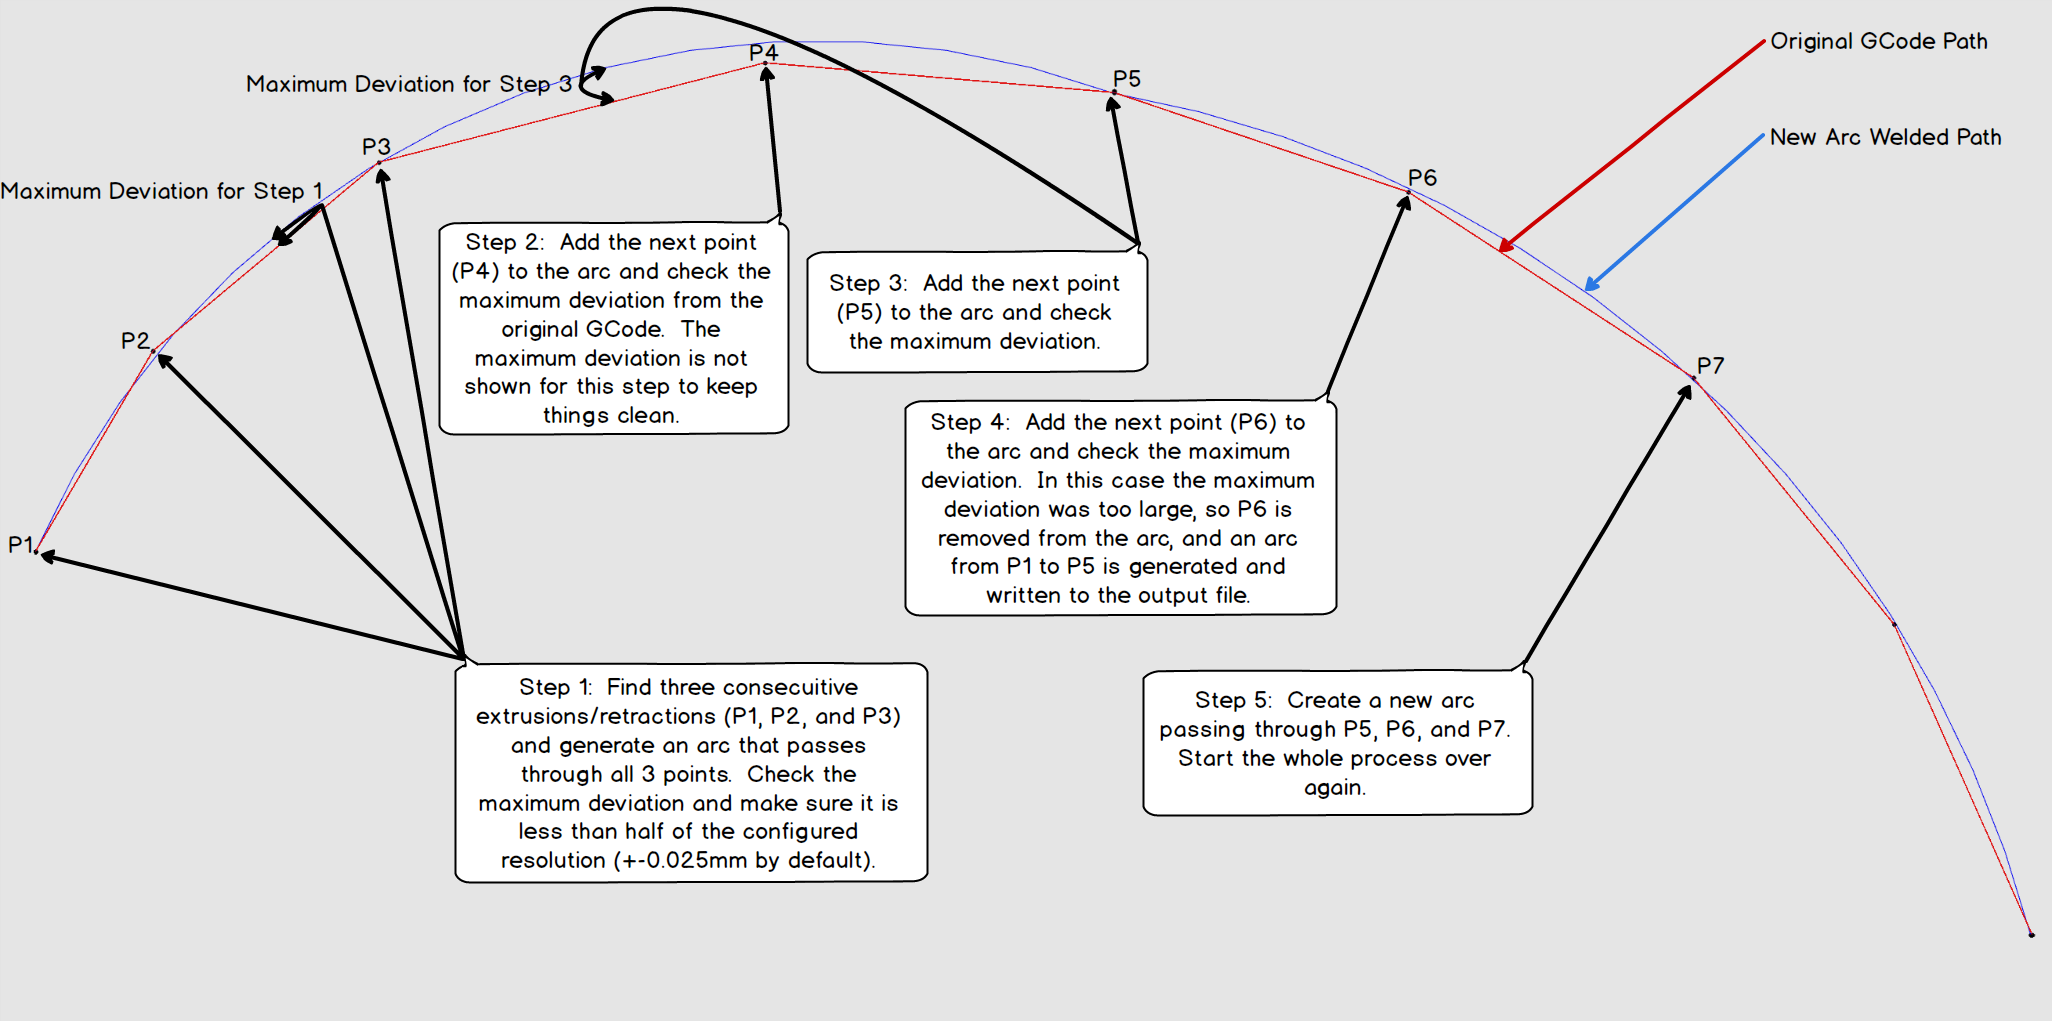
The process of arc fitting is shown in the figure below. First, find three consecutive points on the tool head moving path and fit an arc (P1-P2-P3) by taking a circumscribed circle, and ensure that the maximum deviation of the created arc from the original path is less than the maximum fit tolerance value (resolution). Then continue to find points on the subsequent paths to confirm that the deviation values are within the resolution until the point that is out of range is found and then eliminated (P6), completing the arc fitting for these previous points (P1-P5). Then repeat the previous process until the end of the entire Gcode.
¶ Operation instruction
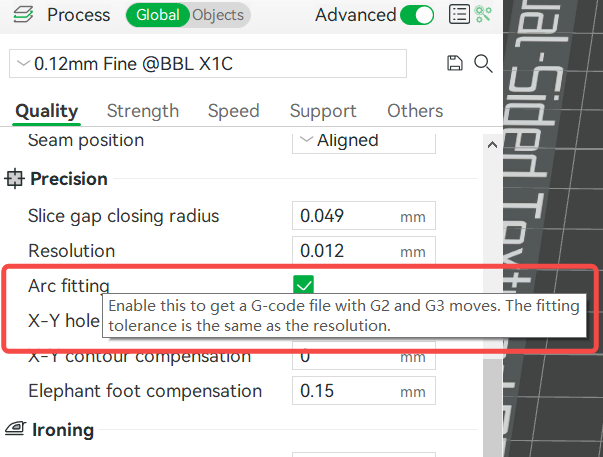
Here you can enable/disable the arc fitting function, which is turned on by default for better print quality under high-speed printing.
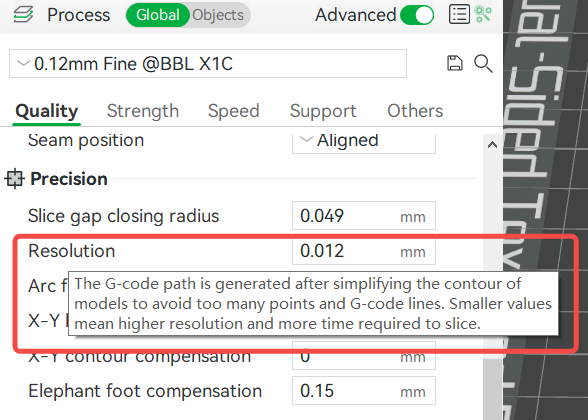
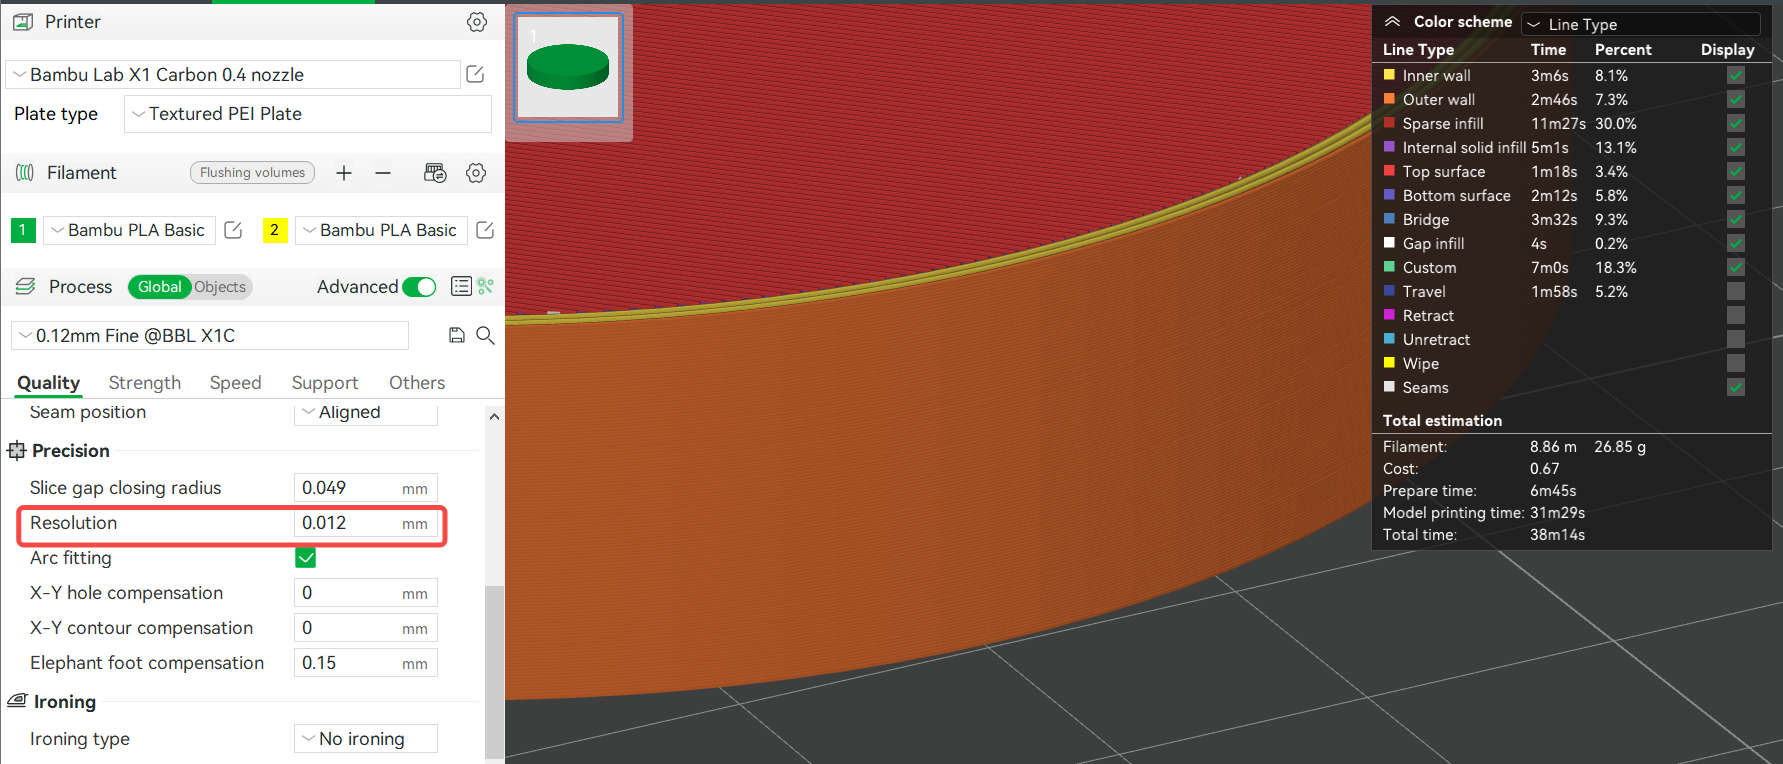
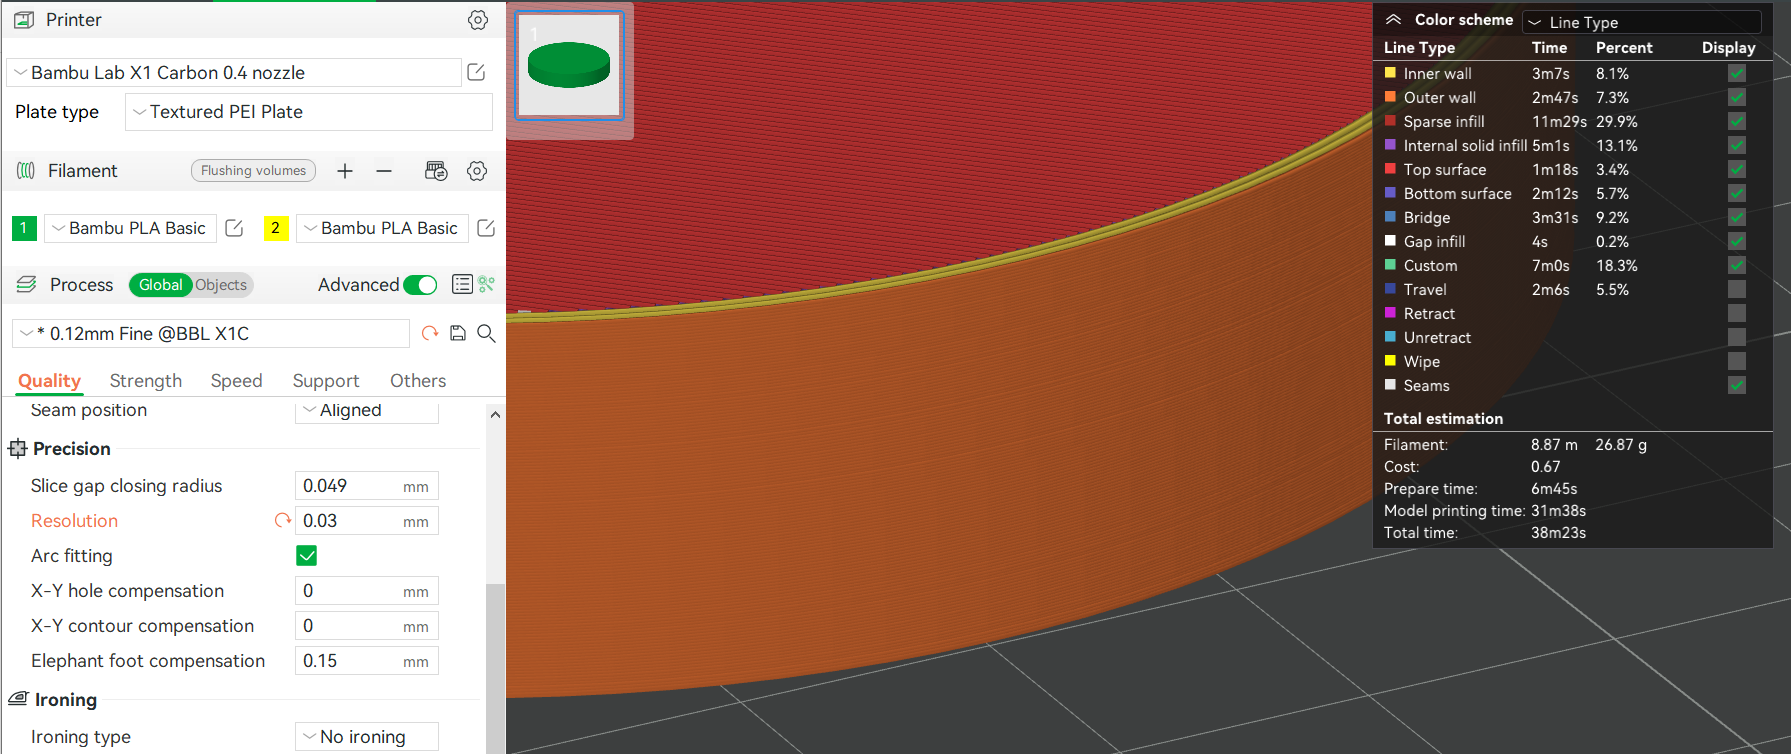
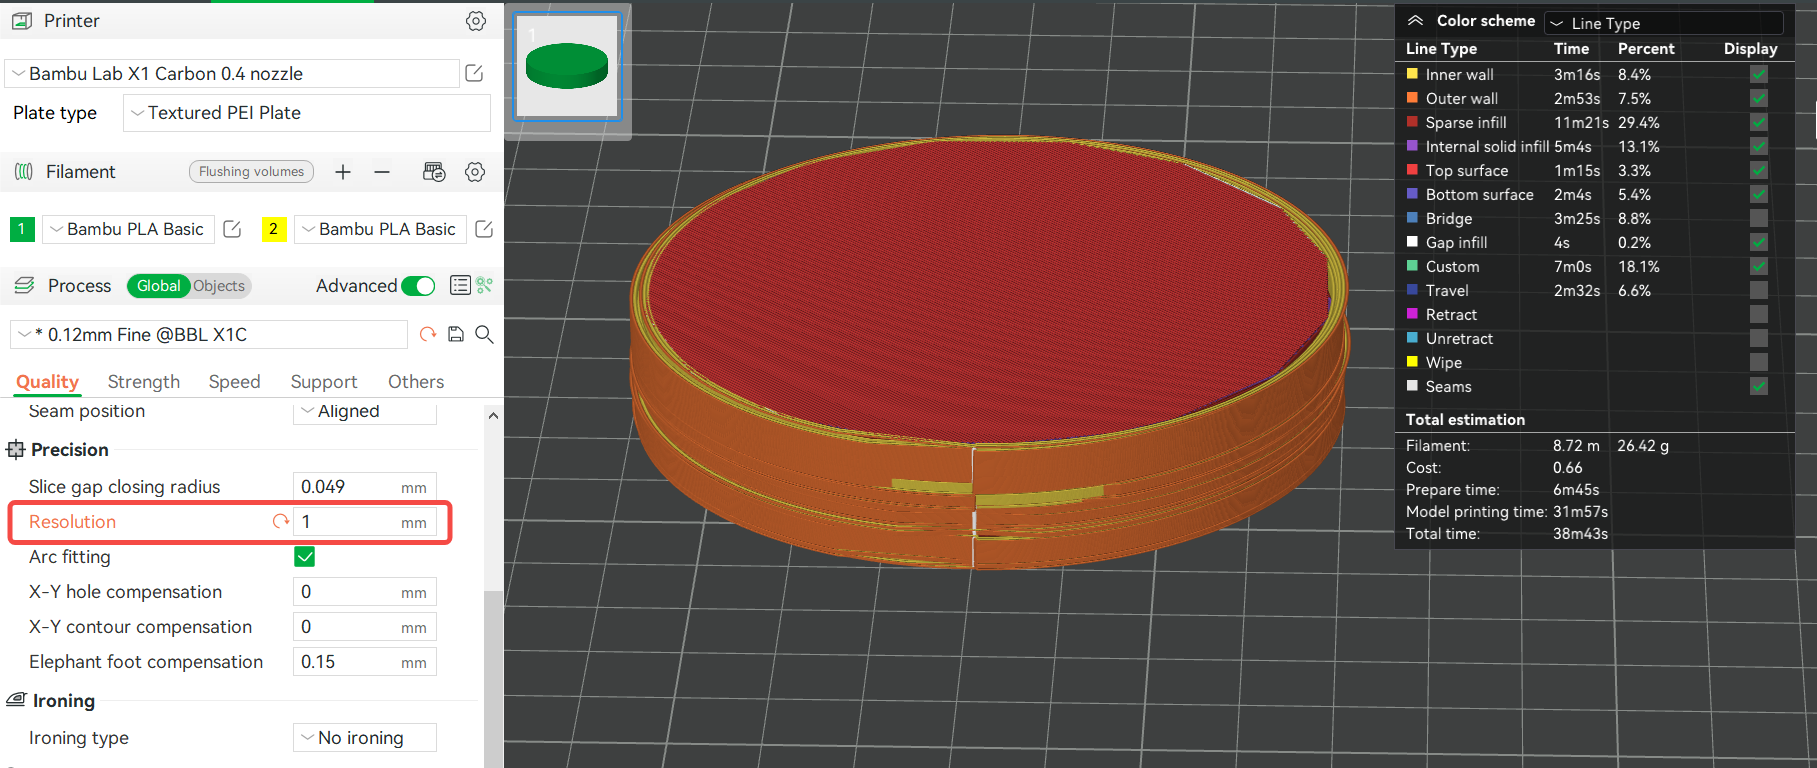
The resolution is the maximum deviation of the fitted path of the arcs from the original path (bow height error), and you can decrease the resolution (increase this value) to add more arcs after slicing to an less accurate model. We usually don't recommend setting this value too large, though. If you try to force a model with low accuracy into arcs by setting a larger resolution, the model will show significant misalignments between layers, or even cause the model to be completely distorted.
The following is the comparison of the arc surface of the model after adjusting different resolutions:
If the resolution is forcibly reduced and set to a larger value, the surface of the model will be misaligned due to the inconsistency of the fitted arc shape between different layers
¶ End Notes
We hope the detailed guide provided has been helpful and informative.
To ensure a safe and effective execution, if you have any concerns or questions about the process described in this article, we recommend submitting a technical ticket regarding your issue.
Please include a picture or video illustrating the problem, as well as any additional information related to your inquiry.