¶ Screws Kit-A1 Series and AMS lite
In response to customer feedback and requirements, we have introduced a screw kit for the A1 series (which includes the AMS lite) to provide a selection of frequently utilized screws.
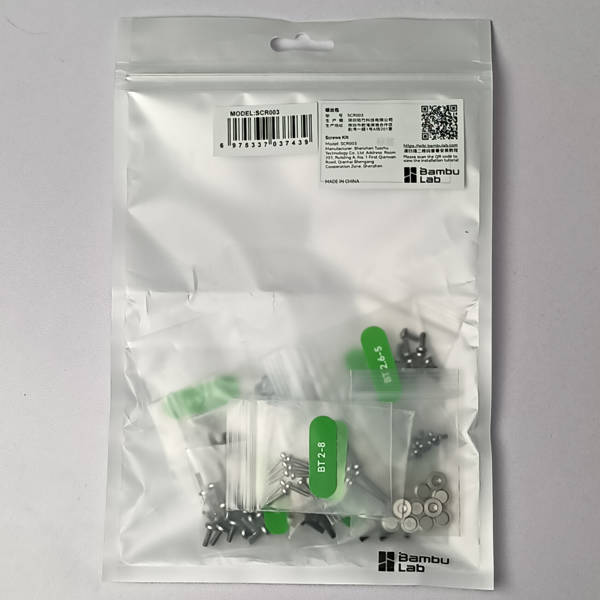
Screws Kit - A1 Series and AMS lite
¶ List and locations
¶ 1. BT2-5 For the feeder unit and the filament Sensor
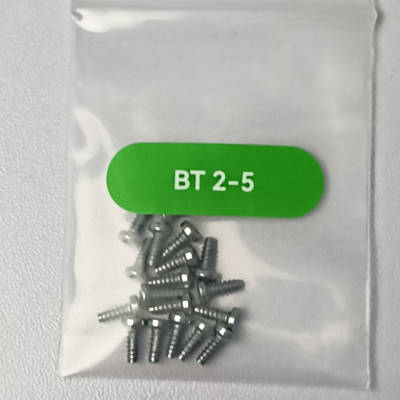
 |
 |
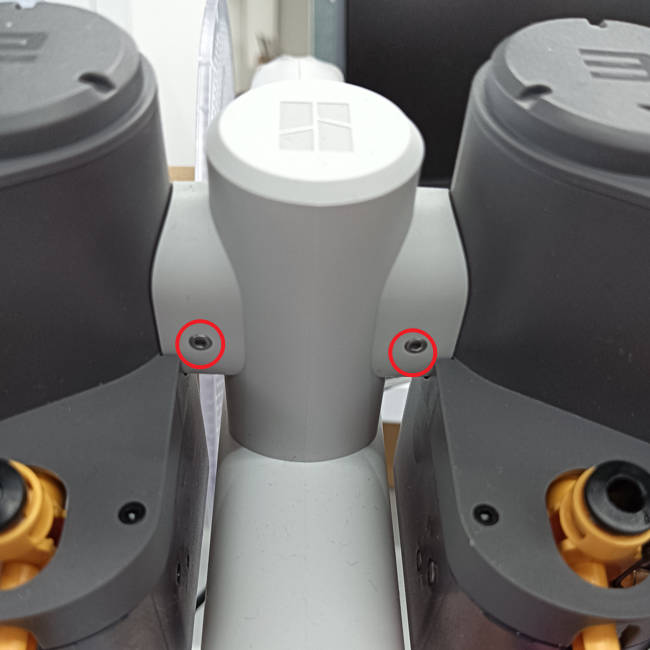
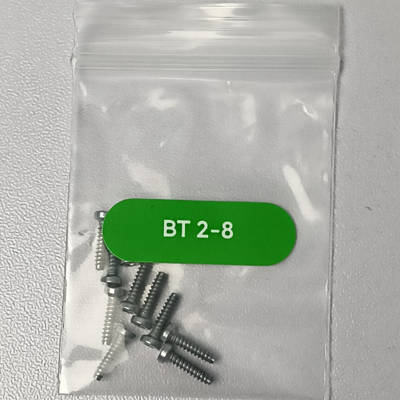
¶ 2. BT2-8 For the filament pressing block

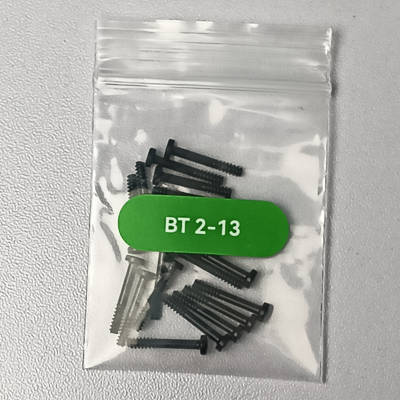
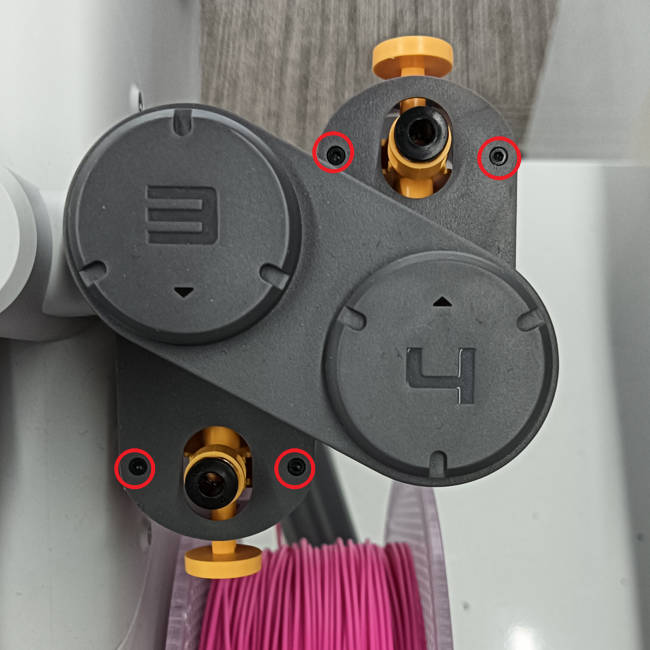
¶ 3. BT2-13 For the filament funnel unit
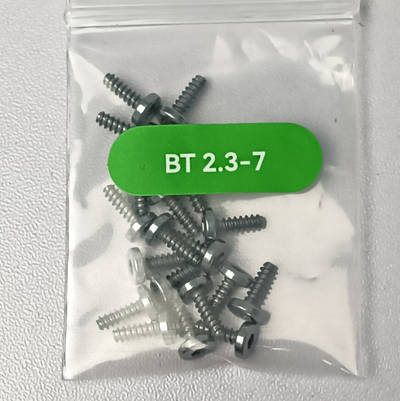
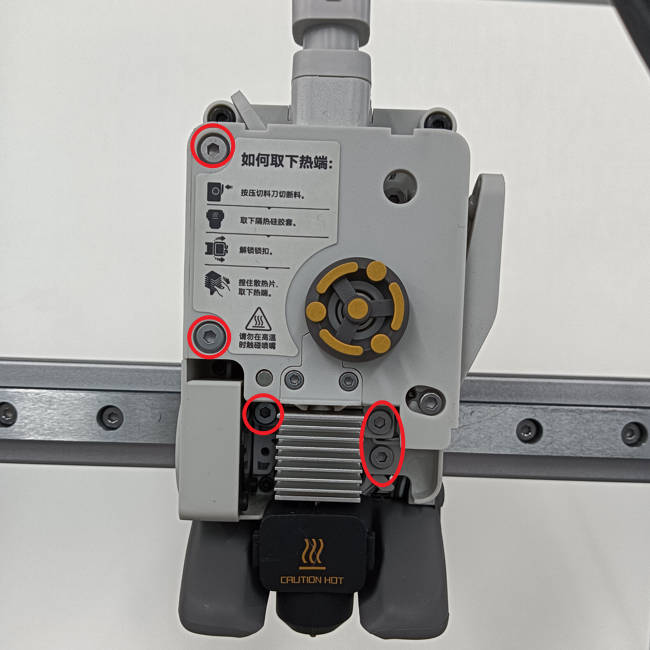
¶ 4. BT2.3-7 For the extruder unit and its front cover
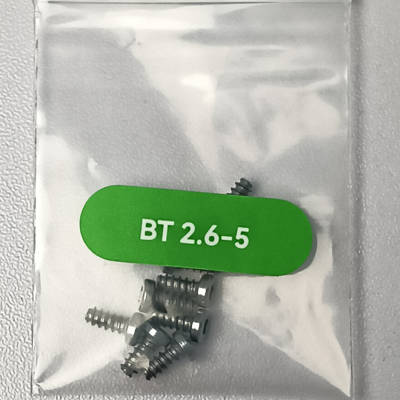
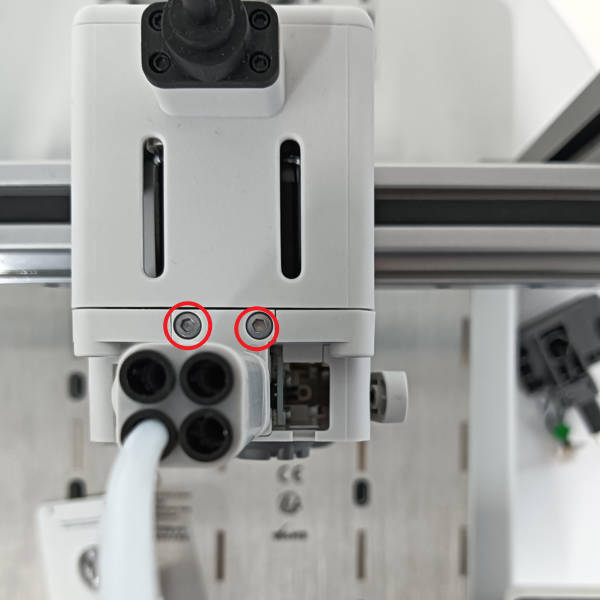
¶ 5. BT2.6-5 For the filament sensor base
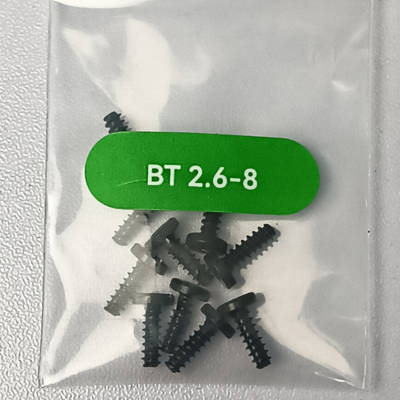
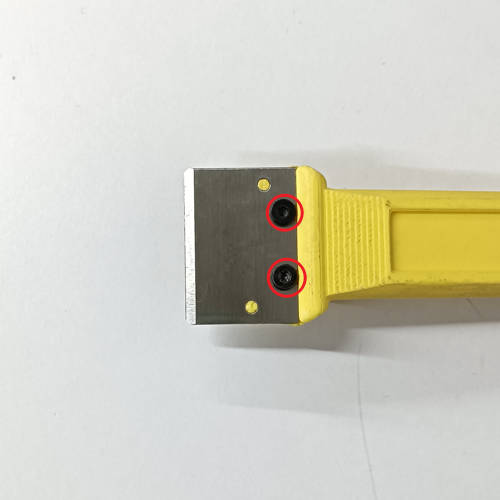
¶ 6. BT2.6-8 For the scraper
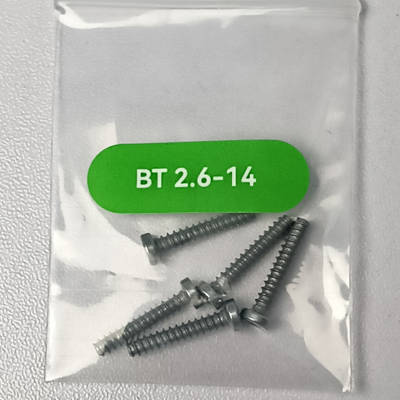
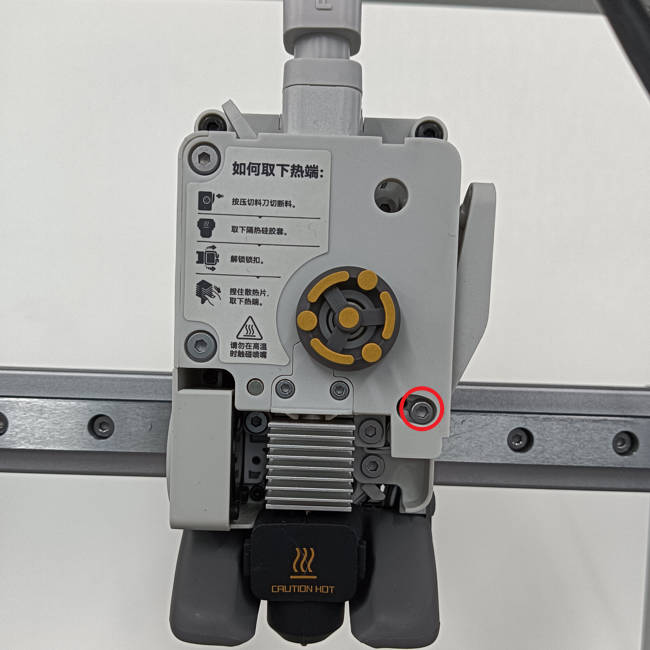
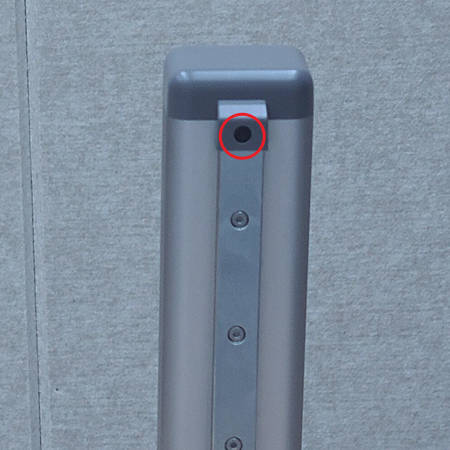
¶ 7. BT2.6-14 For the cutter lever
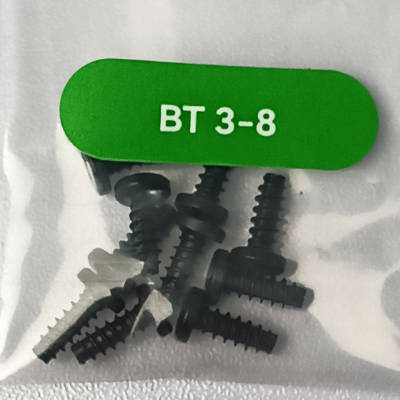
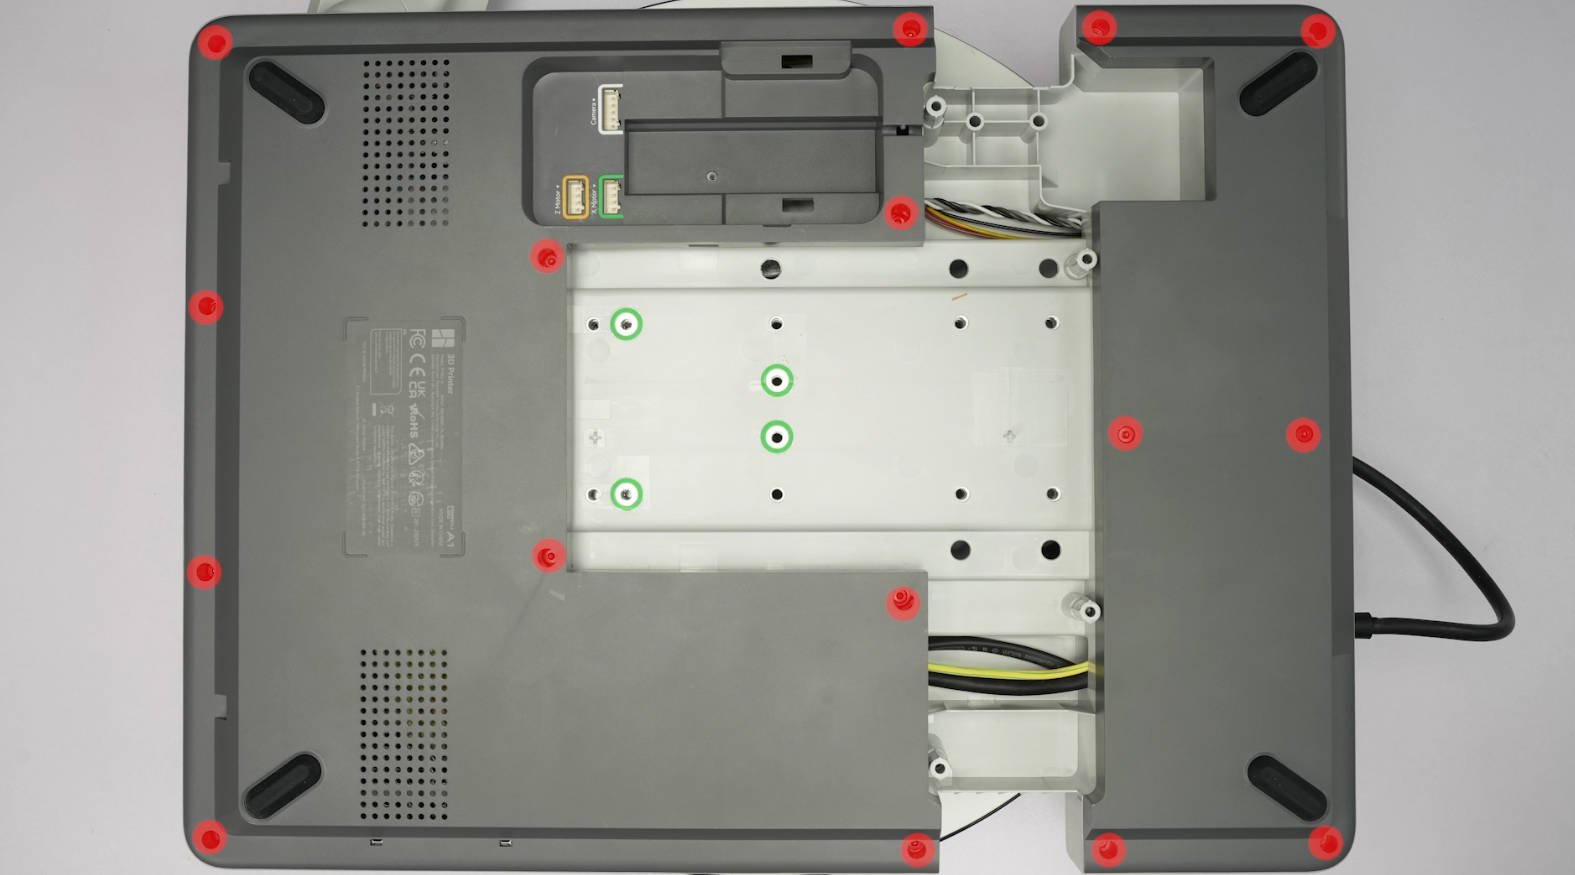
¶ 8. BT3-8 For the bottom plate of A1& A1 mini and AMS lite stand
 |
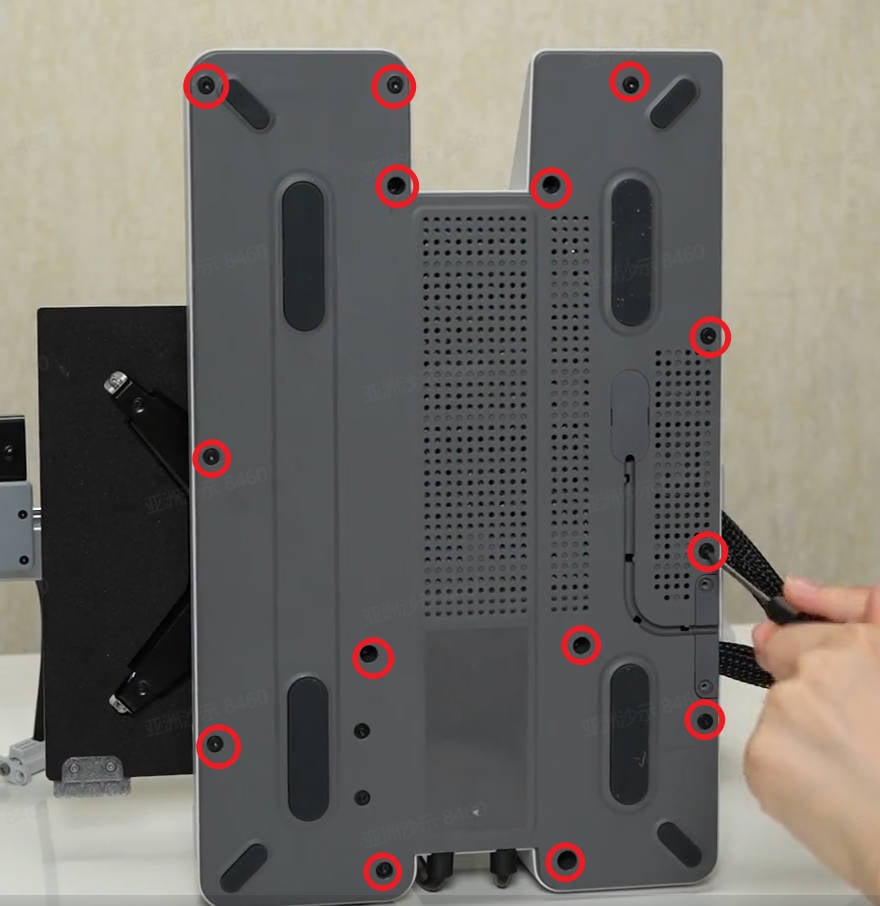 |
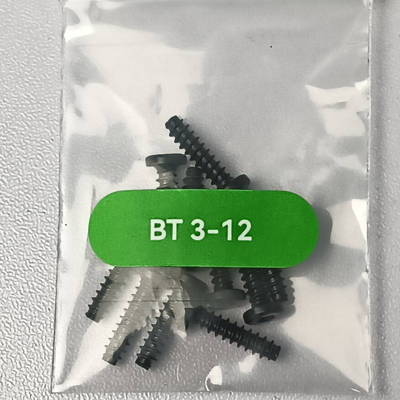
¶ 9. BT3-12 For the extruder unit
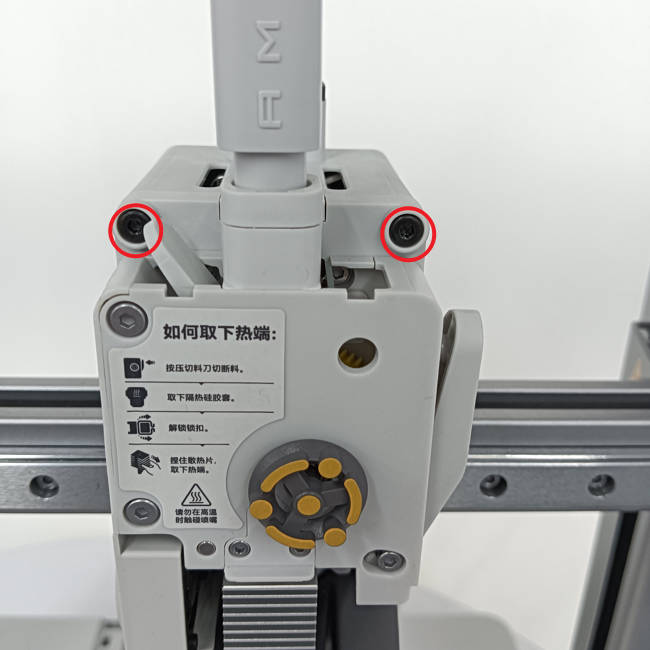
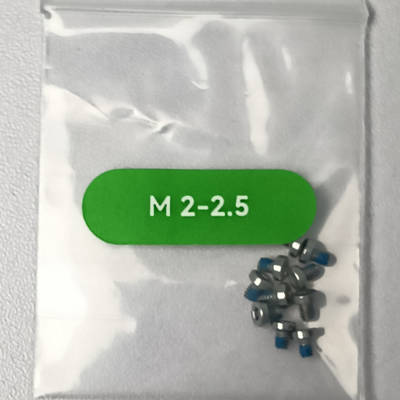
¶ 10. M2-2.5 For the coil and the heat sink of A1 main board
 |
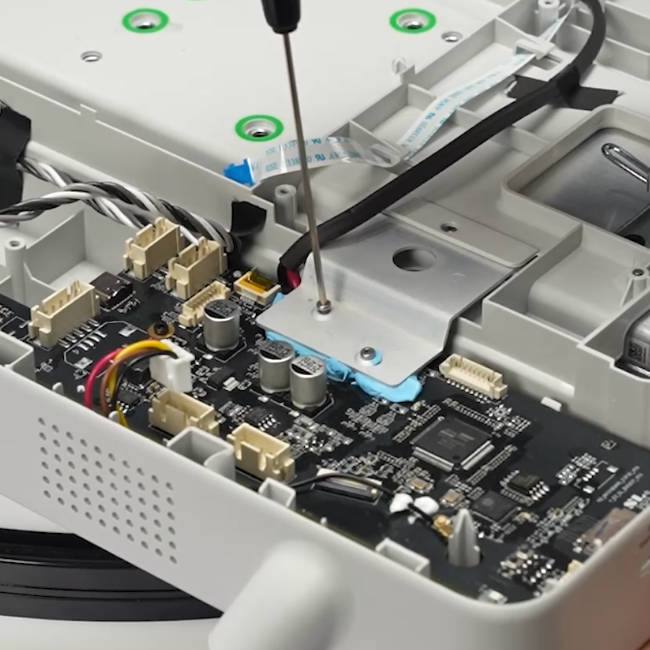 |
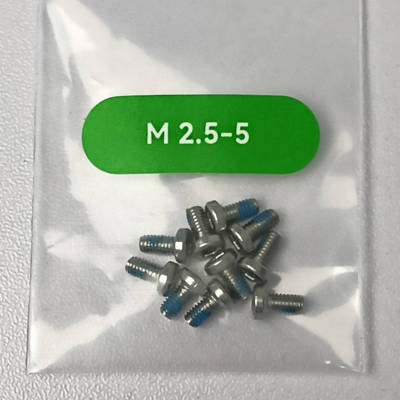
¶ 11. M2.5-5 For the A1 mini heatbed
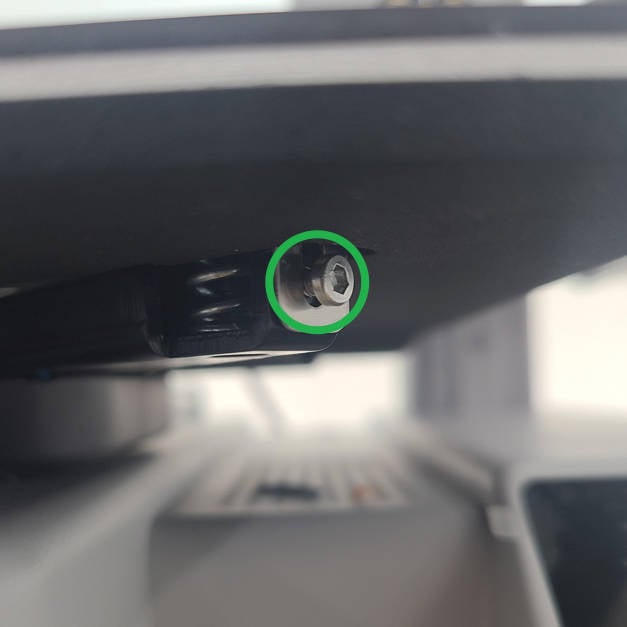
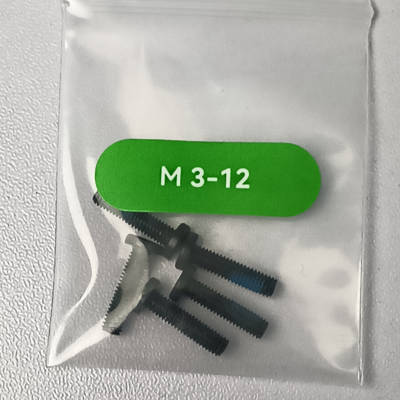
¶ 12. M3-12 For the purge unit and the A1 mini Z cover
 |
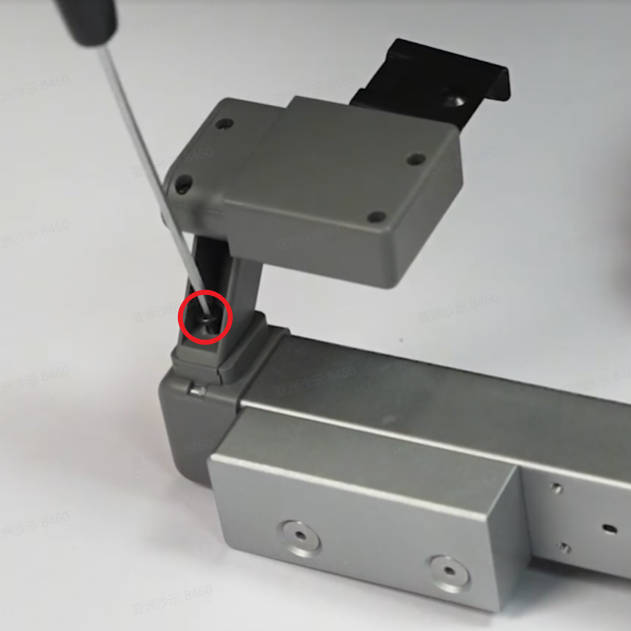 |
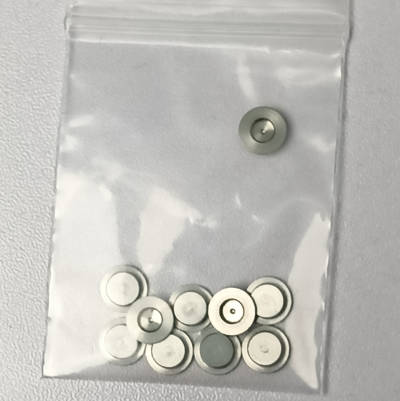
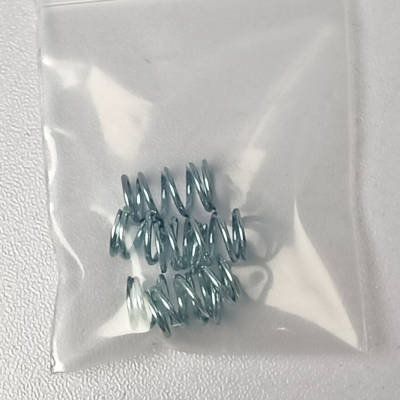
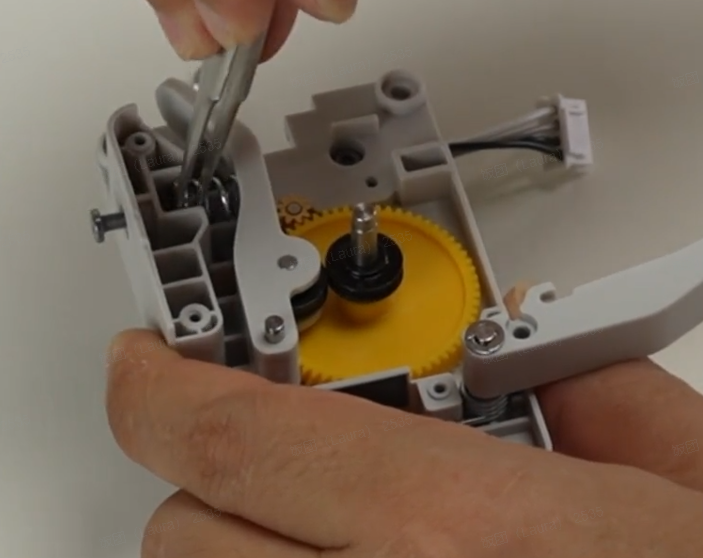
¶ 13. The pressing plate & spring for the extruder gear assembly
 |
 |
¶ End Notes
We hope the detailed guide provided has been helpful and informative.
To ensure a safe and effective execution, if you have any concerns or questions about the process described in this article, we recommend submitting a Technical ticket regarding your issue. Please include a picture or video illustrating the problem, as well as any additional information related to your inquiry.