¶ Cable Chain Assembly
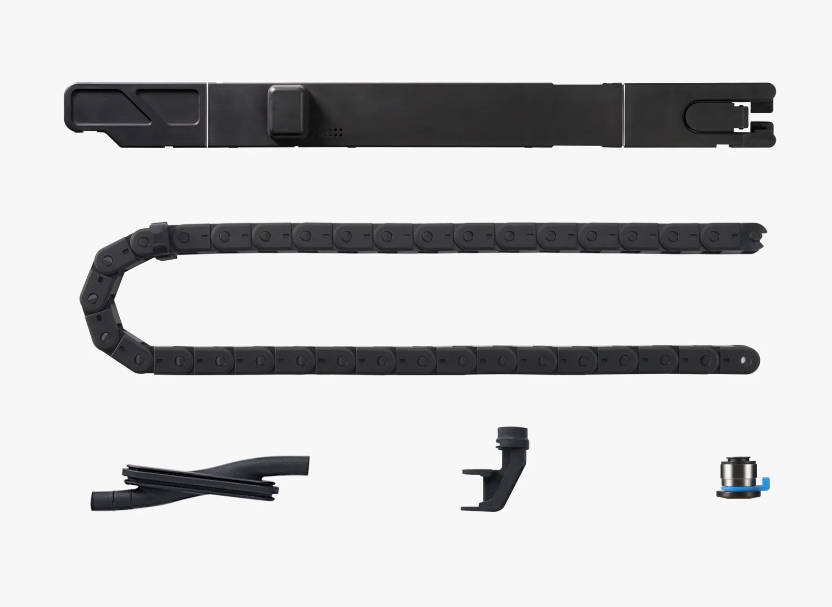
¶ Tools and materials needed
- H1.5/2.0 Allen key
- Tweezers
- Bambu scraper
- List of screws used for the parts in this guide
| NO. | Model | Position | Drawing | NO. | Model | Position | Drawing |
| Screw A | BT2*5 | Tool head housing |
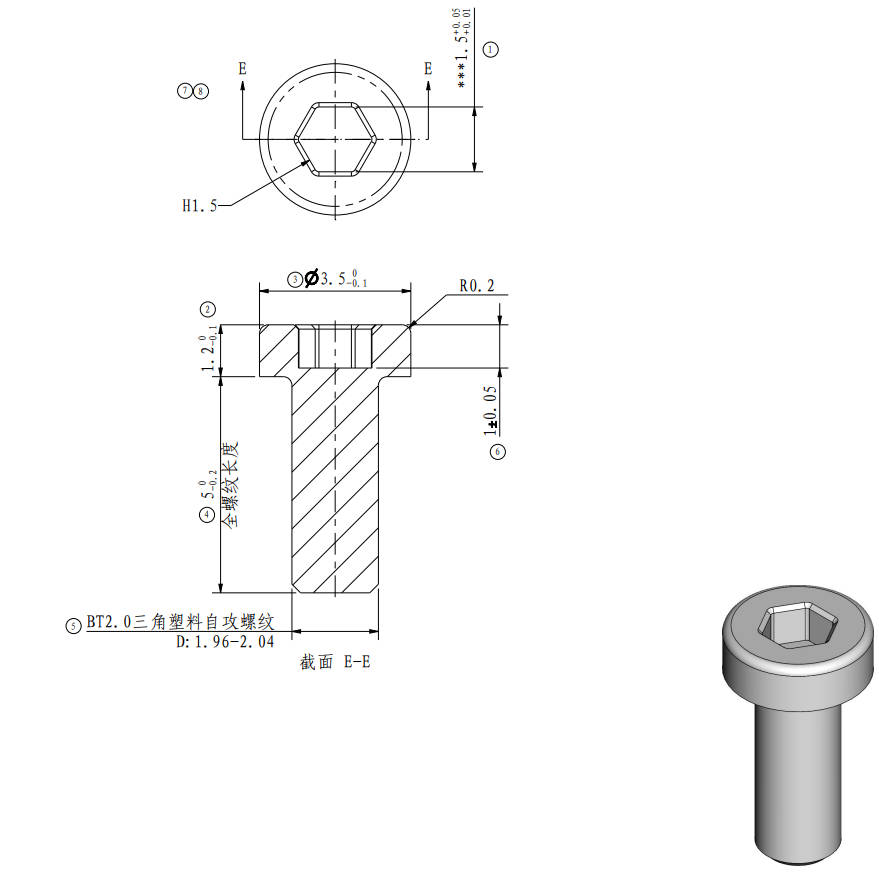 |
Screw B | ST3*4.5 | Rear panel |
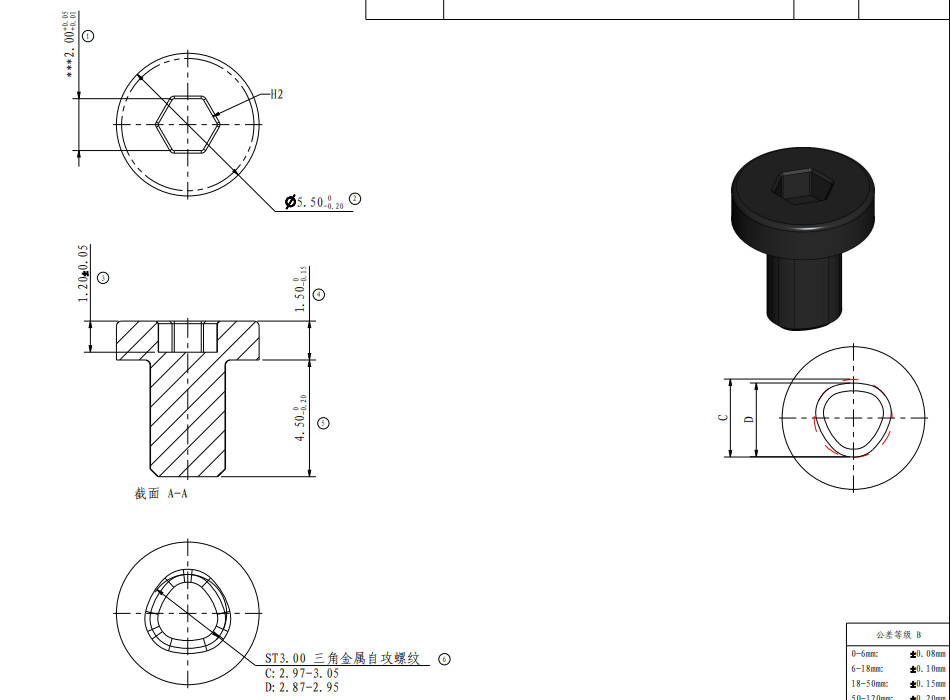 |
| Screw C | BT3*5 | Rear panel |
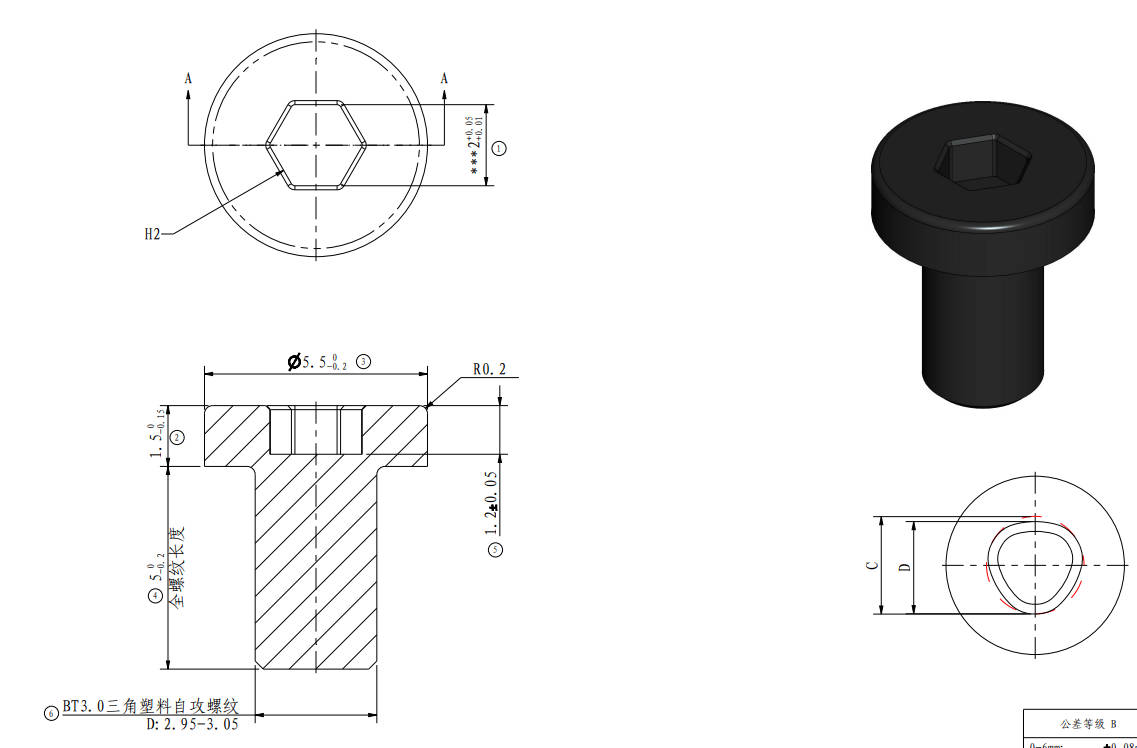 |
Screw D | BT2*8 | Excess chute, Cable Chain Assembly |
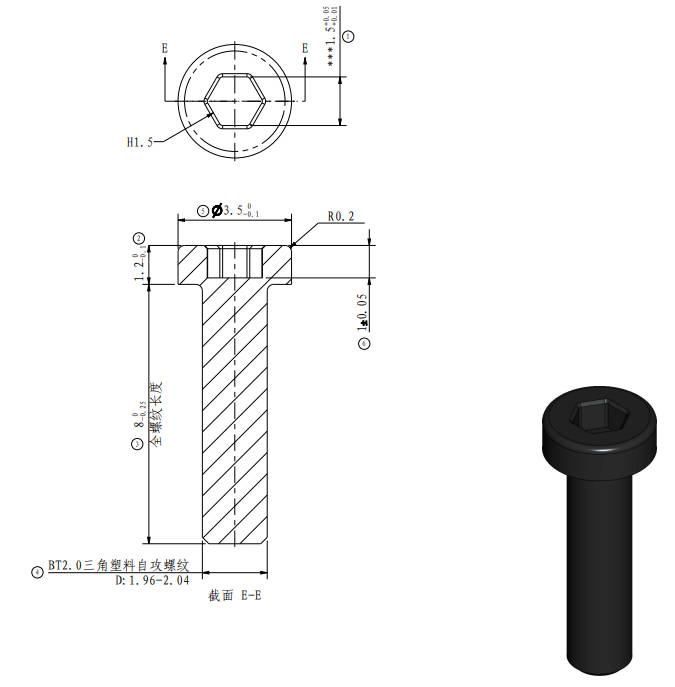 |
| Screw E | ST3*8 | Spool holder |
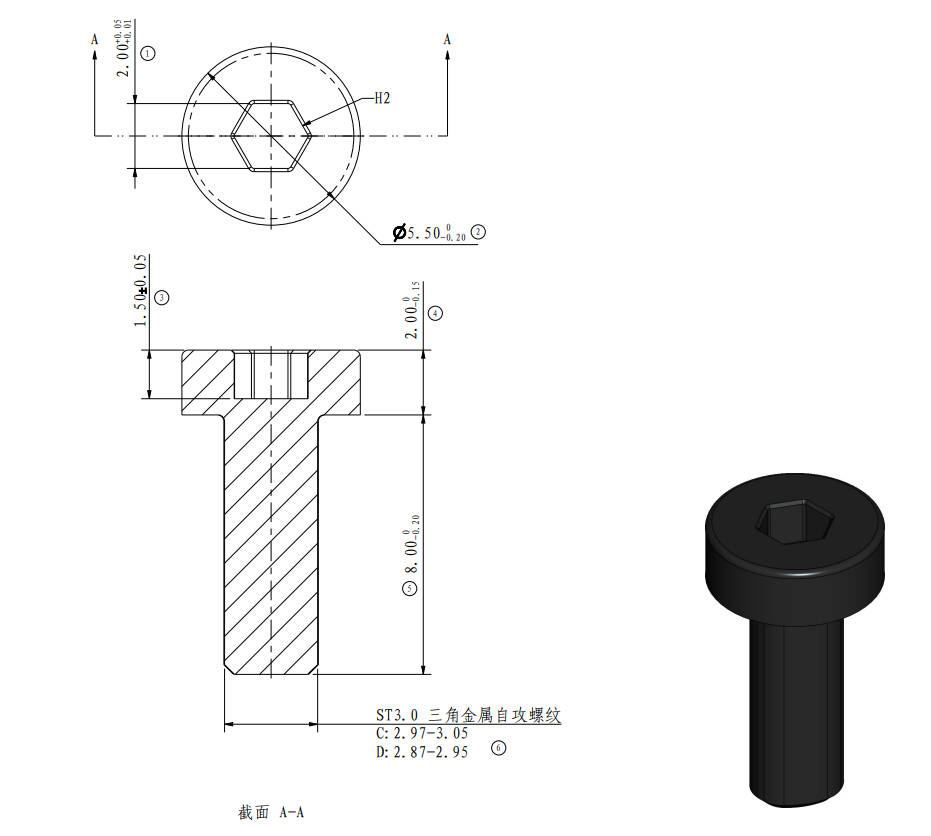 |
¶ Safety Warning
IMPORTANT!
It's crucial to power off the printer before performing any maintenance work on the printer and its electronics, including tool head wires, because leaving the printer on while conducting such tasks can cause a short circuit, which can lead to additional electronic damage and safety hazards.
When you perform maintenane or troubleshooting on the printer, you may be required to disassemble some parts, including the hotend. This process can expose wires and electrical components that could potentially short circuit if they come into contact with each other or with other metal or electronic components while the printer is still on. This can damage the electronics of the printer and cause further damage.
Therefore, it's essential to switch off the printer and disconnect it from the power source before doing any maintenance work. This will prevent any short circuits or damage to the printer's electronics. By doing so, you can avoid potential damage to the printer's electronic components and ensure that the maintenance work is performed safely and effectively.
If you have any concerns or questions about following this guide, open a new ticket in our Support Page and we will do our best to respond promptly and provide you with the assistance you need.
¶ Operation
Reminder:
1. To prevent step loss caused by insufficient tube length, it is advisable to replace the 530mm PTFE tube with a 550mm tube.
2. It is not recommended to immediately install a Cable Chain Assembly on P1P printers. If you want to install a Cable Chain Assembly, you may need to purchase a P1 Series Toolhead Cable simultaneously. Both P1P version and P1S version toolhead cables can work with the cable chain. But it is recommended to use the P1S version toolhead cable to work with the cable chain due to its better resistance to bending and flexing.
¶ Video guide
Step 1 - Loosen and remove the PTFE tube, and then remove the 3 clips from the tube.
Step 2 - Remove the rear housing.
Step 3 - Unlock the TH board and disconnect the toolhead cable from the TH board.
Step 4 - Remove the rear panel and the excess chute.
Step 5 - Disconnect the tool head cable from the MC board, and remove the toolhead cable;
Step 6 - Install the new tool head cable, and connect the cable to the MC board.
Step 7 - Install the excess chute and the rear panel.
Step 8 - Connect the toolhead to the TH board and install the TH board.
Step 9 - Cut the rubber plug and remove it.
Step 10 - Install the Cable Chain Assembly, and then install the cable chain cover.
Step 11 - Connect the Cable Chain Assembly to the cover base, and lock 1 screw to fix it.
Step 12 - Install the rubber bracket.
Step 13 - Install the rear housing of the toolhead.
Step 14 - Pass the PTFE tube through the connector in the direction shown in the figure below, then pass the tube through the rubber bracket.
Step 15 - Connect the PTFE tube to the tool head connector, close the front housing of the tool head, adjust the extension length of the PTFE tube on the rubber bracket, then push the connector on the PTFE tube to the position of the rubber bracket, install the blue clip, lock the connector, and finally snap the tube into the buckle on the Cable Chain Assembly.
Note:
- If you find that the length of the PTFE tube is insufficient, affecting the tool head movement or causing step loss during printing, you can replace it with a new PTFE tube that is 20mm longer than the original one.
- If the cable chain against the X-axis carbon rods, you can adjust the length of the USB cable and store the excess part in the MC board.
¶ Verify the functionality
Move the tool head for a circle to confirm that the Cable Chain Assembly moves normally and there is no interference with the PTFE tube.
¶ Calibration step after the operation
Turn on the printer and run a calibration.
¶ End Notes
We hope the detailed guide provided has been helpful and informative.
To ensure a safe and effective execution, if you have any concerns or questions about the process described in this article, we recommend submitting a technical ticket regarding your issue.
Please include a picture or video illustrating the problem, as well as any additional information related to your inquiry.