¶ Preparation
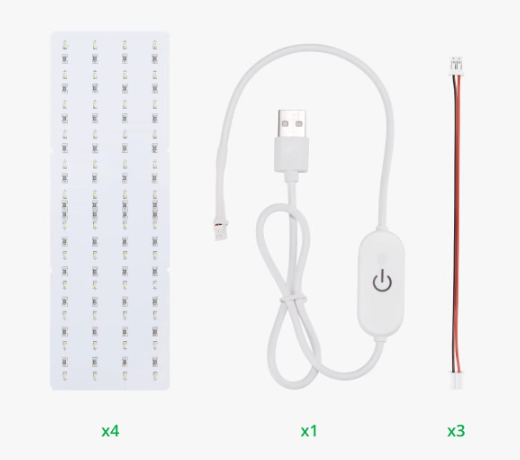
- Prepare the Lithophane LED Backlight Board Kit according to the size of the printed frame. This guide uses a 4-piece kit as an example.
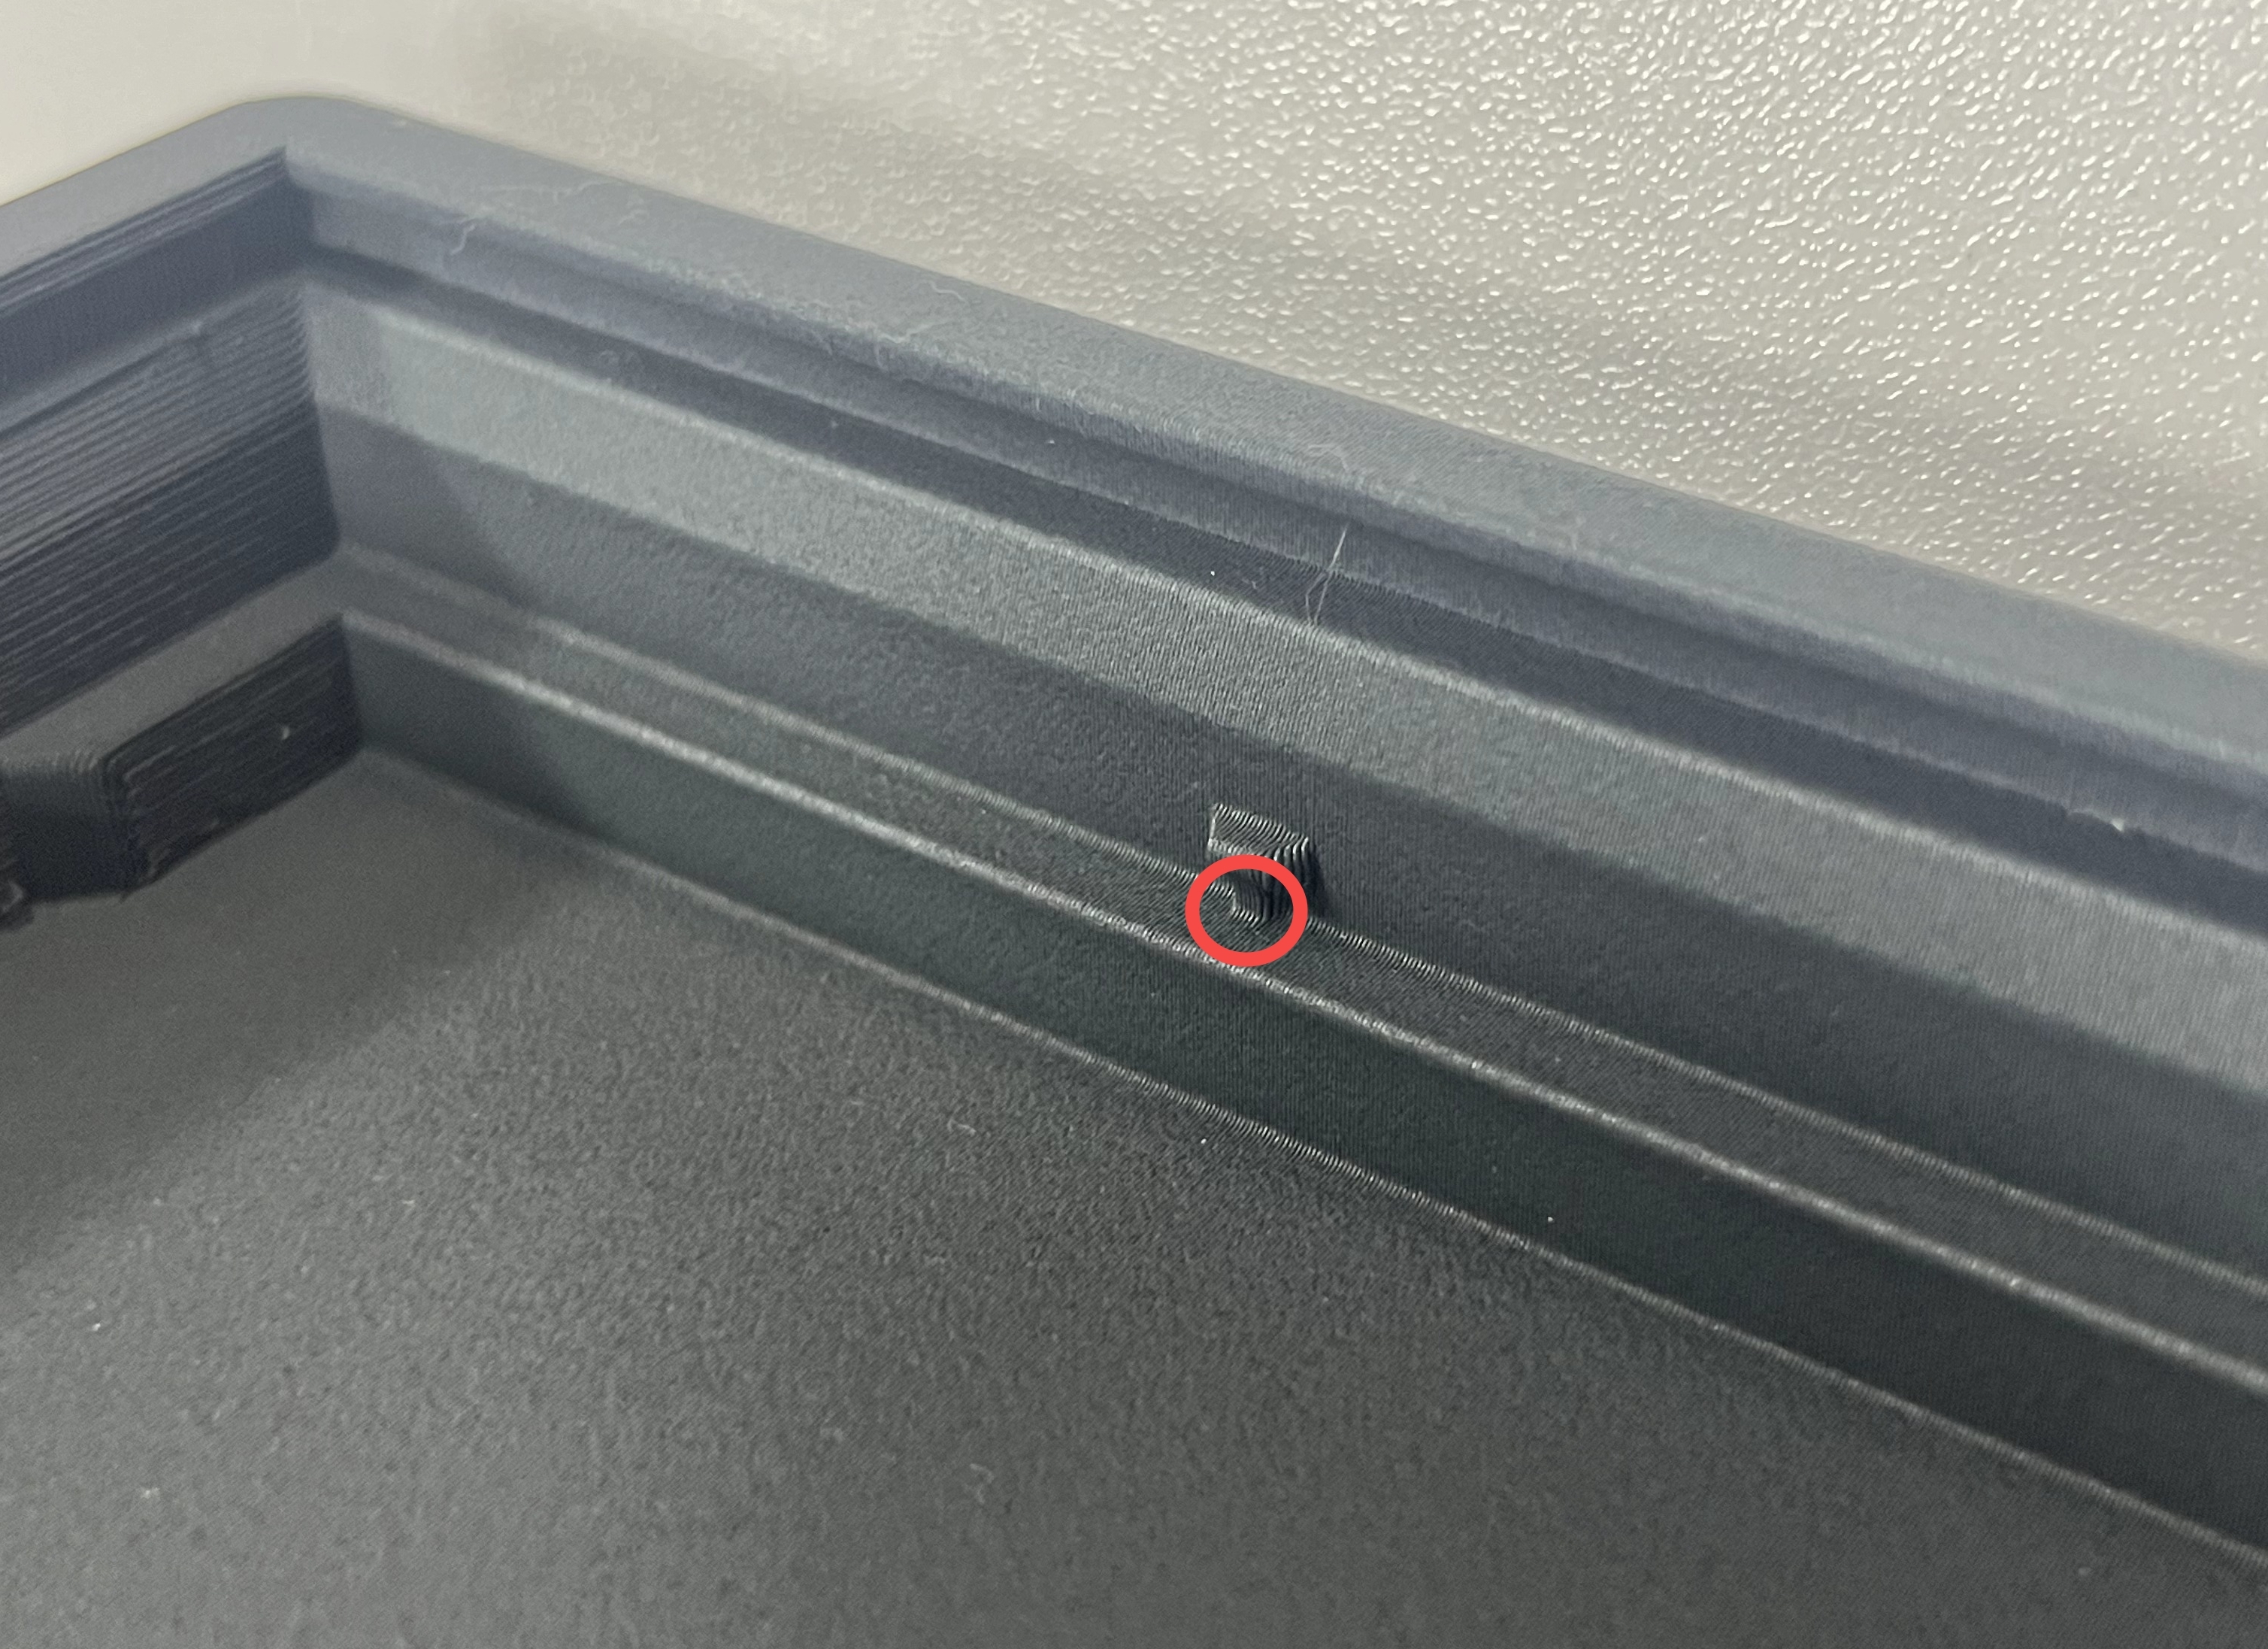
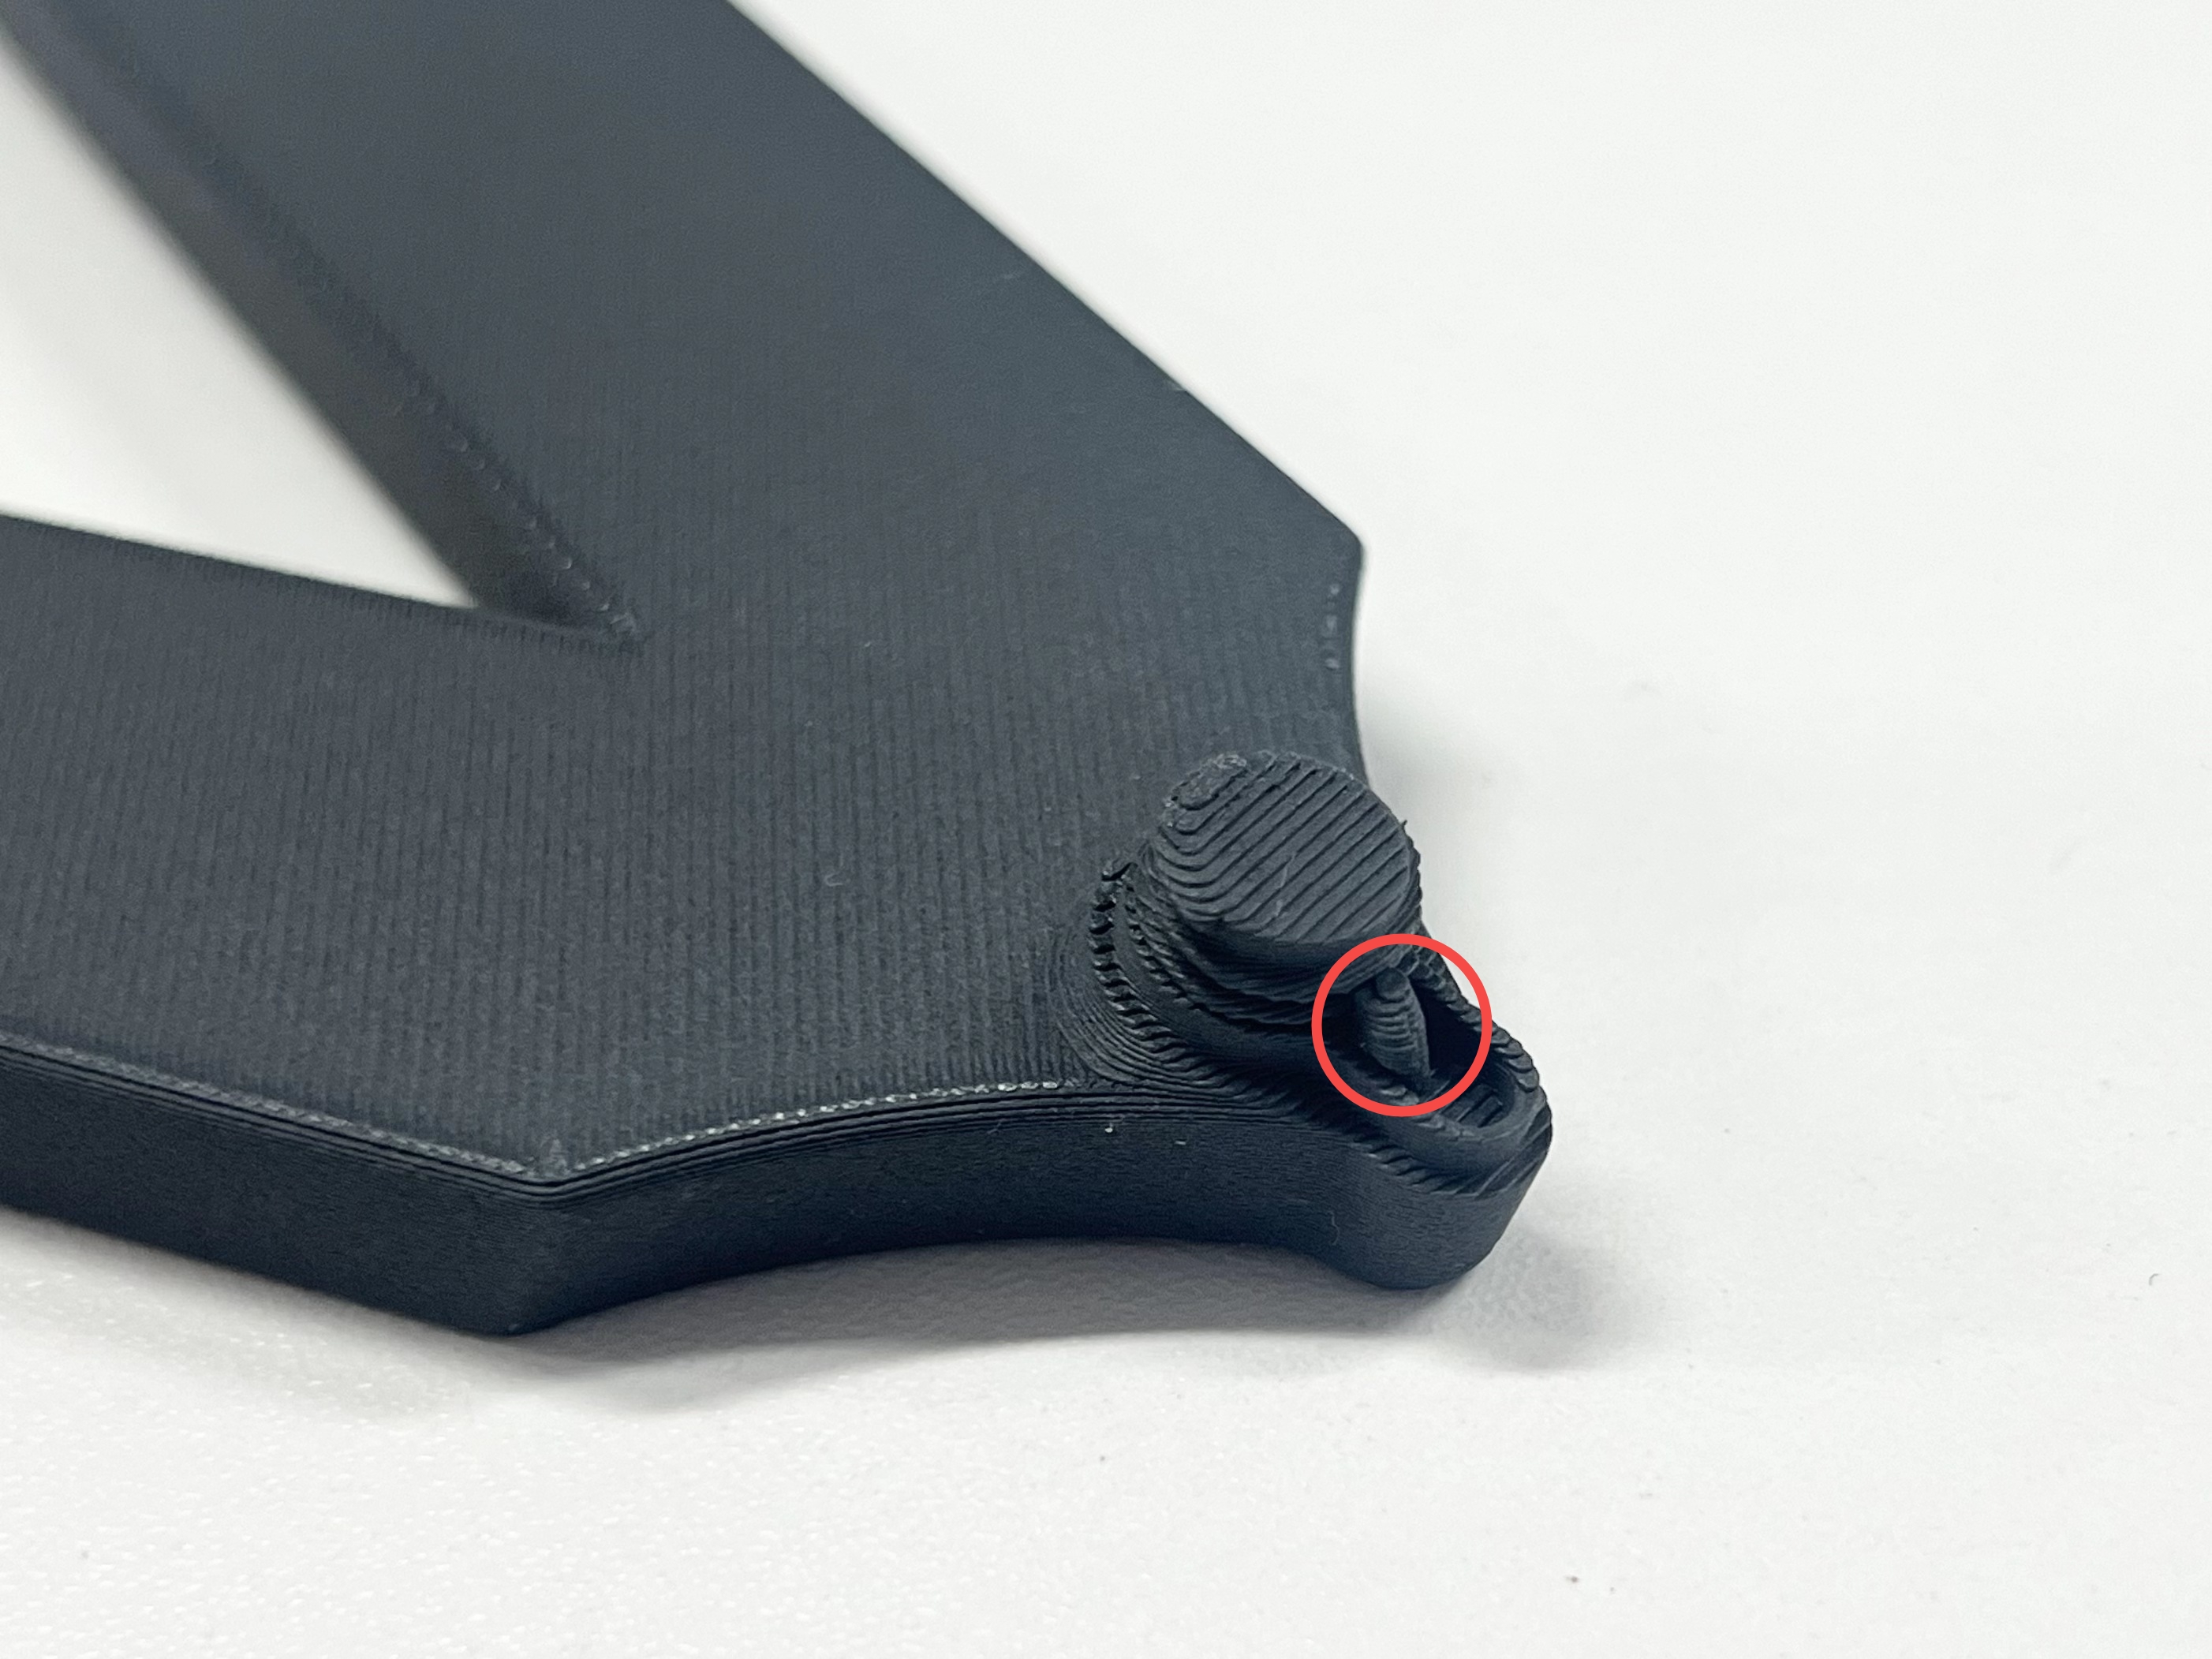
- When printing the frame, small clips and support connections inside the frame might have overhangs. Trim these off to ensure smooth installation.
Note: Please make sure not to trim off the entire clips, which will affect the subsequent installation of the backlight board.
 |
 |
¶ Install the Support Stand
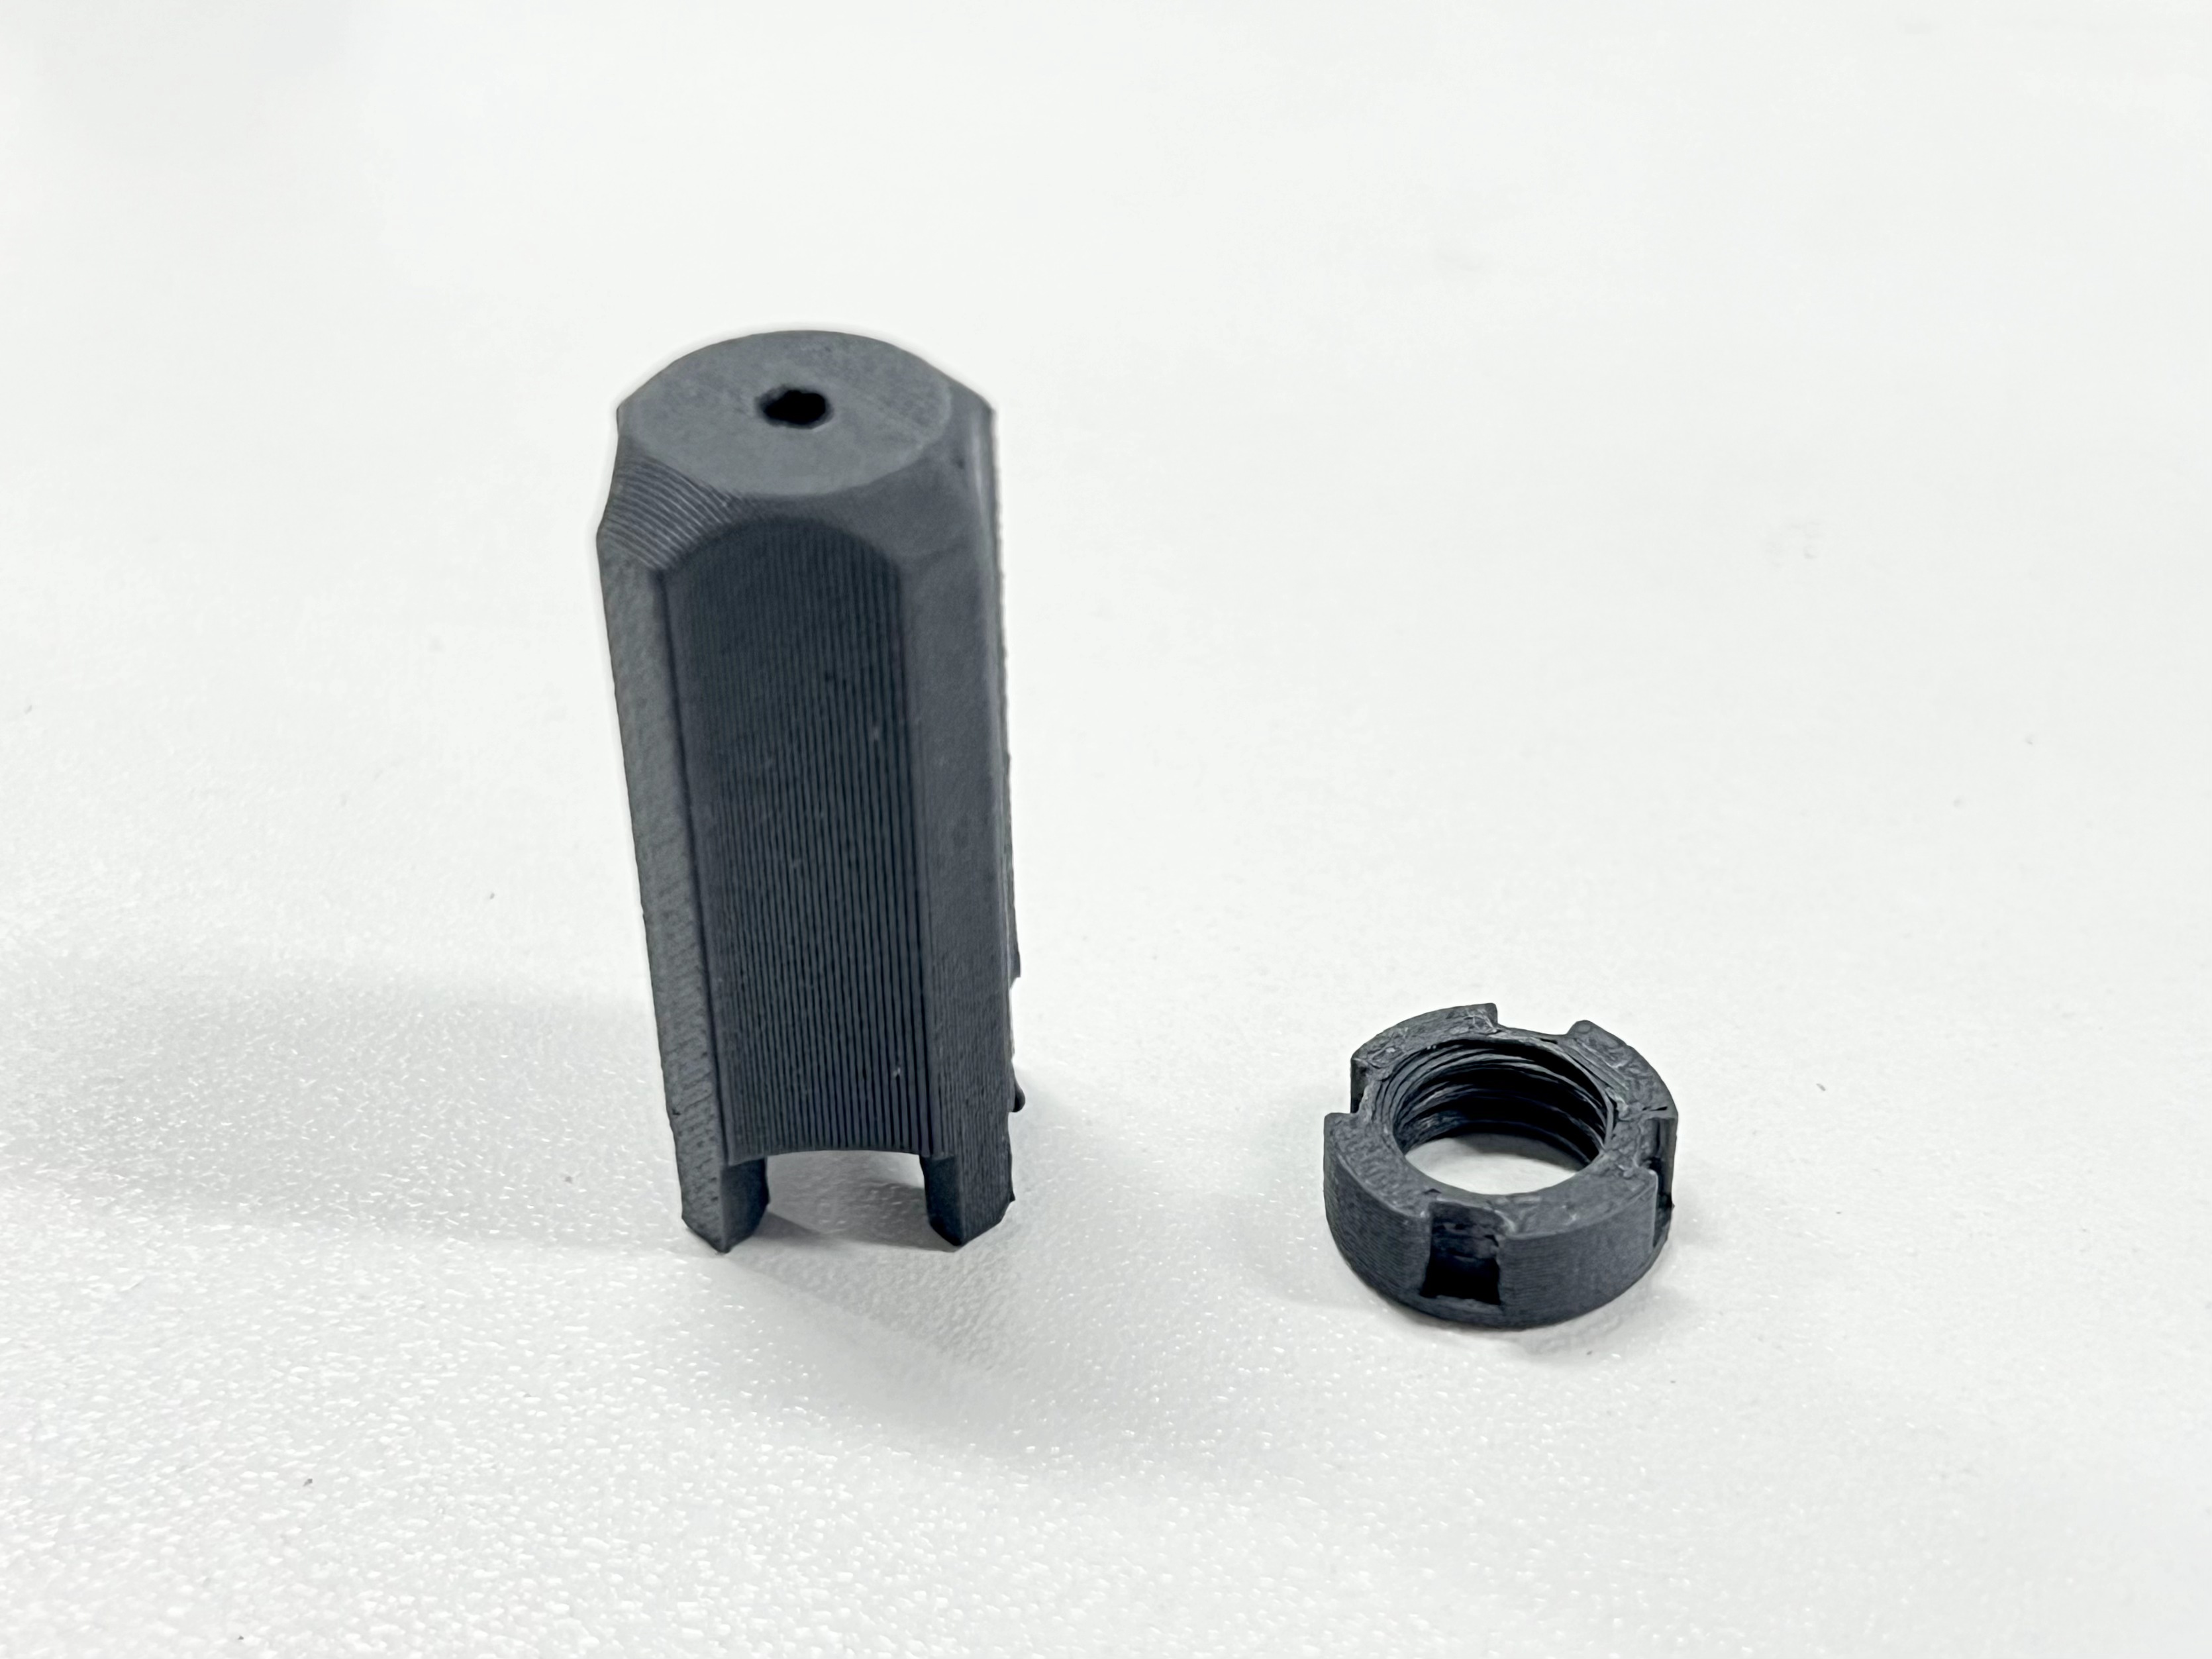
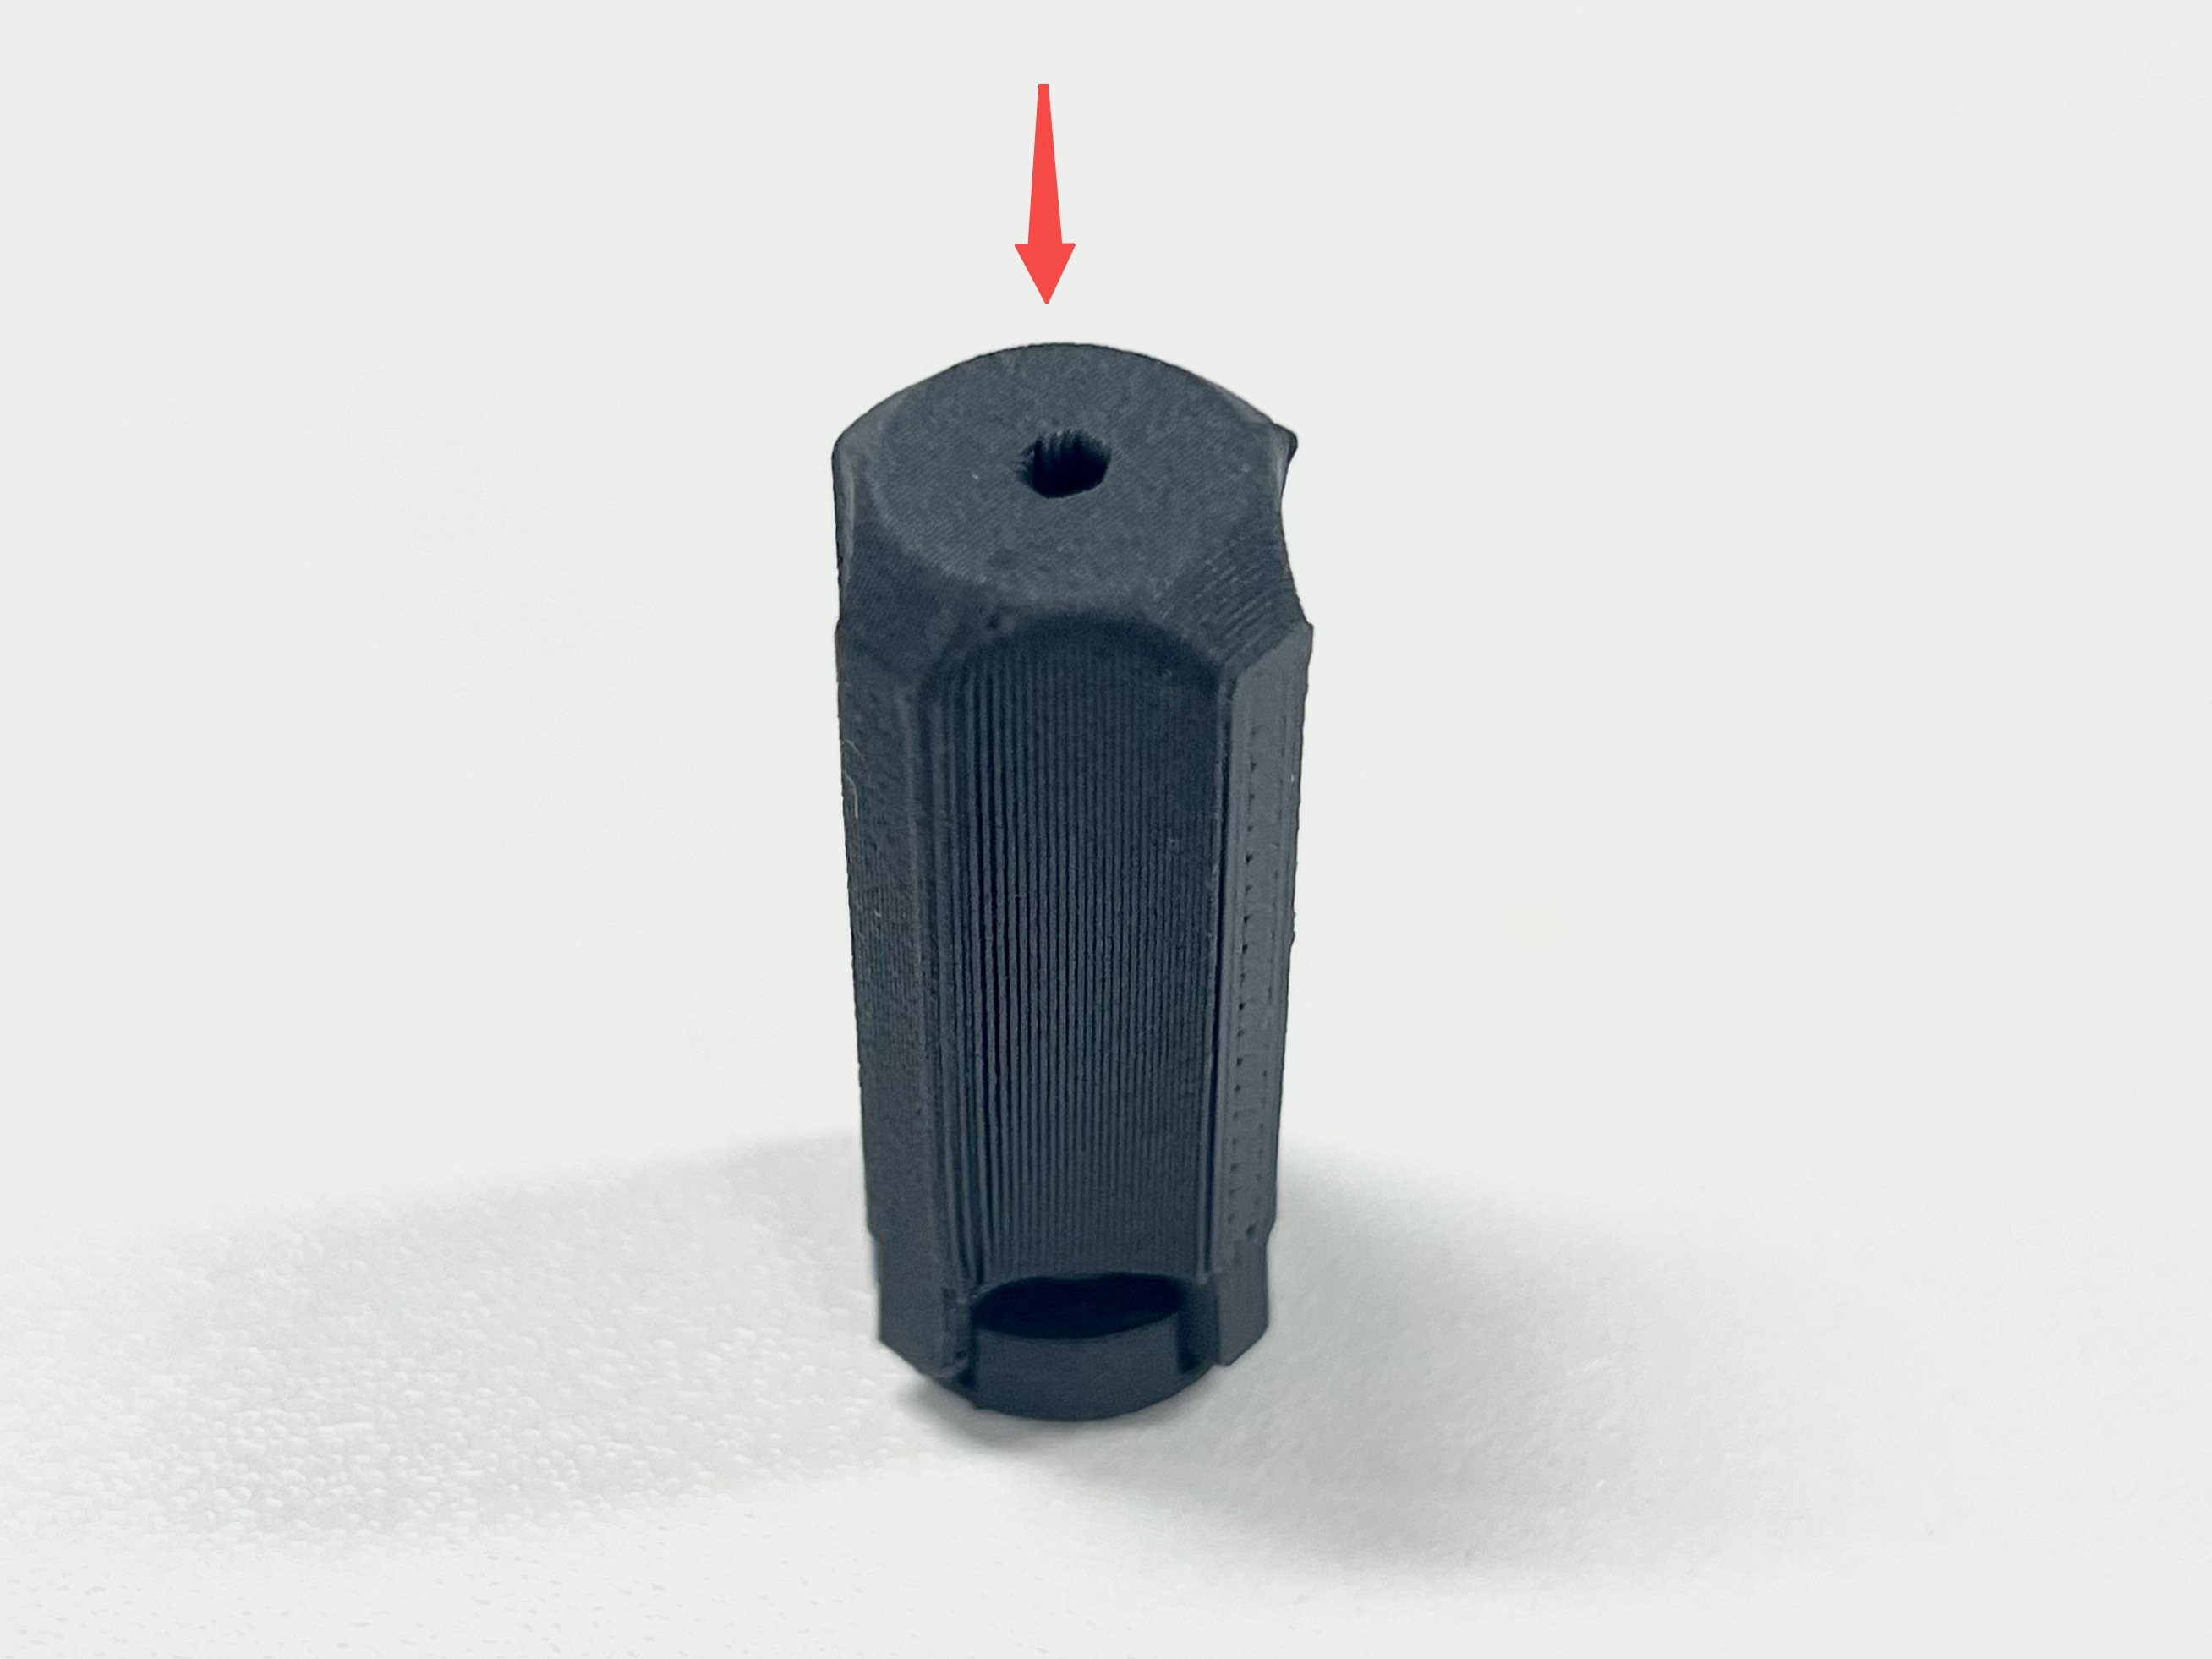
- Ensure the grooved side of the nut is facing up, and insert the printed tool into the nut's groove, pressing down to secure it firmly.
 |
 |
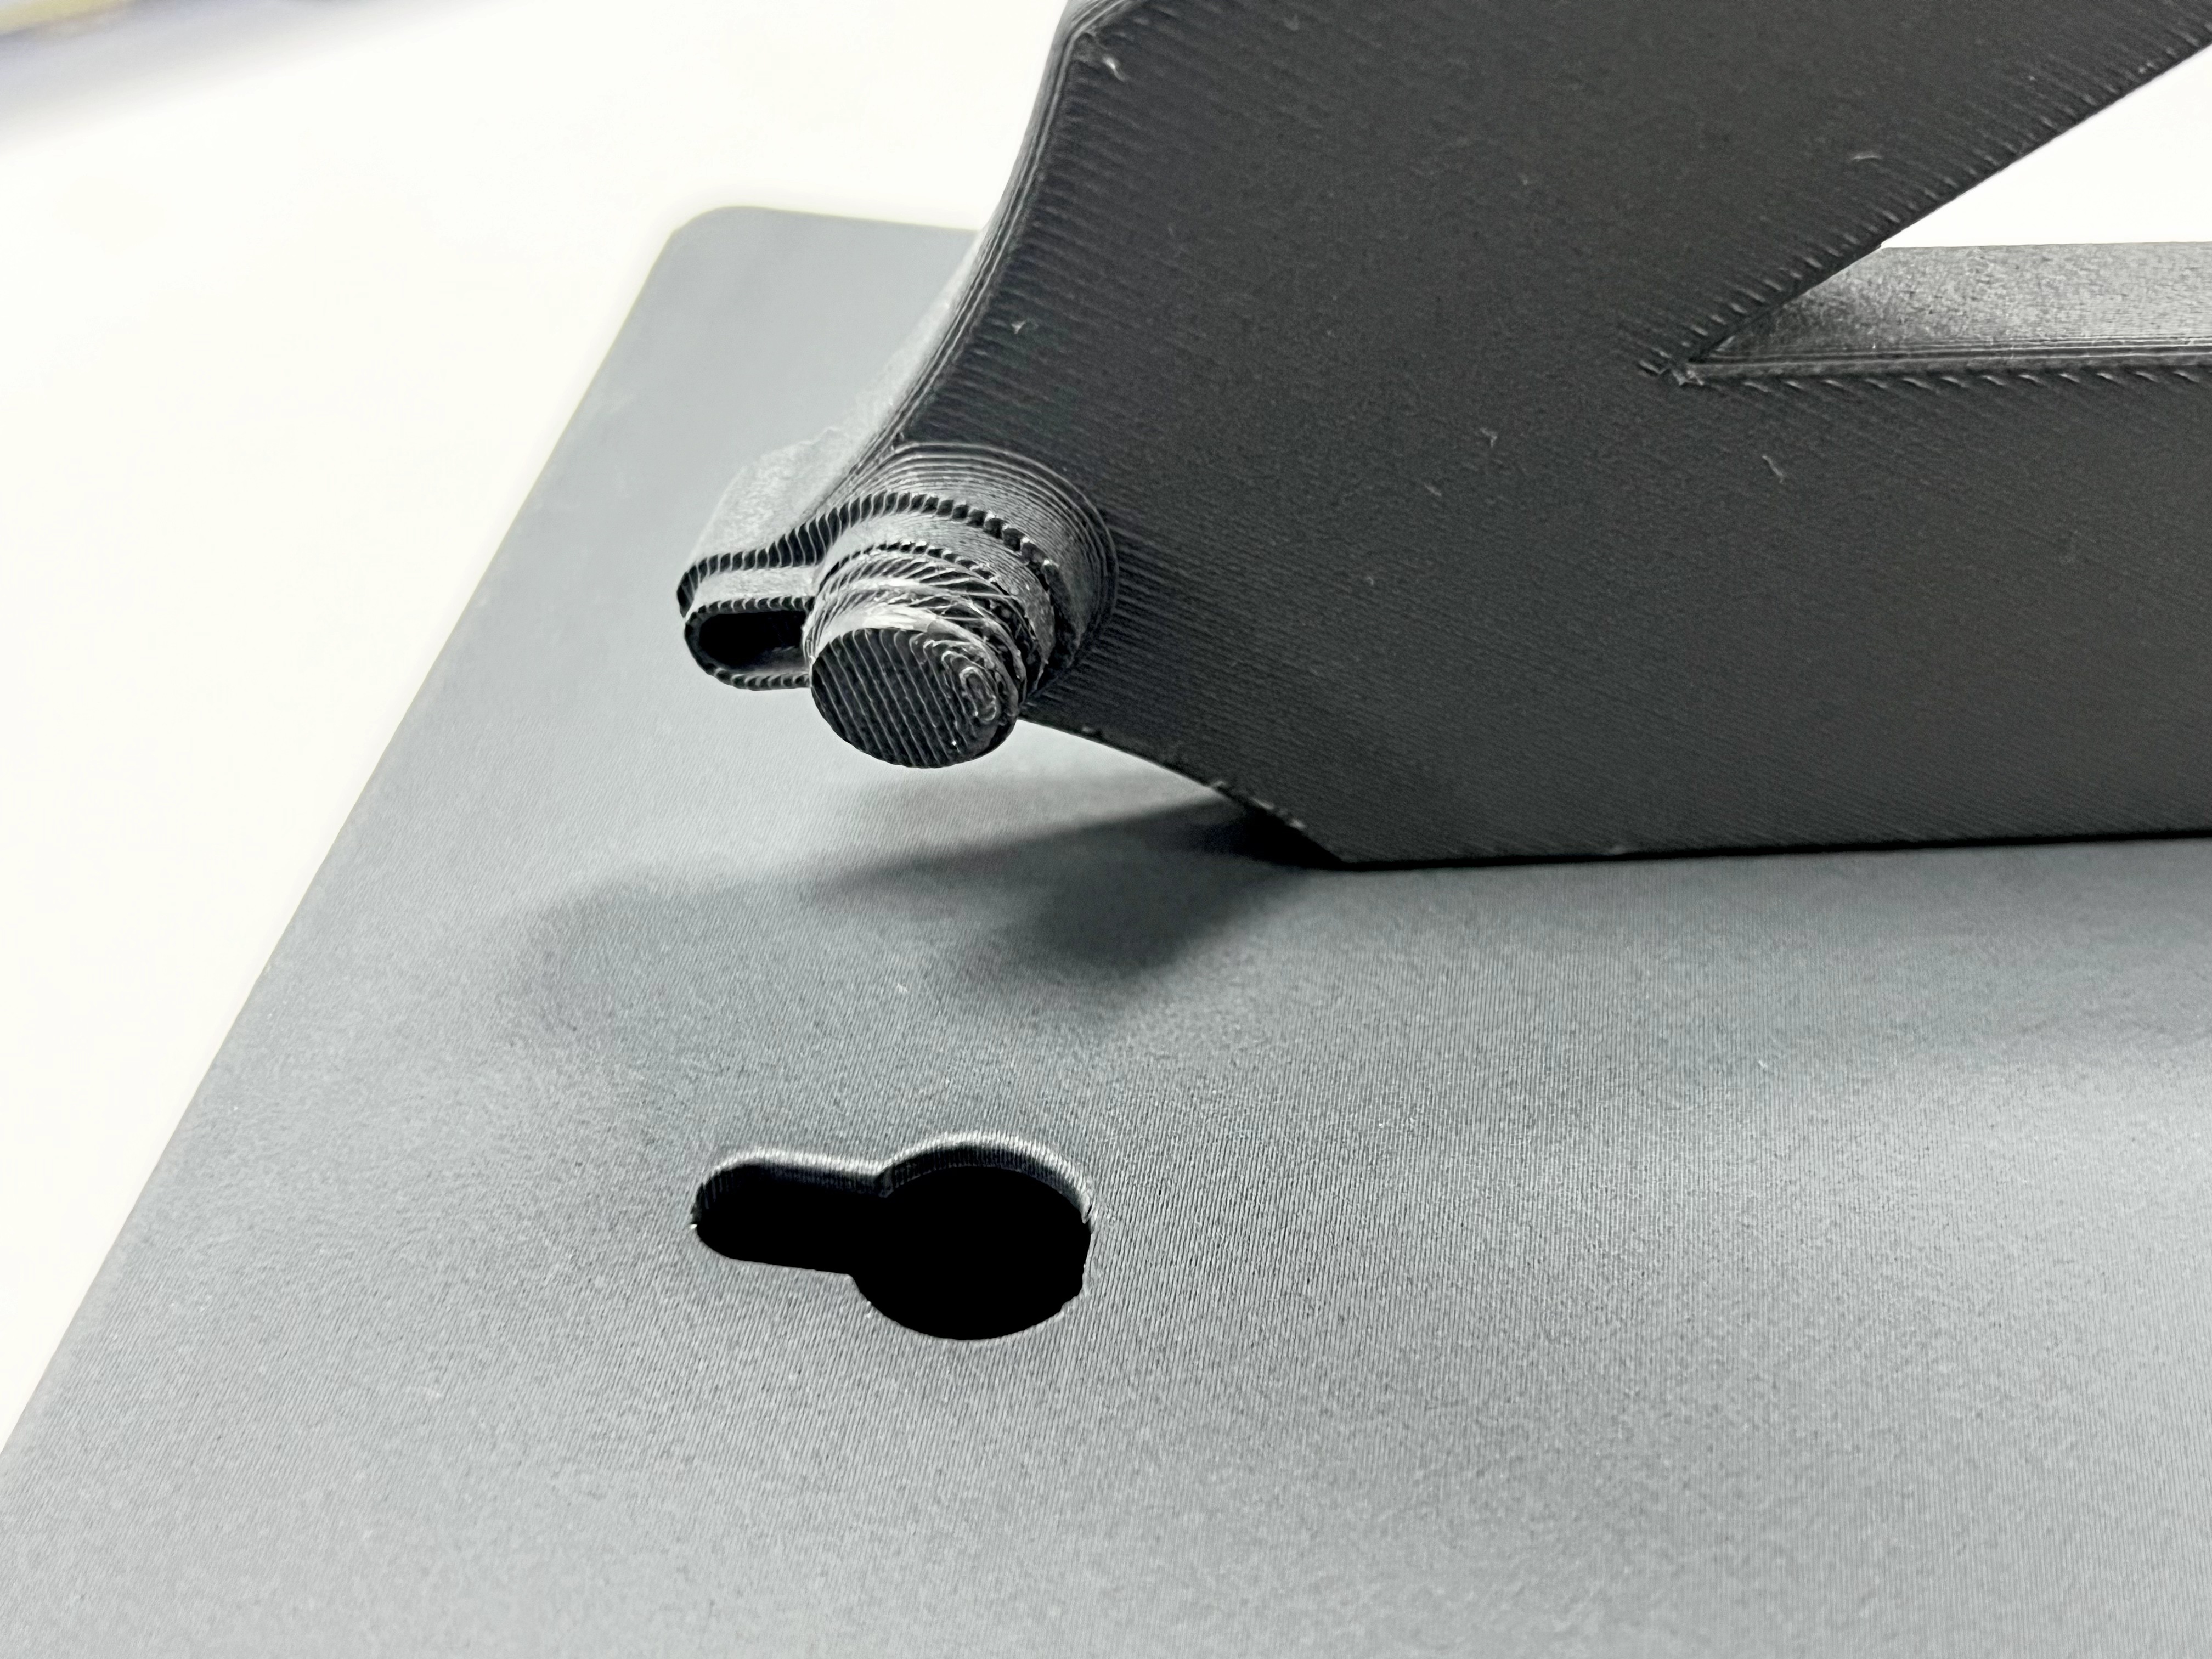
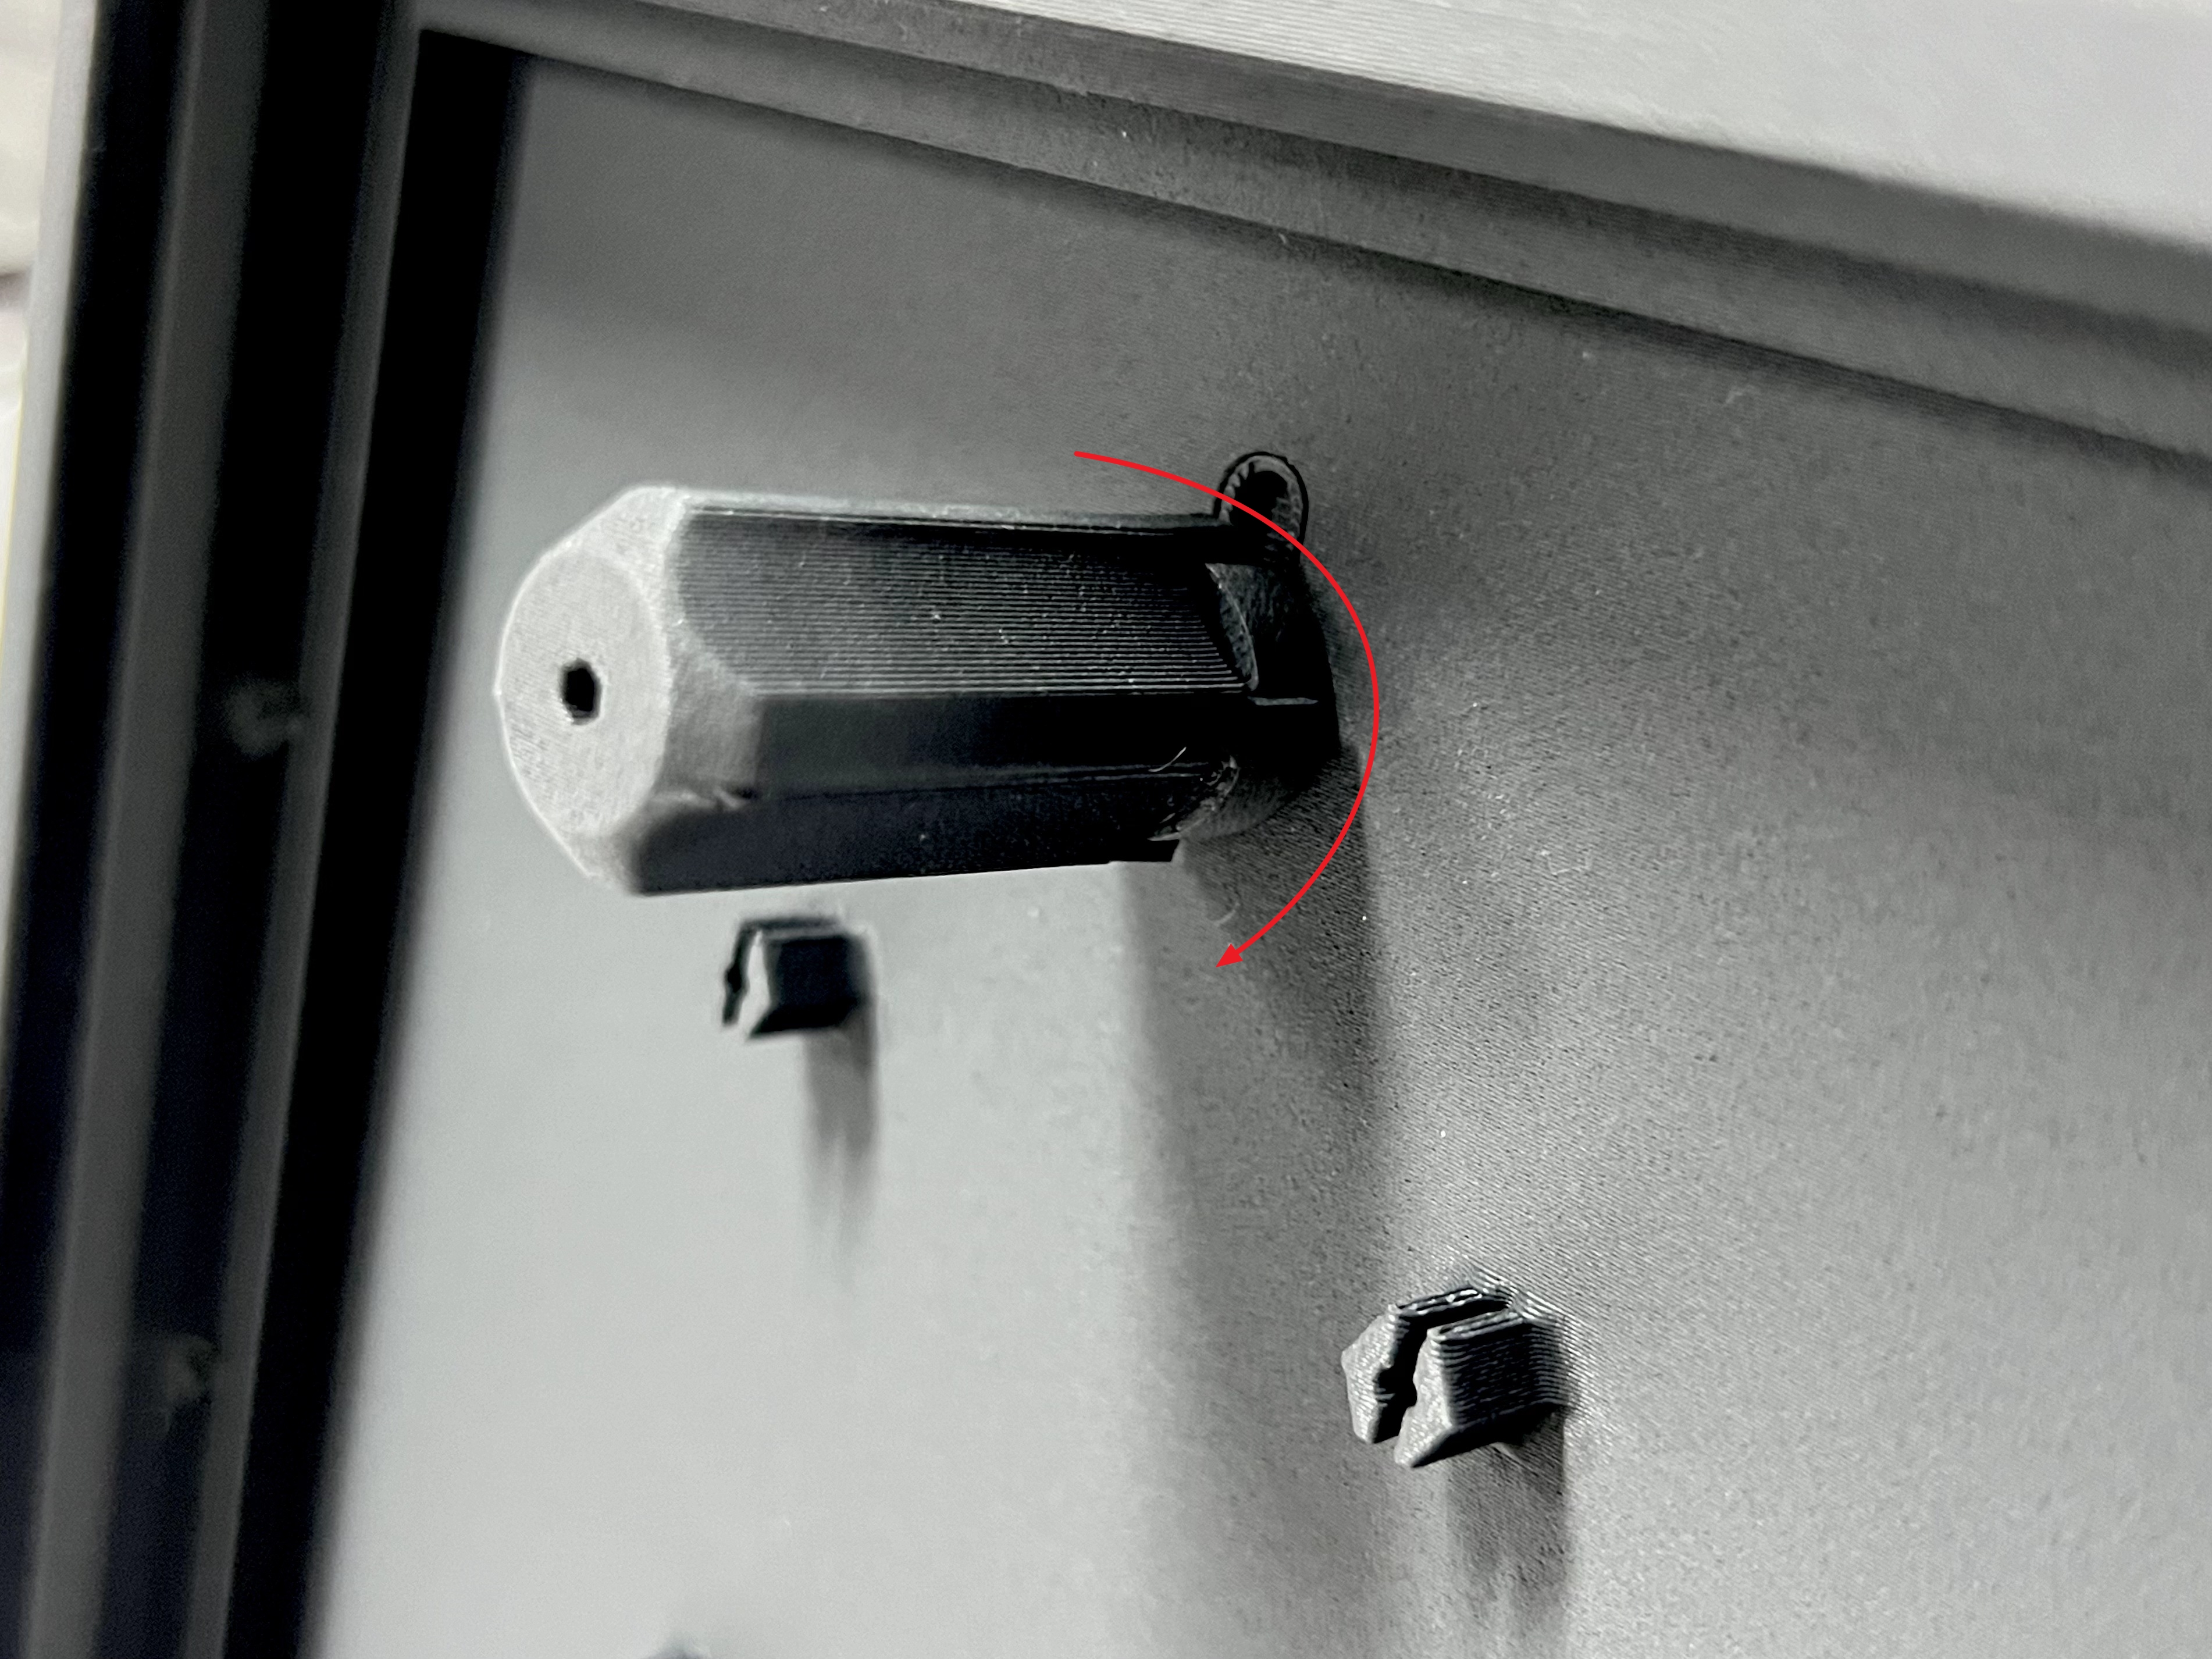
- Insert the support stand from the back of the frame, insert the printed tool and nut from the front of the frame, and rotate the nut clockwise to secure it.
 |
 |
- After the nut is fixed, pull out the printed tool.
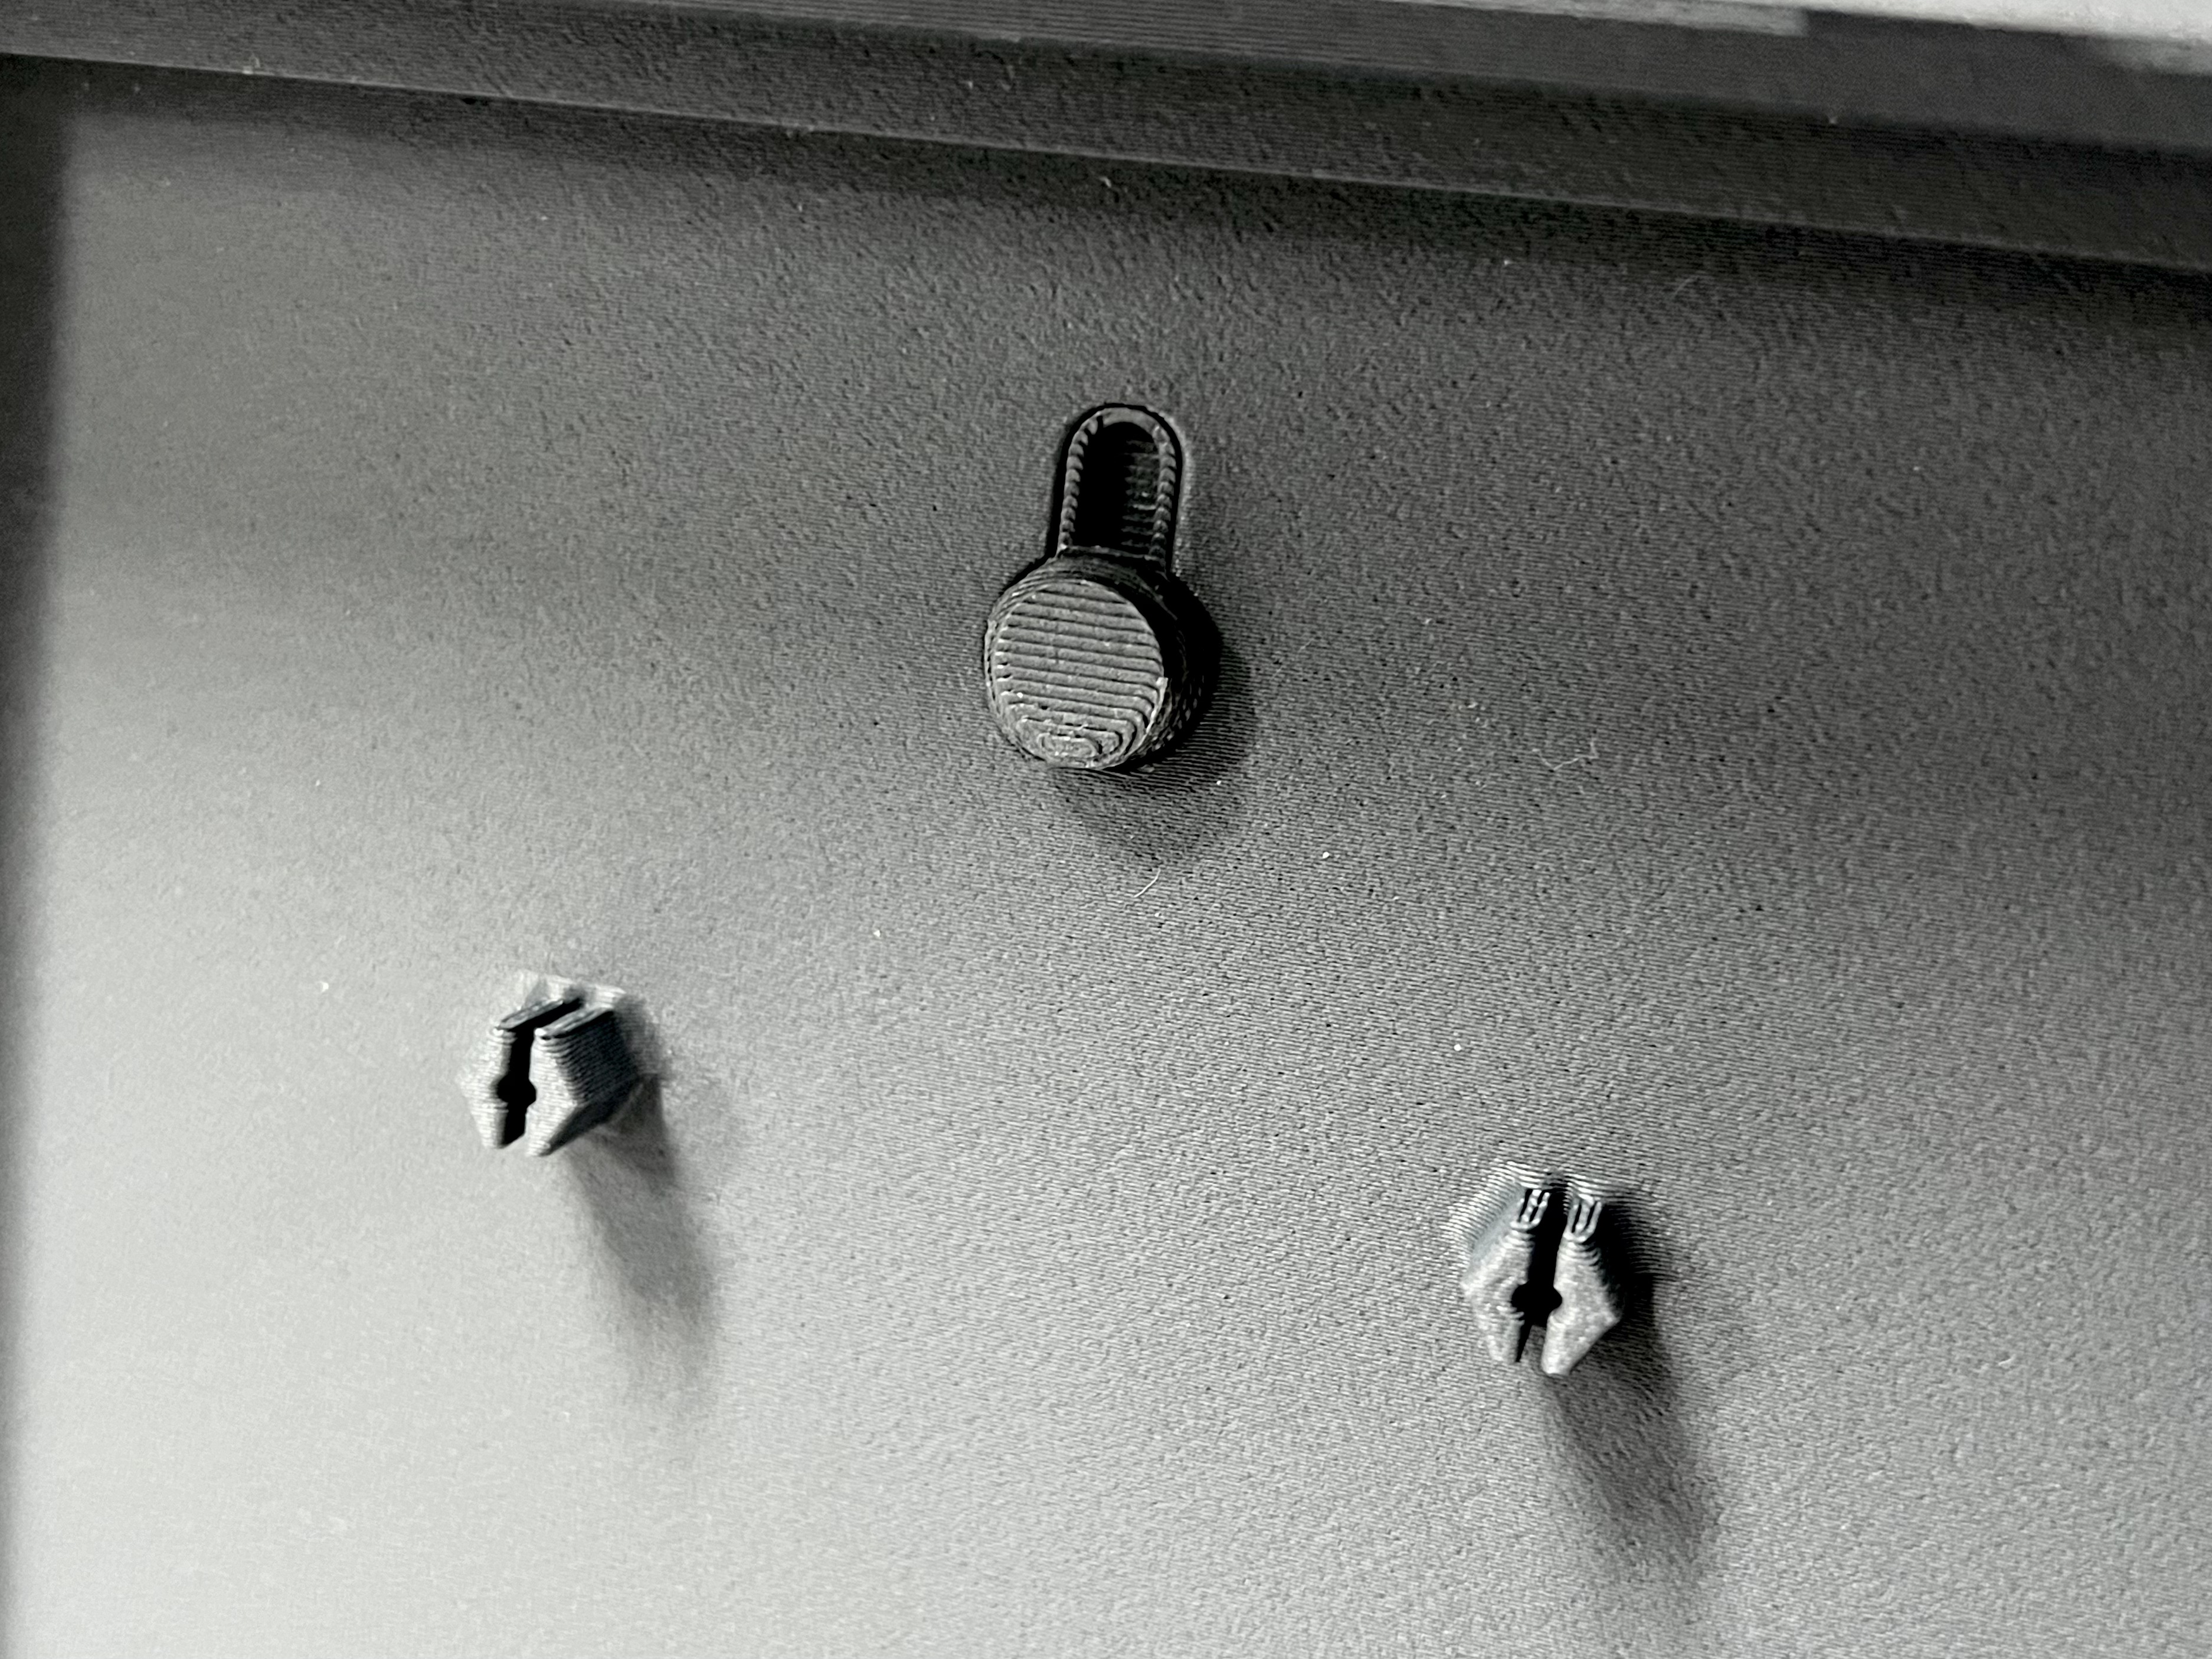
Note: The assembly method for frames of other sizes is the same.
¶ Connect the LED Backlight Boards
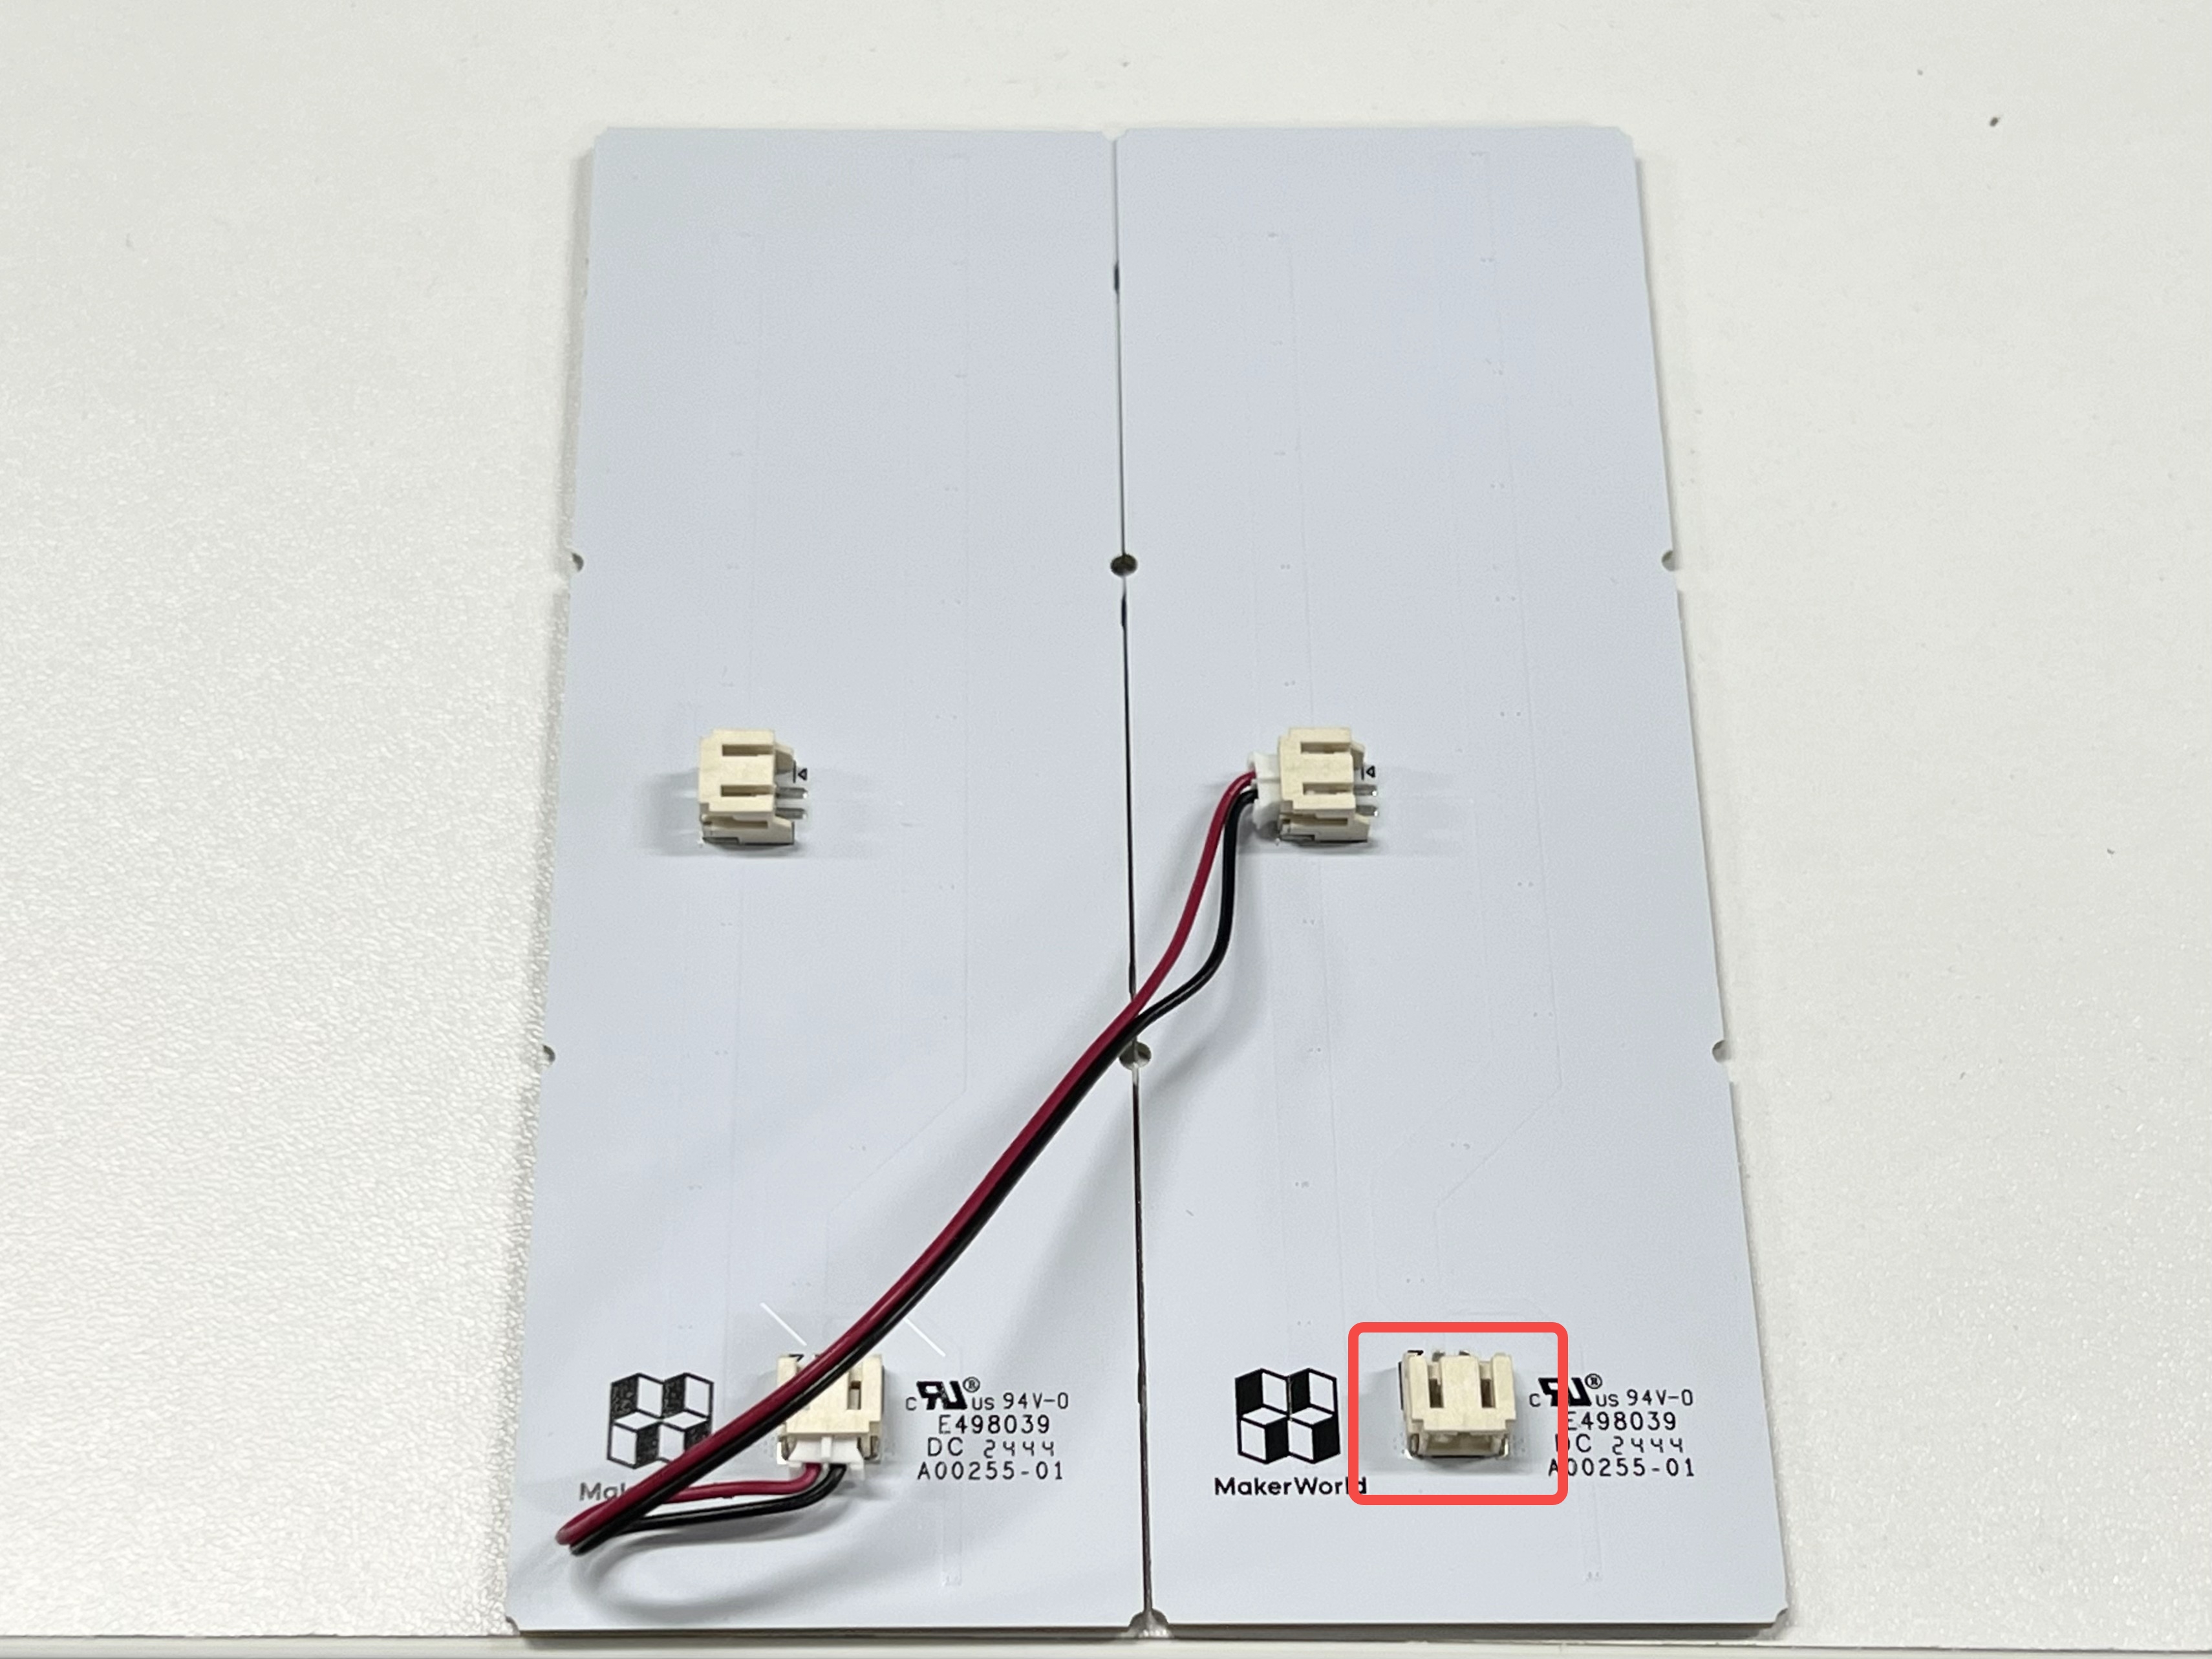
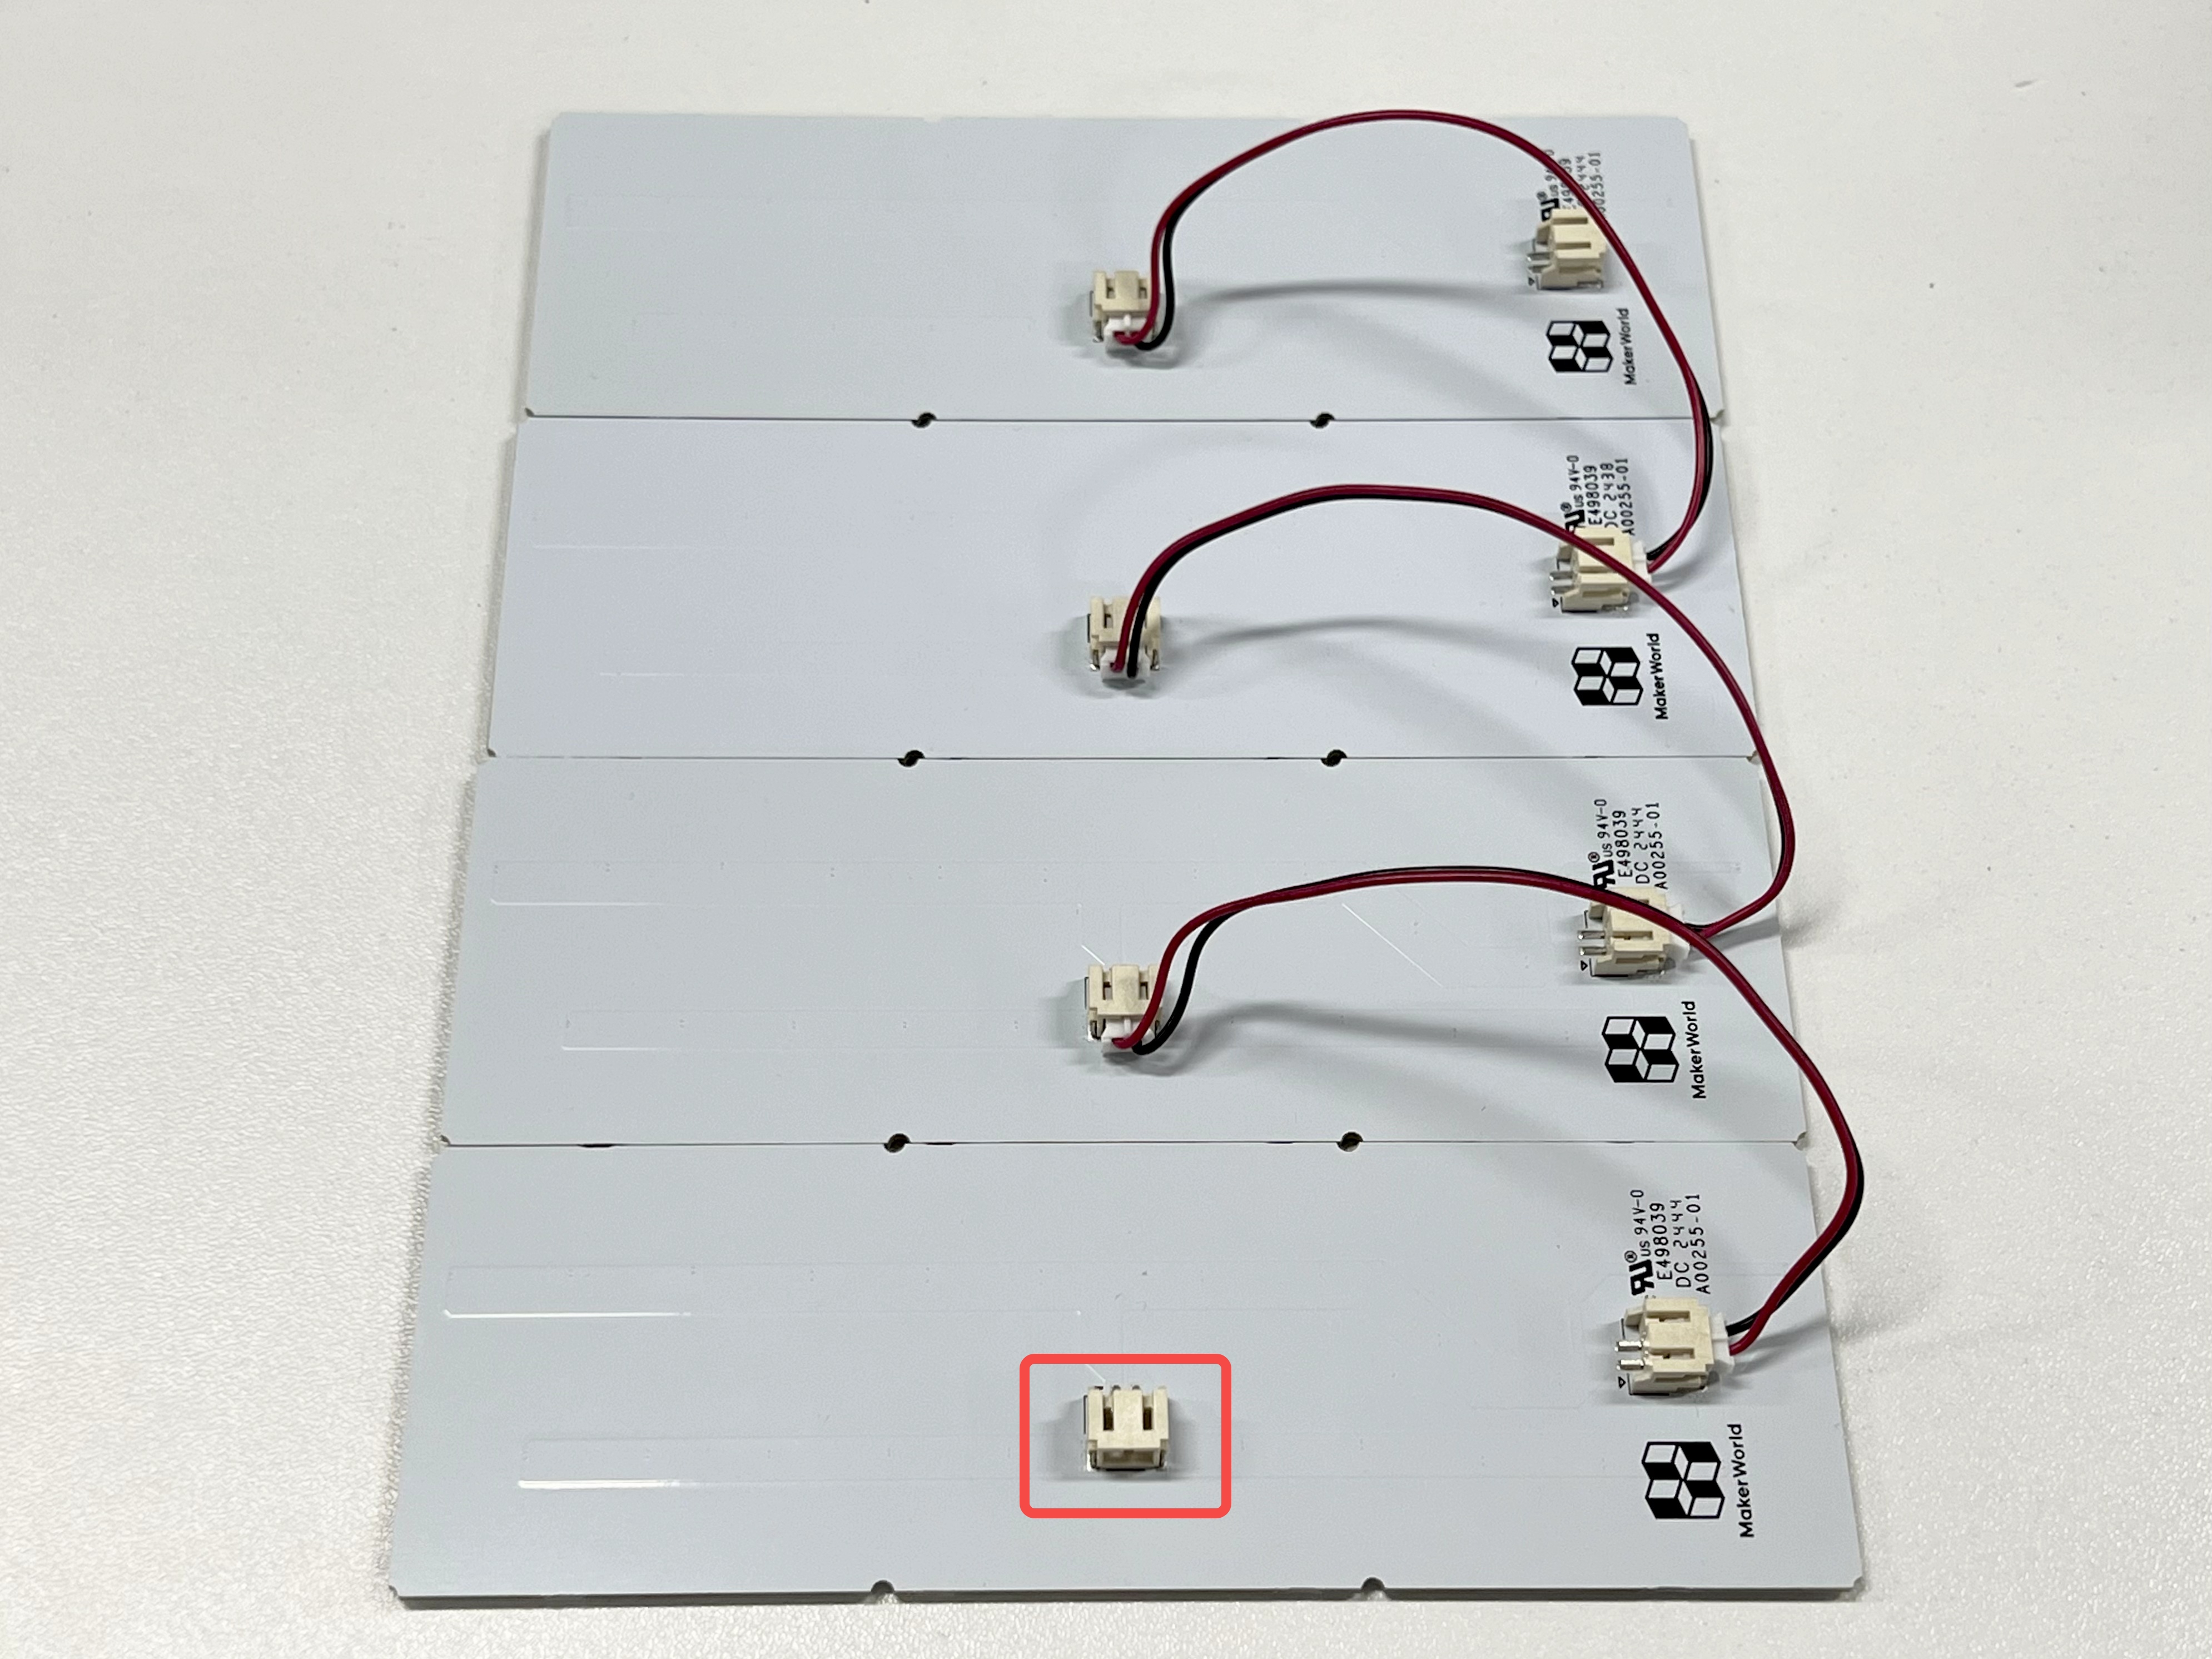
Flip the LED backlight boards to the back and arrange them neatly in order, ensuring the protruding side of the PH2.0 Power Connection Cable interface is facing up, then connect the boards.

NOTE:
- Make My Lithophane supports 3 frame sizes, composed of 2, 3, or 4 boards. Each board has two parallel power sockets, functioning as both input and output ports. Ensure all boards are connected and one board is linked to the USB power cable. Please refer to the recommended connection method in the figure below. The red box is the power socket:
 |
 |
 |
 |
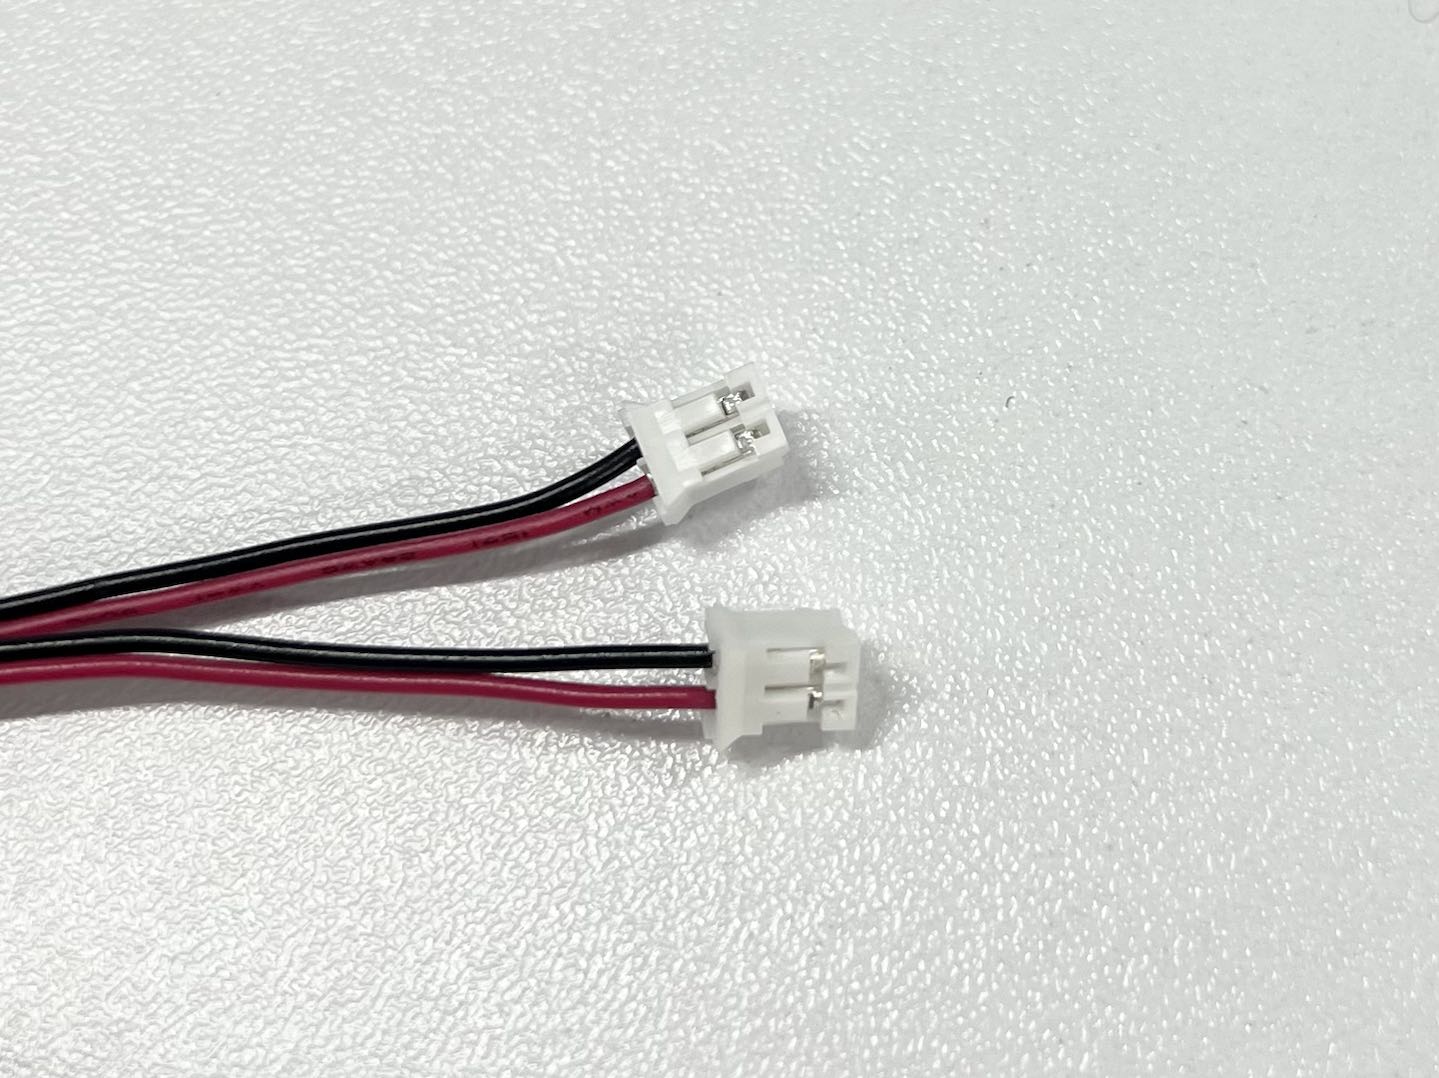
- The two ends of the PH2.0 Power Connection Cable are identical and can be used interchangeably in any port.
- Do not connect the USB power cable to the LED backlight board at this step.
¶ Connect the Power Cable
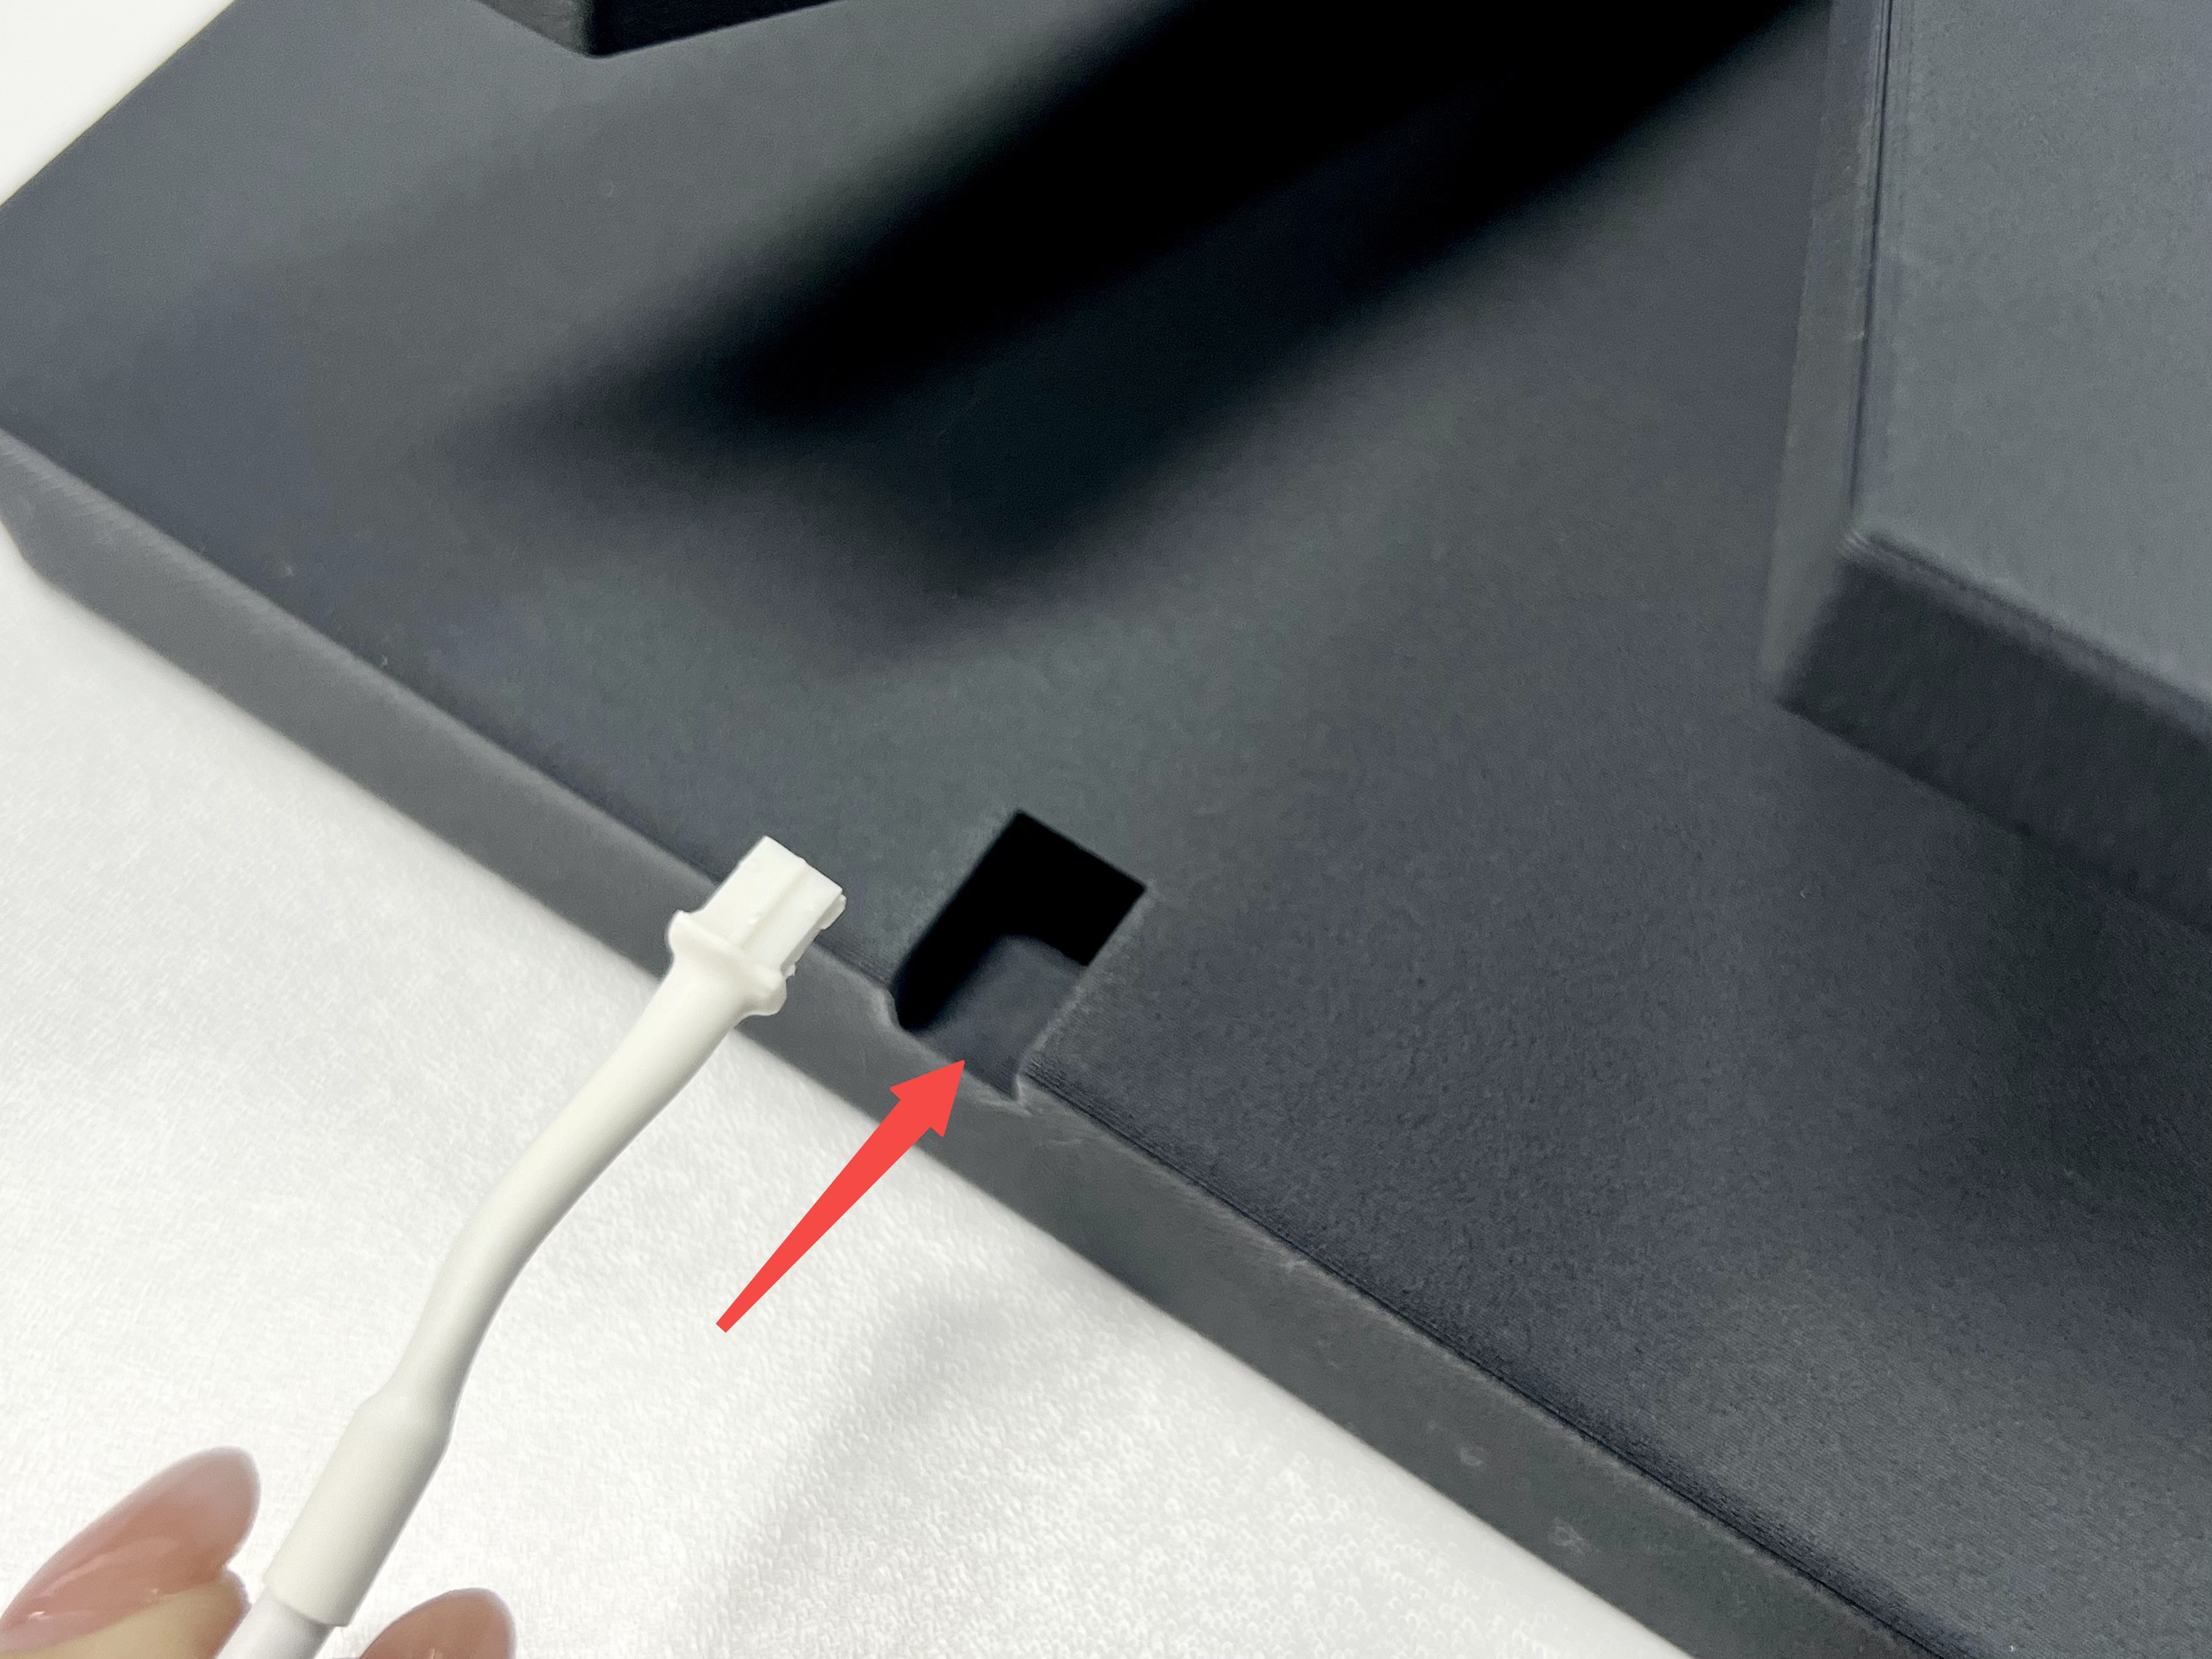
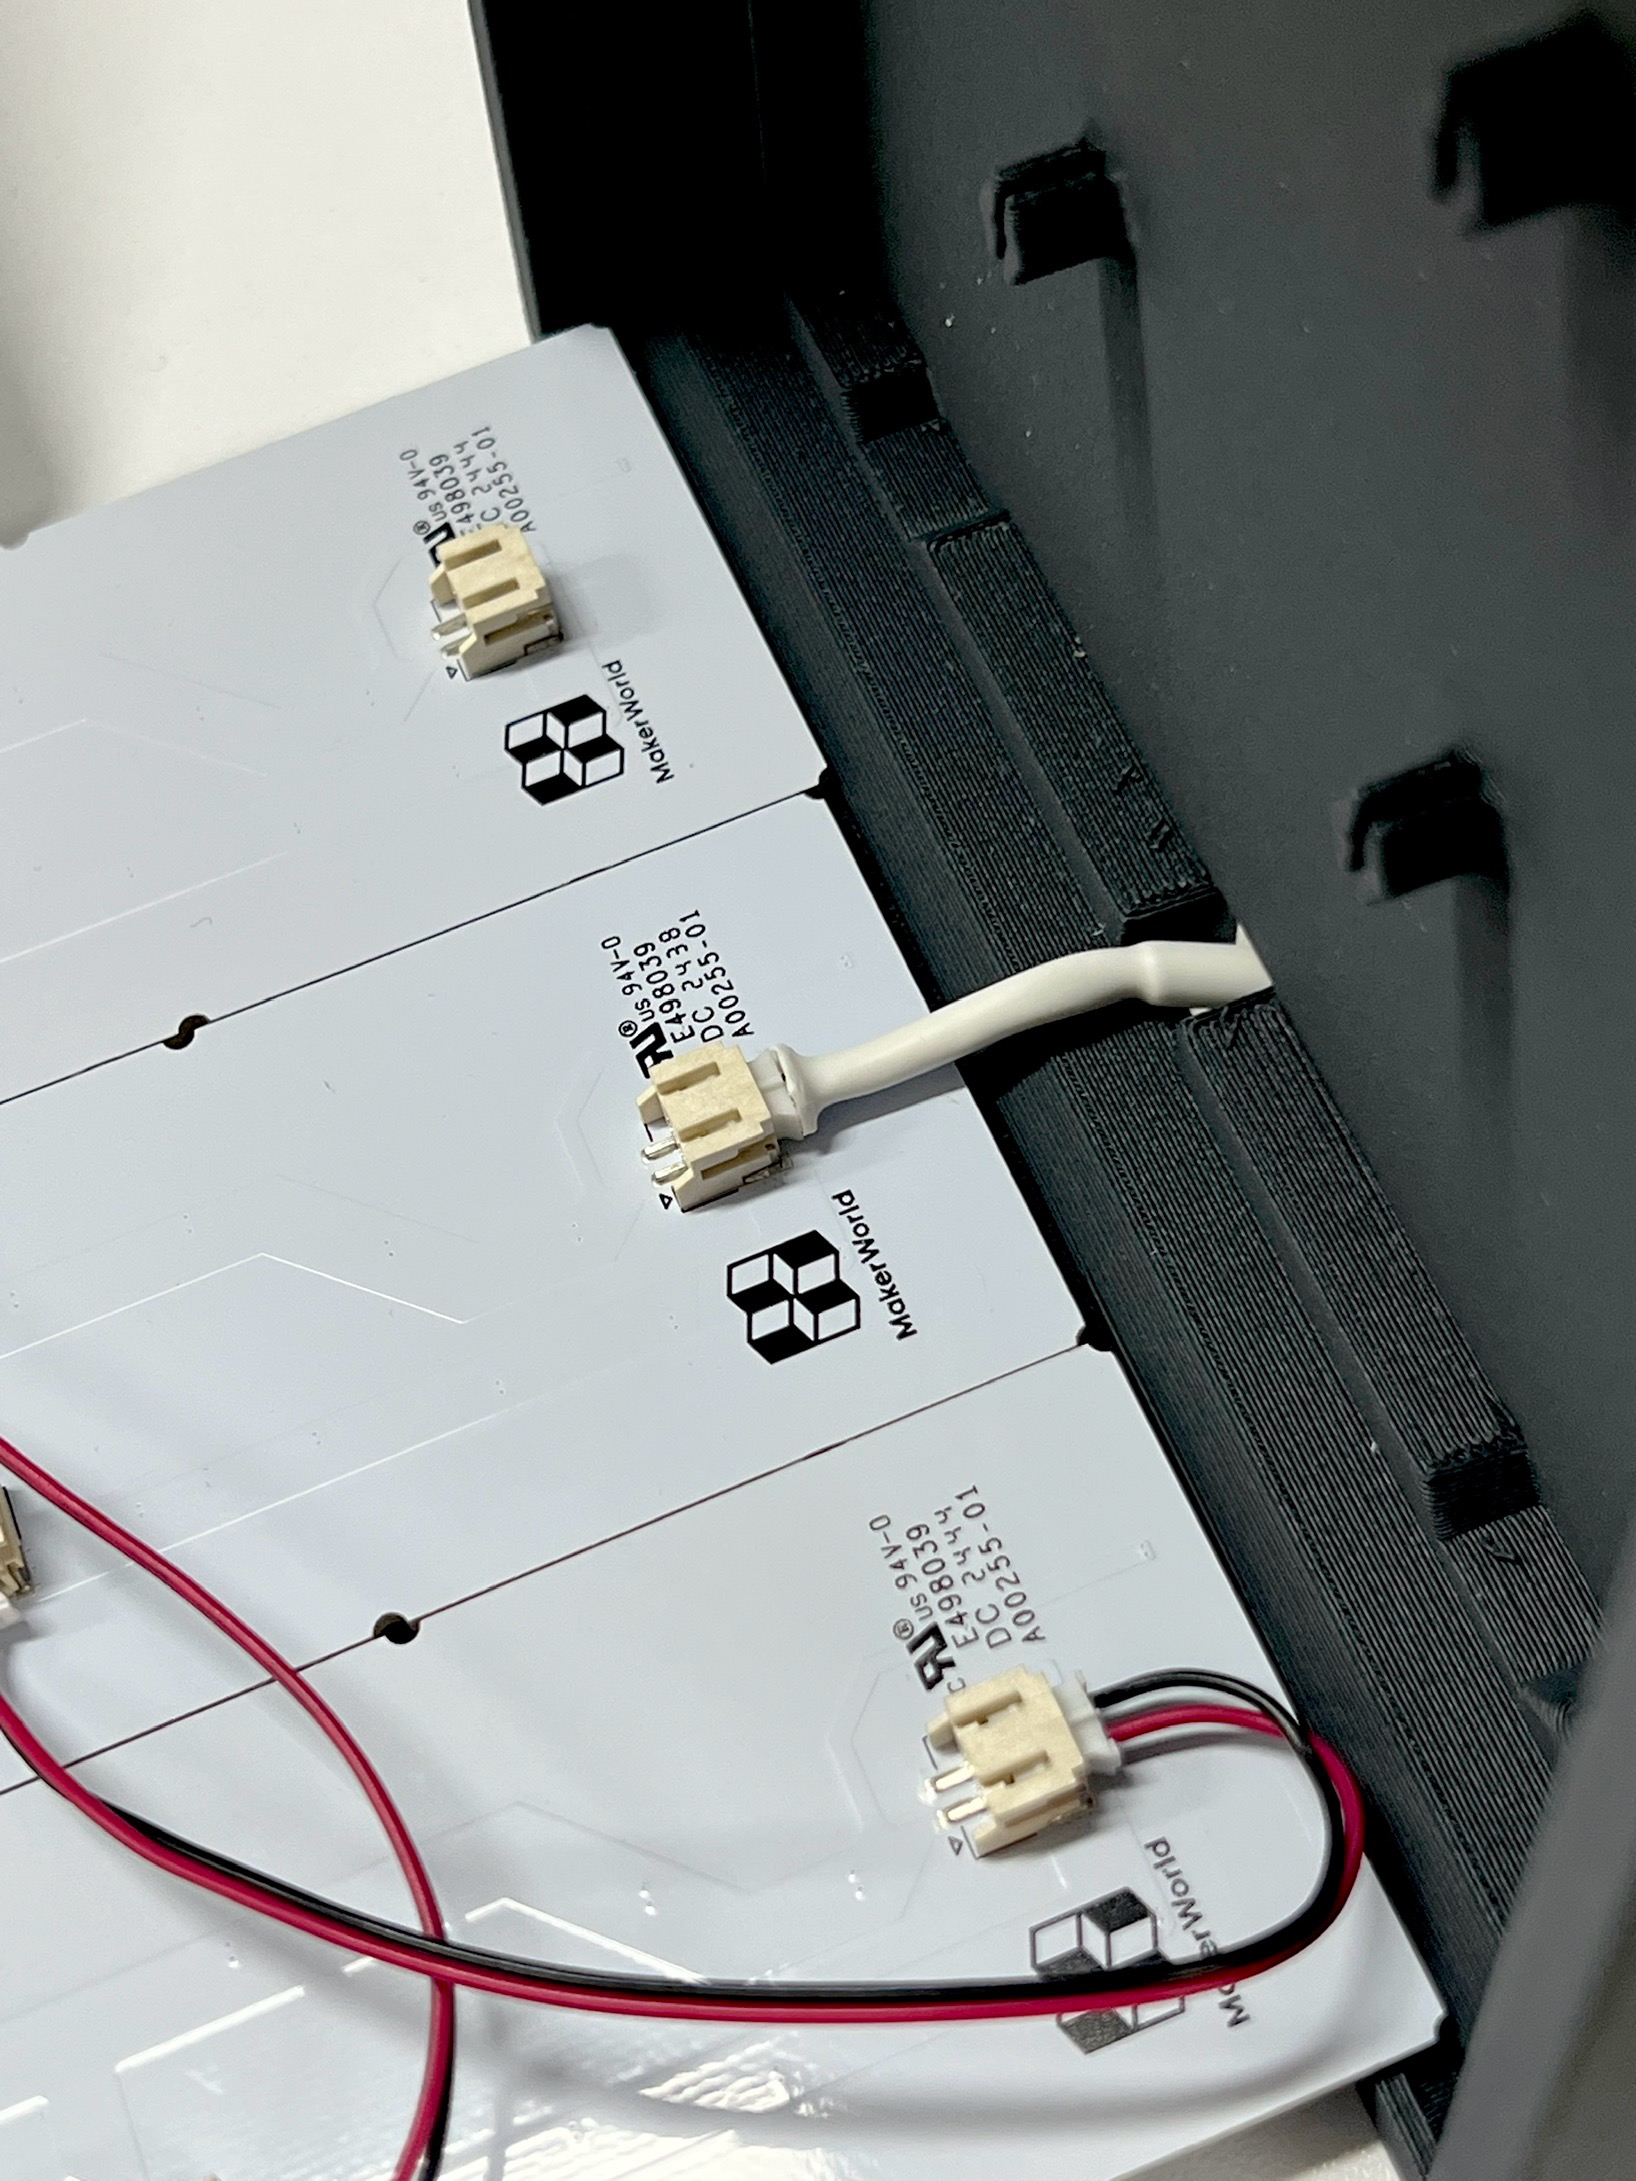
- Depending on the orientation of your lithophane (vertical or horizontal), thread the USB power cable through the reserved hole in the frame.
- Connect the PH2.0 end of the USB power cable to the LED backlight board.
NOTE: The frame has two holes; choose the appropriate hole based on the orientation of your lithophane.
¶ Secure the LED Backlight Boards
-
Adjust the position of the connection cables at the bottom of the LED backlight boards to ensure they lay flat.
-
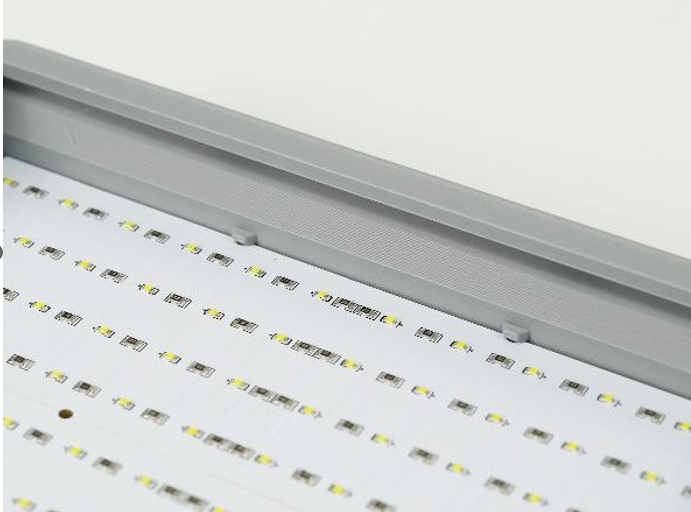
Clip the LED backlight boards under the small clips inside the frame edges and lay them flat in the frame.
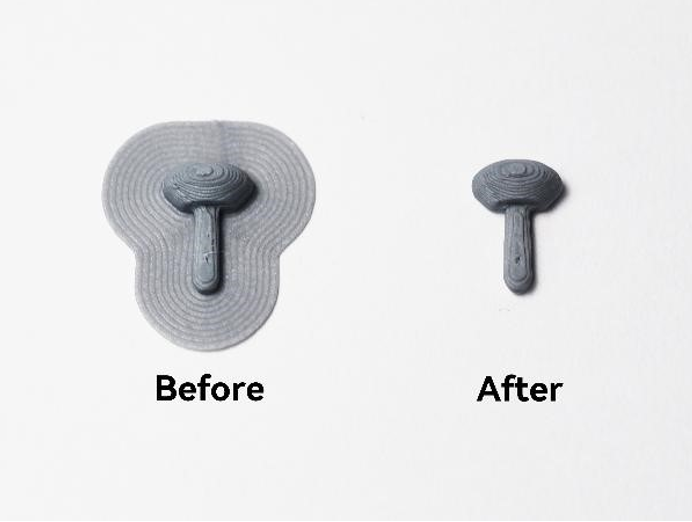
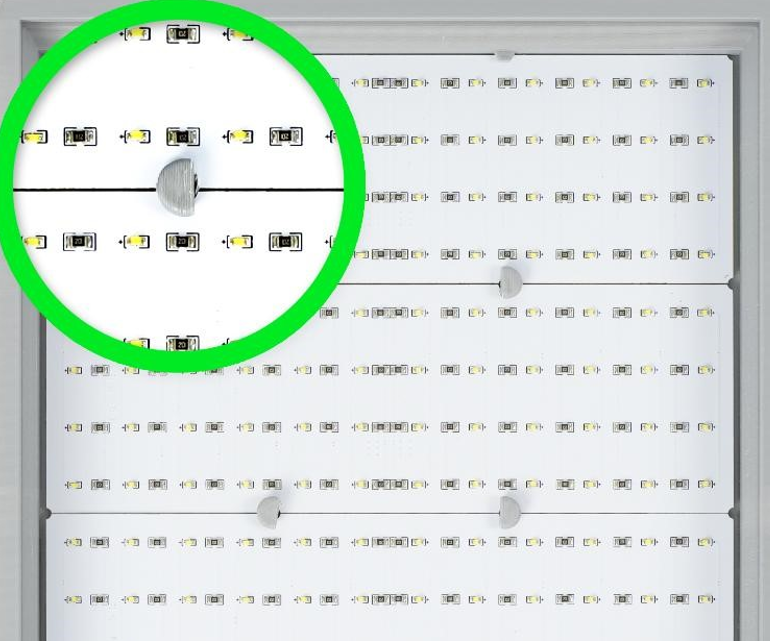
- Remove the plug supports and insert the plugs into the round holes between the LED backlight boards to secure them.
 |
 |
NOTE:
- The number of plugs required depends on the number of boards. Four boards require six plugs, which are already included in the print file.
- If the boards do not lay flat, check if the internal supports of the frame are completely removed or if the connection cables are neatly placed.
¶ Install the Lithophane
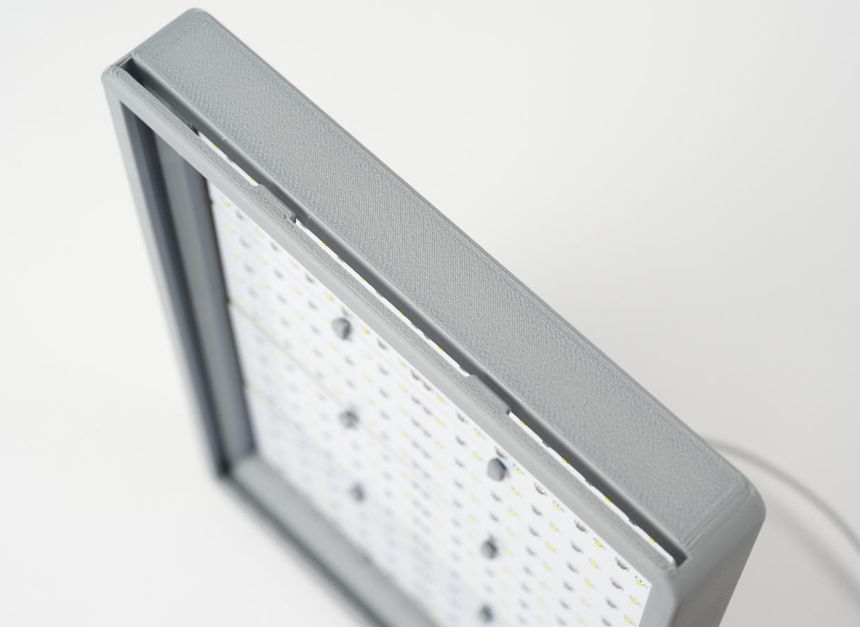
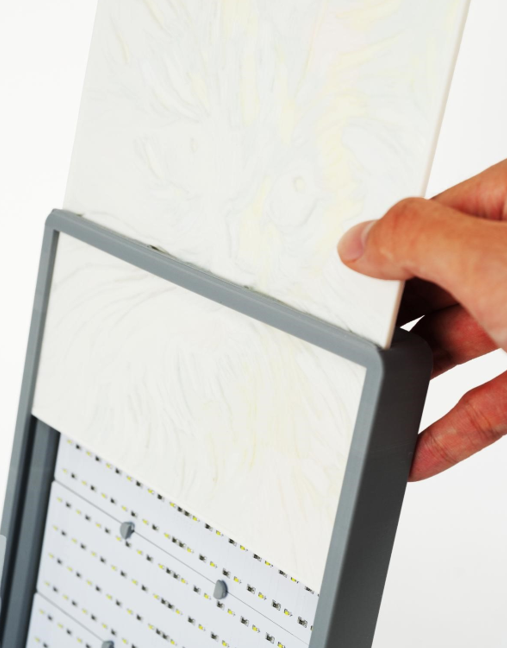
Gently open the frame's insertion slot and insert the printed lithophane into the frame.
 |
 |
¶ Power Up
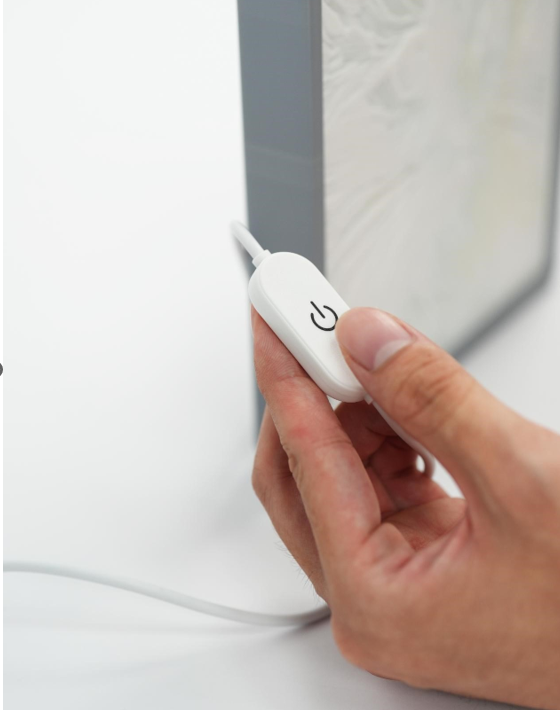
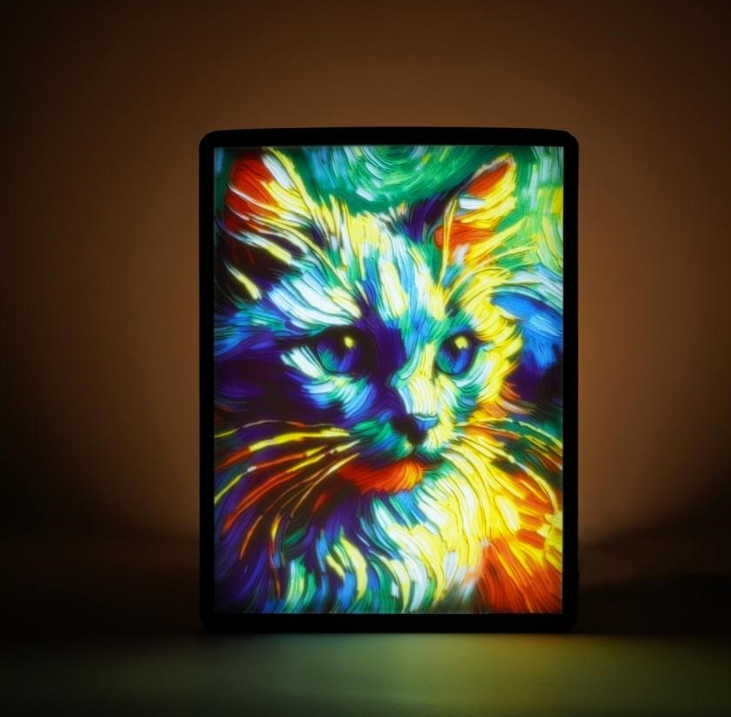
Connect the power, touch the switch to light up the lithophane. Long press the switch to adjust the brightness.
 |
 |
¶ End Notes
We hope the detailed guide provided has been helpful and informative.
If this guide does not solve your problem, please submit a technical ticket, we will answer your questions and provide assistance.
If you have any suggestions or feedback on this Wiki, please leave a message in the comment area. Thank you for your support and attention!