¶ What is the sealing kit
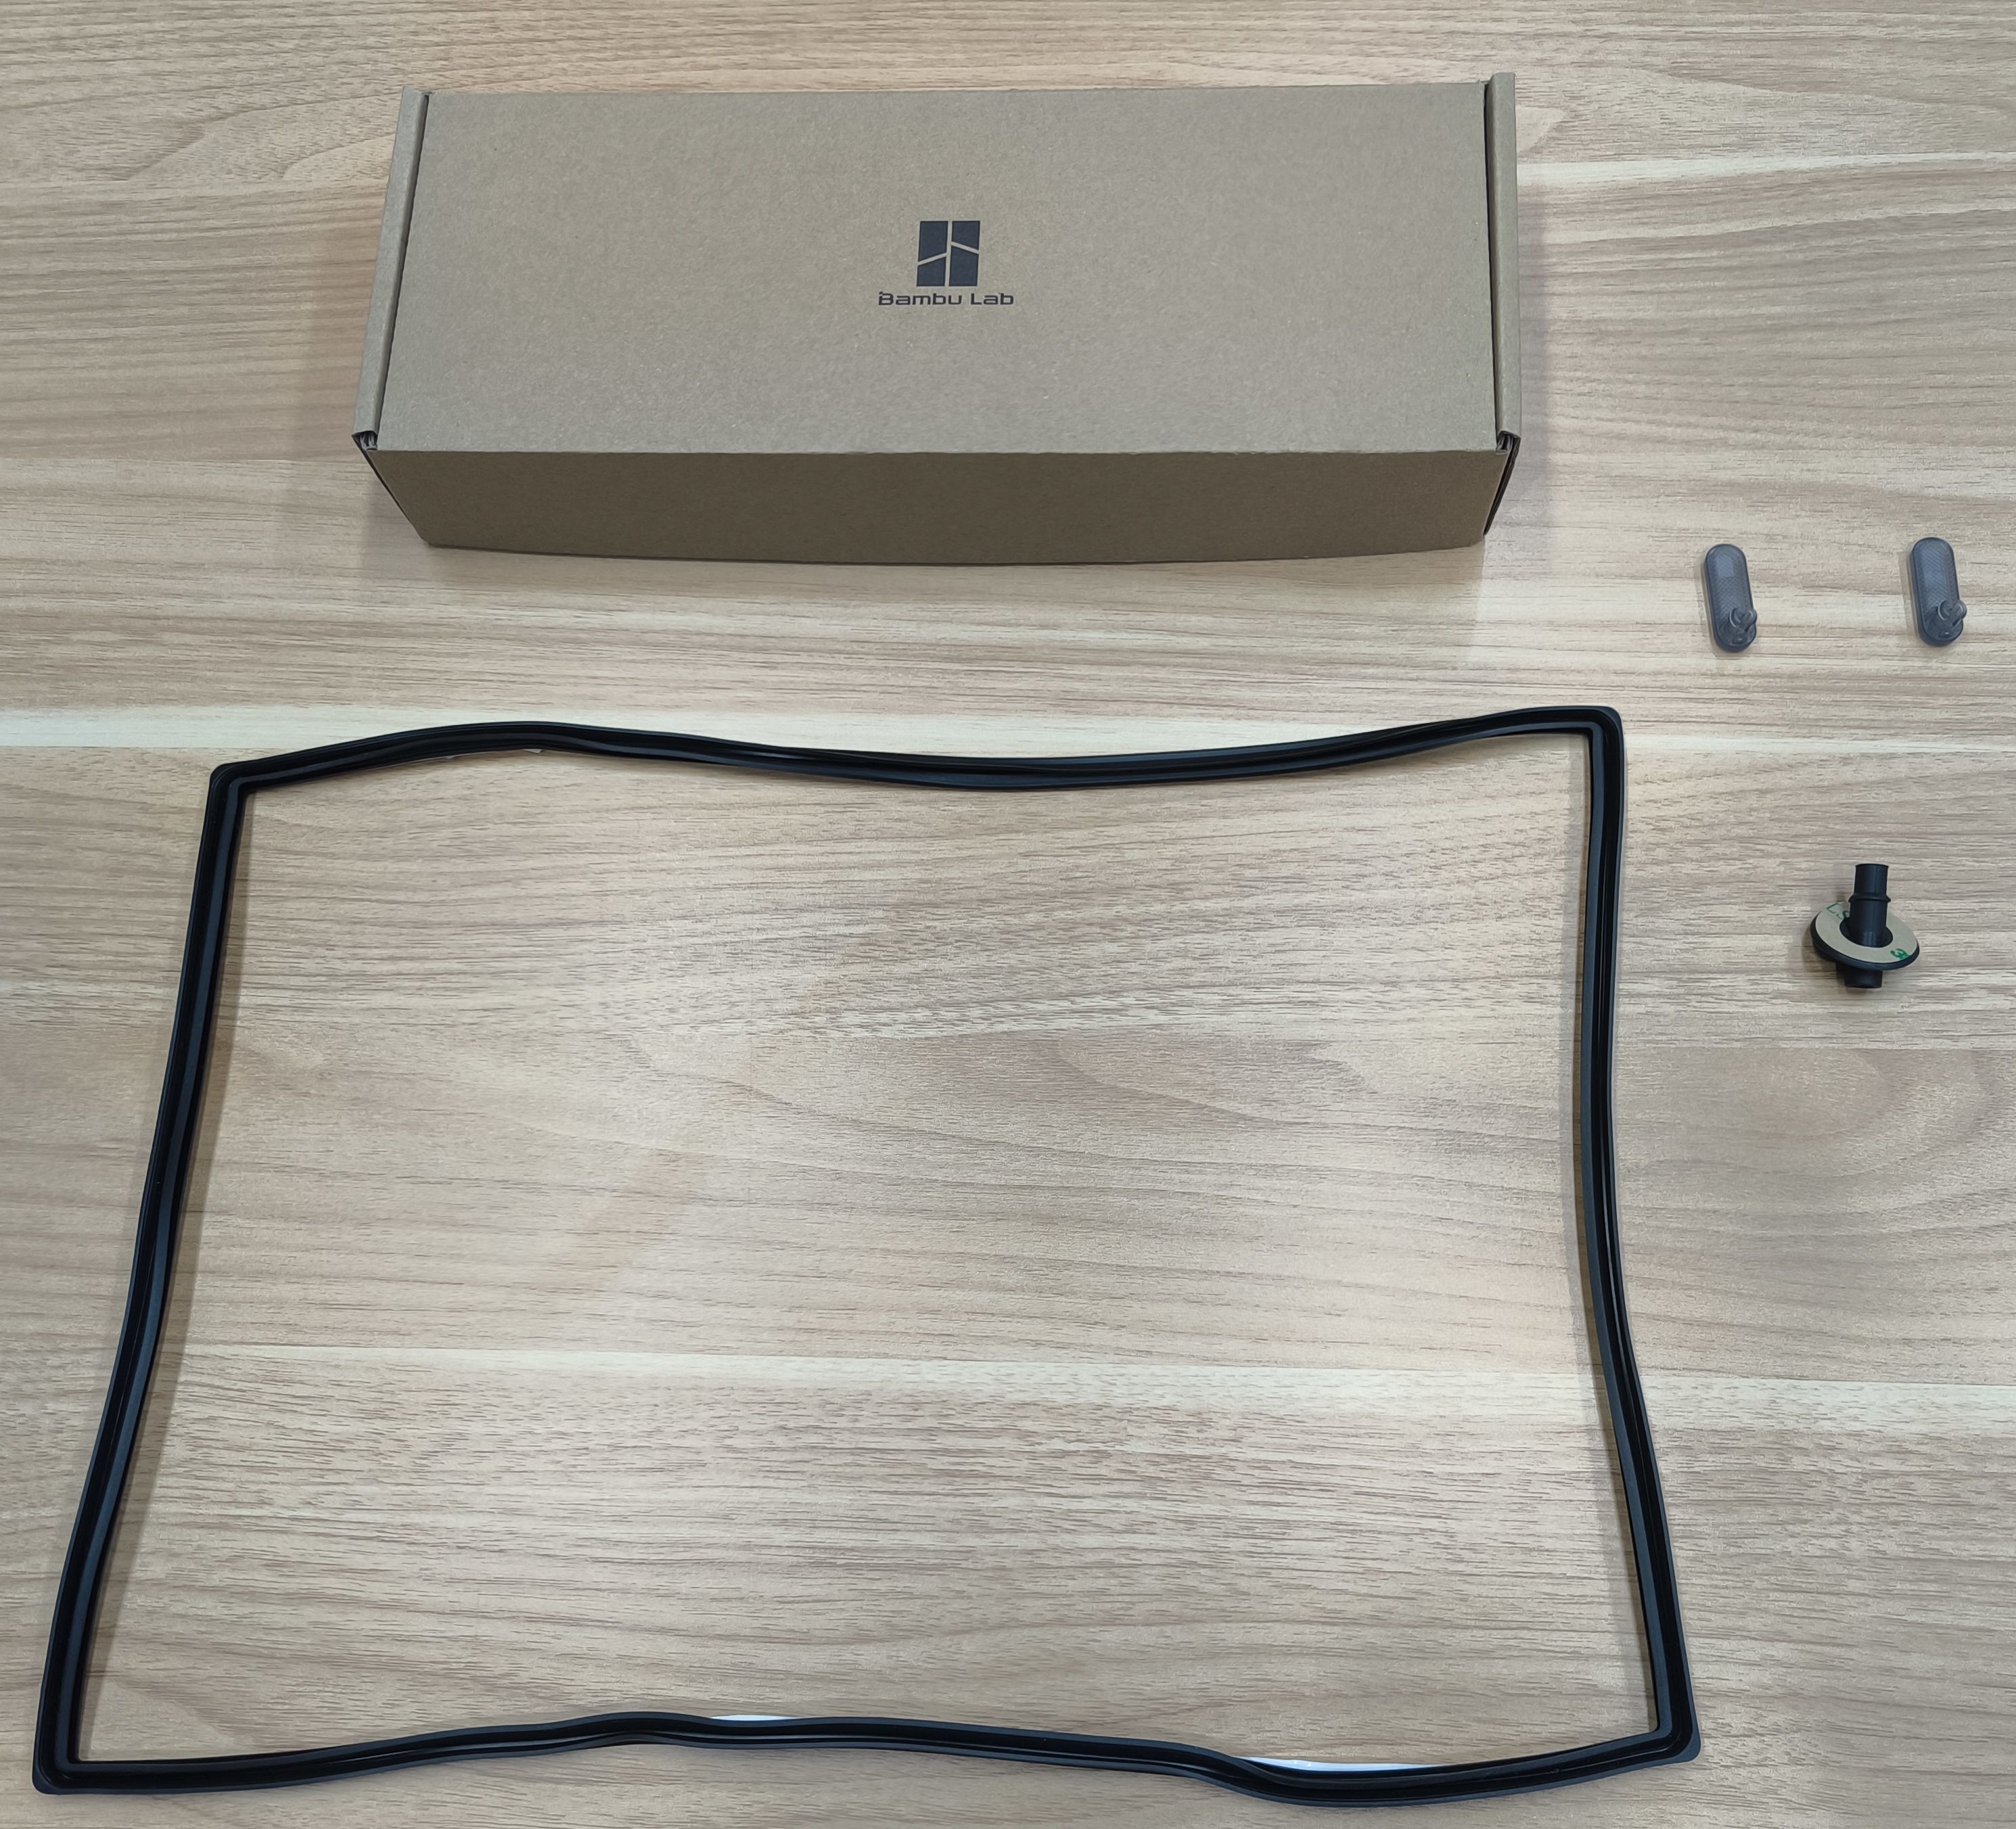
The sealing kit keeps the inside of the AMS dry, reducing the rate at which filaments and desiccants absorb water from the air. The sealing kit includes a rubber strip, two buckles, and a silicone plug. Replace one or more parts based on the actual situation.
¶ When to use
-
Even with effective desiccants, the humidity inside the AMS remains too high.
-
The sealing kit has aged and failed due to prolonged use.
-
The sealing kit is visibly damaged, leading to failure.
-
Bambu Lab Support recommends a replacement.
¶ Tools and materials needed
-
AMS sealing kit
-
Scraper
¶ Safety warning before operation
Before operation, please make sure the printer is switched off and the AMS is disconnected from the printer.
¶ Operation guide
¶ Replace the rubber strip
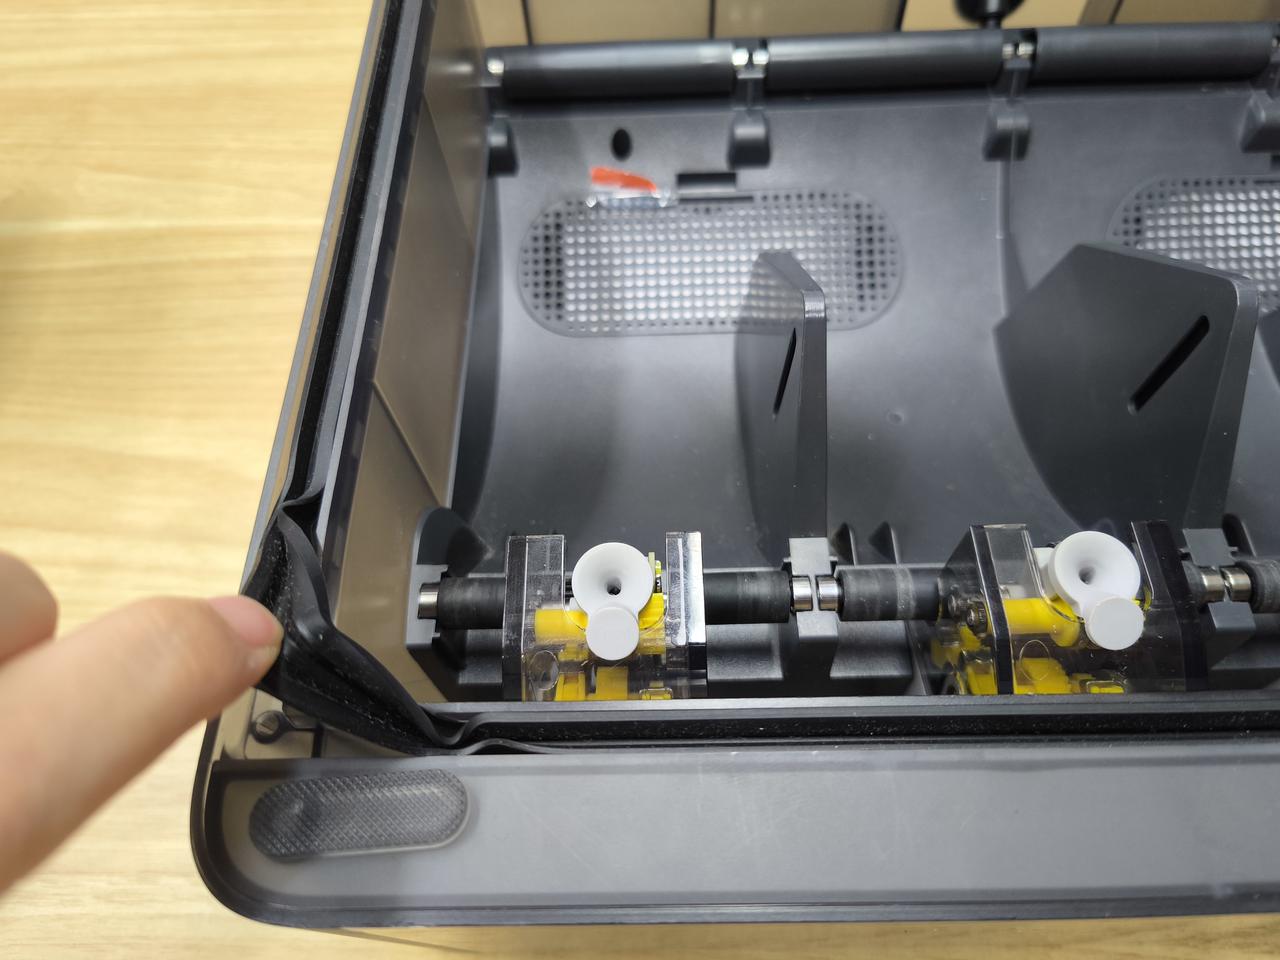
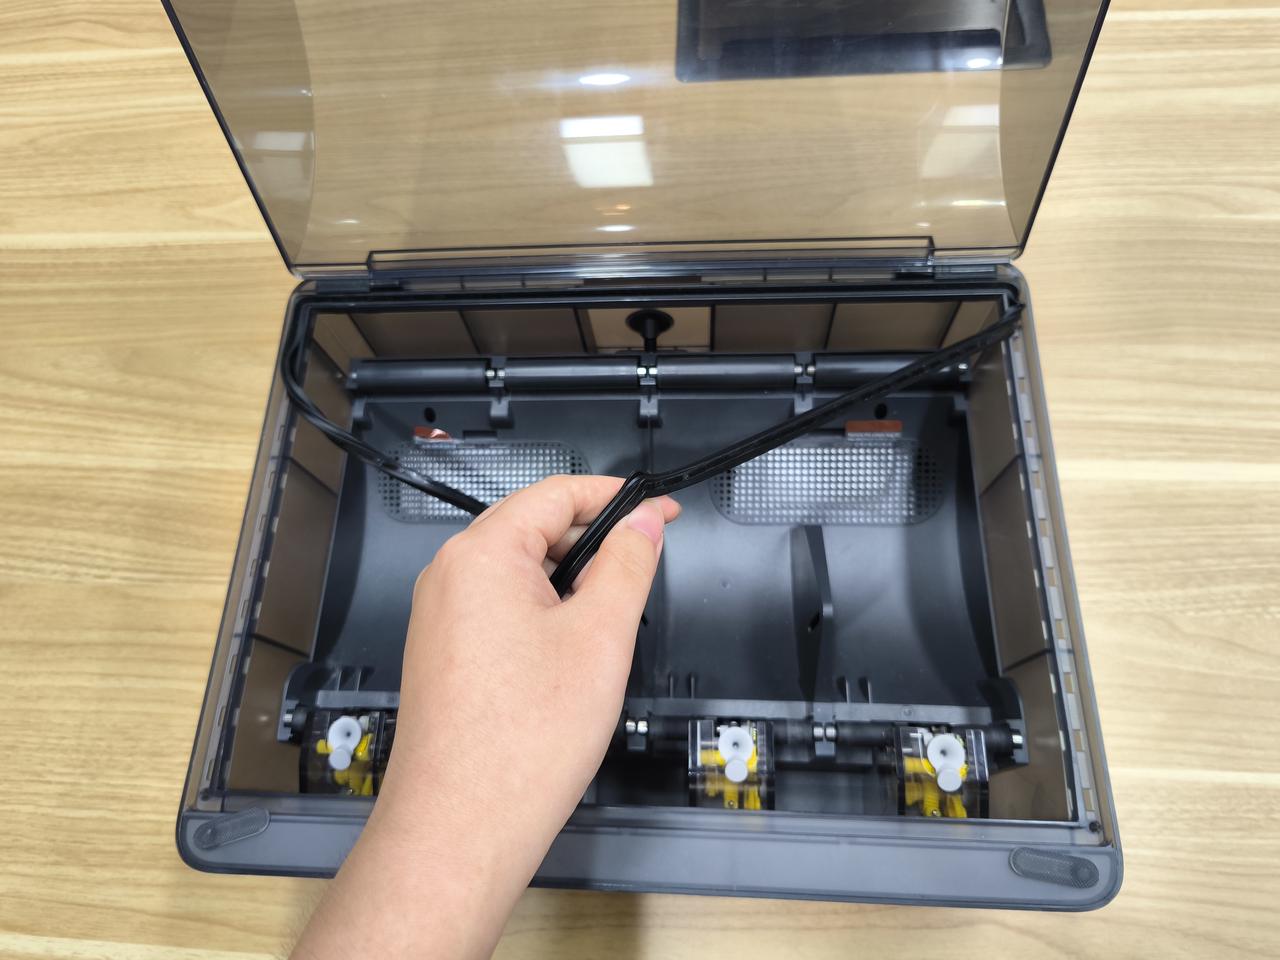
¶ Step 1: Remove the old rubber strip.
Pull up the strip from a corner, and the remove it along the edges.
 |
 |
¶ Step 2: Install the new rubber strip.
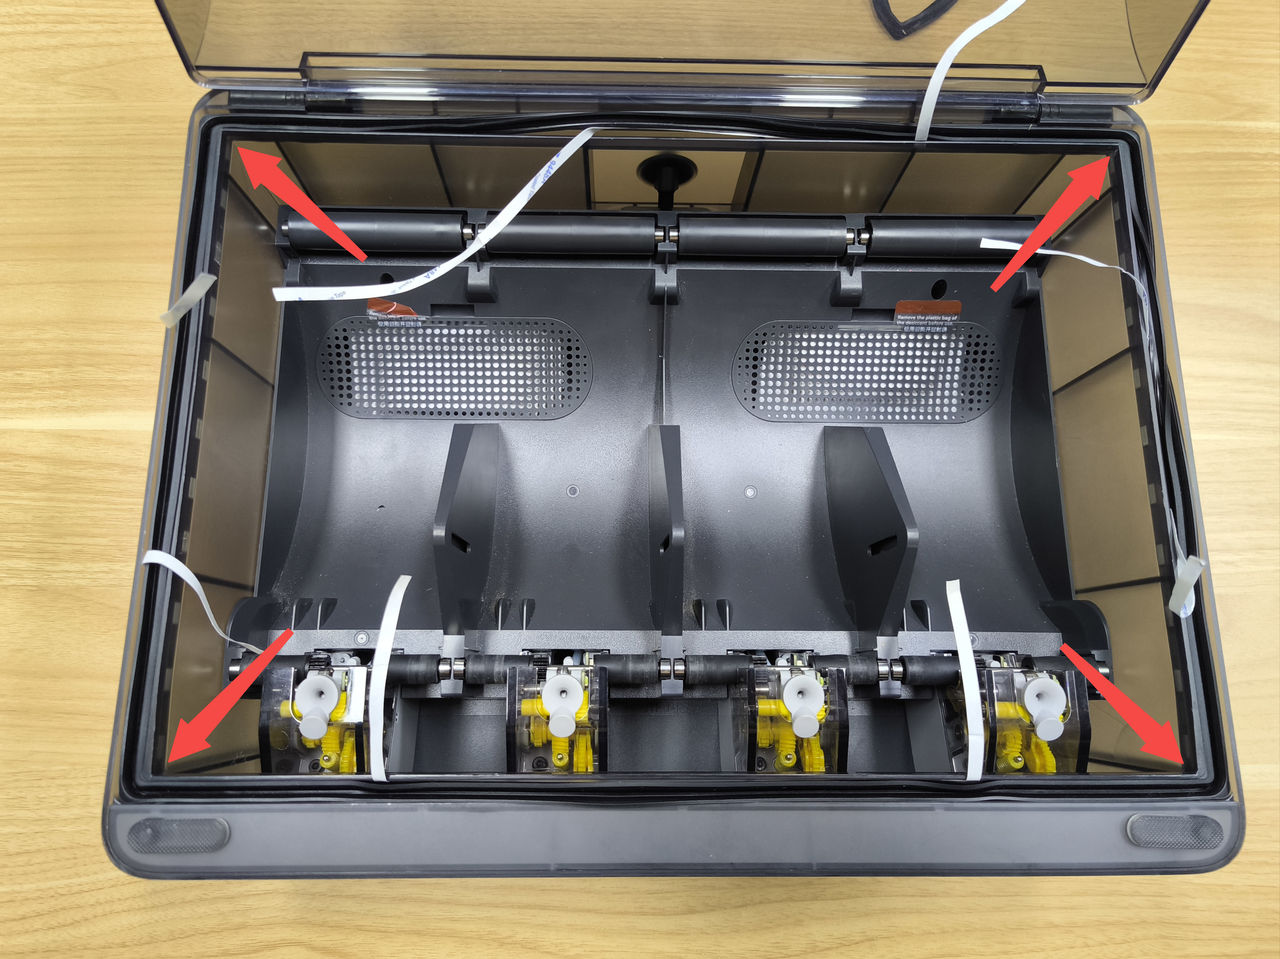
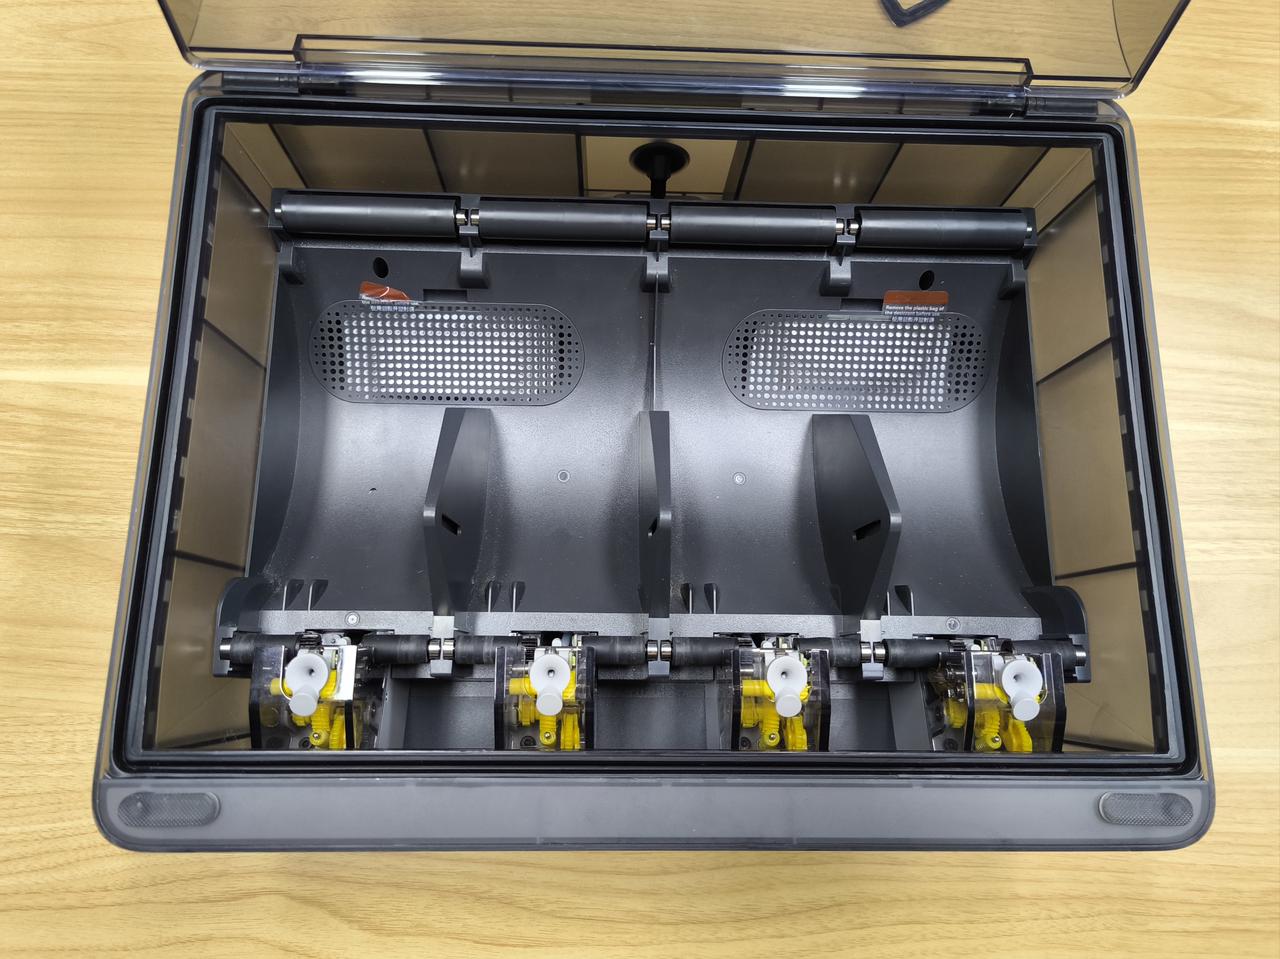
Peel off the protective backing paper on the adhesive tape on four corners of the rubber strip. Install the rubber strip into the four corners of the slot first. Then, remove the remaining protective backing paper, press the entire rubber strip into the slot.
Press the positions where there is adhesive tape below a couple of times to make sure the rubber strip is in place and secure.
During operation, please do not over-stretch the rubber strip as it can deform and leads to failure.
 |
 |
¶ Step 3: Check if the rubber strip is in place.
After installation, open and close the cover a couple of times to see if the rubber strip is in place.
¶ Replace the buckles
¶ Step 1: Remove the old buckles.
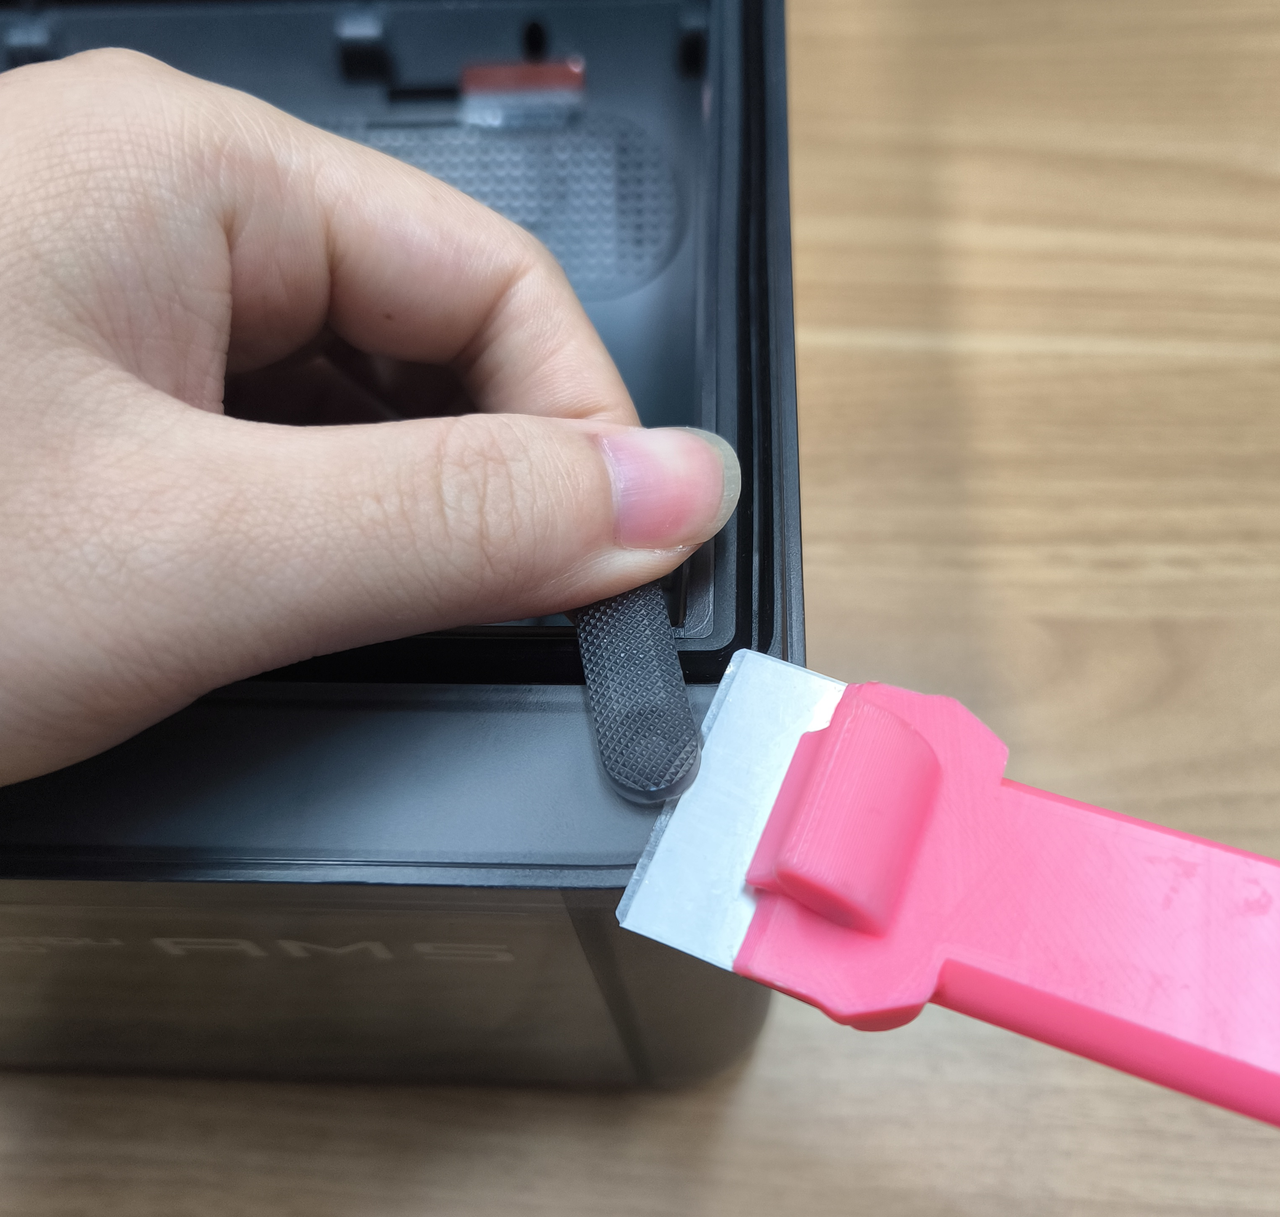
Rotate the buckle to the lock position as shown below, and then use the scraper to pry it upwards to remove it. Repeat the step to remove the buckle on the other side.
When operating the scraper, please do not use excessive force to avoid injury.
¶ Step 2: Install the new buckles.
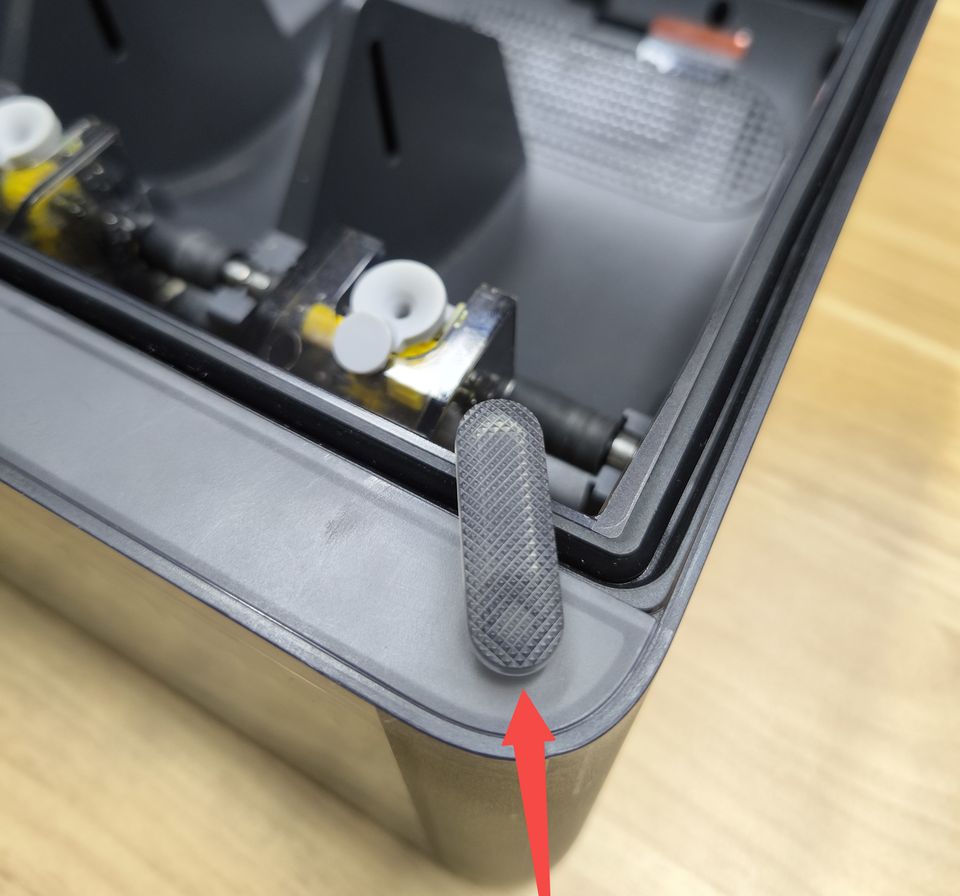
Point the buckle 45 degrees as shown in the image, place it in the hole, and then press until it clicks in place.
Please make sure the buckle is in the right angle before pressing it.
¶ Replace the silicone plug
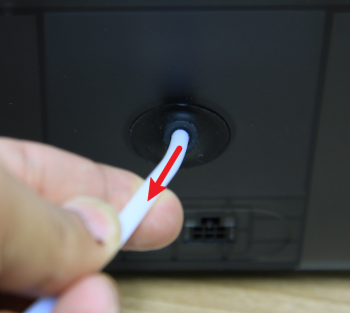
¶ Step 1: Remove the PTFE tube.
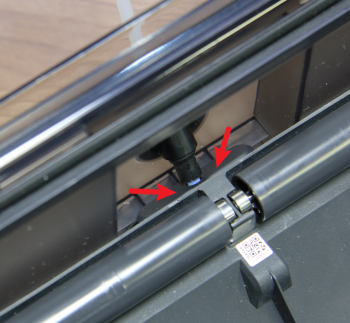
Open the cover. Press the release button and pull out the PTFE tube from the back at the same time.
 |
 |
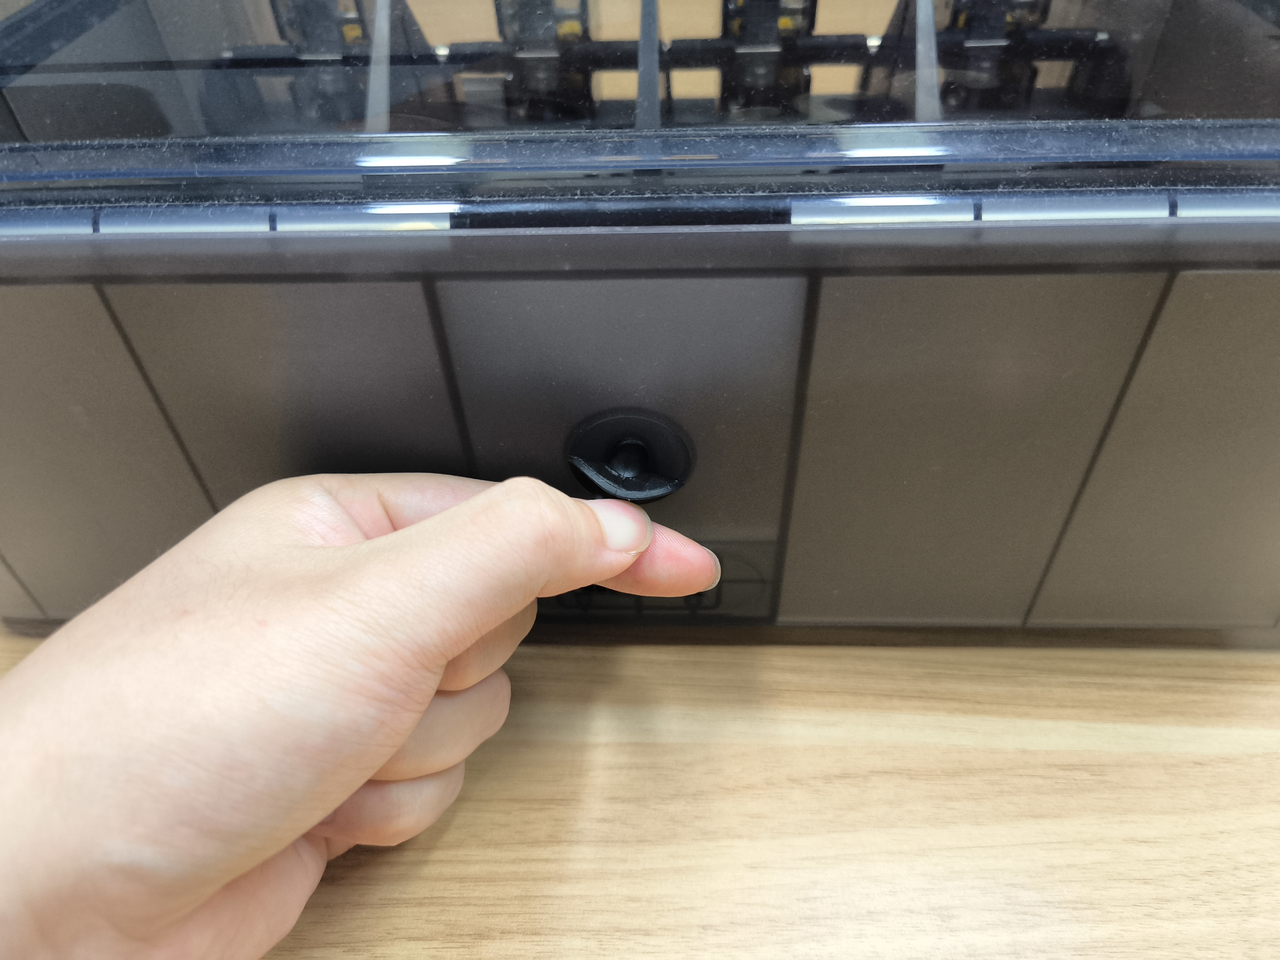
¶ Step 2: Remove the old silicone plug.
Peel off and remove the silicone plug.
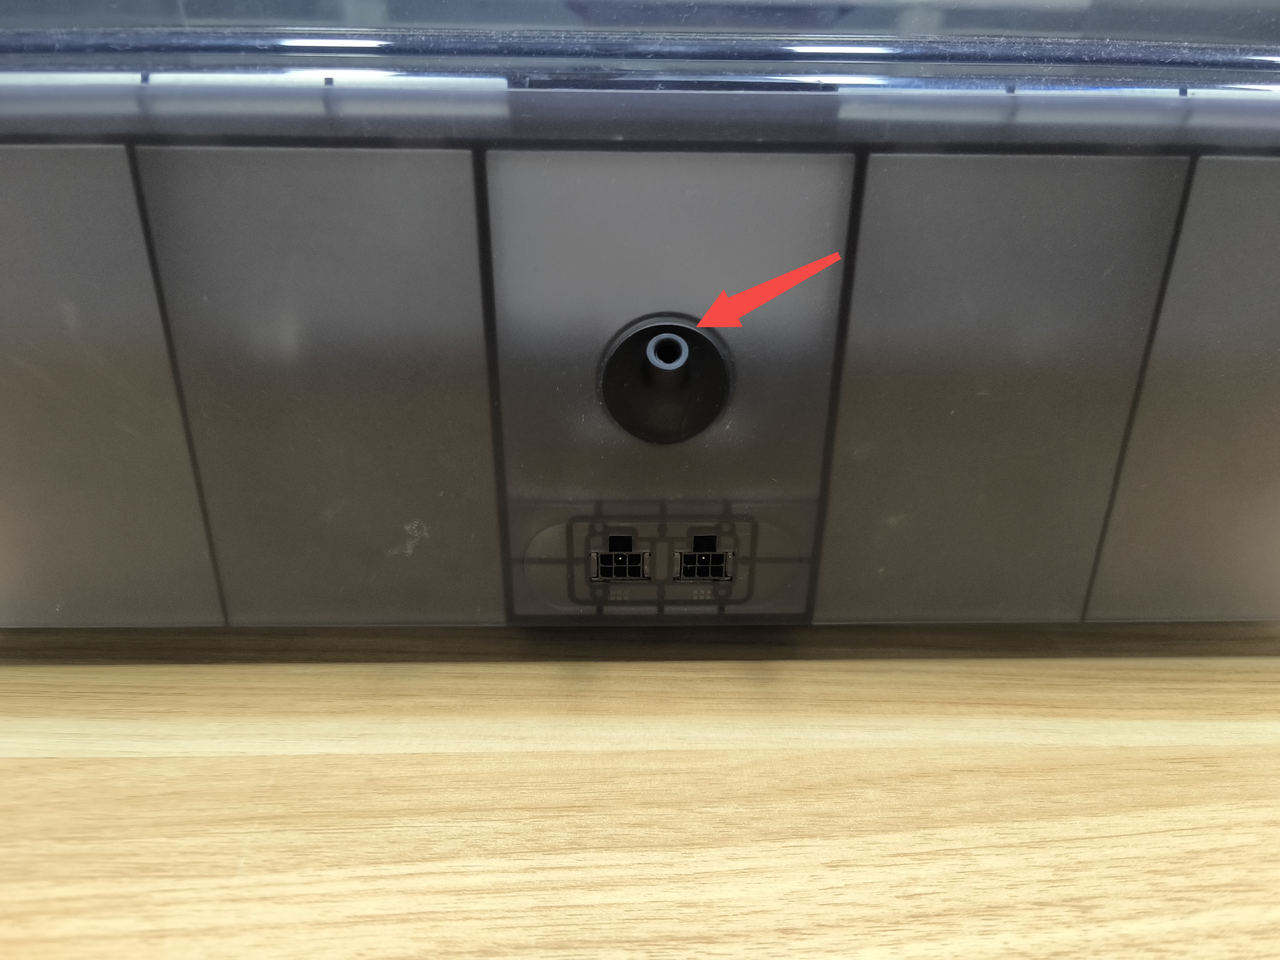
¶ Step 3: Install the new silicone plug.
Peel off the protective back paper on the silicone plug. Rotate it until the PTFE tube outlet is pointing upward, and then install it to the original position. Press the positions where there is adhesive tape a couple of times to make sure the silicone plug is secure.
¶ End Notes
We hope the detailed guide provided has been helpful and informative.
To ensure a safe and effective execution, if you have any concerns or questions about the process described in this article, we recommend submitting a Technical ticket regarding your issue. Please include a picture or video illustrating the problem, as well as any additional information related to your inquiry.