¶ Video Guide
Visit YouTube to watch our full unboxing video guide.
¶ Steps for the Operation
Please remove the printer and its accessories from the box one by one.
The protective foam may vary from the machine shown in the unboxing video. Please refer to the machine you have received for accurate information.
¶ Step 1: Unbox and Take out the A1 mini Printer and its Accessories.
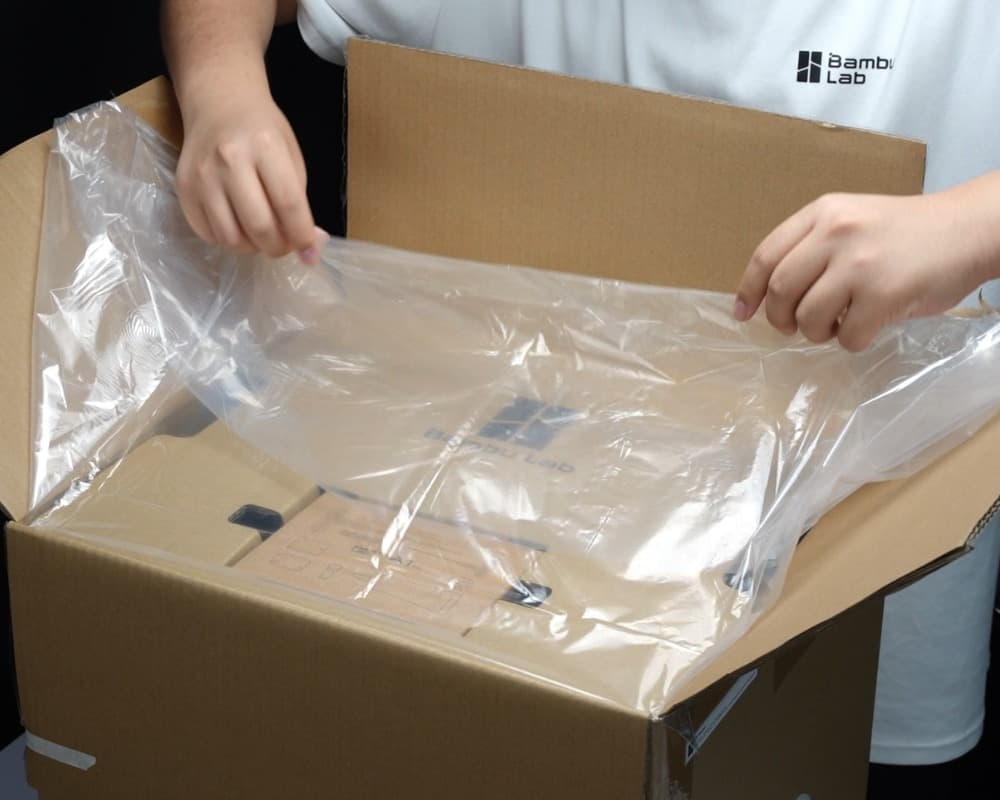
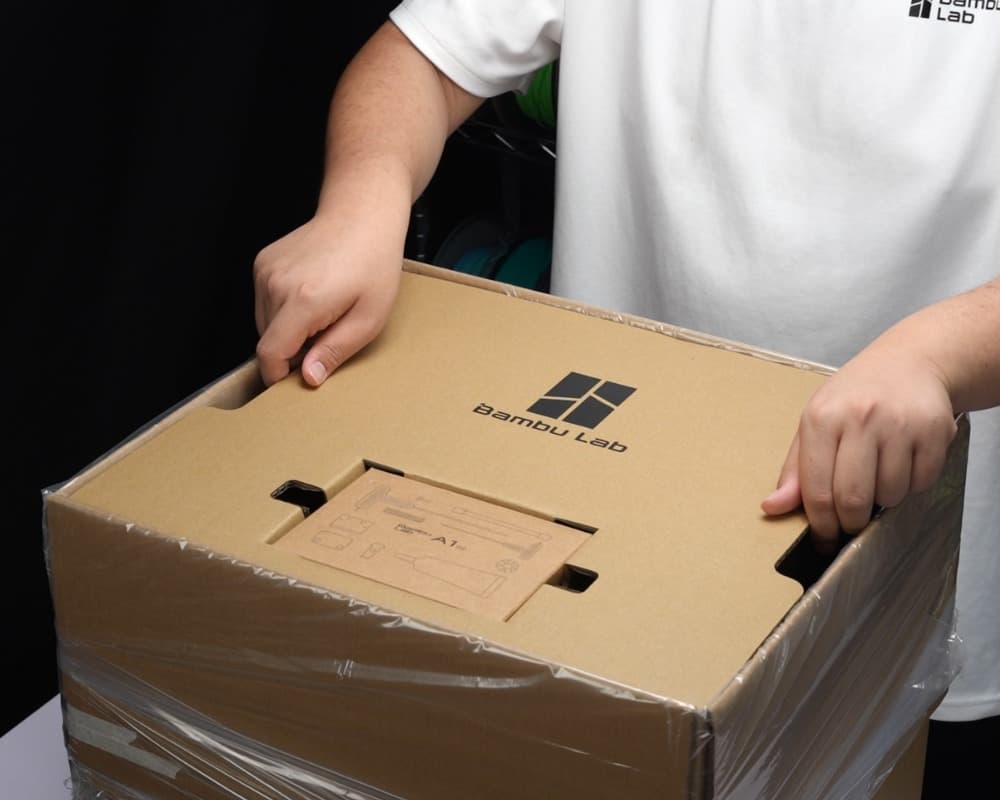
1. Open the plastic bag, and remove the protective cardboard from the top (some accessories may be embedded in the cardboard, so please check carefully).
 |
 |
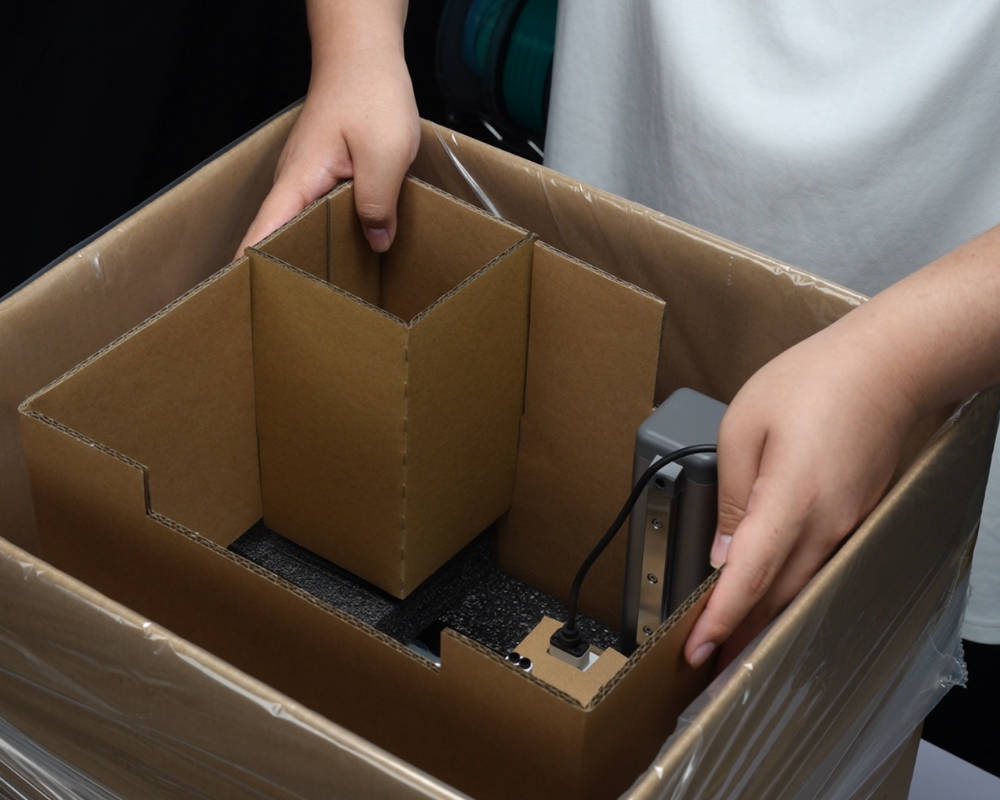
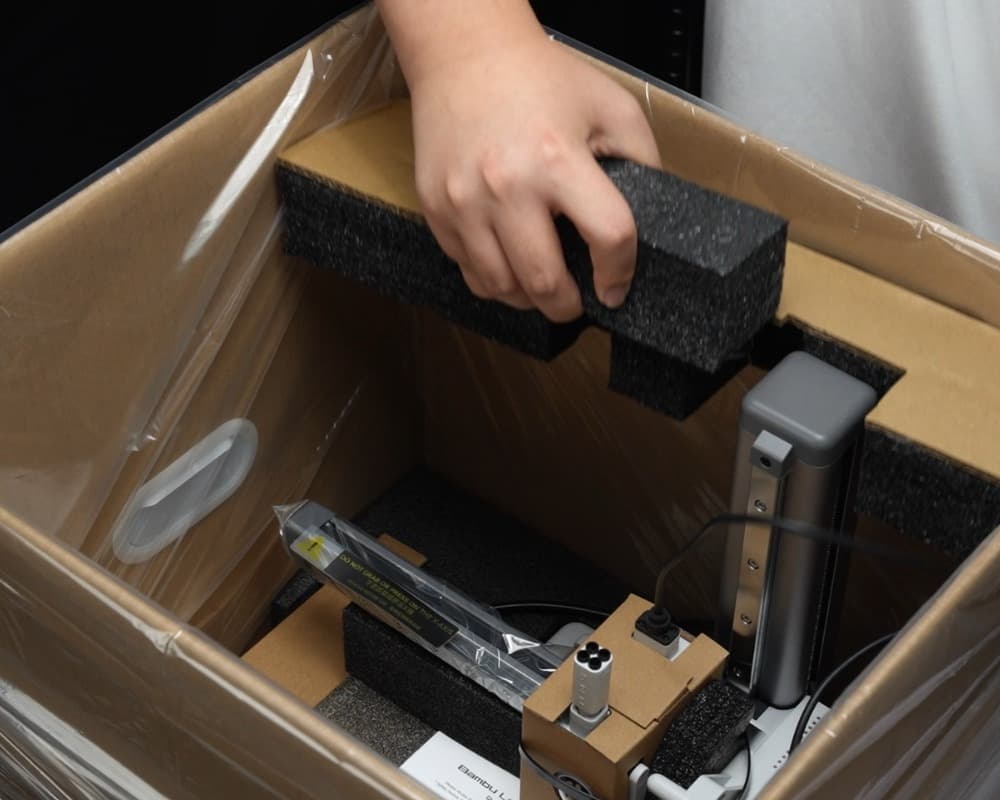
2. Remove the printer and the accessories. When removing the printer, support the rear cover of the Z-axis with your hand and avoid touching the metal rails of the Z-axis with your hands.
 |
 |
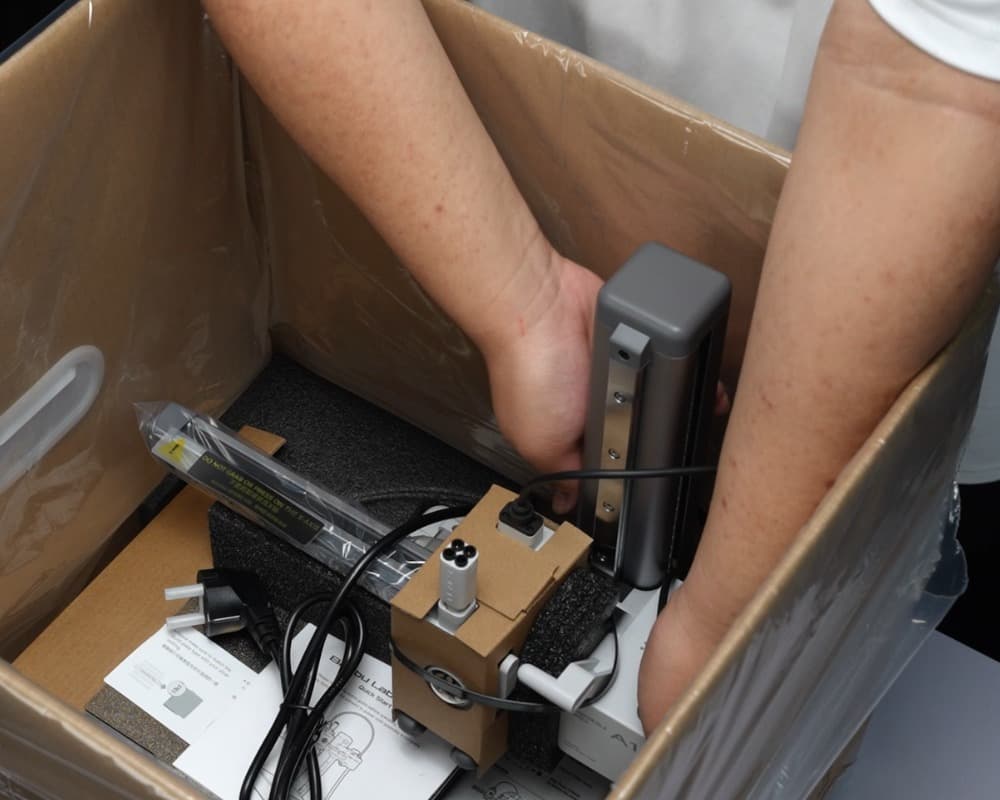 |
 |
 |
 |
¶ Step 2: Check the Accessories in the Box.
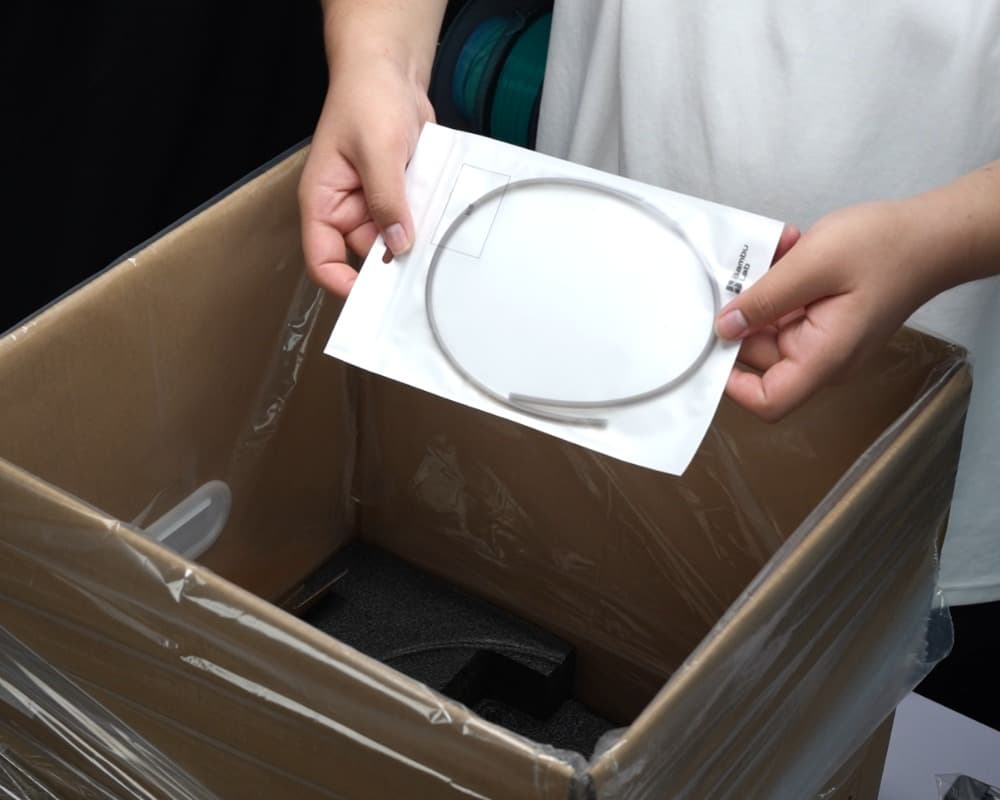
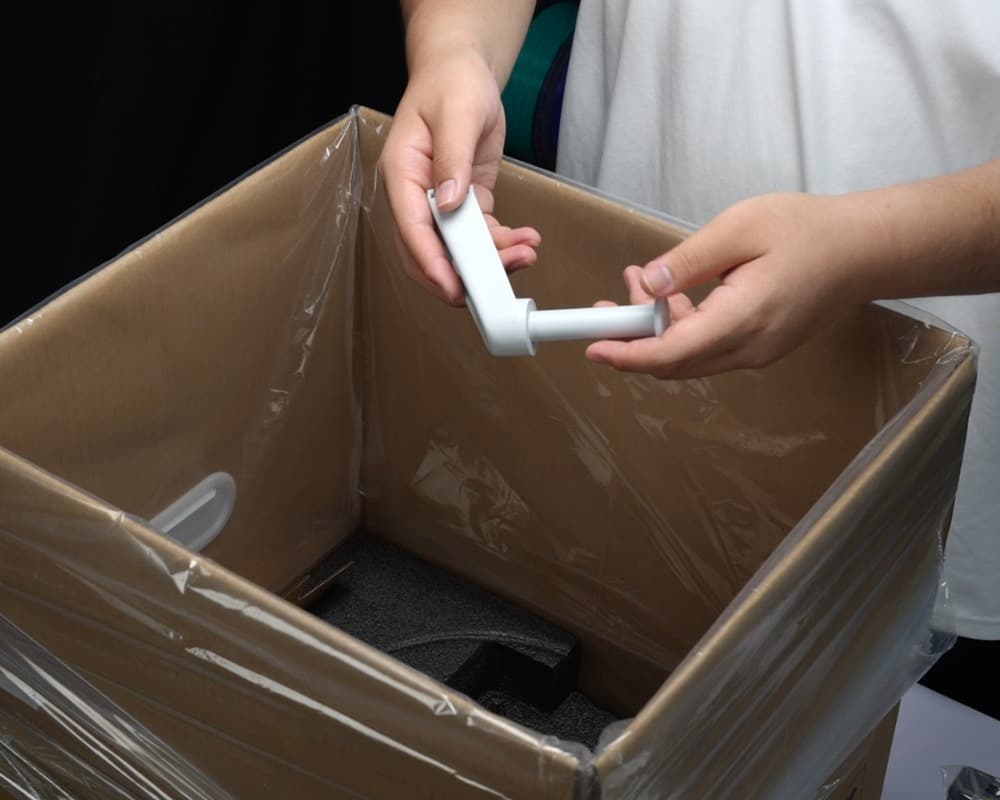
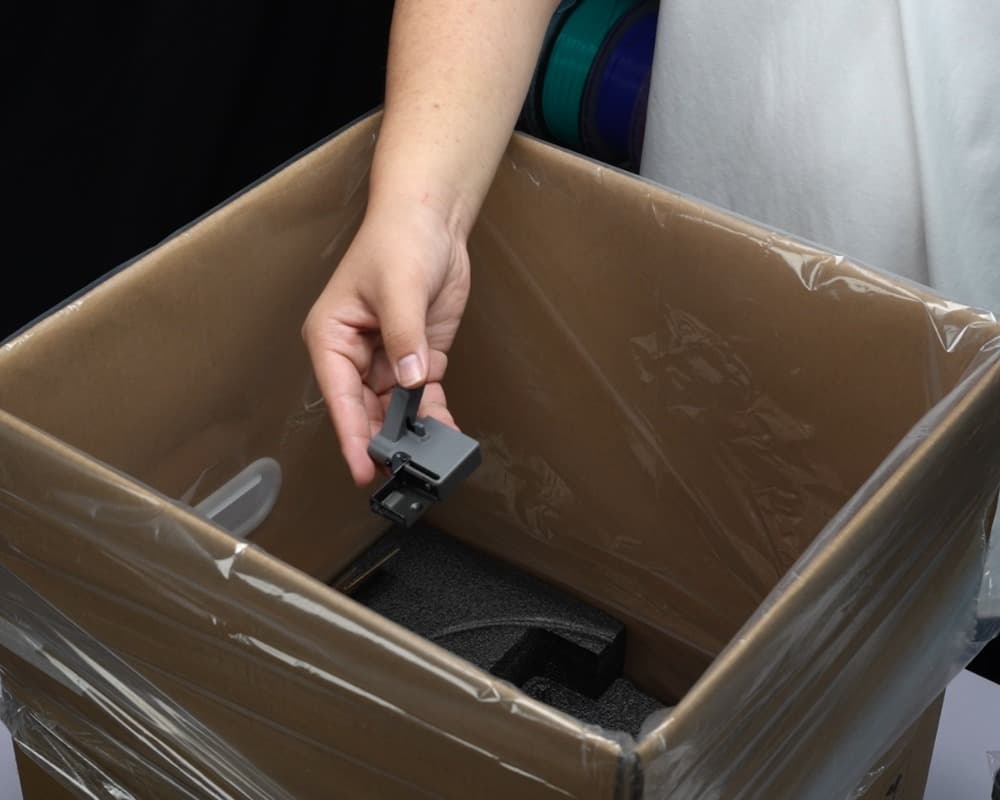
The packaging box includes the following items: A1 mini printer, installation screws, purge wiper and its screws, spool holder with the bracket and its screws, PTFE tubes (580 mm *1), Textured PEI plate, Sample filament, Unclogging Pin Tool, Allen keys (H2 and H1.5), Heatbed Nozzle Wiper, Cable Organizer, Bambu Scraper Blade and its screws, Spare Filament Cutter, lubricating grease, Quick start guide, and Disclaimer and Safety Guidelines.
Note: The Quick Start Guide is placed on the hotbed of the printer. Carefully read the Guick Start Guide and familiarize yourself with the precautions for unboxing in advance.
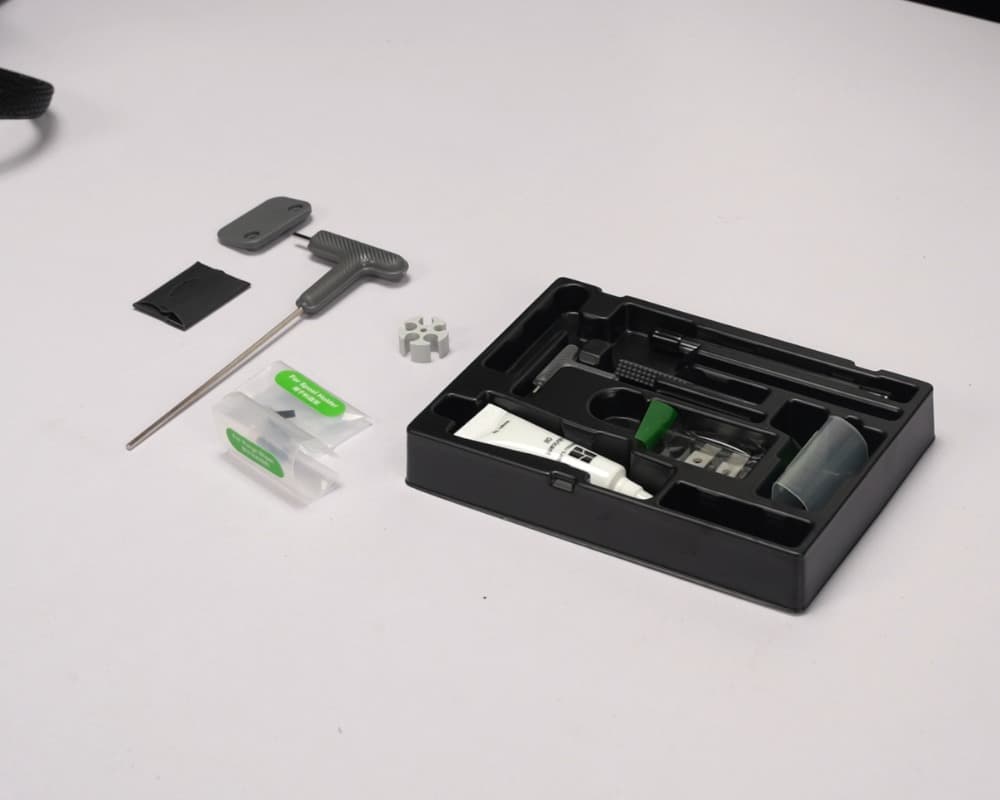 |
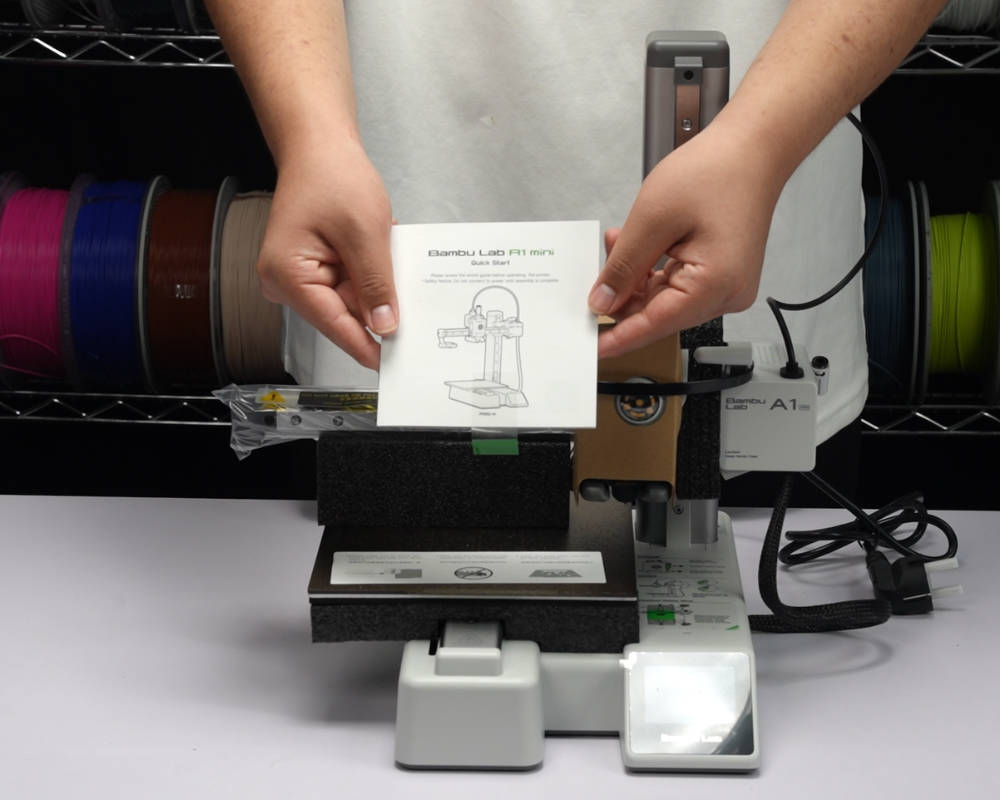 |
¶ Step 3: Remove the Foam Paddings for the Hotbed and X-axis Guide Rail
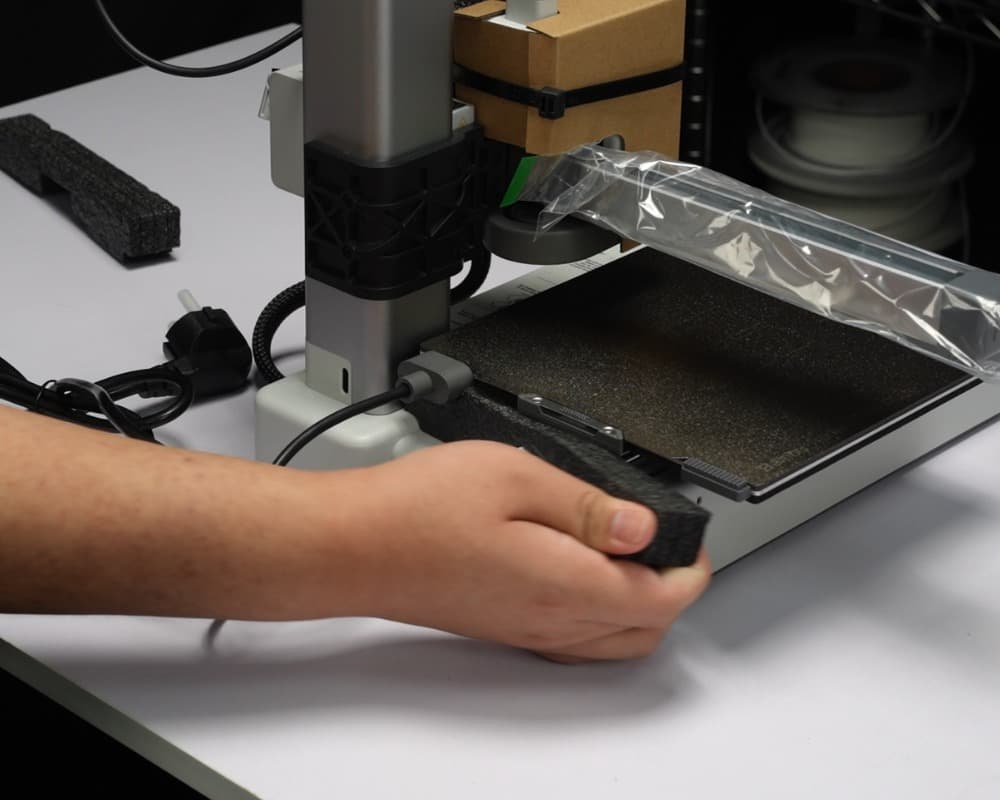
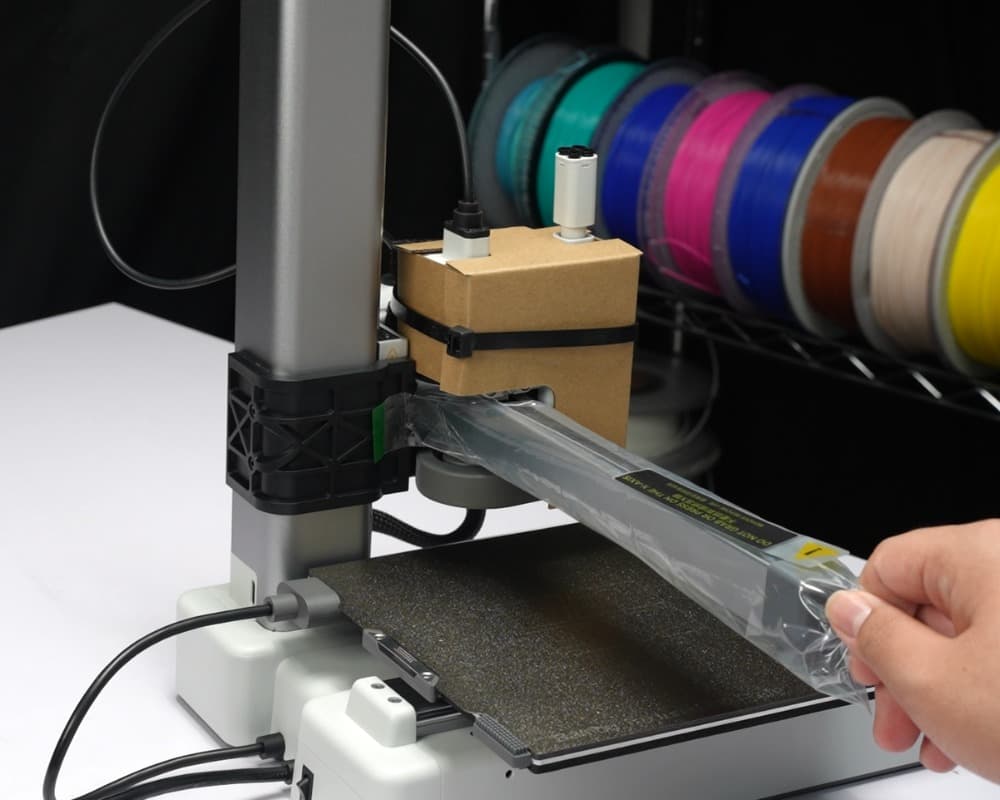
Remove the foam padding under the hotbed and beyond the X-axis guide rail, and remove the plastic bag on the X-axis guide rail.
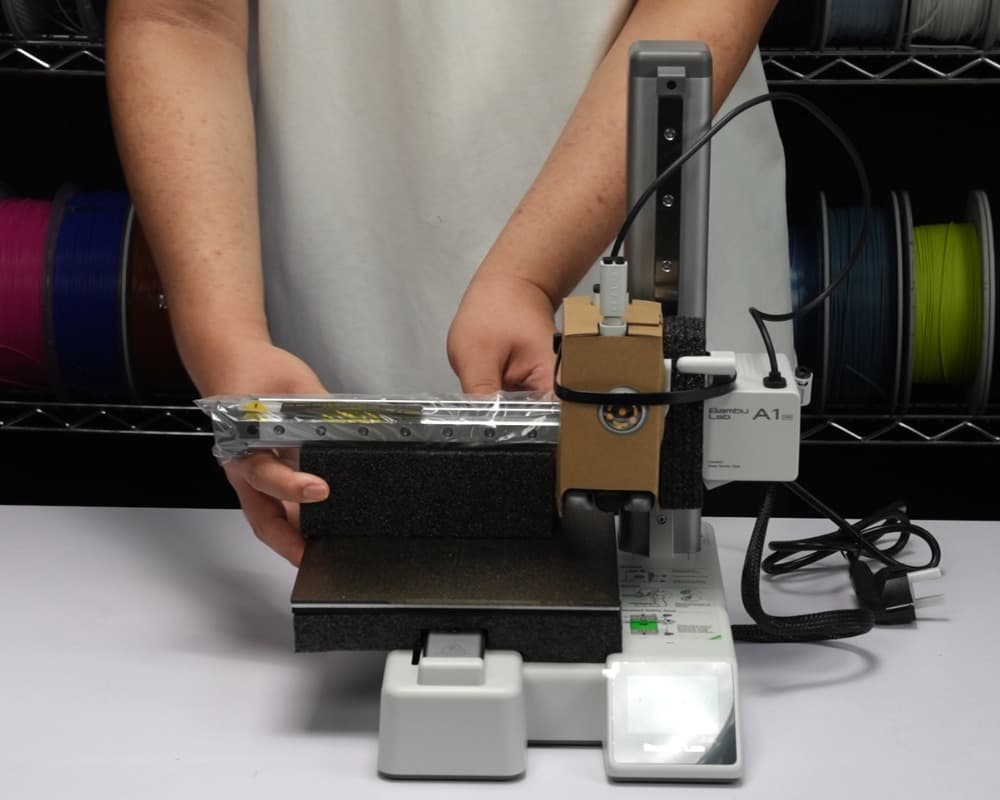 |
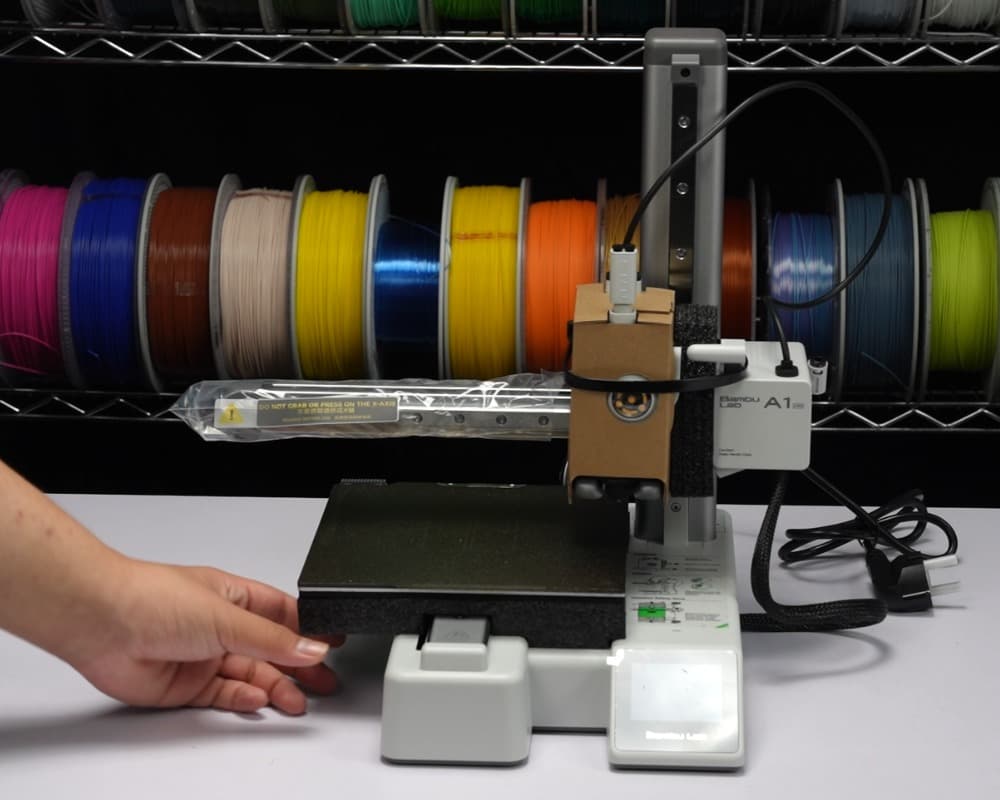 |
 |
 |
¶ Step 4: Unlock the Z-axis Limiter and Toolhead
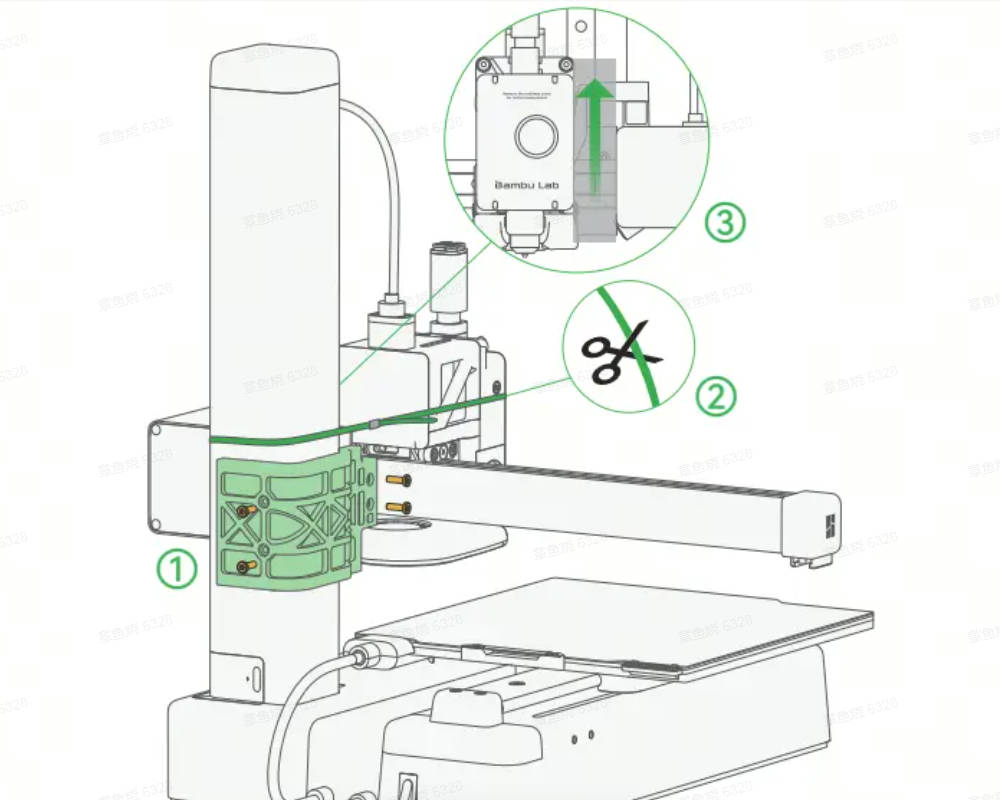
1. Remove the four screws to unlock the Z-axis limiter. The Z-axis limiter is used to ensure the printer's safety during transportation.
 |
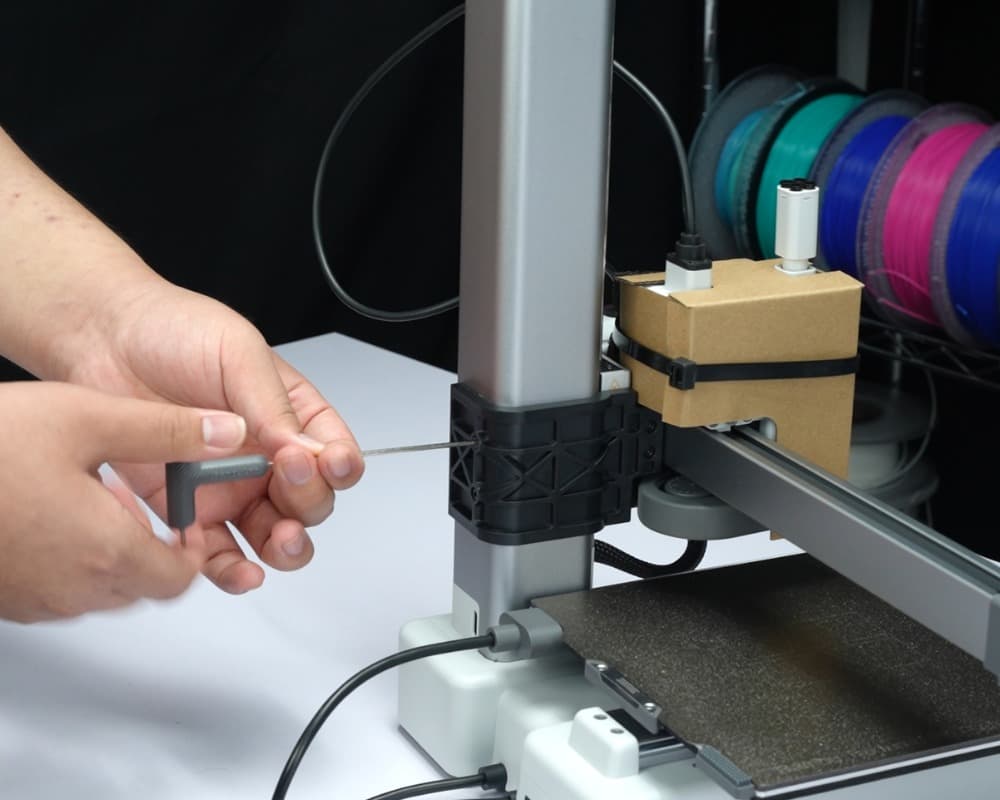 |
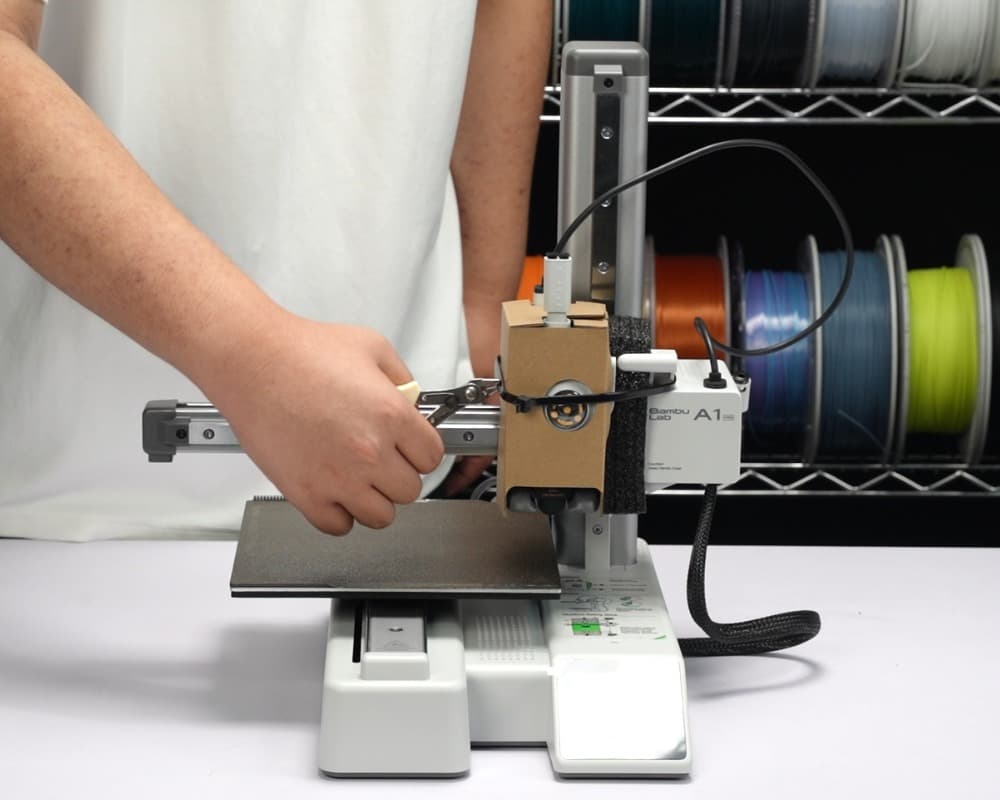
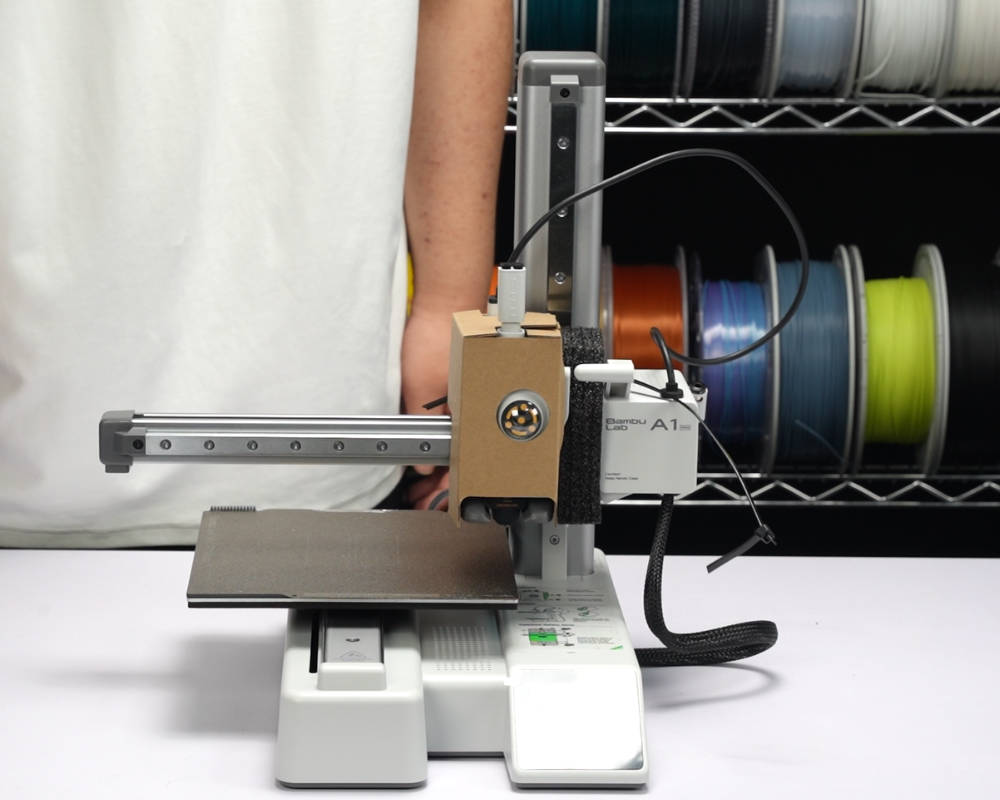
2. Cut the zip-tie wrapped around the toolhead
 |
 |
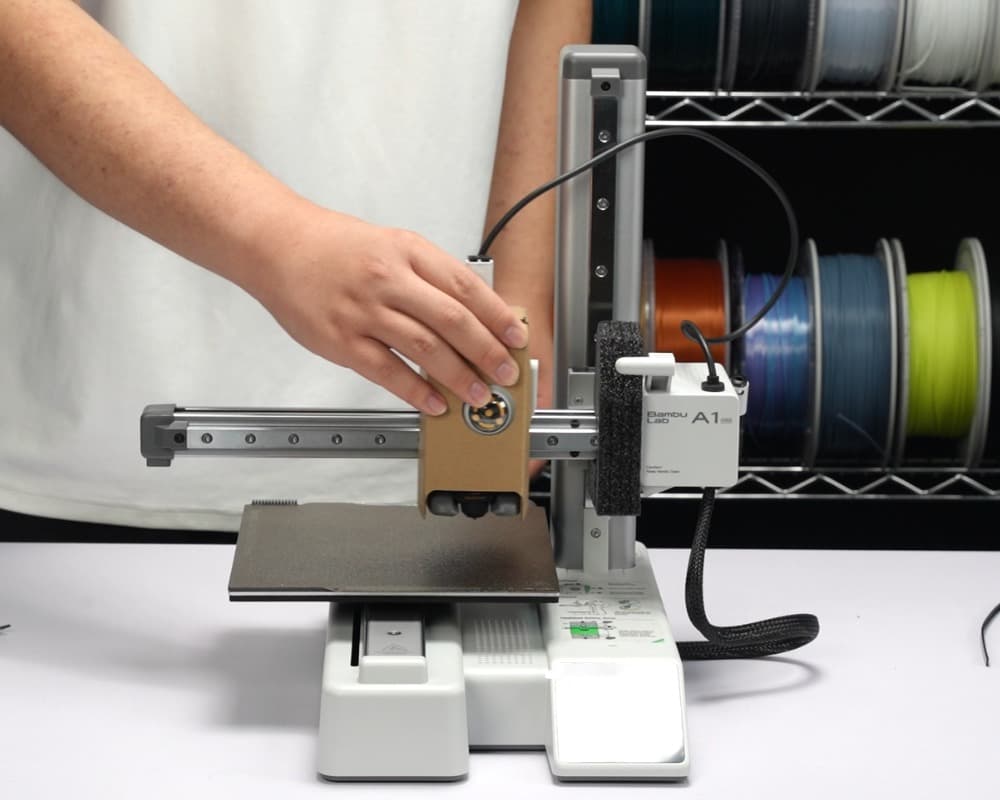
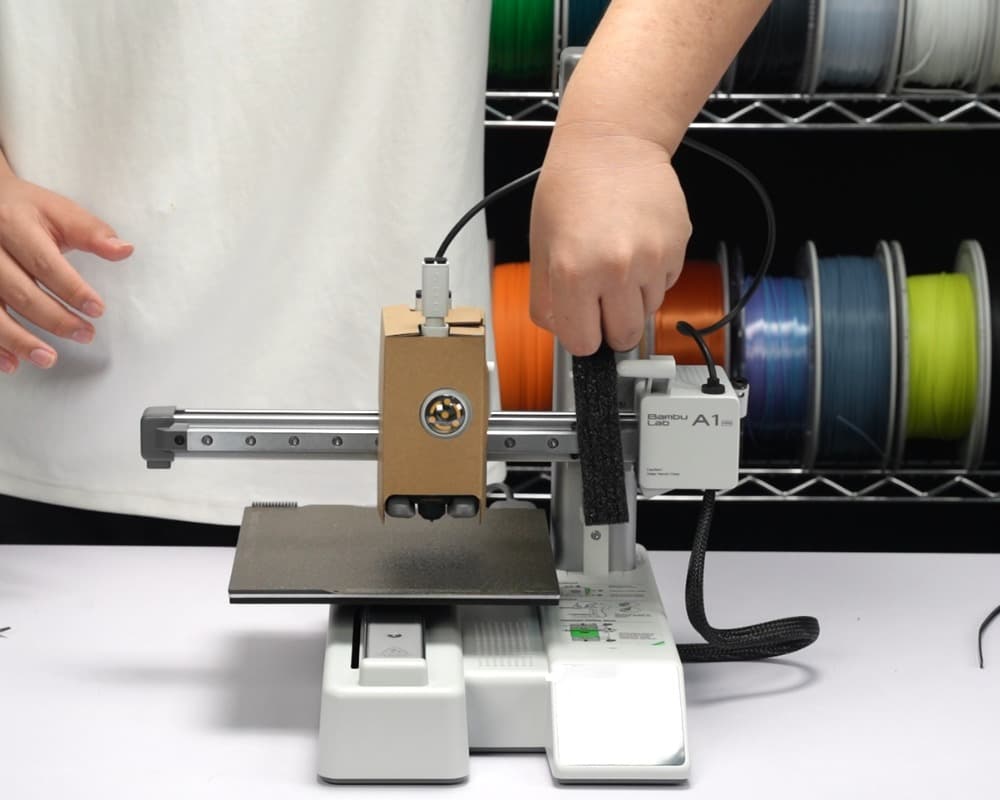
3. Move the toolhead slightly to the left and then remove the foam padding
 |
 |
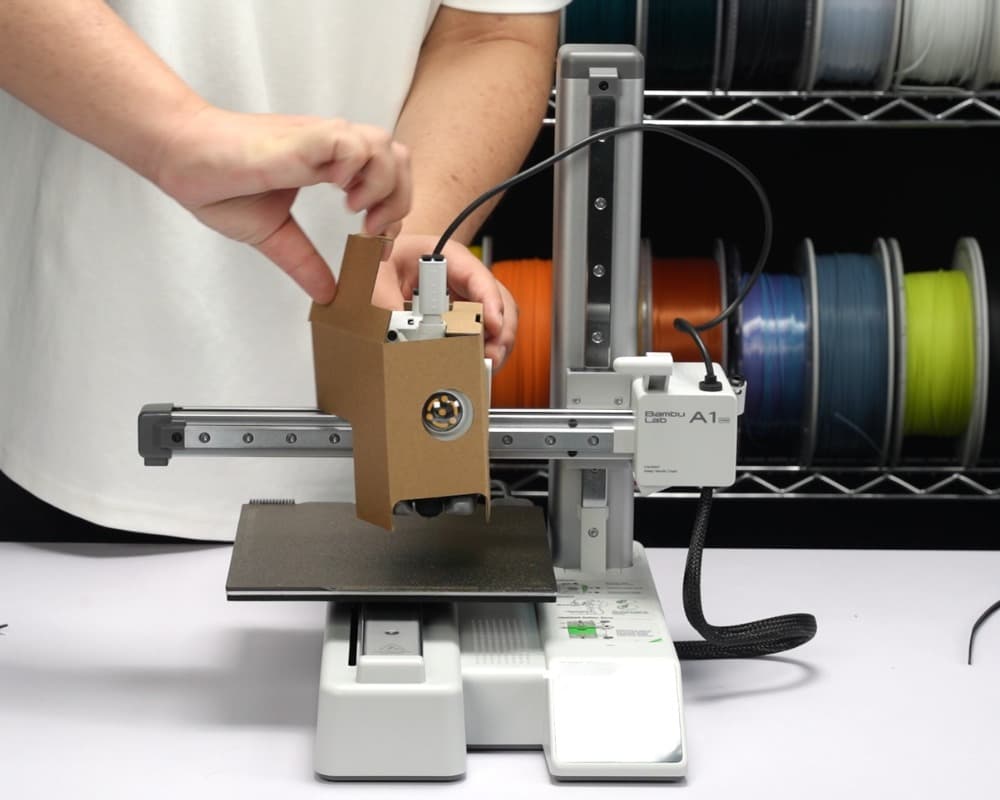
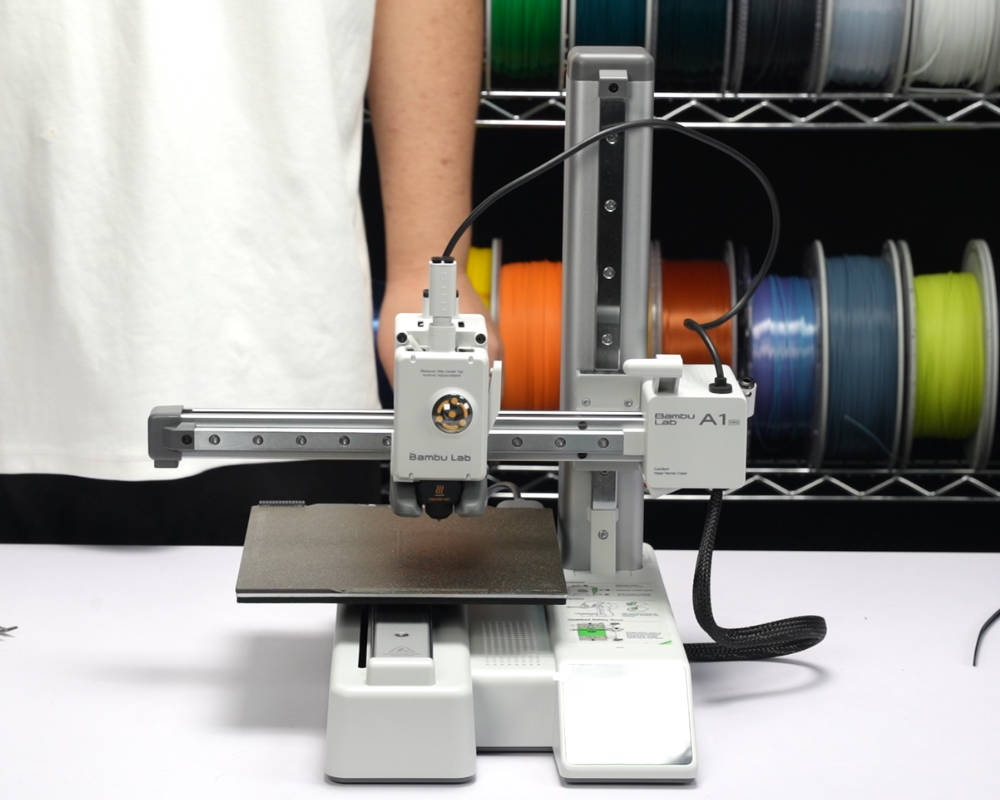
4. Remove the protection cardboard from the toolhead
 |
 |
¶ Step 5: Tighten the Heatbed Screws
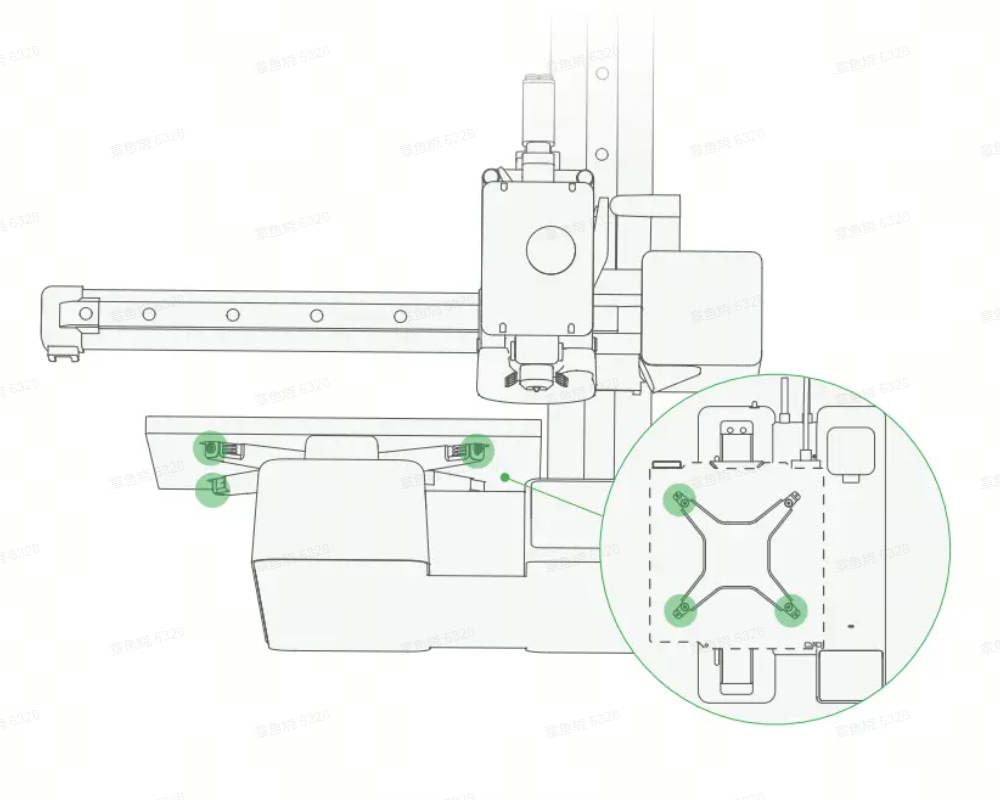
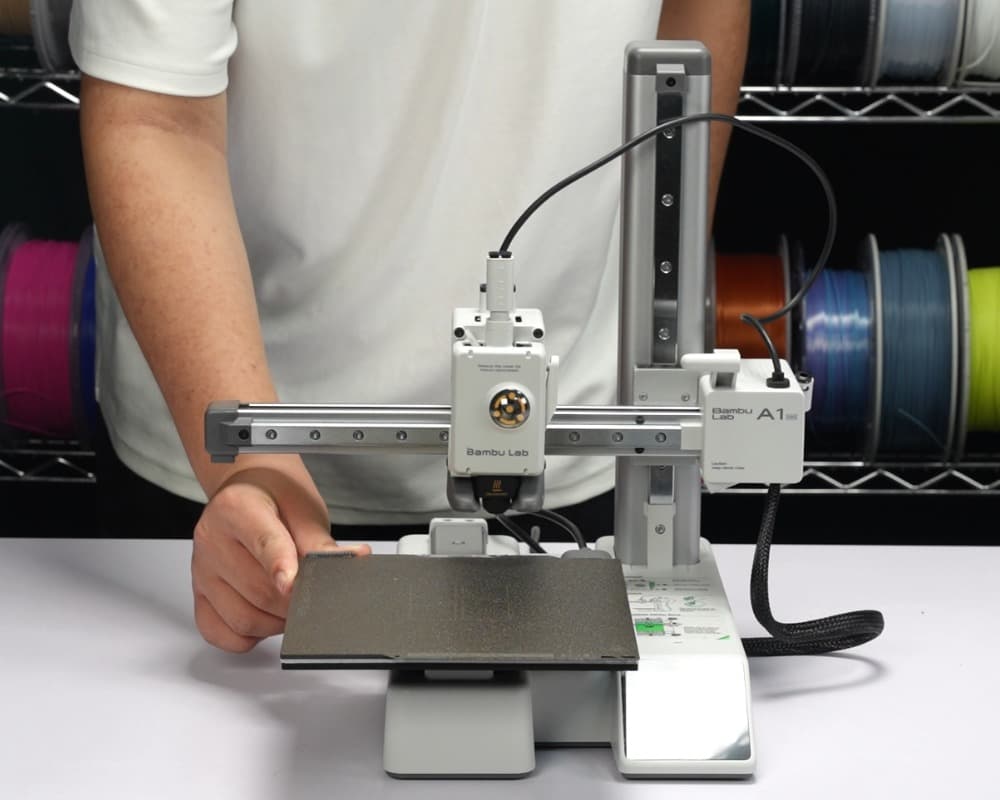
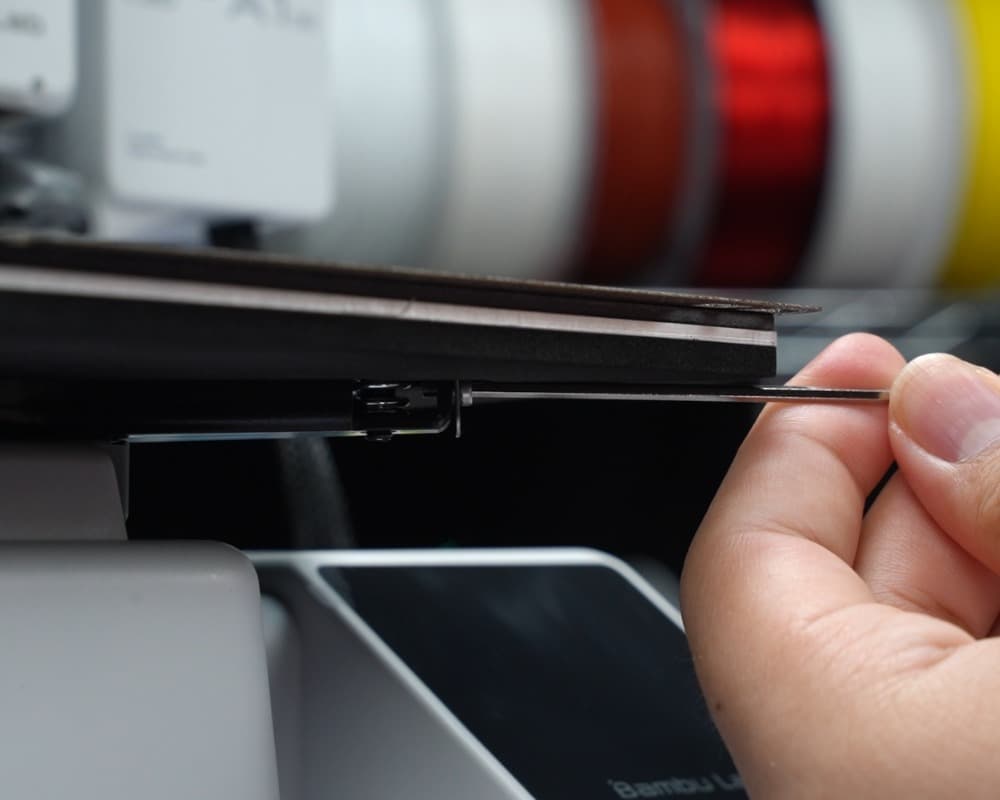
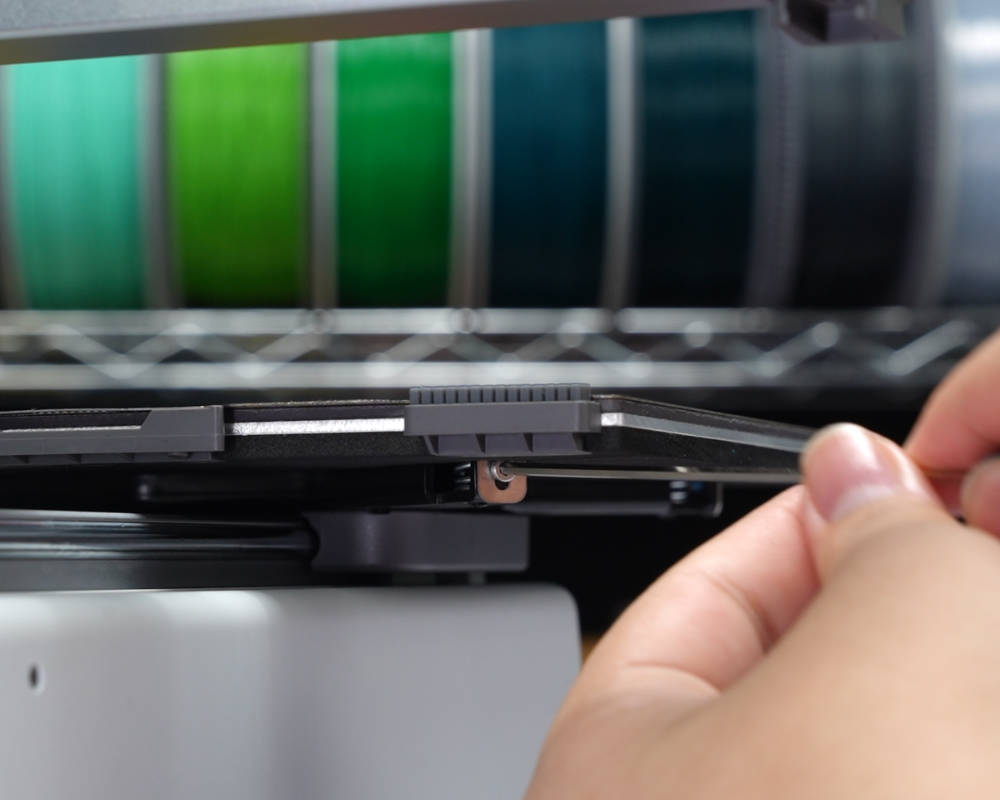
Tighten the three screws circled in green to lock the heatbed. We suggest you move the heatbed slightly to a convenient position to use an Allen key.
These three screws are intentionally loosened during the factory assembly process to avoid damage to components during transportation. Therefore, at this step, you need to tighten them.
 |
 |
 |
 |
¶ Step 6: Install the Purge Wiper
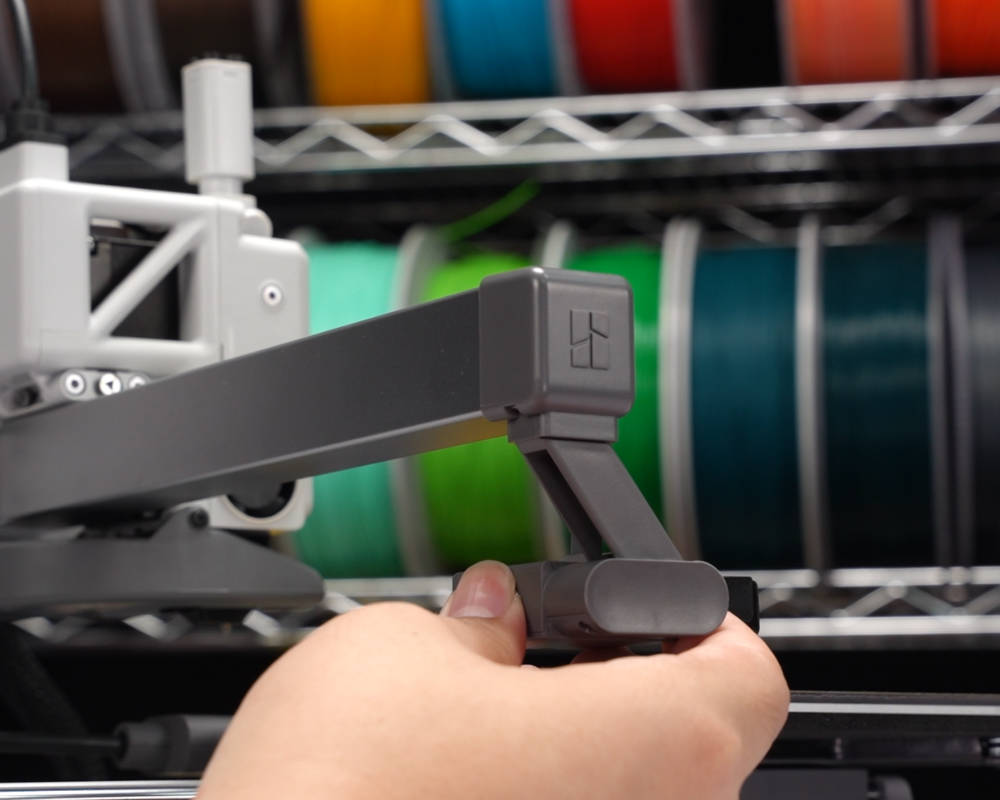
Slide in the Purge Wiper unit into the slot at the end of the X-Axis from the back to the front. Install the 1*M3-12 screw (For Purge Wiper) from the accessory box to fix the Purge Wiper in place.
 |
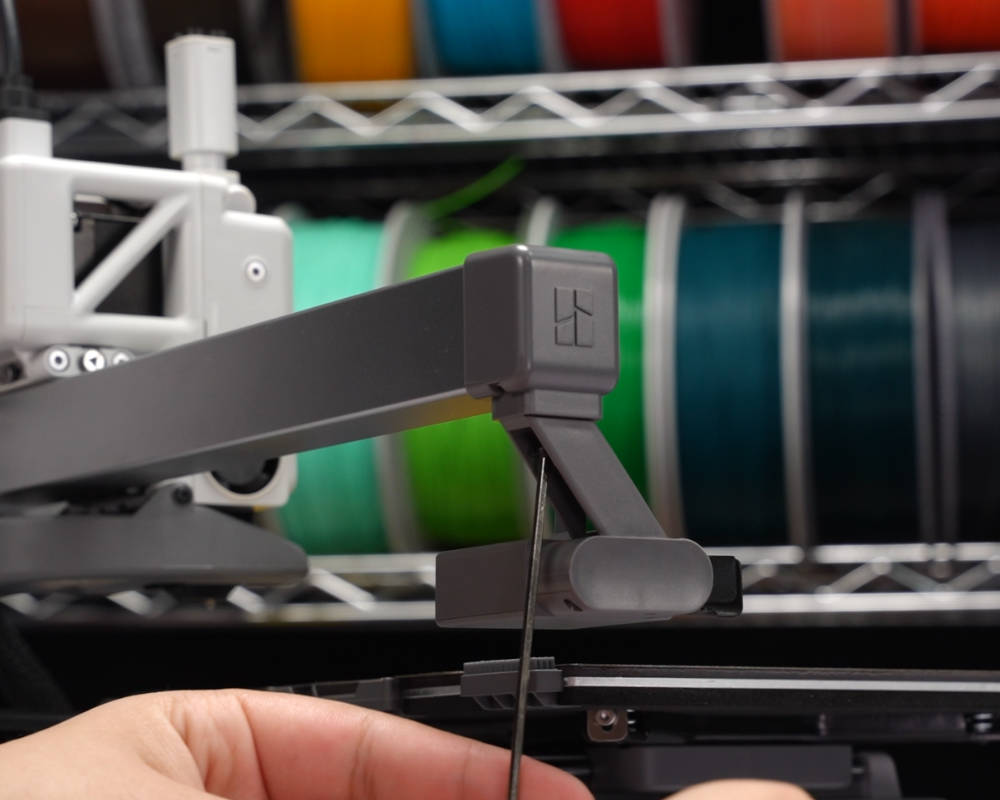 |
Note: After installing the purge wiper, it should be parallel to and not collide with the left edge of the heatbed.
¶ Step 7: Install the Spool Holder
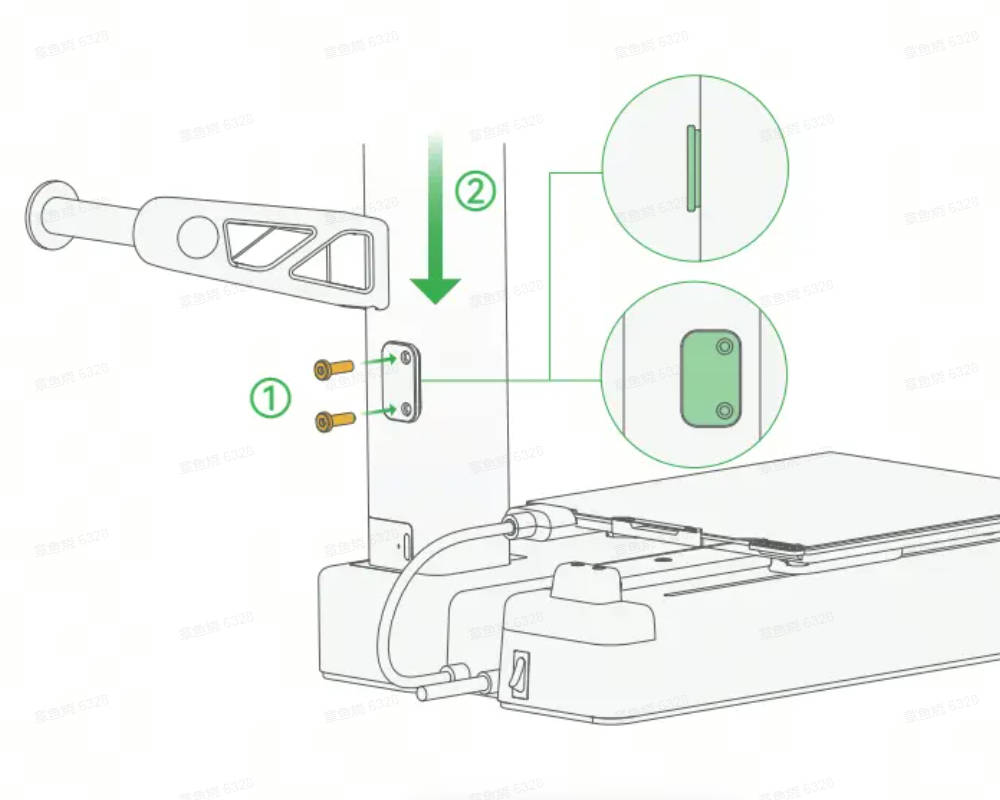
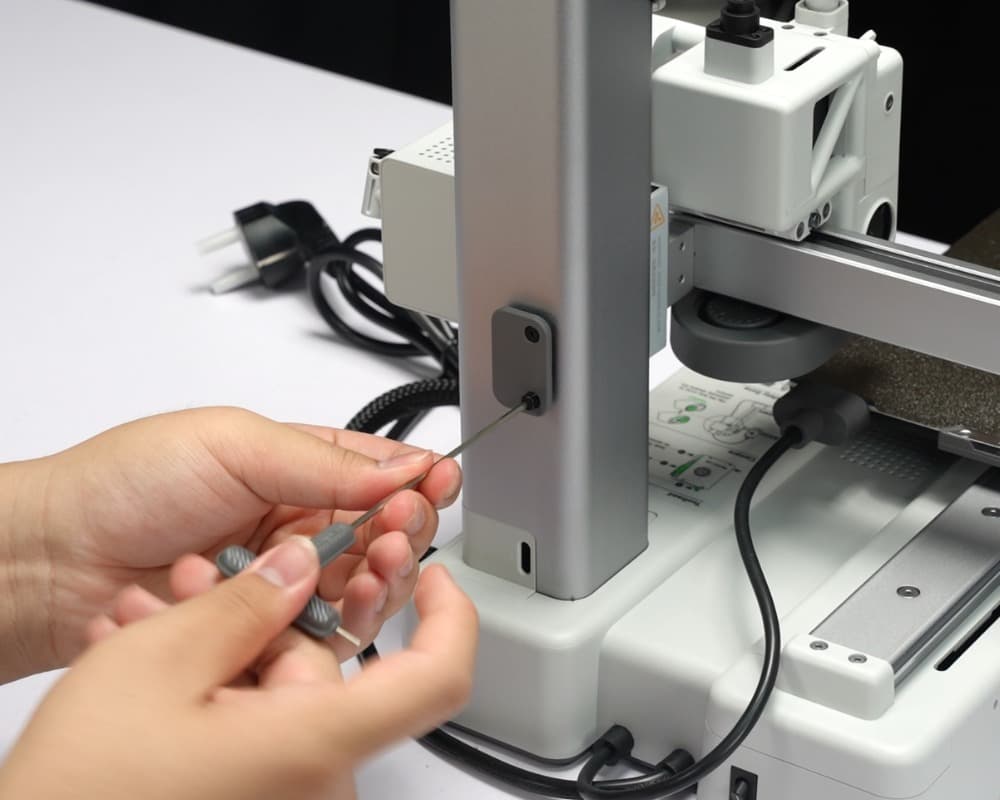
1. Install the spool holder base plate with the 2*M3-8 screws (ForSpool Holder) from the accessory box. Please pay attention to the installation orientation.
 |
 |
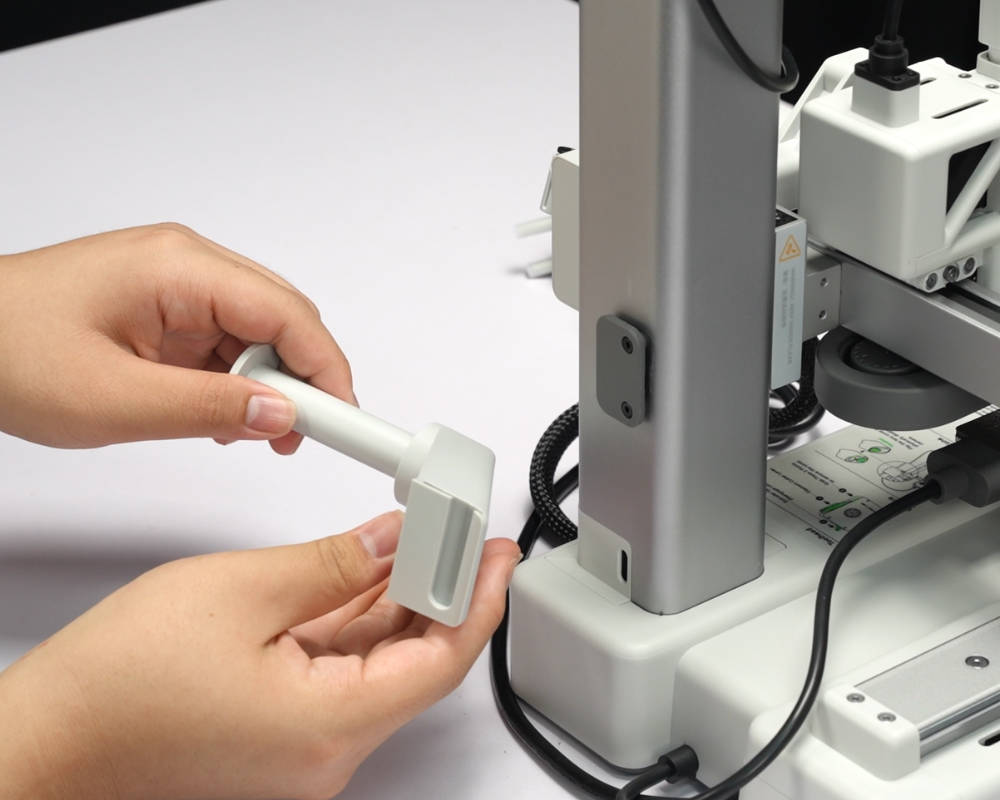
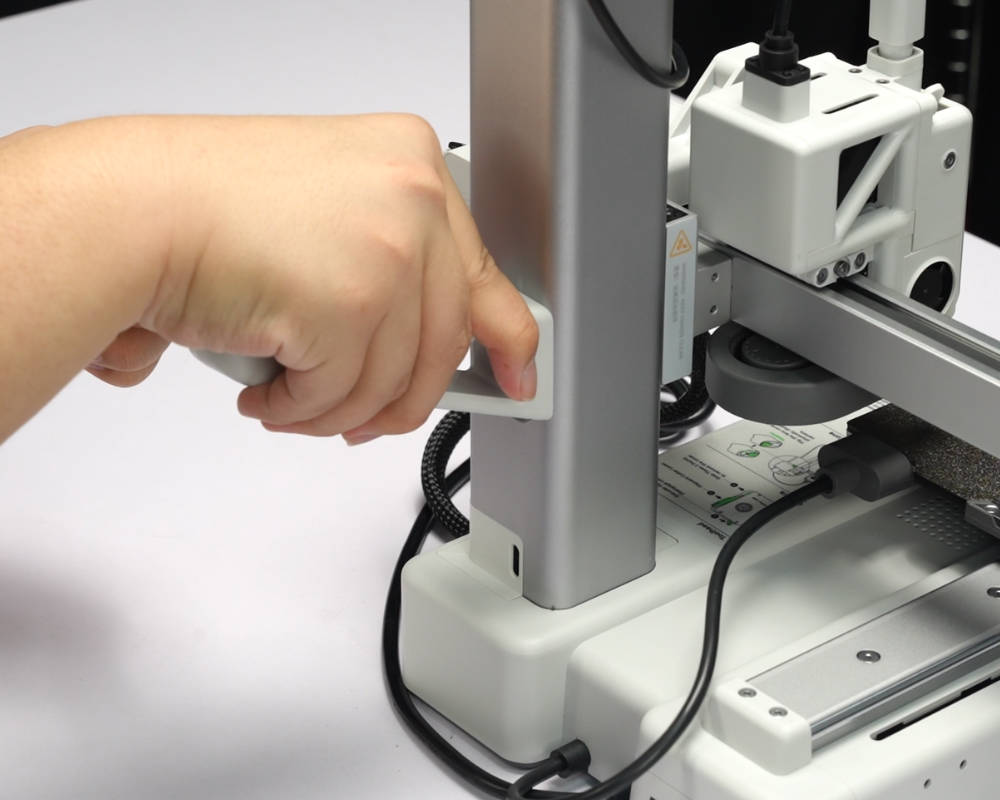
2. Slide the spool holder into place from the top to the bottom. Ensure that the orientation of the spool holder matches the direction of the slot.
 |
 |
¶ Step 8: Install the PFTE Tube and the Cable Organizer
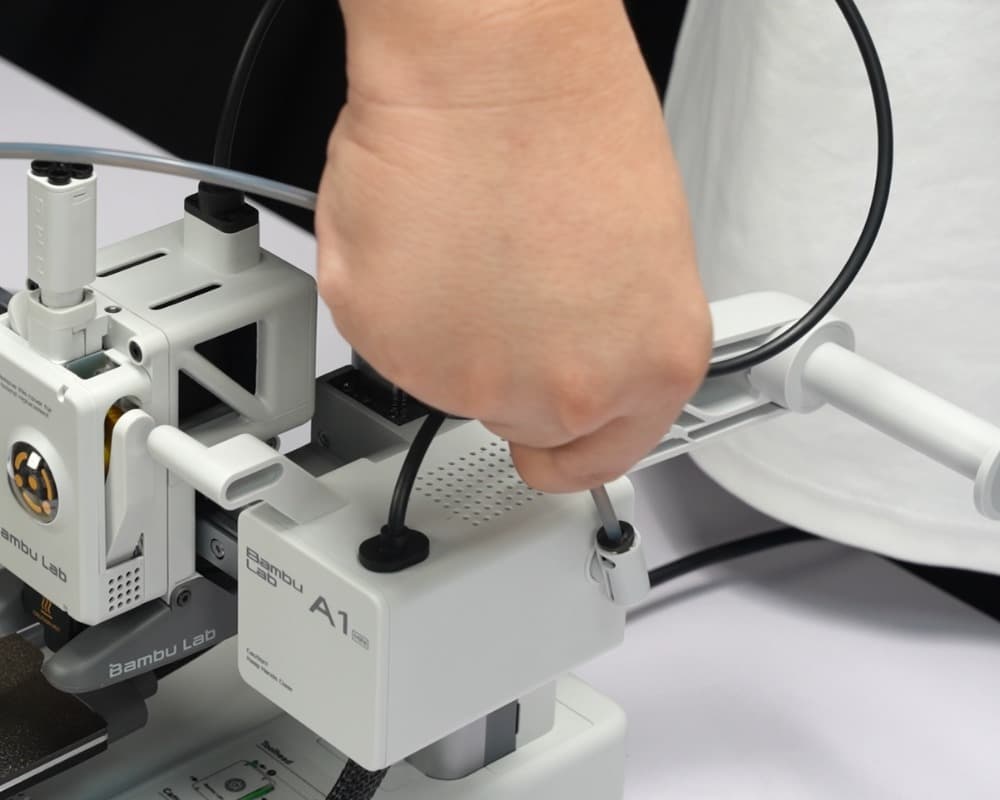
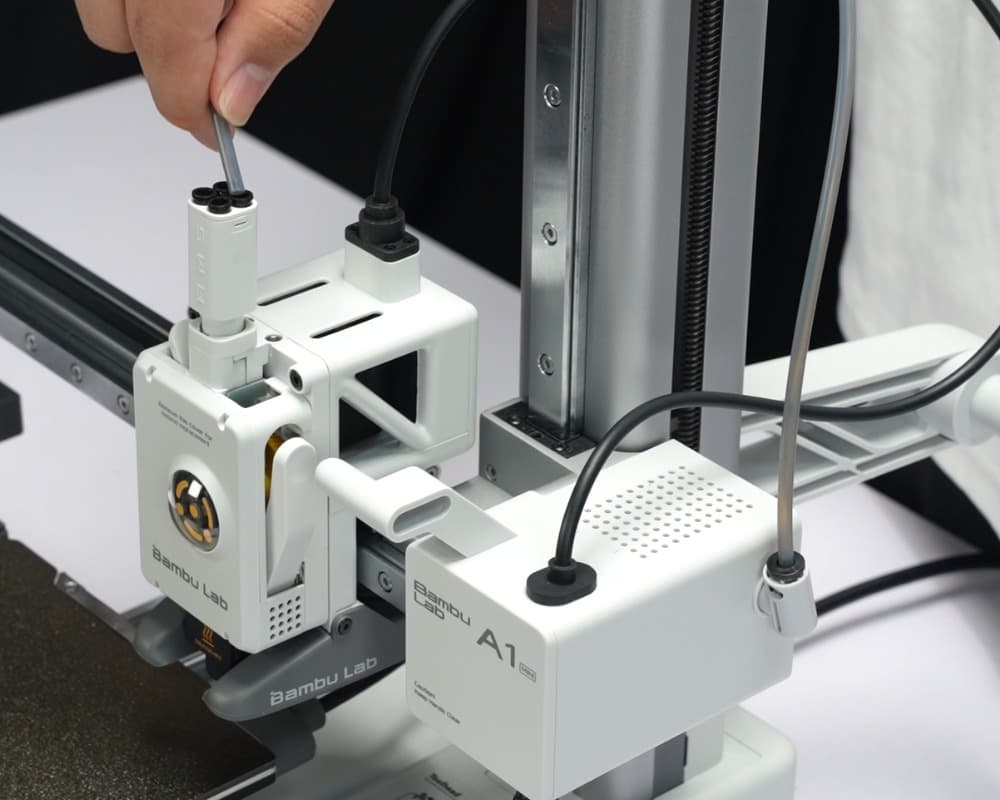
1. Connect the toolhead filament inlet and the filament guide with the 580mm PTFE tube
 |
 |
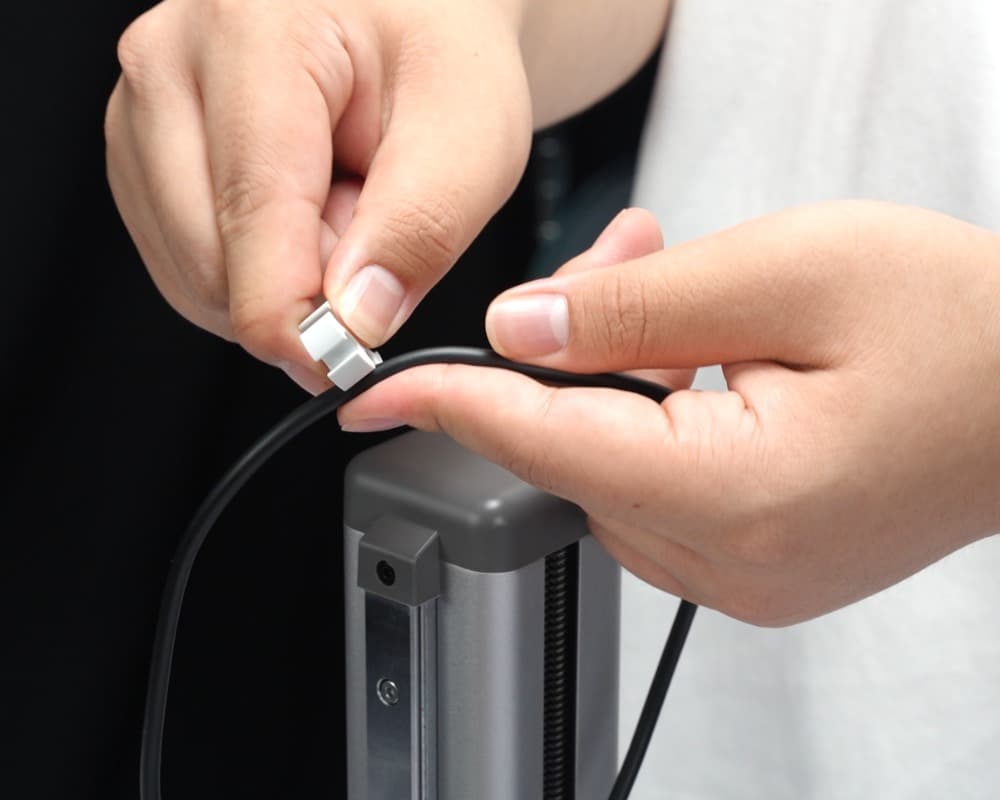
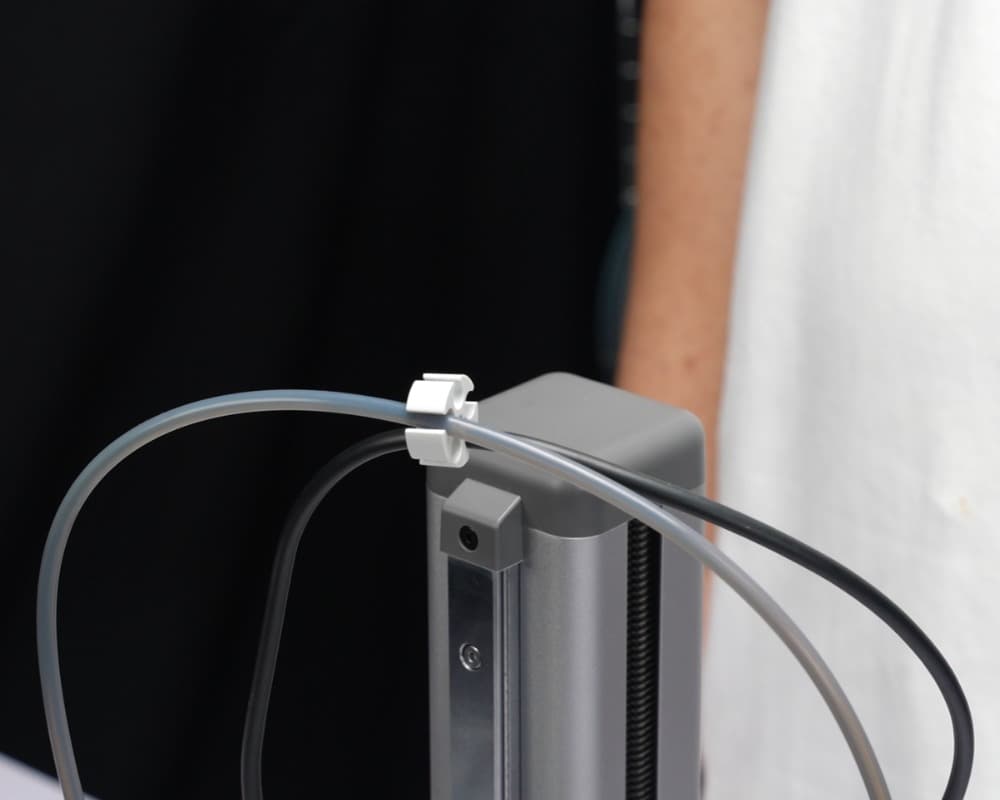
2. Install the cable organizer as shown in the diagram
 |
 |
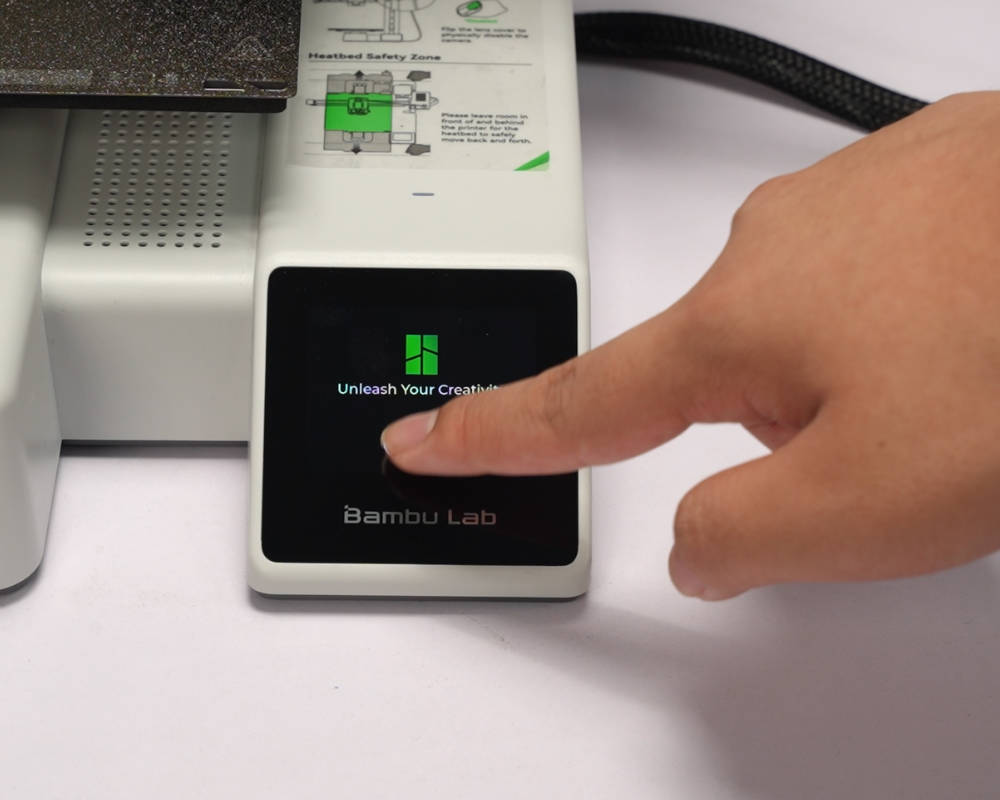
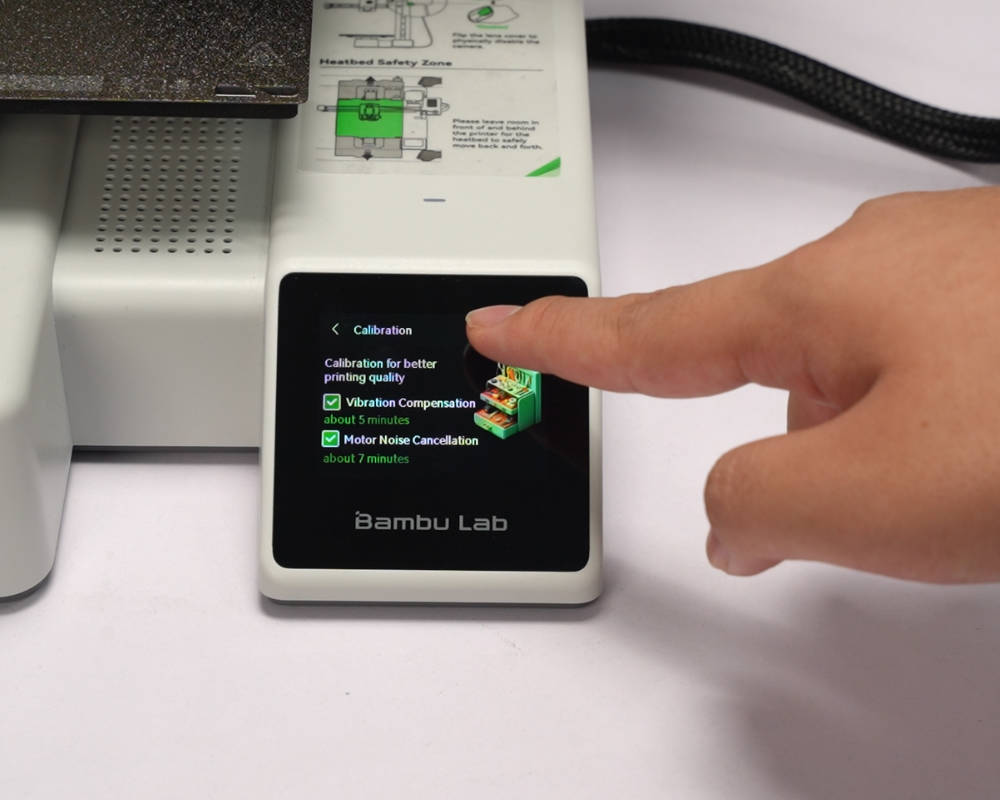
¶ Step 9: Follow the on-screen prompts to complete the initialization and calibration process
After powering on the printer, please follow the prompts on the screen to complete the initialization and calibration of the printer.
 |
 |
Note: If you skipped the network process and Bambu Handy binding steps during the unboxing process, you can still connect and bind the printer to Bambu Handy in the settings page after the printer calibration is completed. Due to limited space, please refer to the "A1 mini First Print Guide" for the tutorial on the first print.
¶ End Notes
We hope that the detailed guide we shared with you was helpful and informative.
We want to ensure that you can perform it safely and effectively. If you have any concerns or questions regarding the process described in this article, we encourage you to reach out to our friendly customer service team before starting the operation. Our team is always ready to help you and answer any questions you may have.
Click here to open a new ticket in our Support Page.
We will do our best to respond promptly and provide you with the assistance you need.