¶ Video Guide
¶ Operation Guide
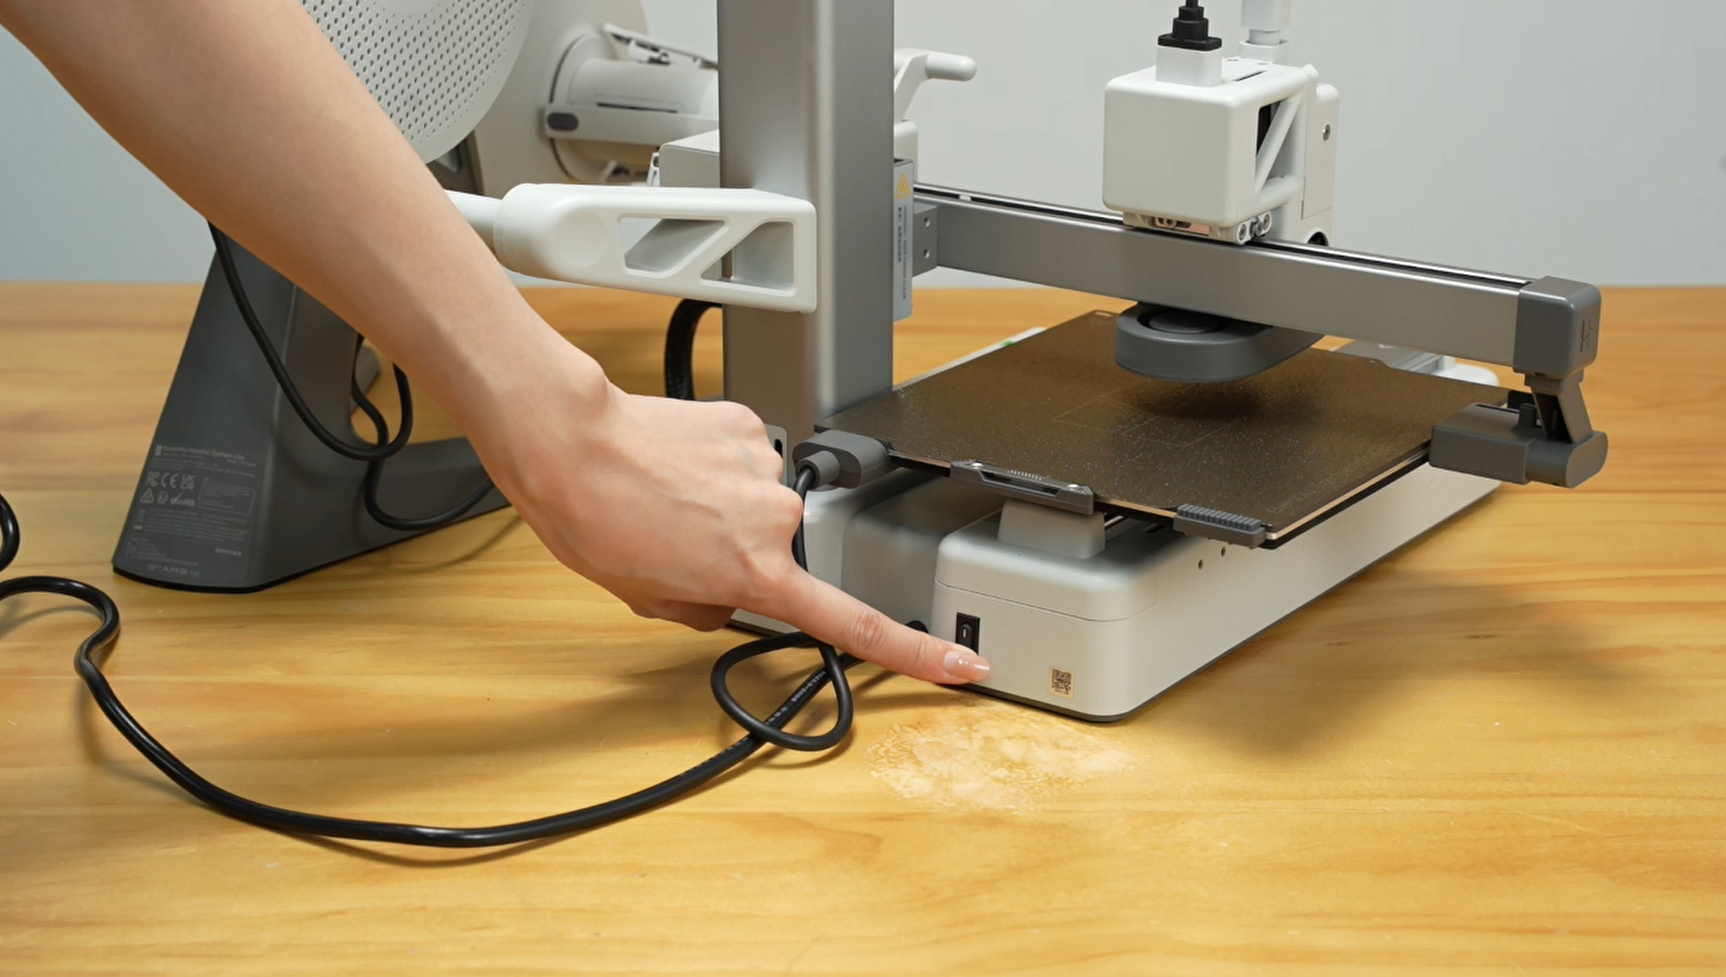
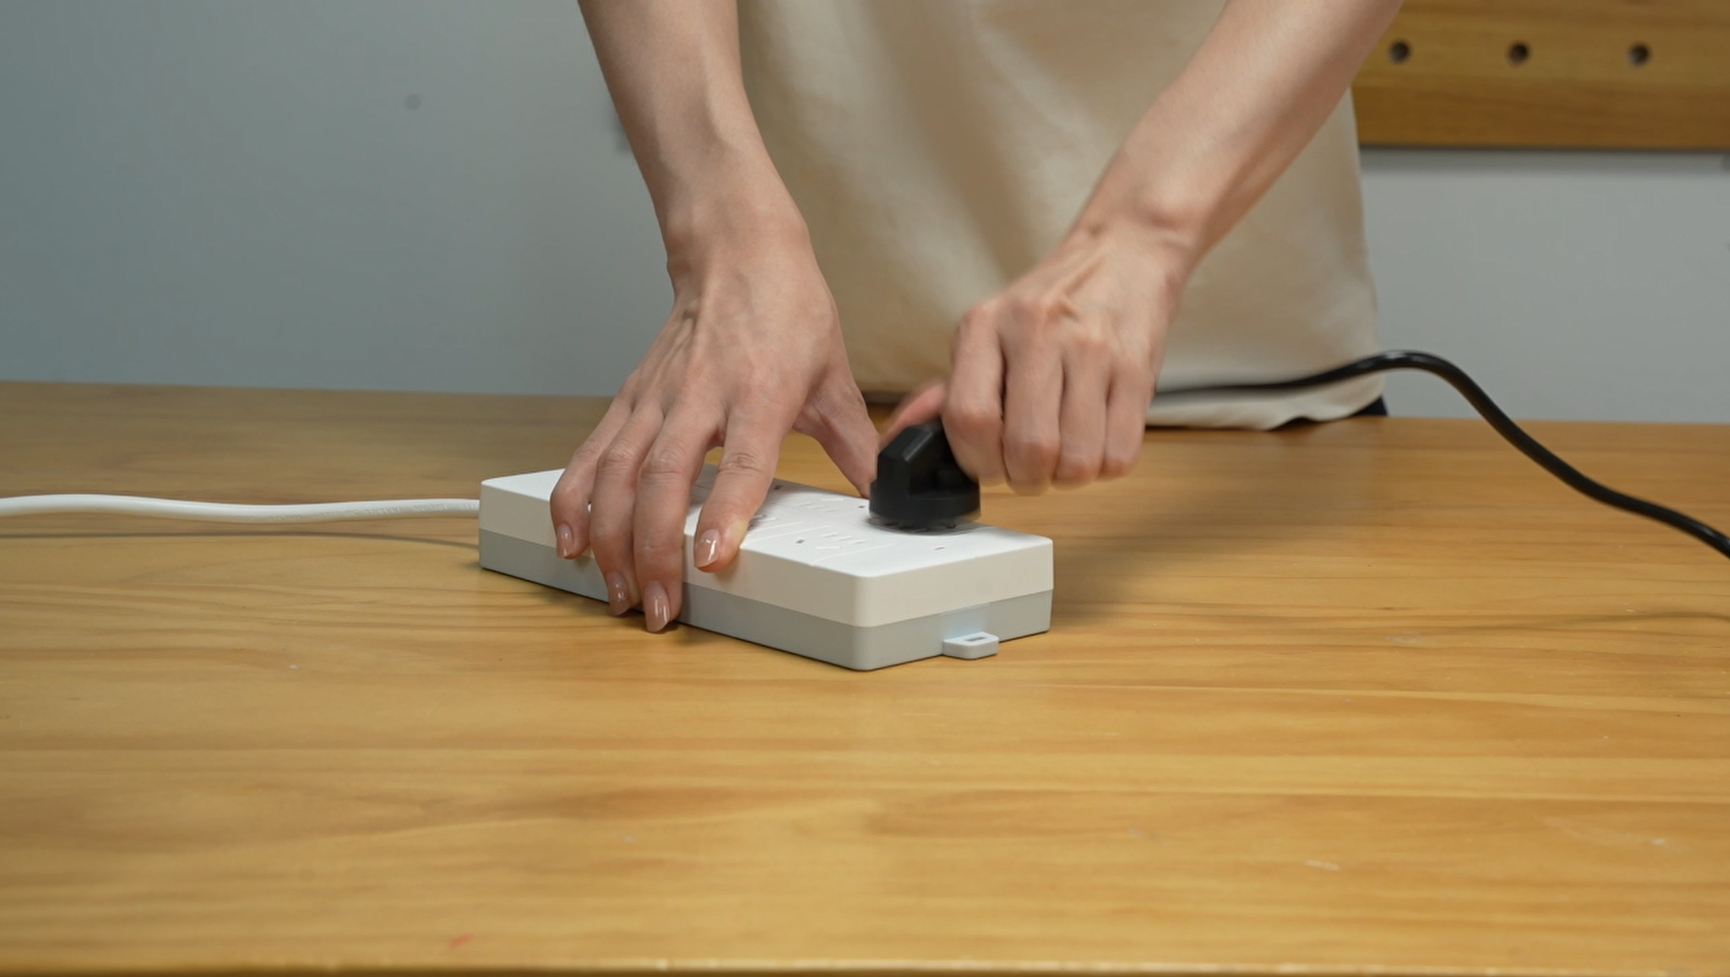
¶ Power off the printer
Power off the printer and disconnect the power cable.
 |
 |
¶ Remove the spool and PTFE tube
Step 1. Unload the filament from the AMS Lite.
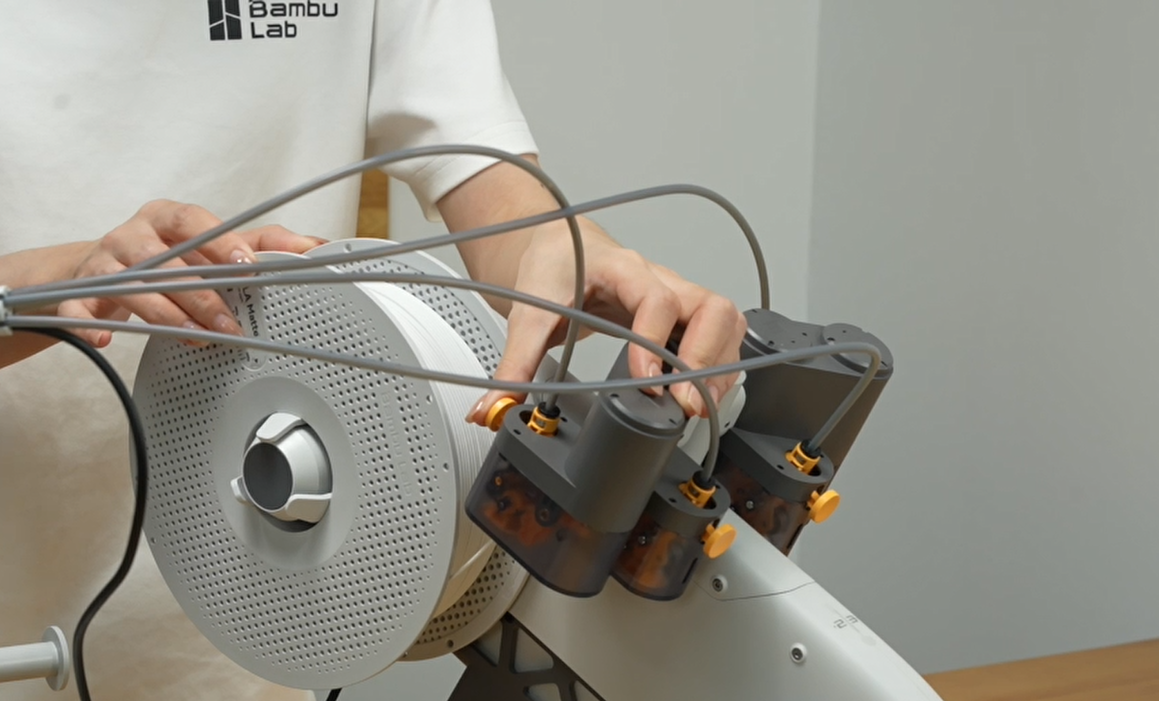
Step 2. Remove the spool from the rotary spool holder.
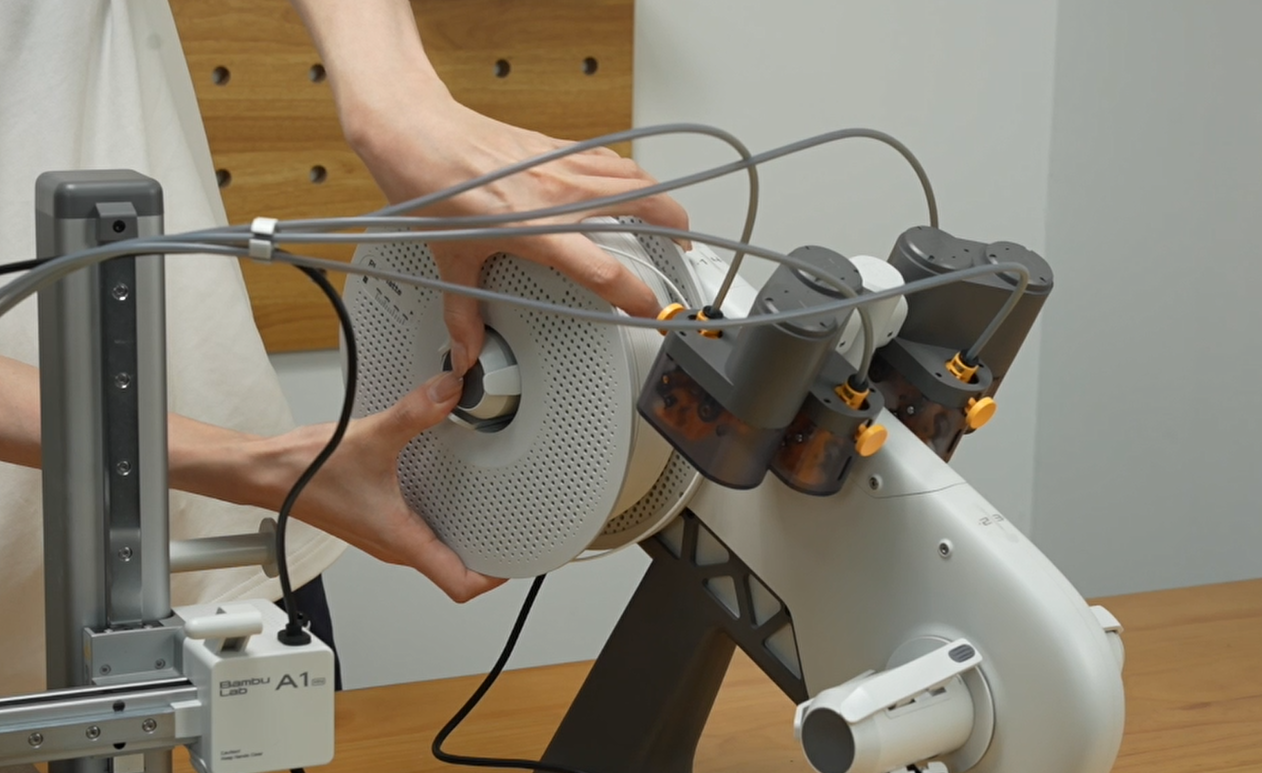
Step 3. Disconnect the 4-pin cable.
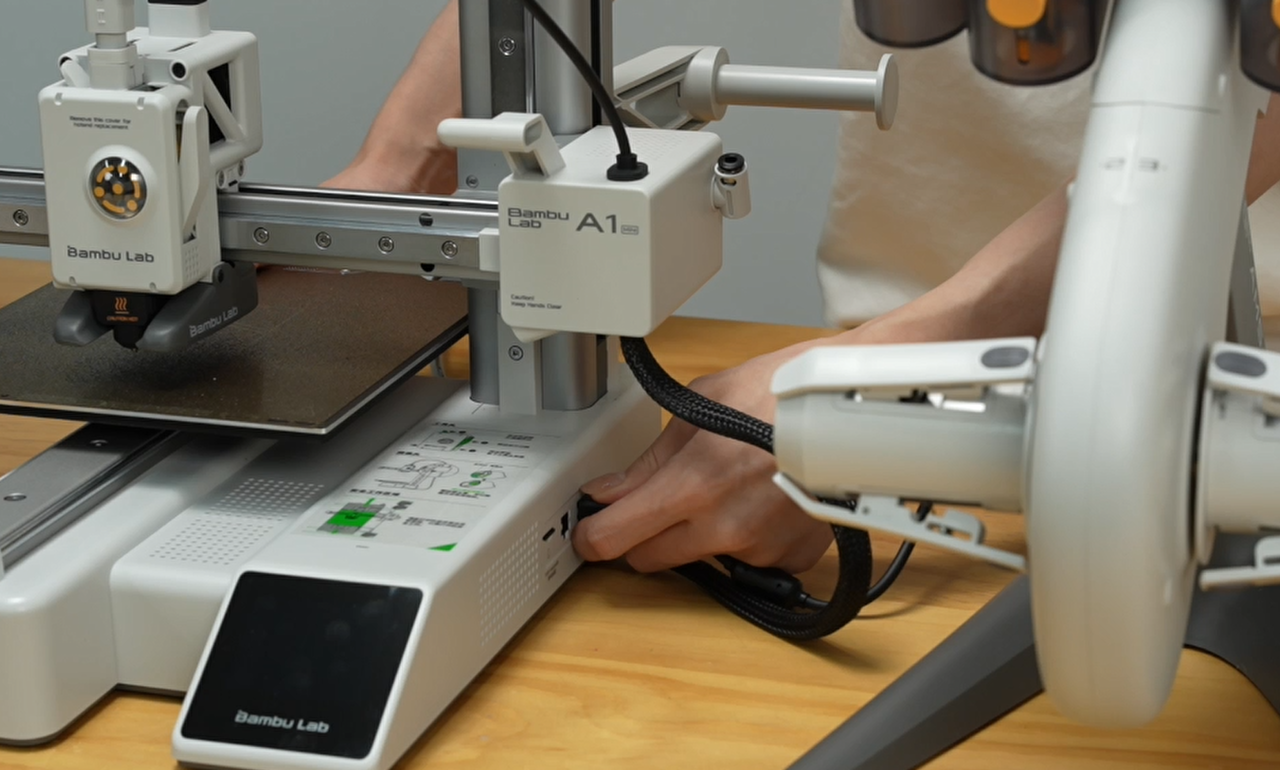
Step 4. Remove the cable organizer.
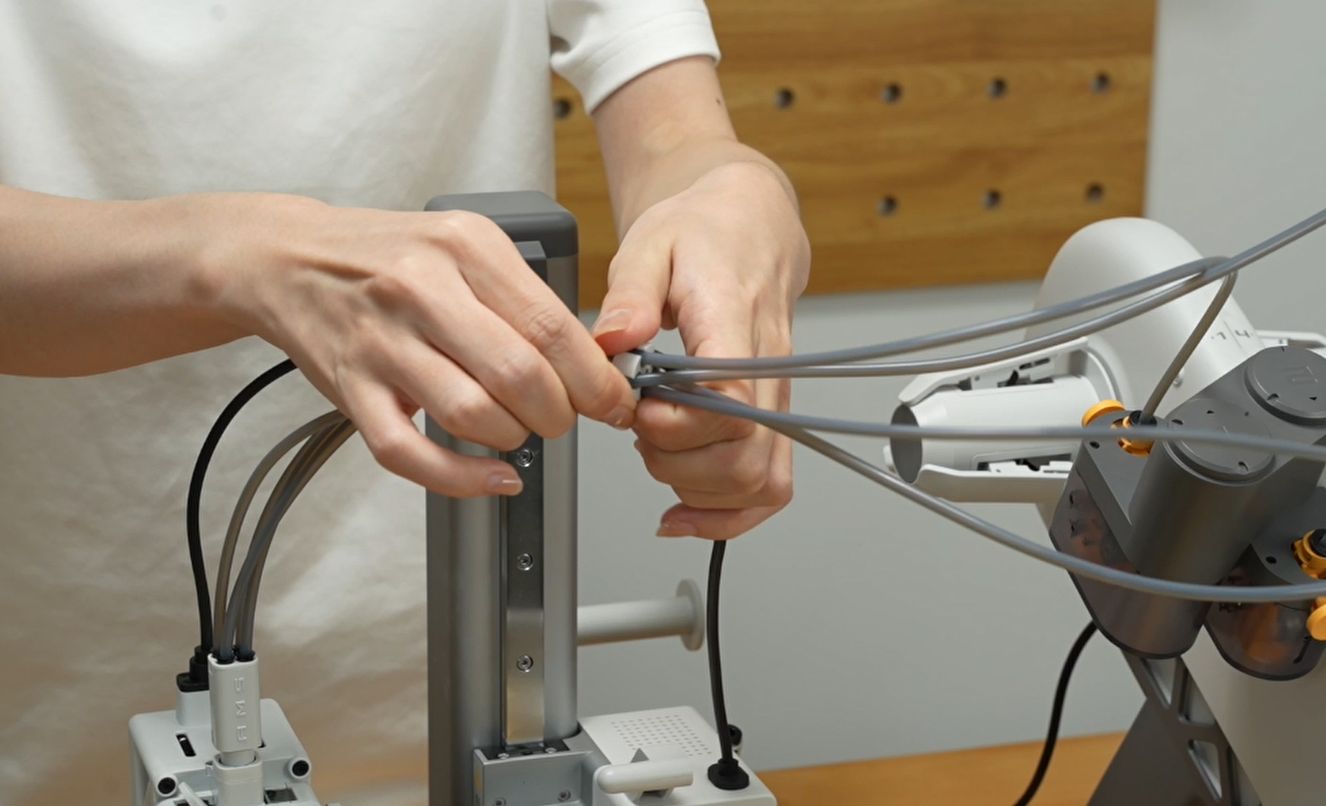
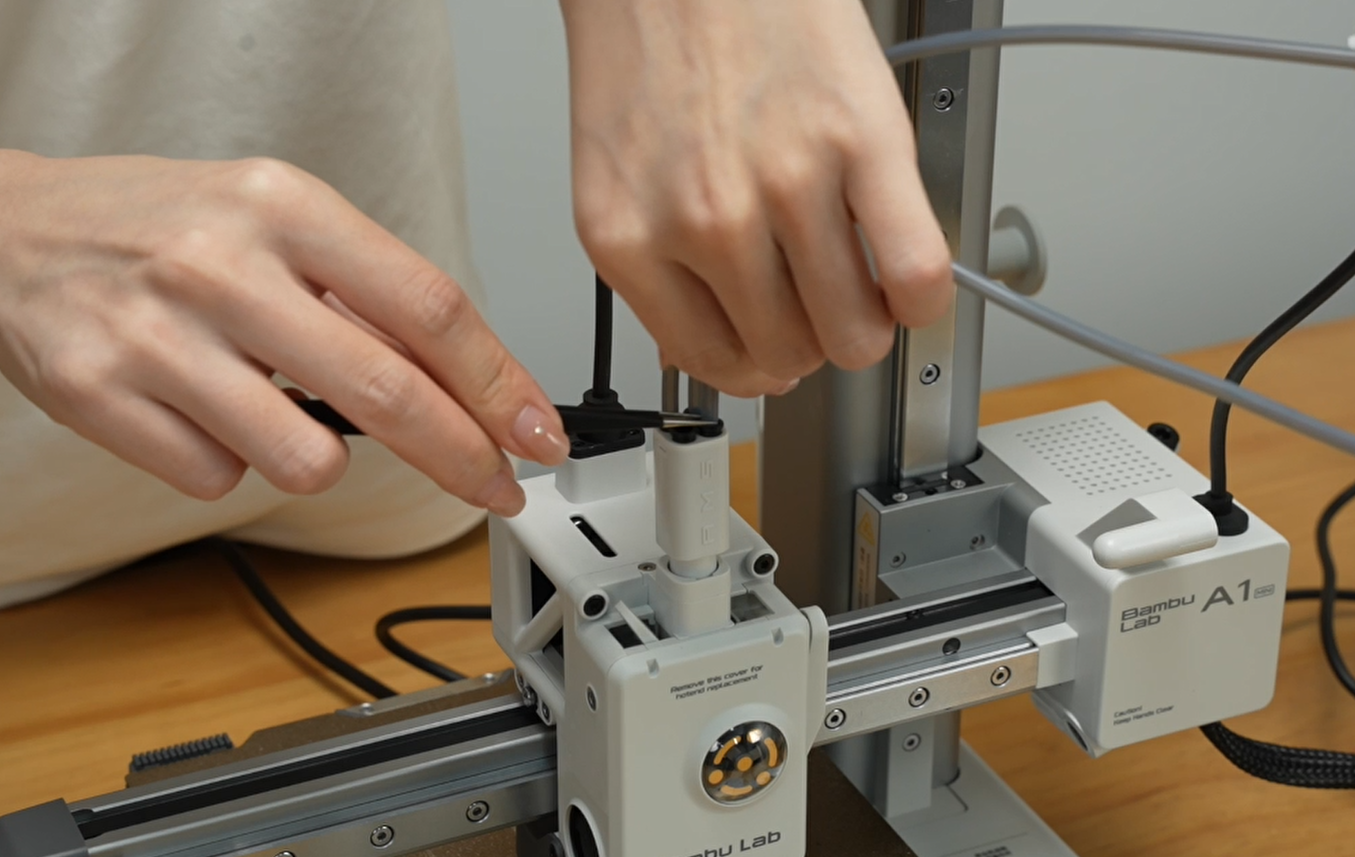
Step 5. Press the toolhead filament inlet connector (by tweezers) to disconnect 4 PTFE tubes.
 |
 |
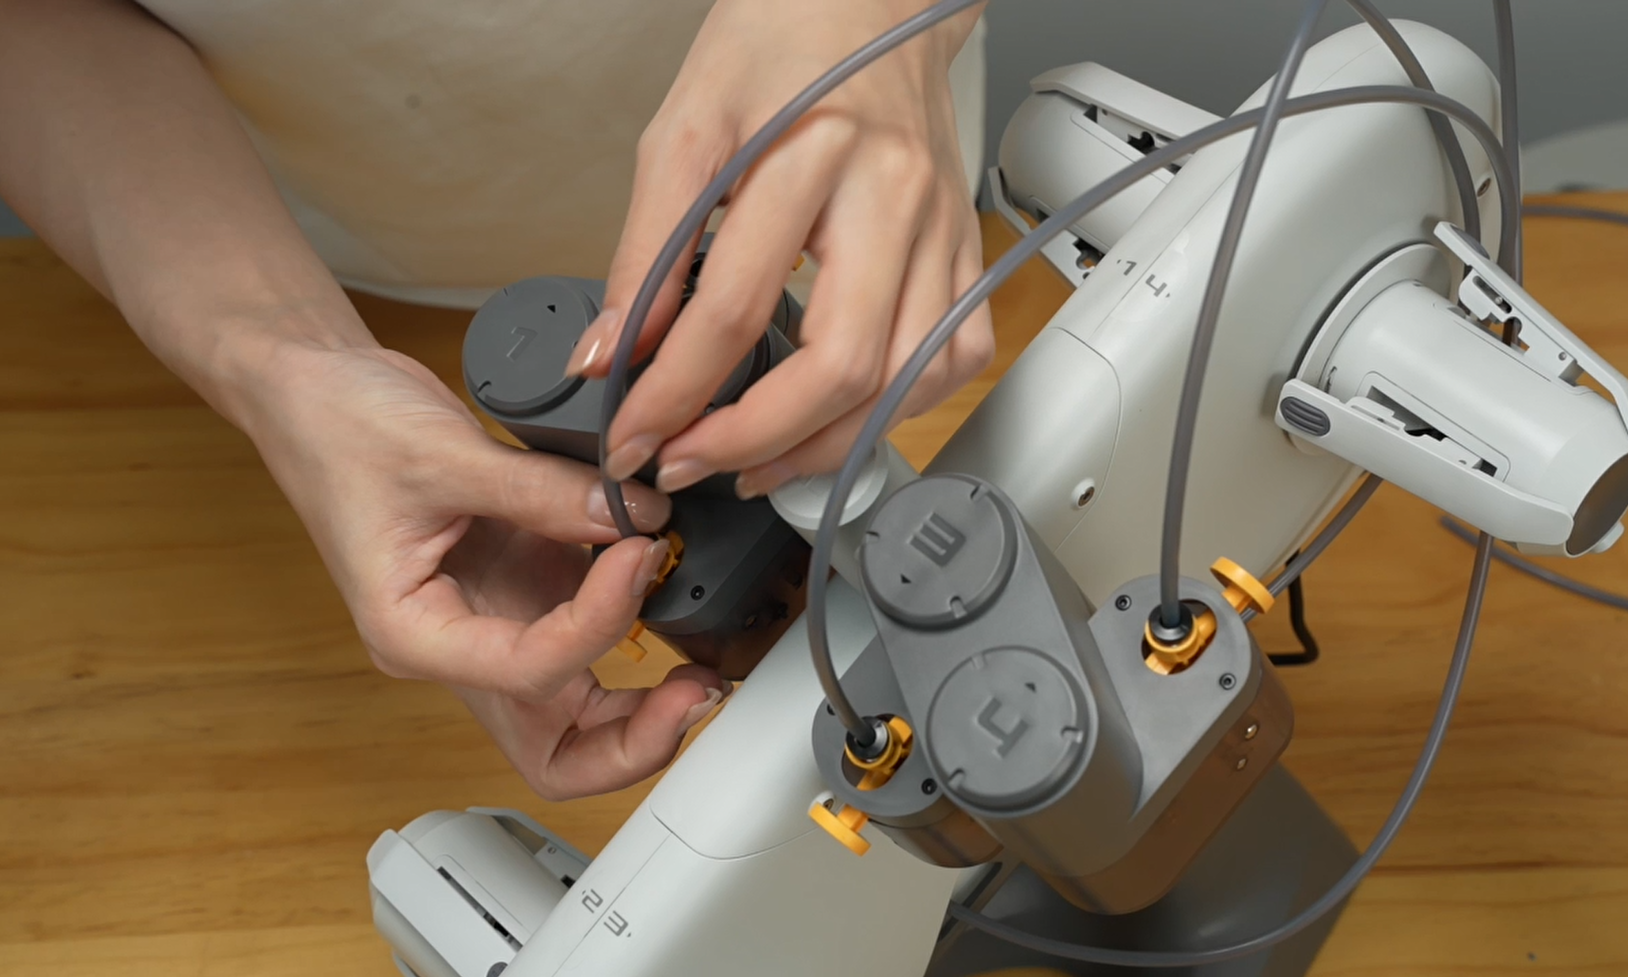
Step 6. Press the filament connector in AMS Lite to disconnect 4 PTFE tubes.
¶ Remove the AMS Lite
Step 1. Pull out 4 rotary spool holders.
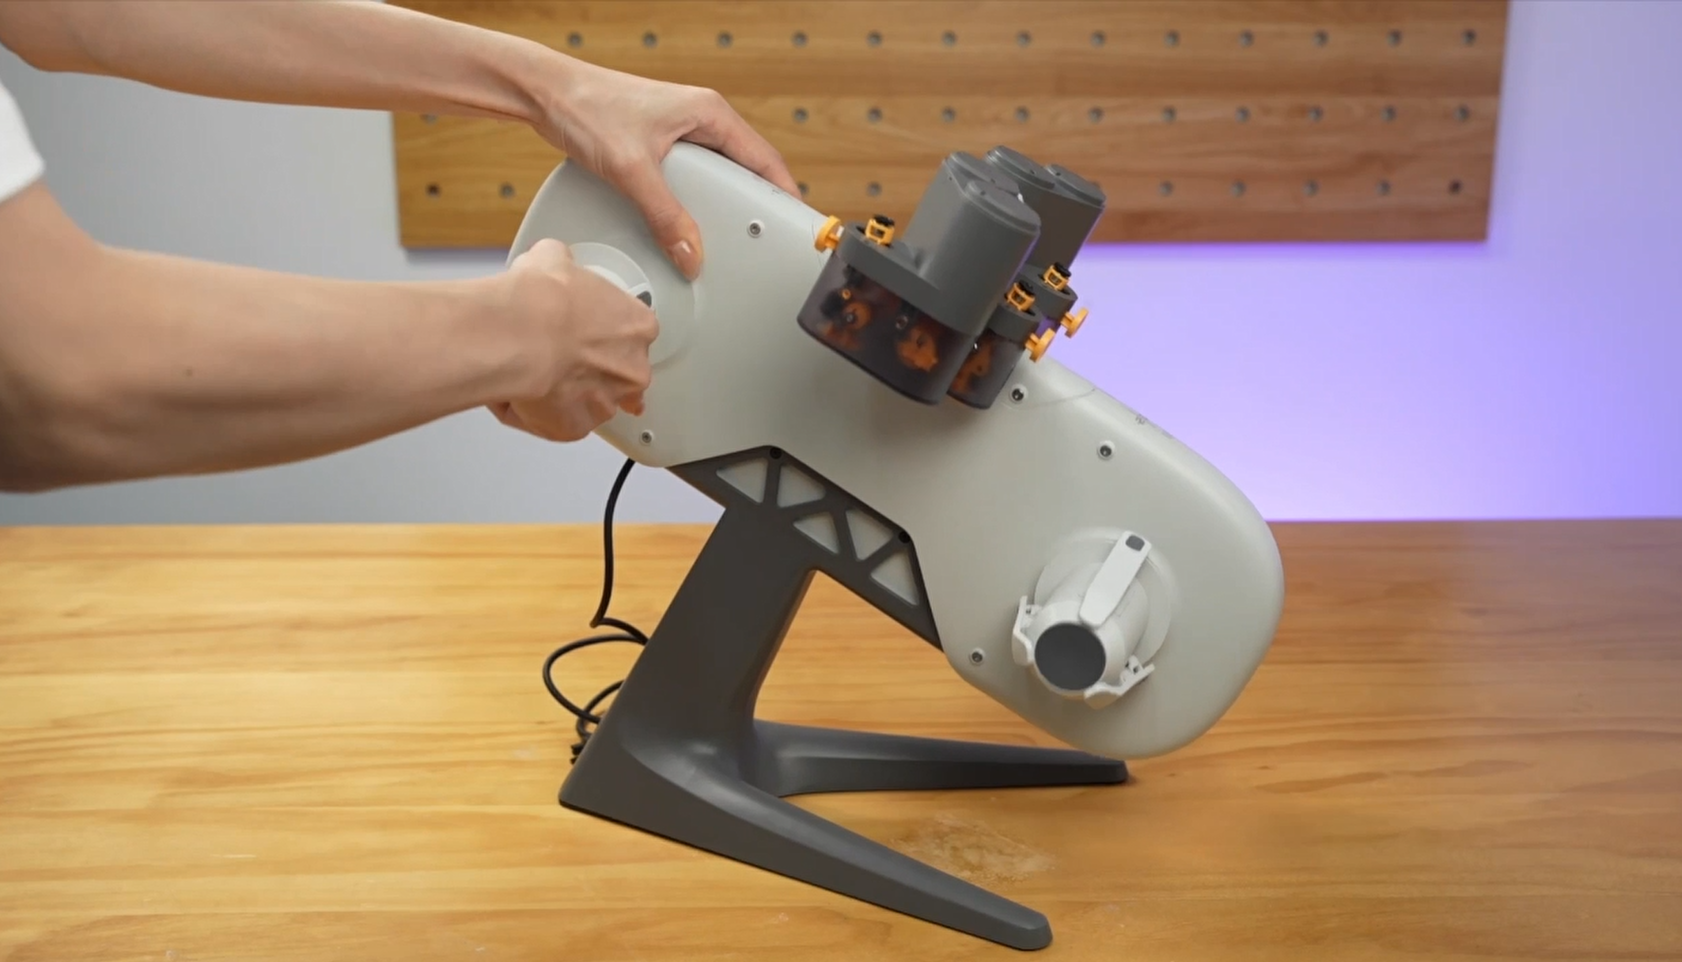
Step 2. Remove the 4 screws connecting the AMS Lite body and the stand.
 |
 |
Step 3. Remove the AMS Lite body.
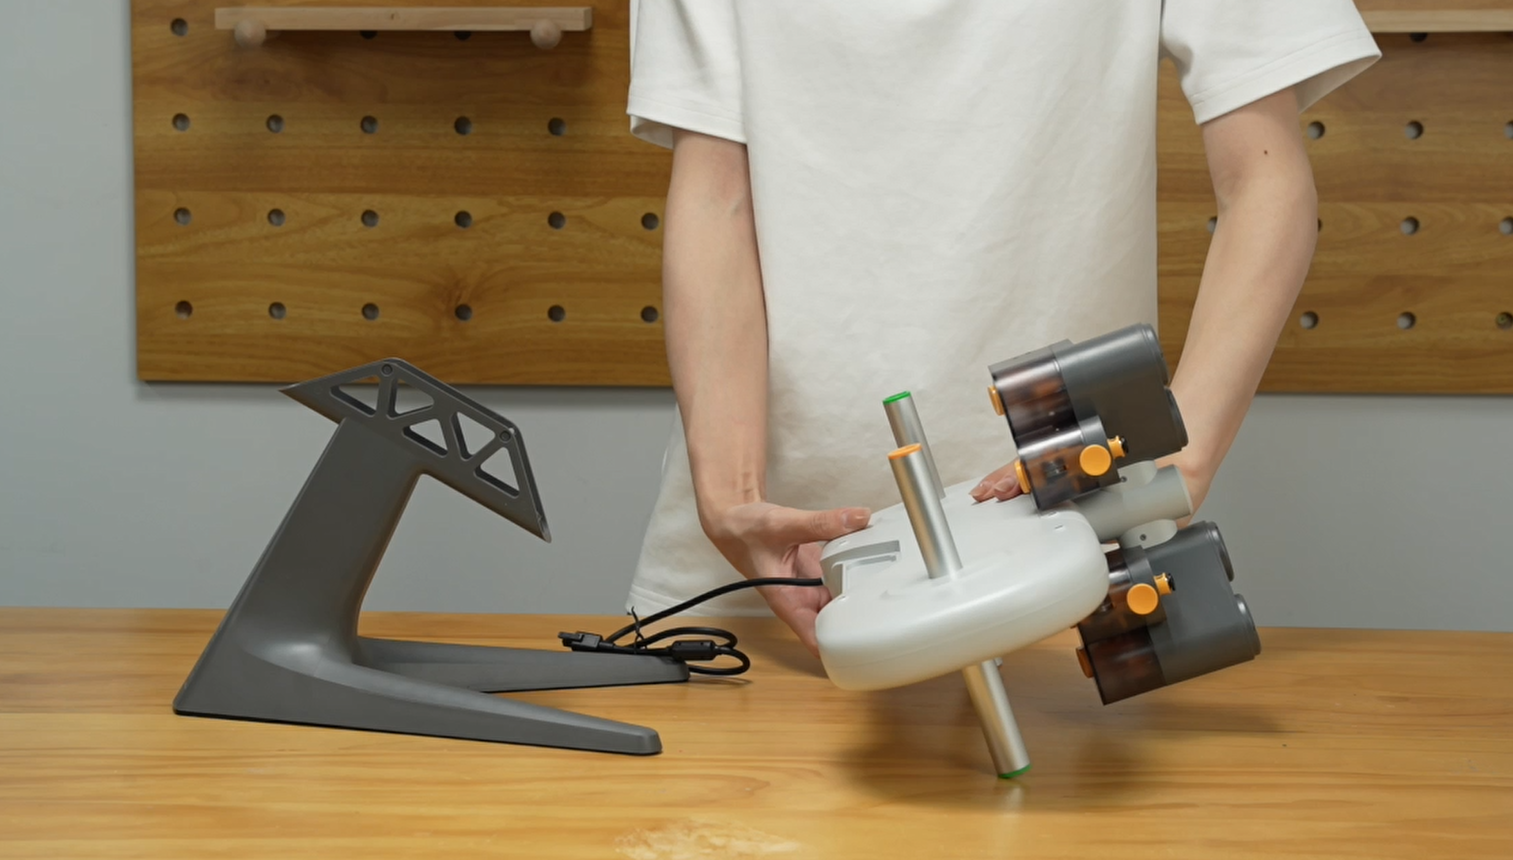
Step 4. Fix the feeder unit with zip tie.
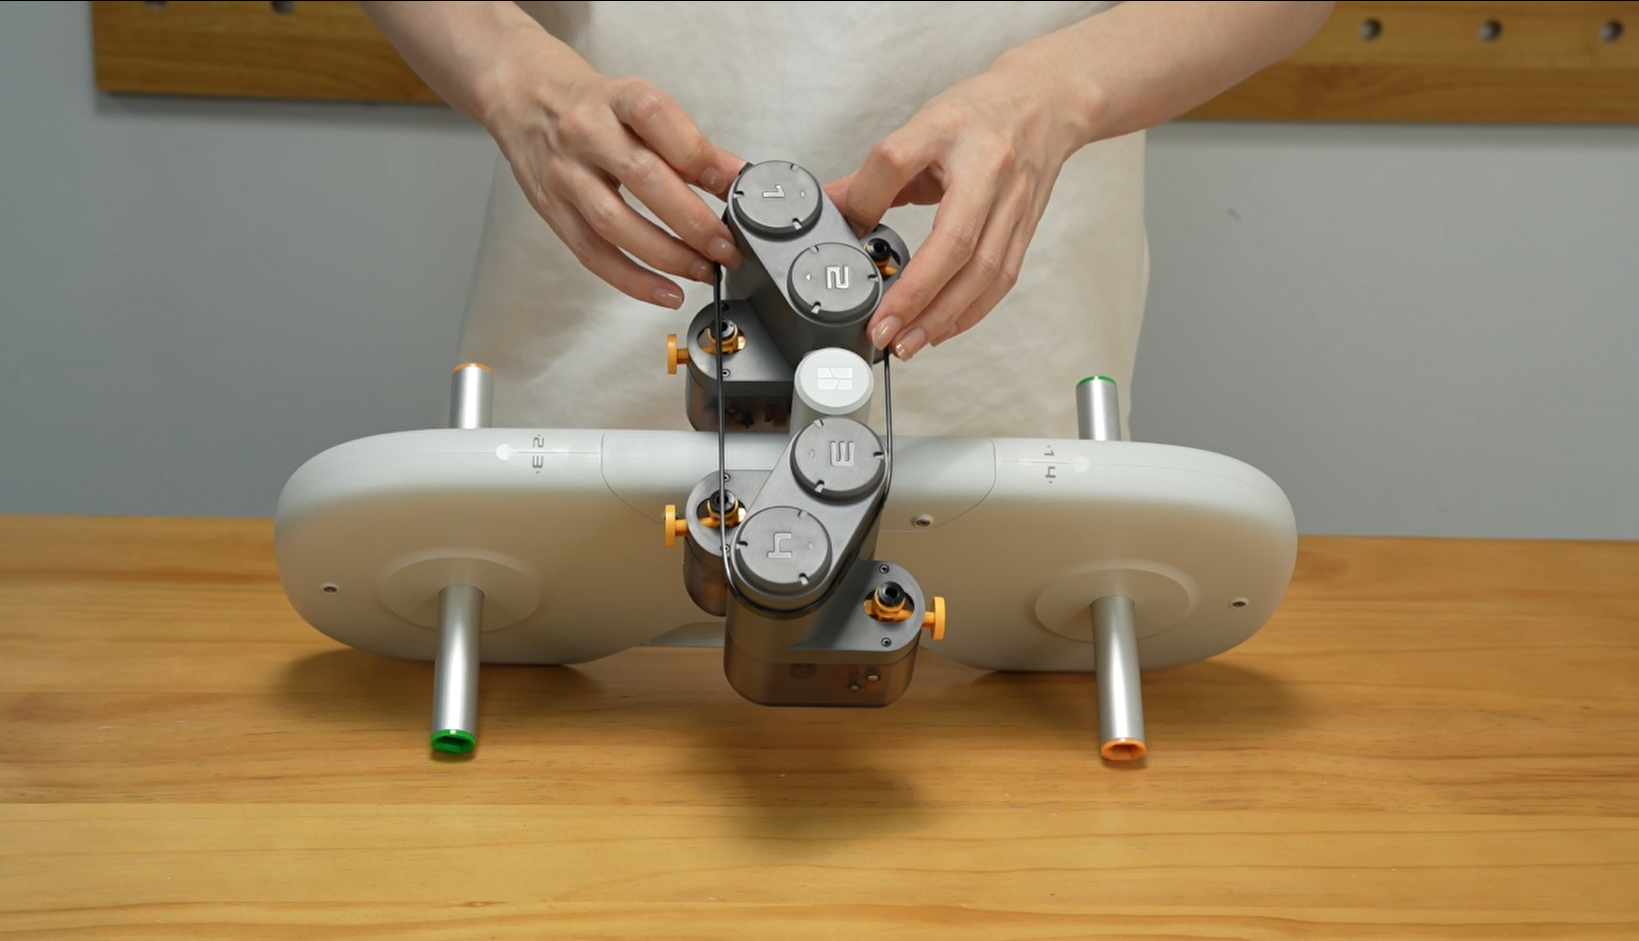
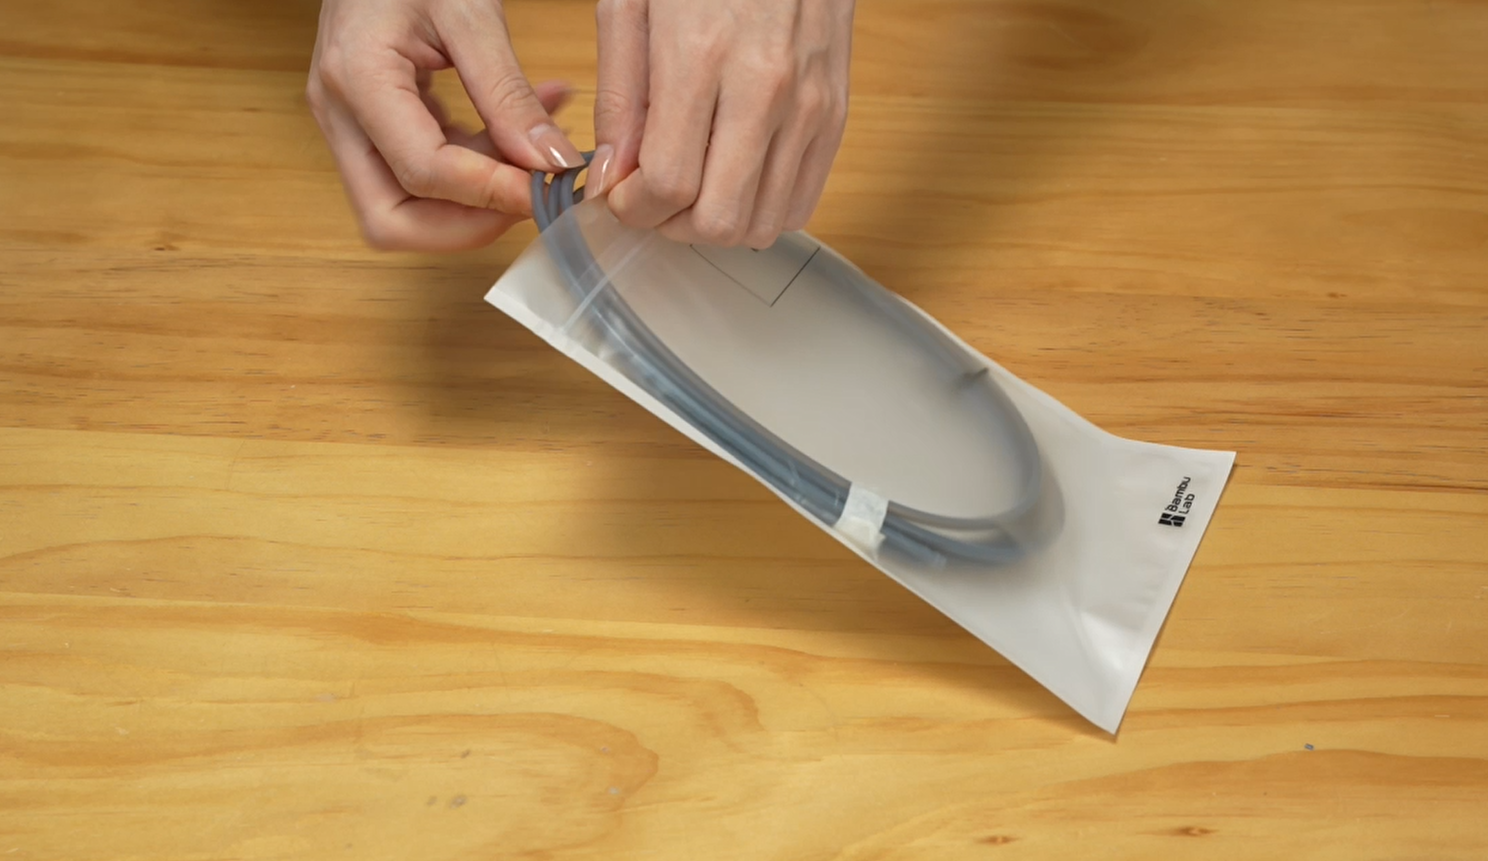
Step 5. Put the PTFE tube back.
¶ Remove the spool holder and purge wiper
Step 1. Slide the spool holder upwards to remove it.
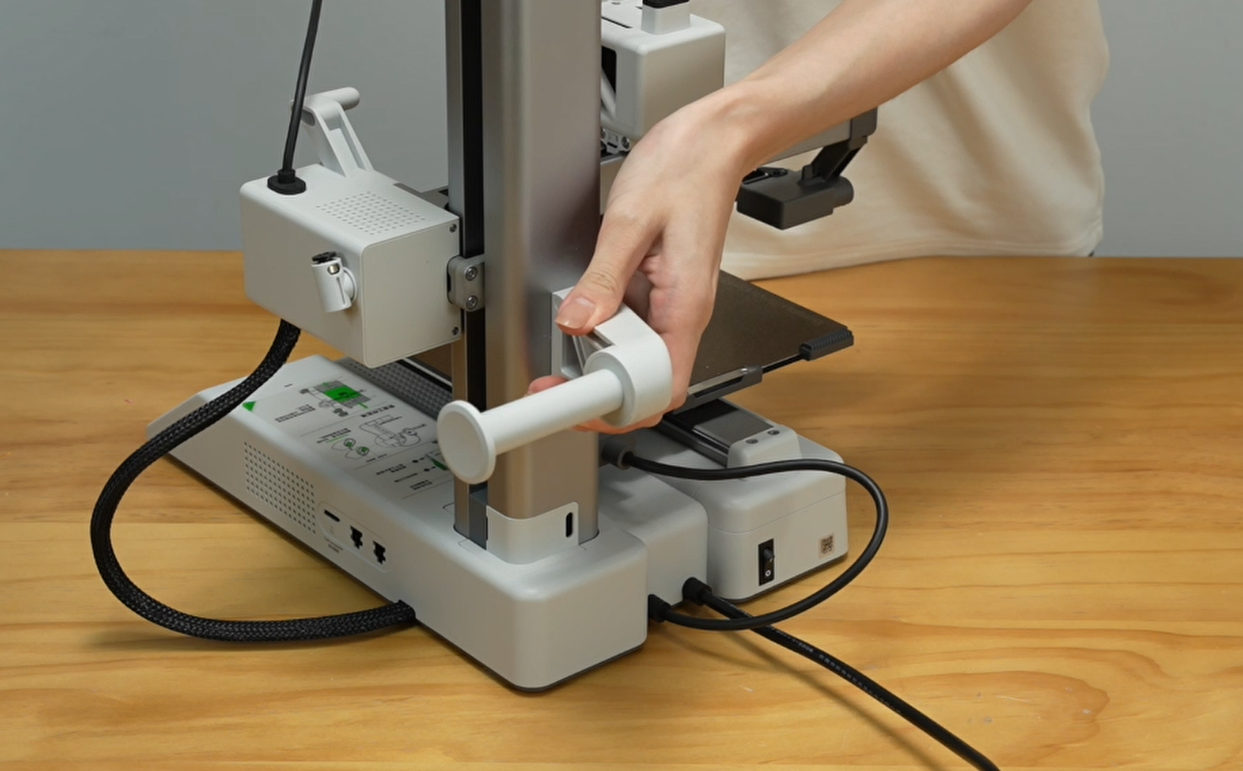
Step 2. Remove the 2 screws to remove the spool holder bracket.
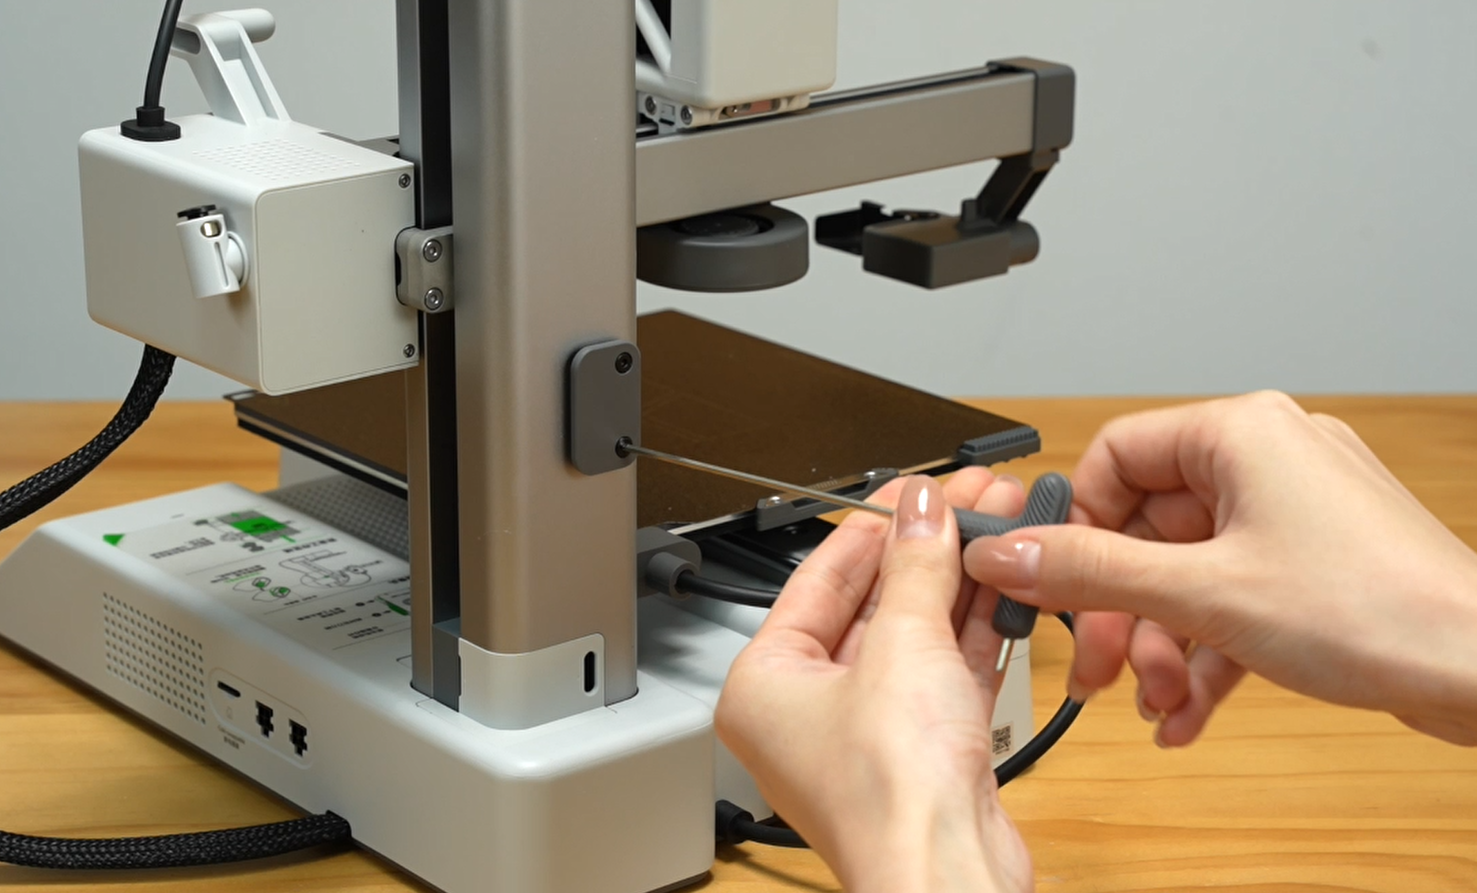 |
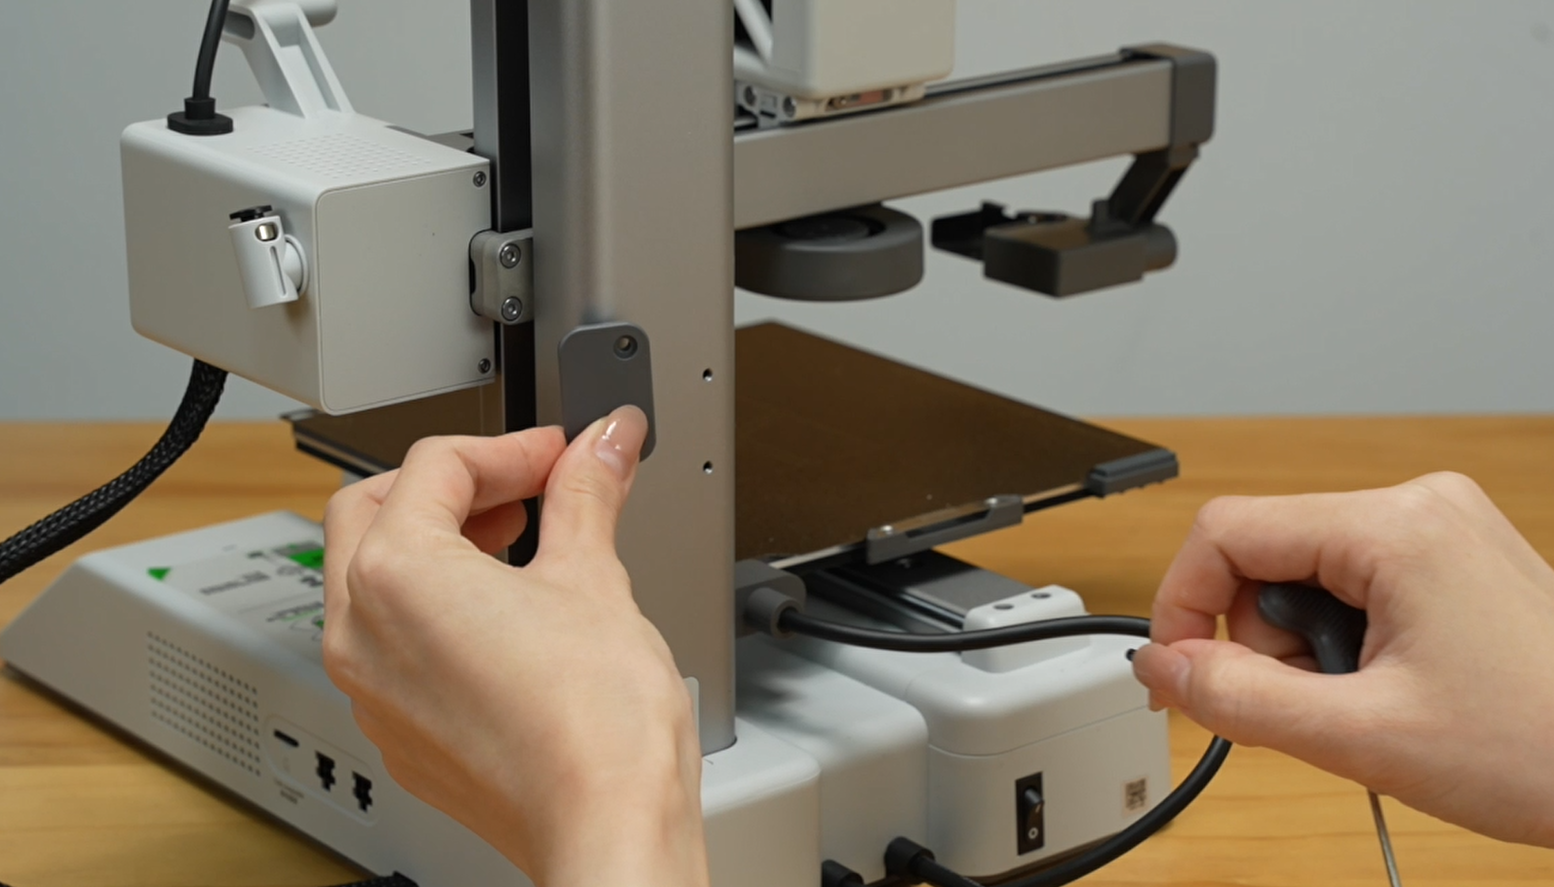 |
Step 3. Remove the screw under the purge wiper.
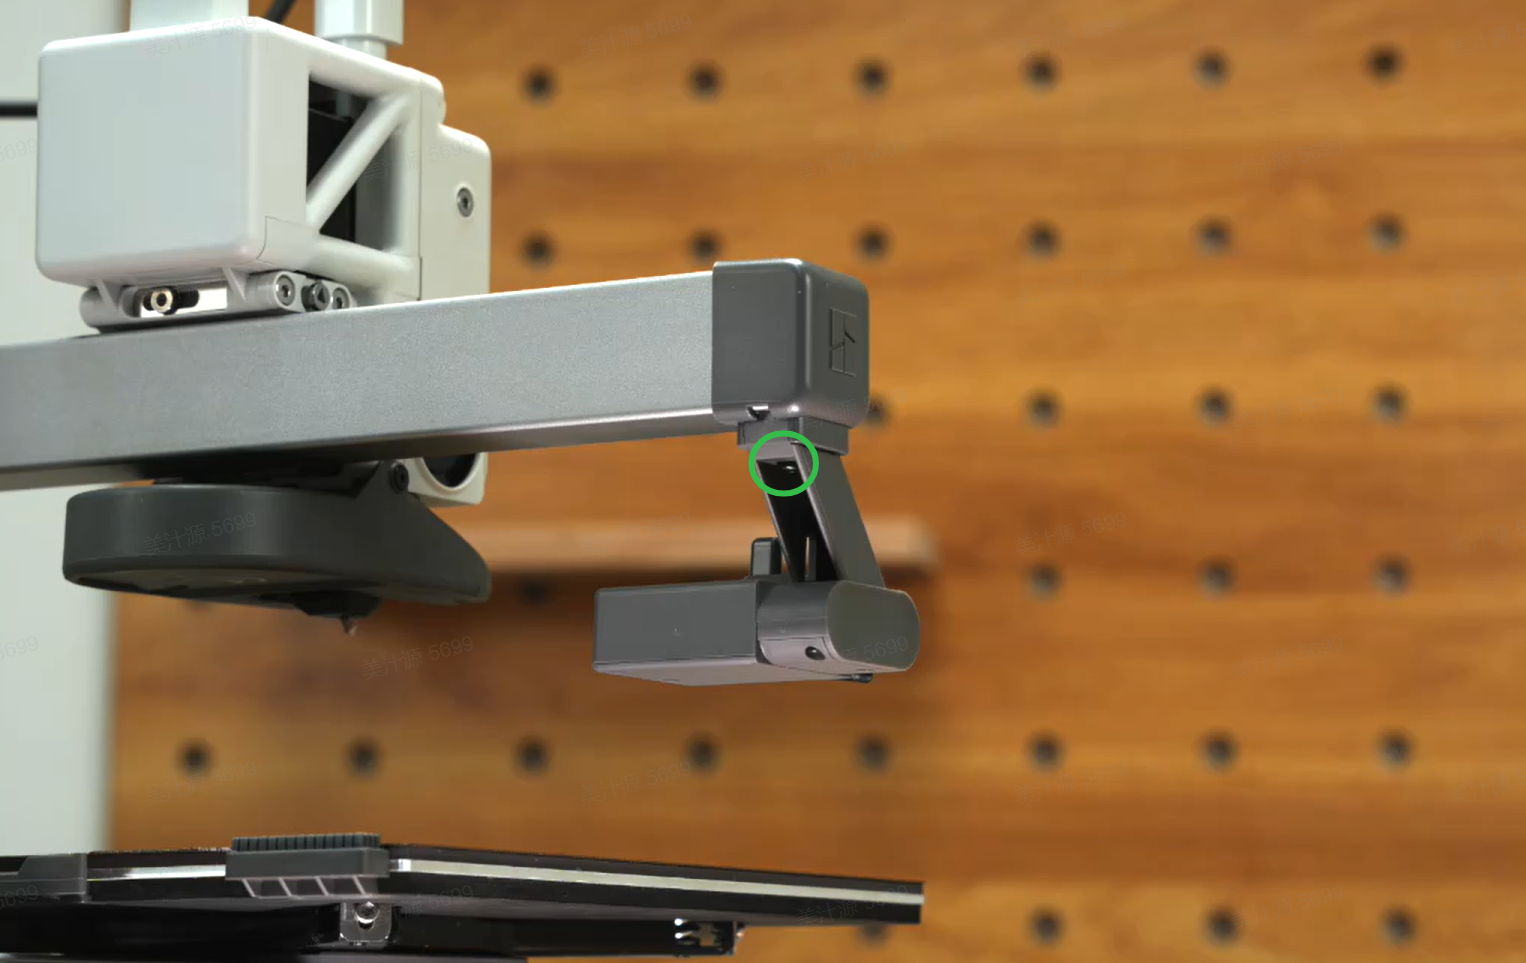
Step 4. Slide the purge wiper.
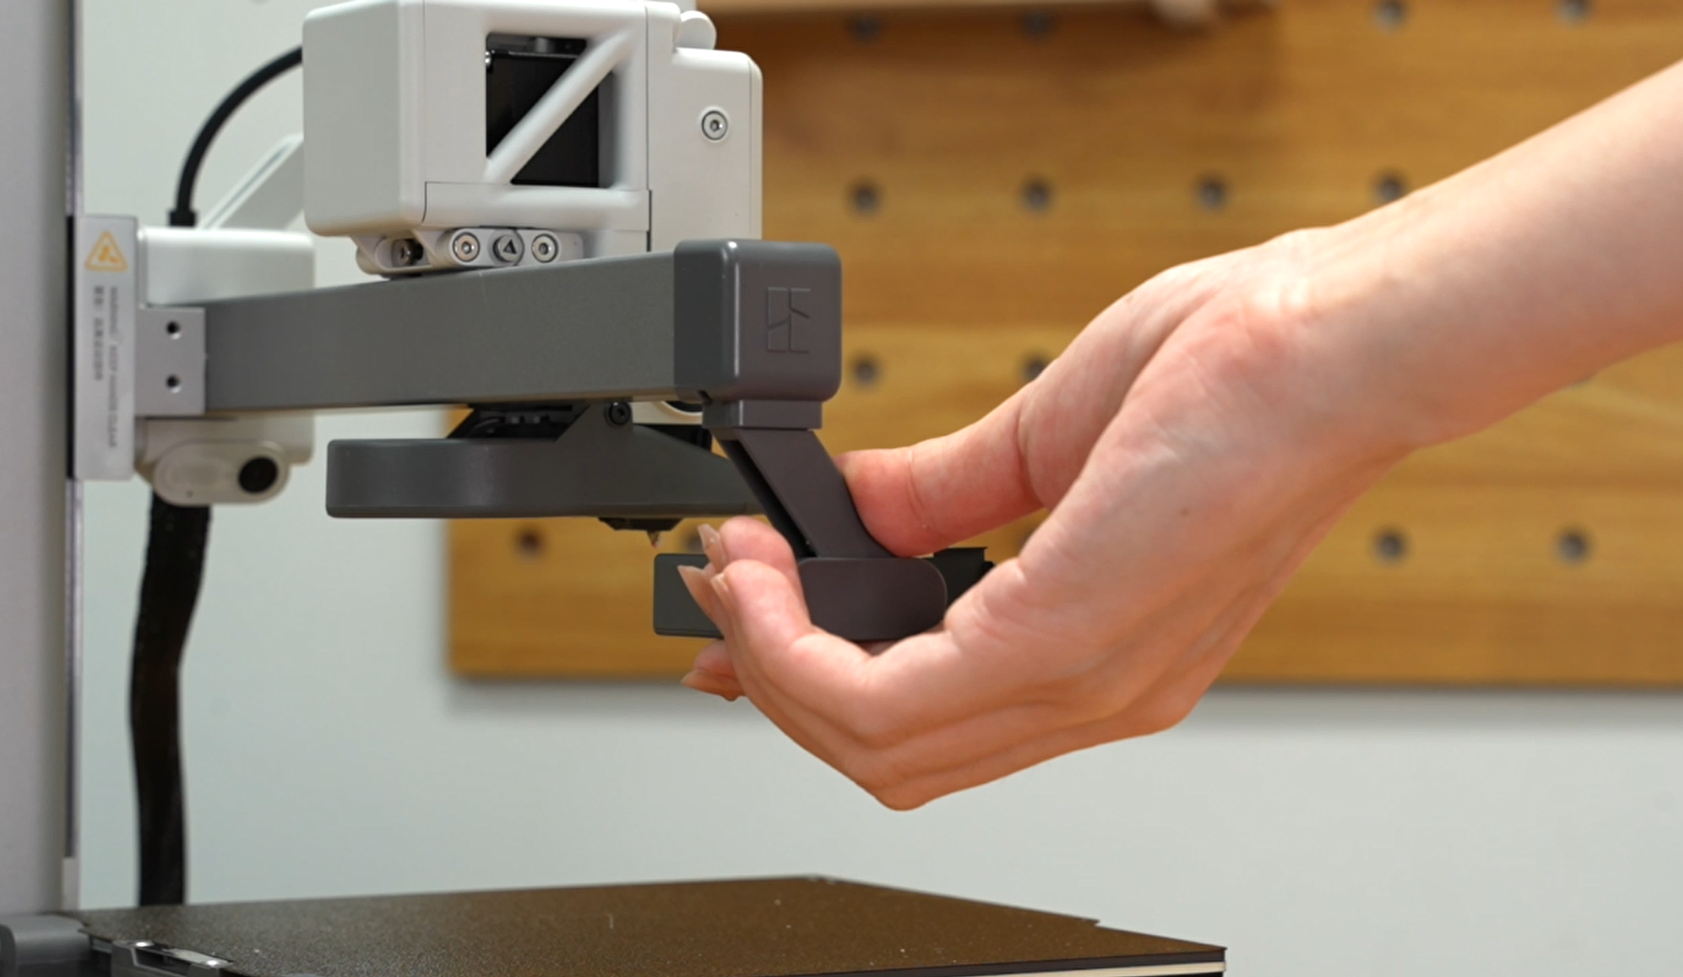
¶ Fix the toolhead, X-axis, heatbed and Z-axis
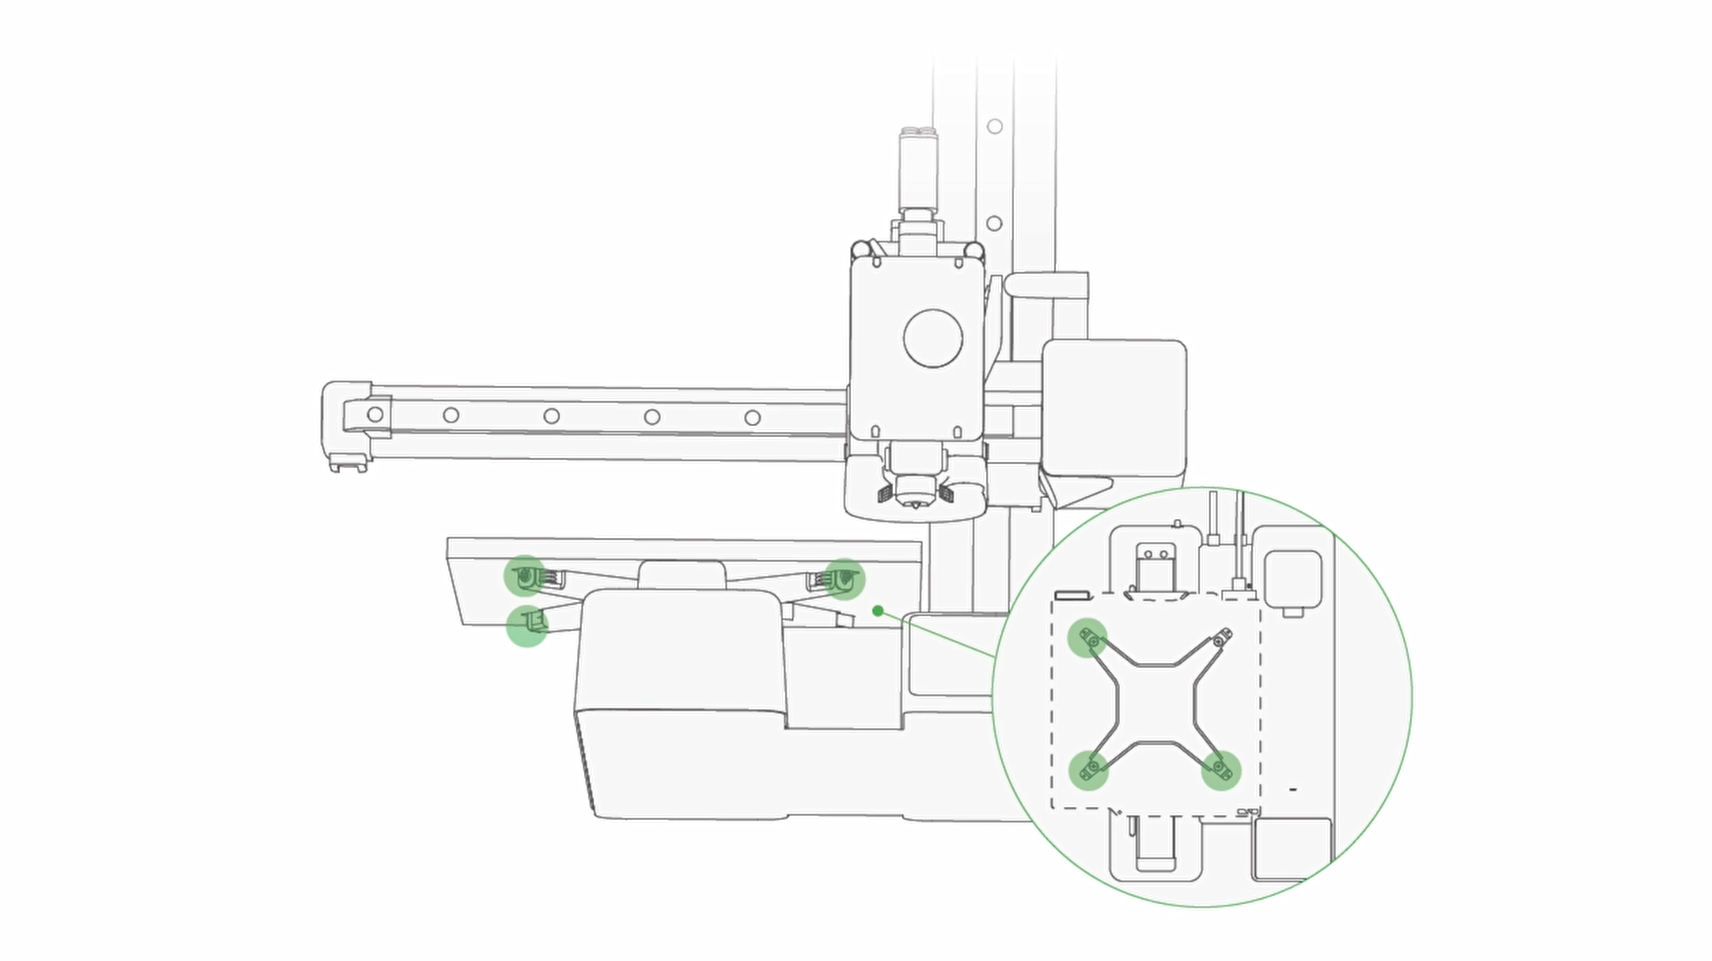
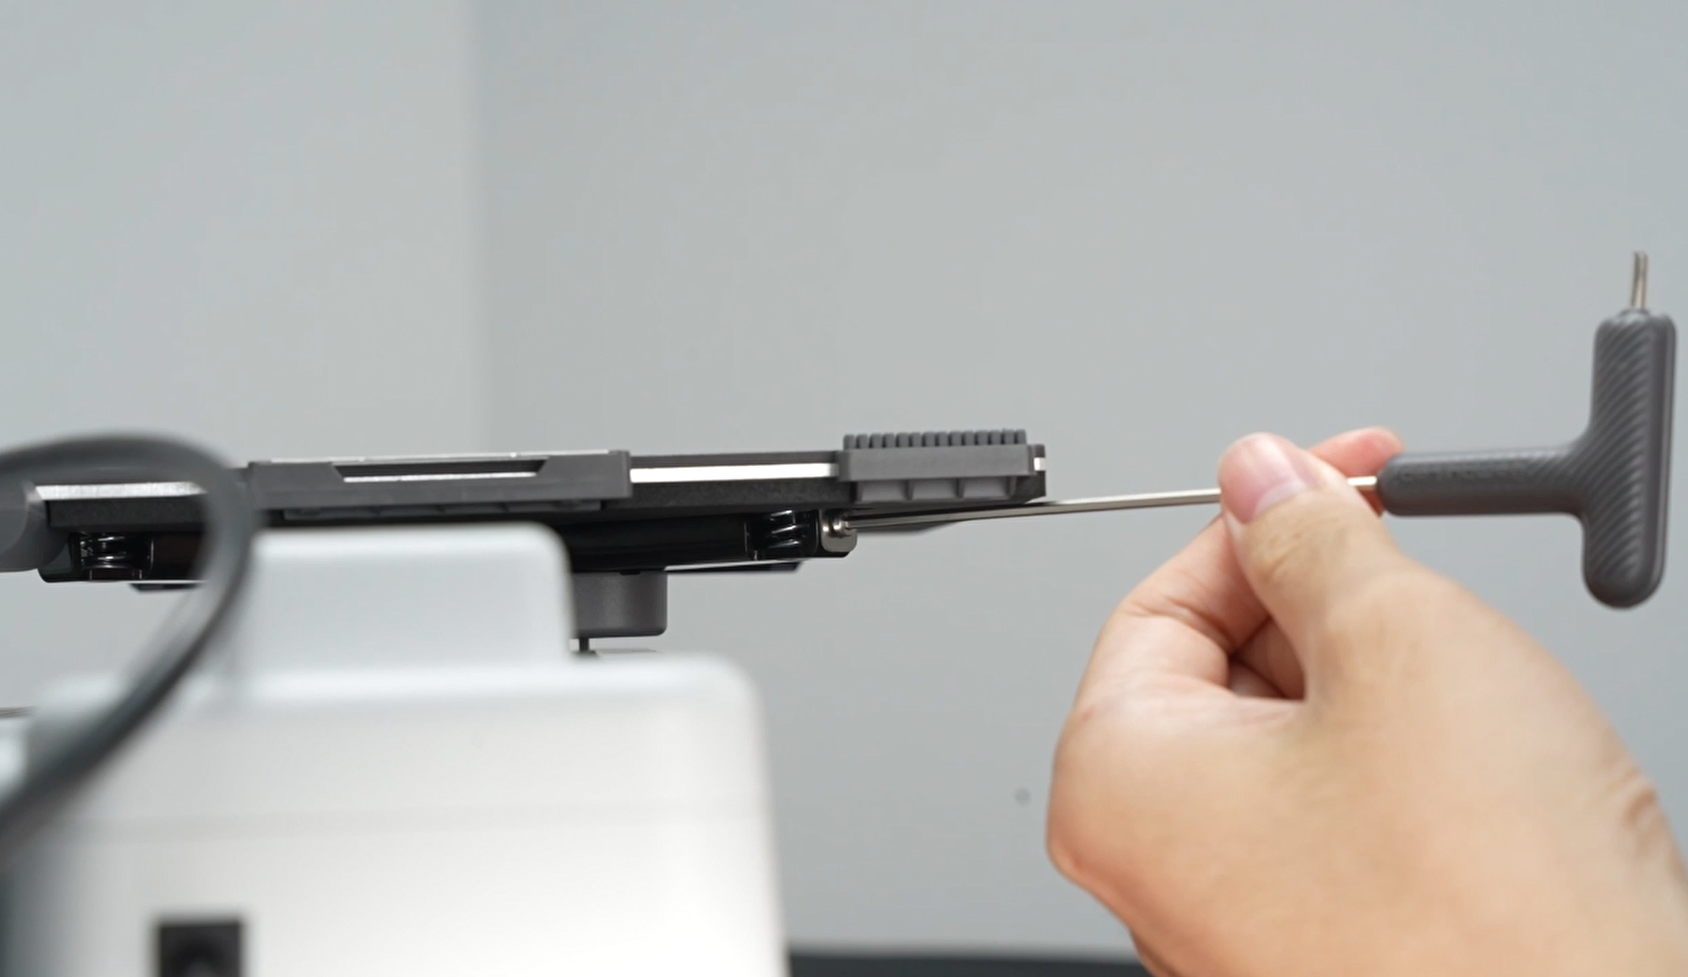
Step 1. Loosen the heatbed screws by two turns.
 |
 |
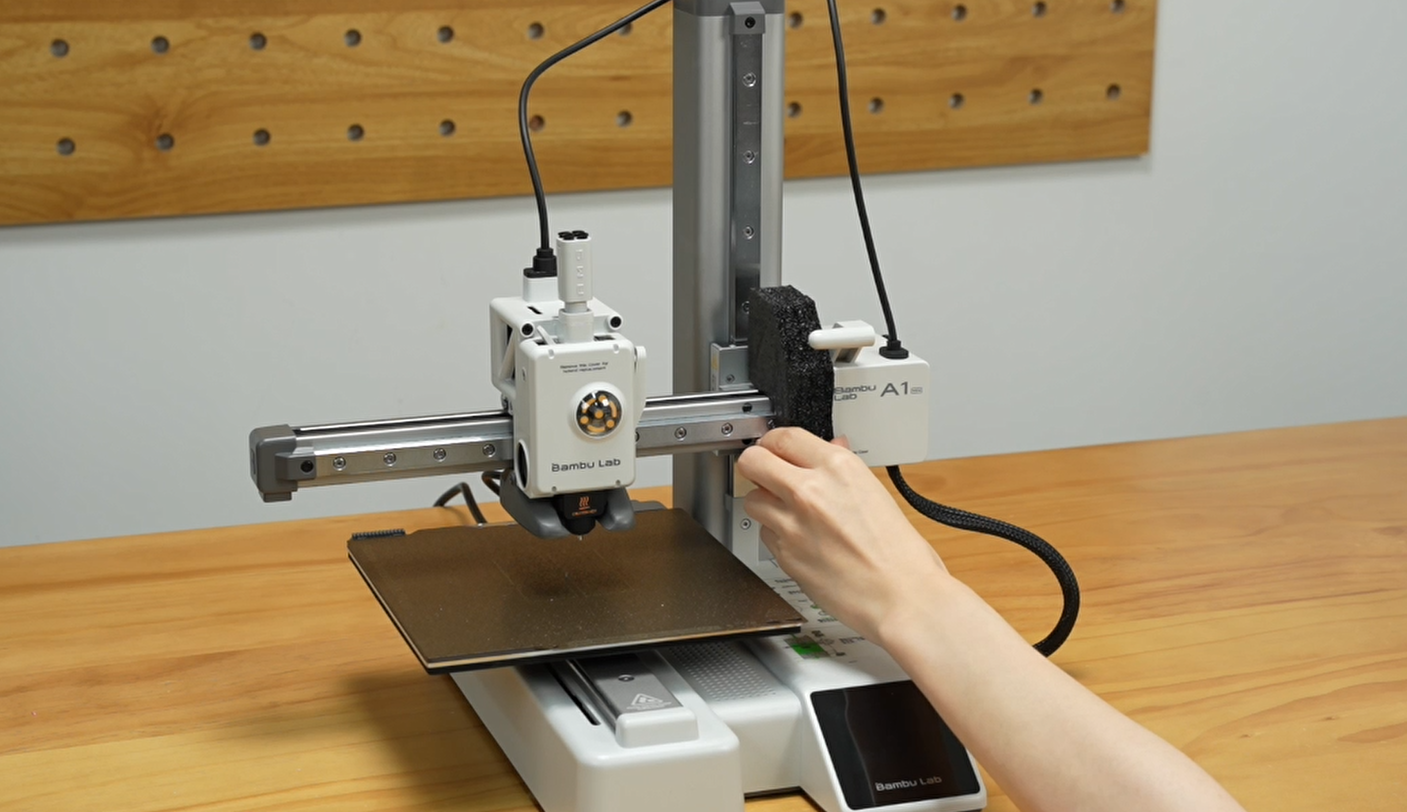
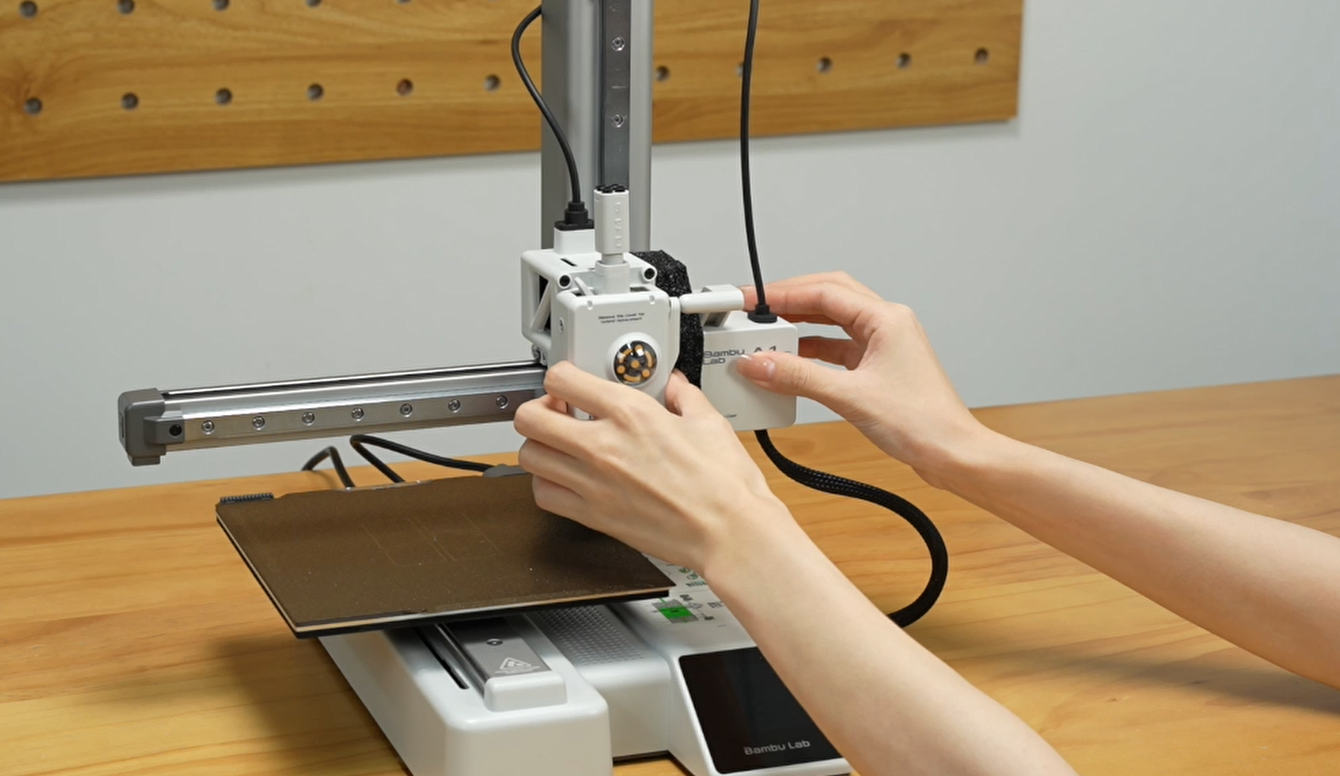
Step 2. Place foam on the end and move the toolhead close to it.
 |
 |
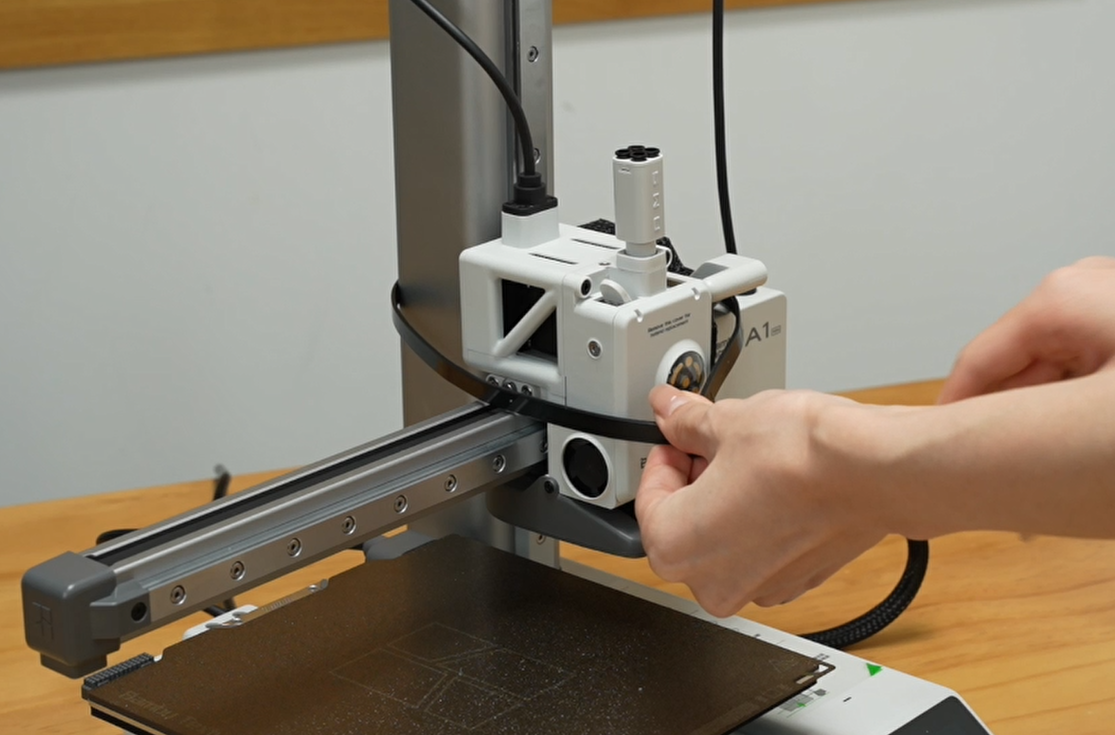
Step 3. Secure the toolhead with a zip tie.
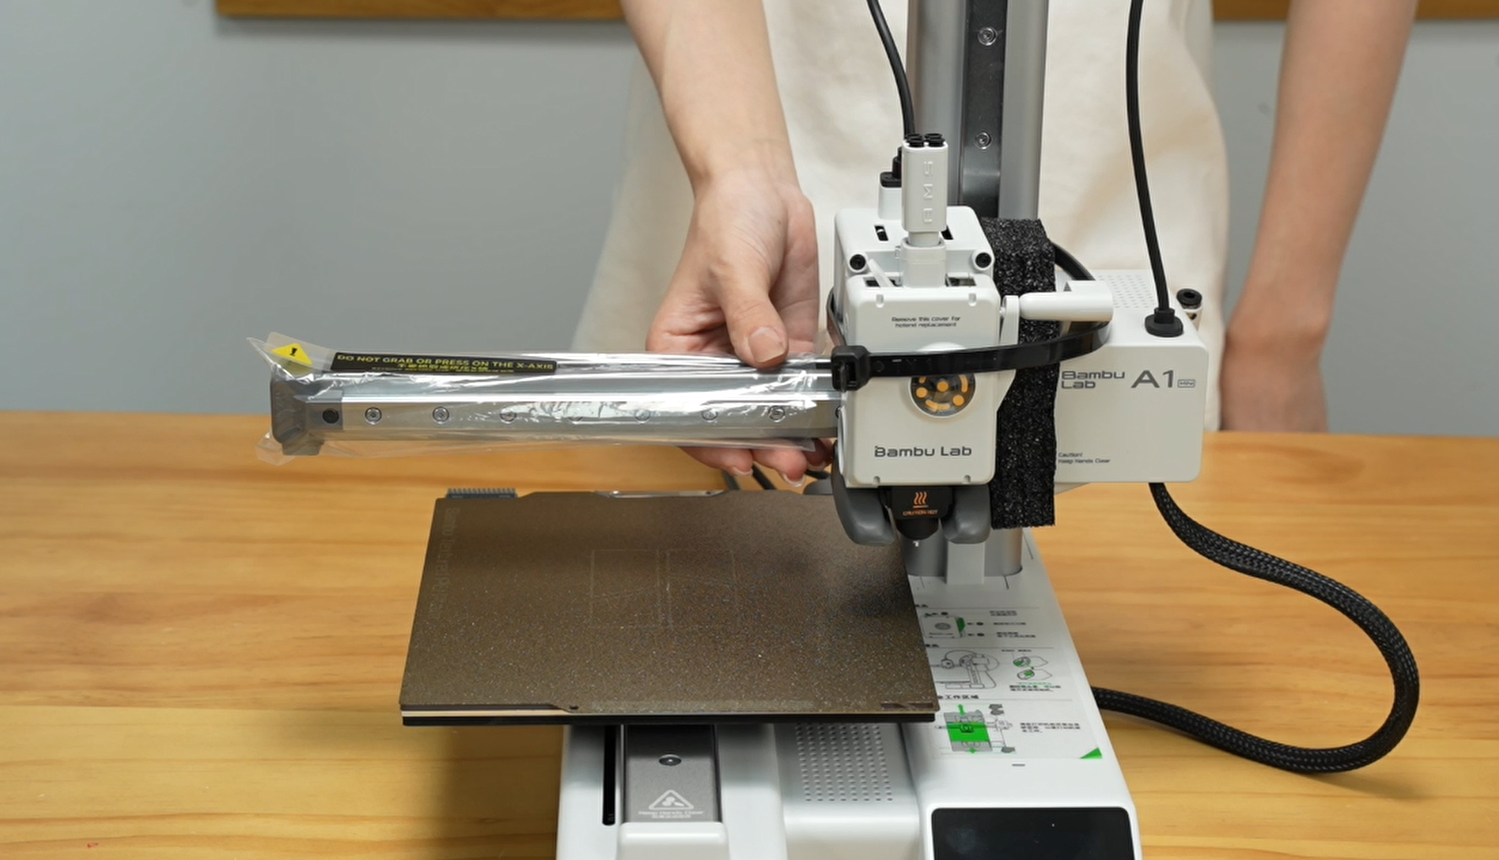
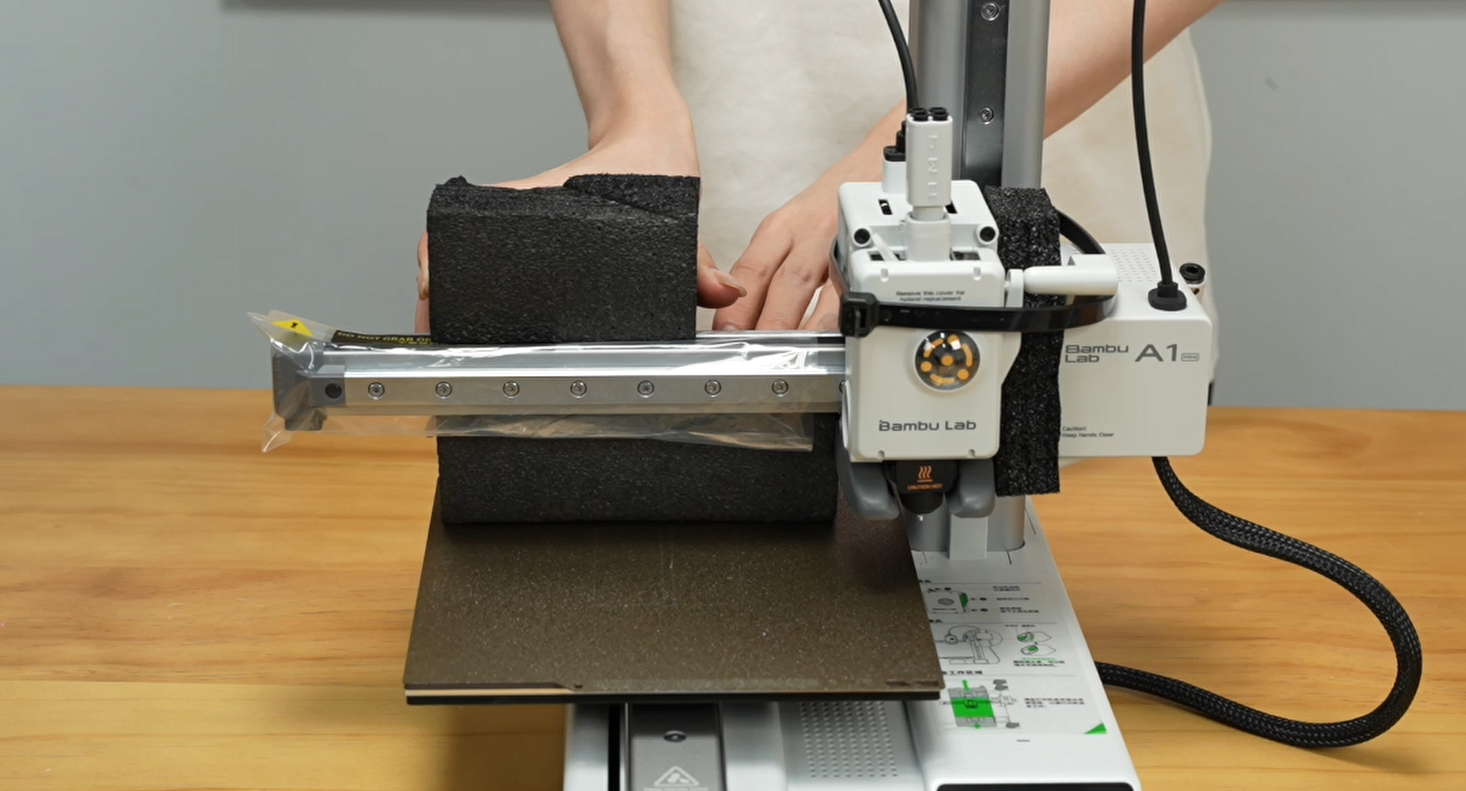
Step 4. Put on the X-axis protective cover and place the foam back.
 |
 |
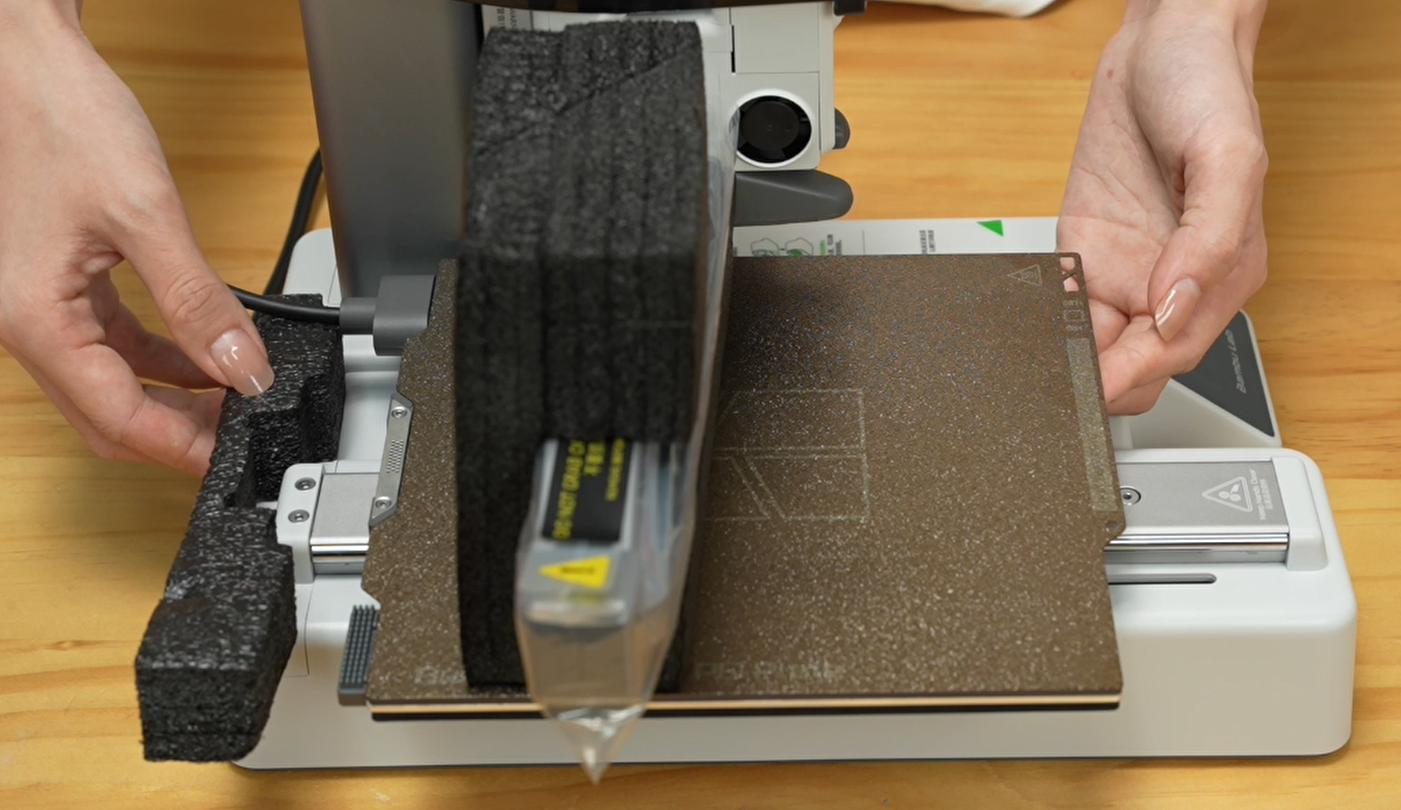
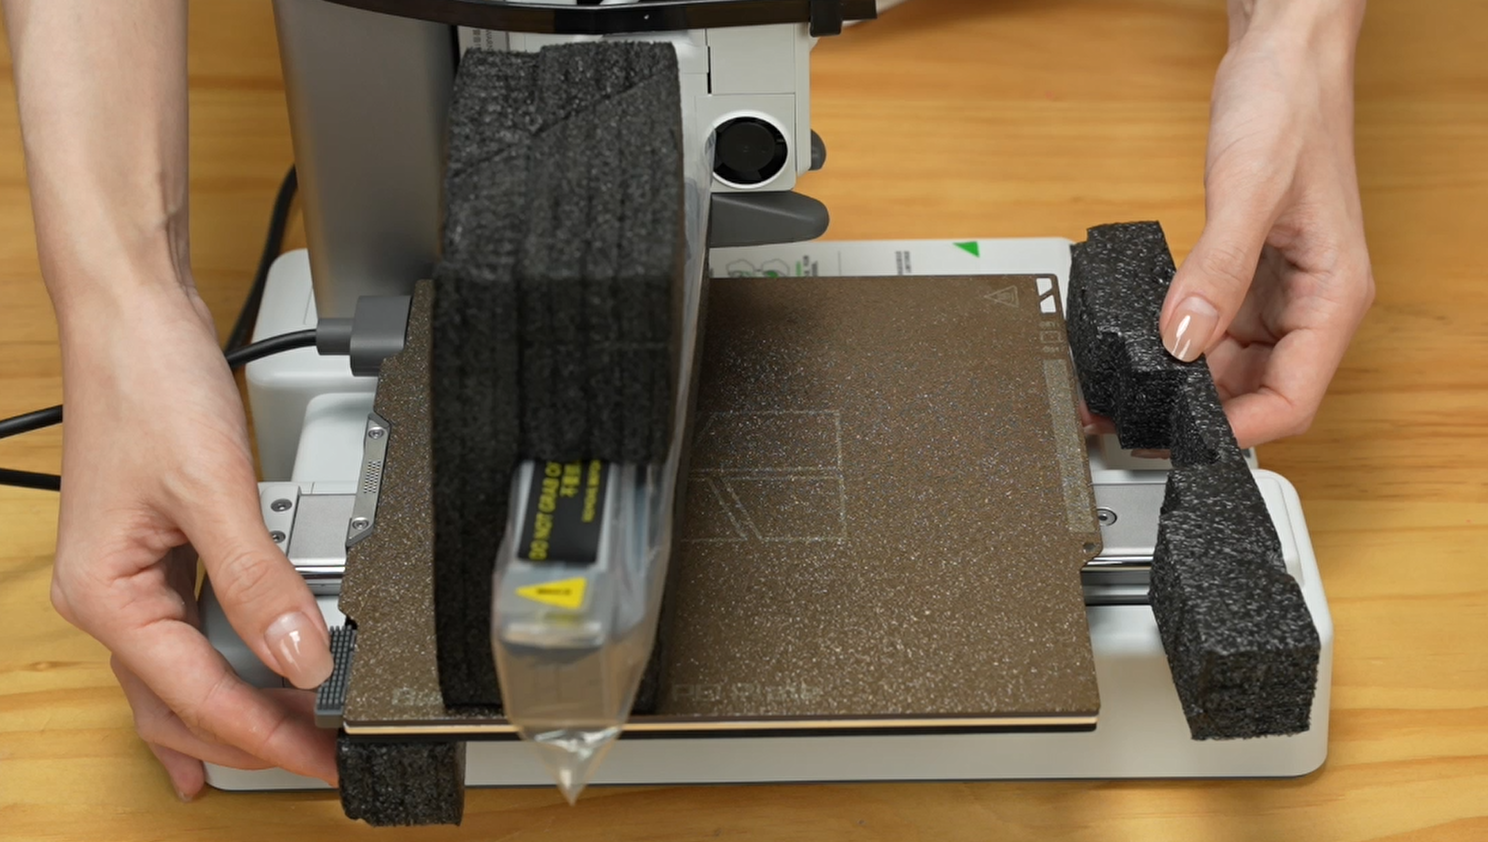
Step 5. Place 2 pieces of foam under the heatbed.
 |
 |
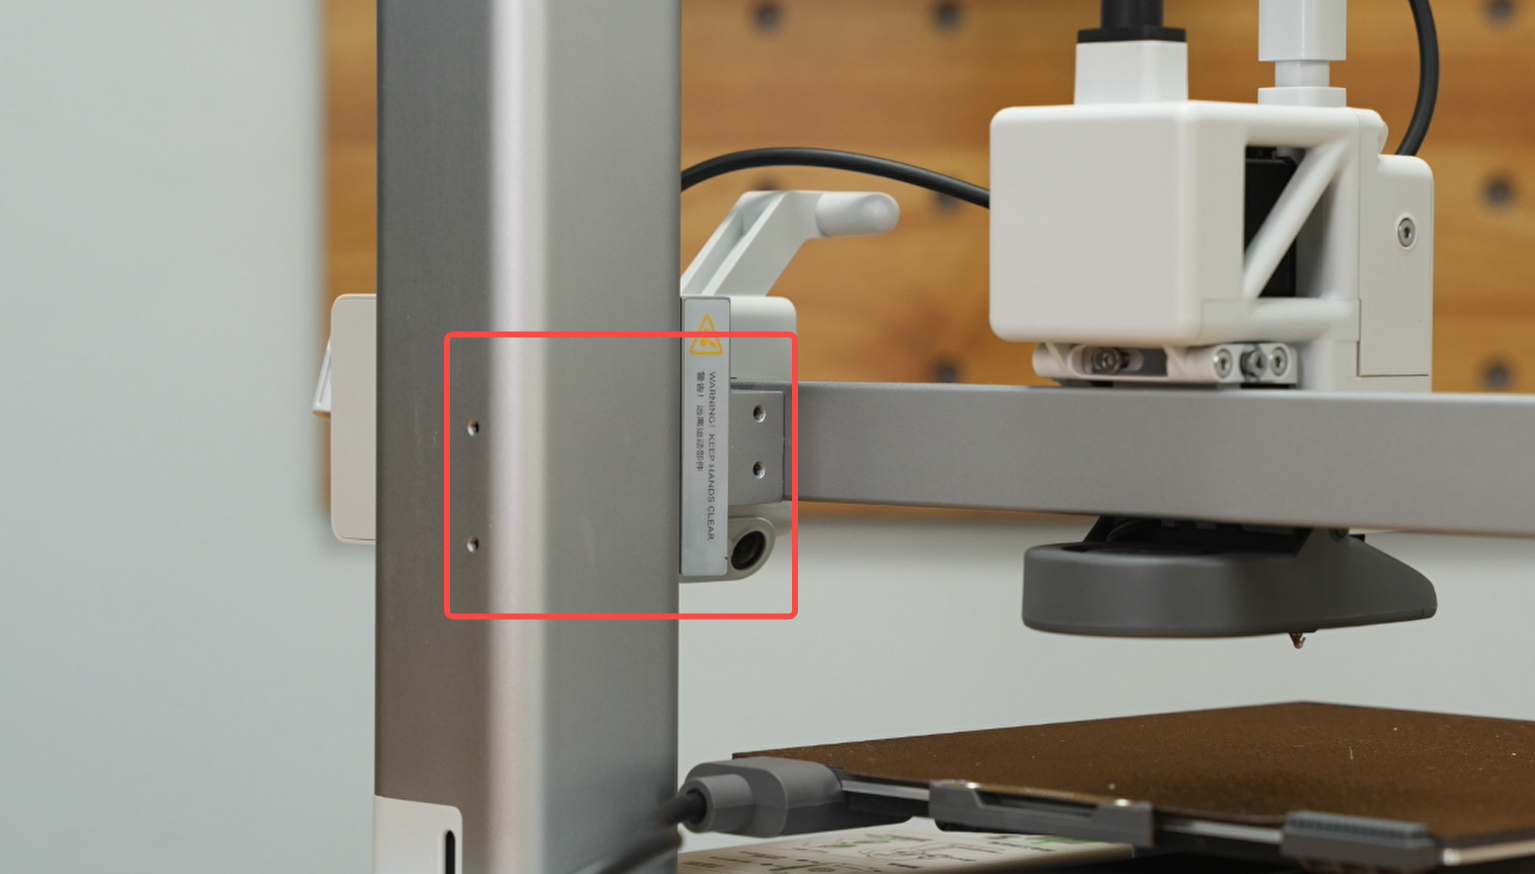
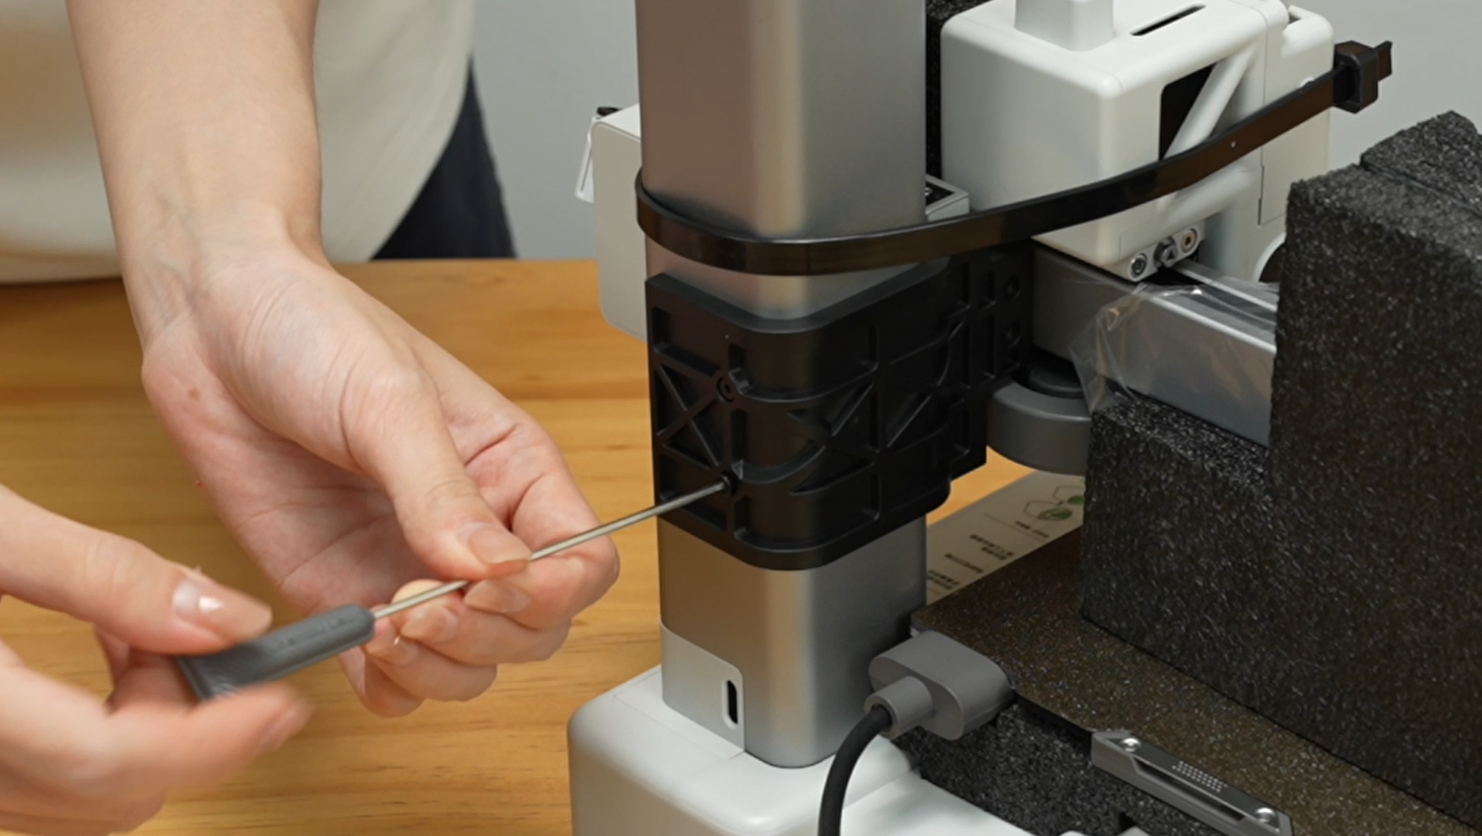
Step 6. Align the Z-axis limiter with the screw holes and install the 4 screws.
 |
 |
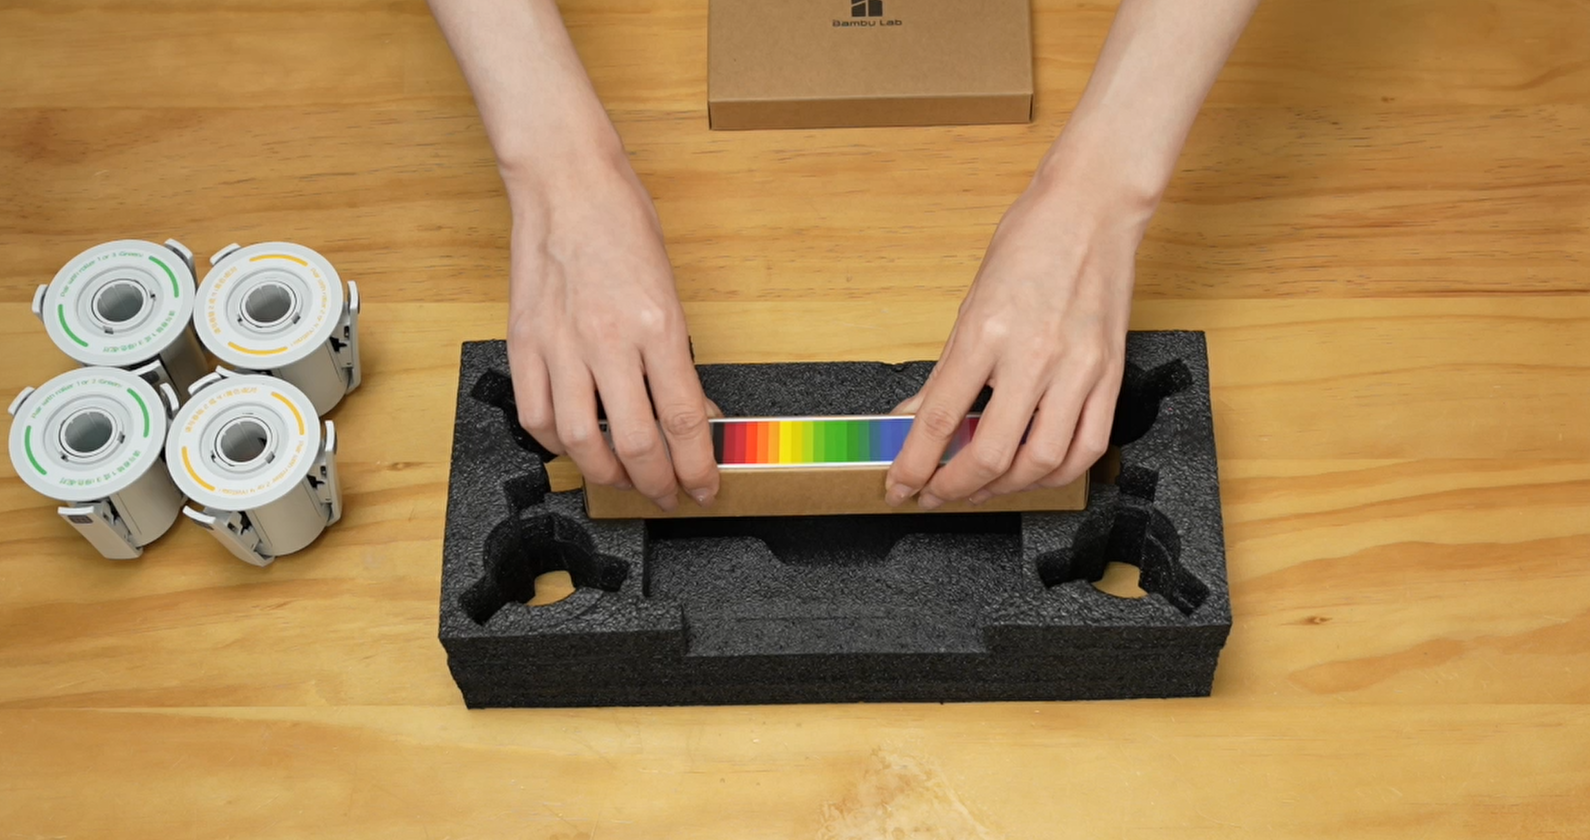
¶ Put back the accessories
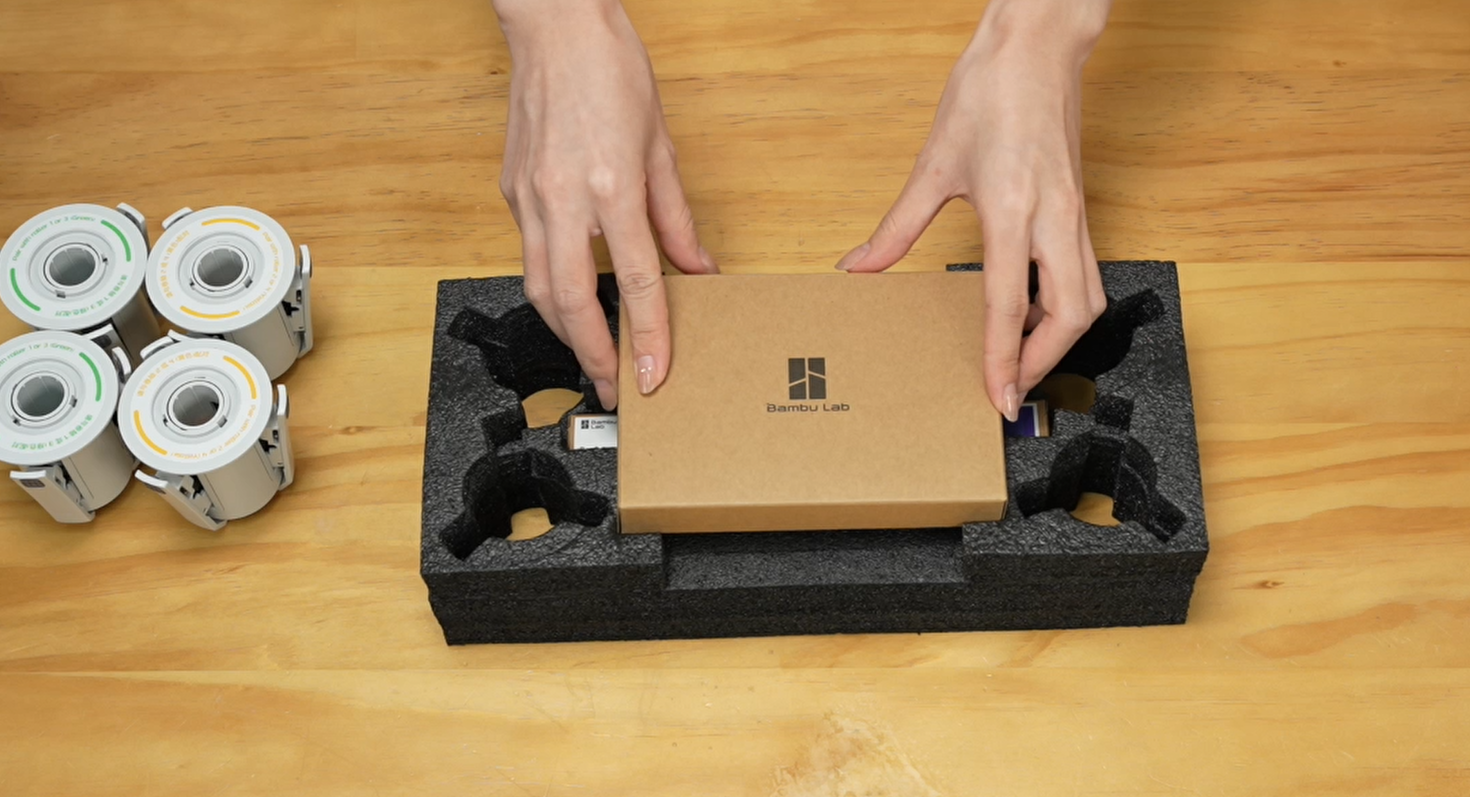
Step 1. Put the accessory box into the foam box.
 |
 |
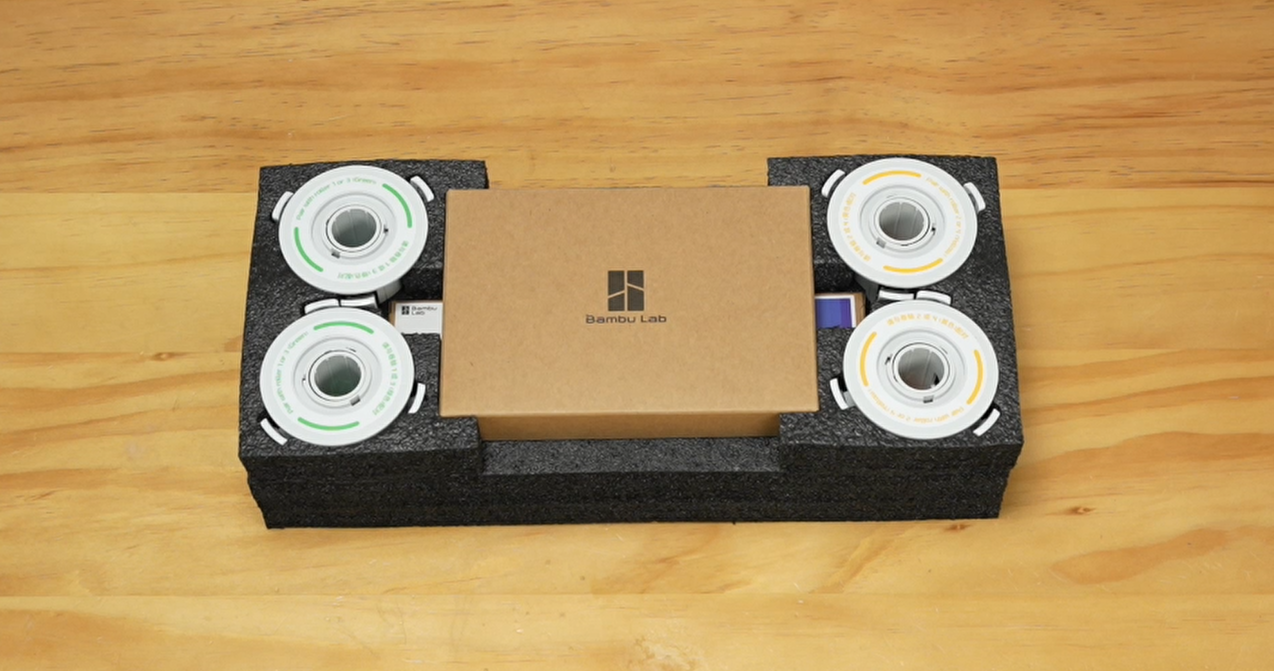
Step 2. Put back the rotary spool holders.
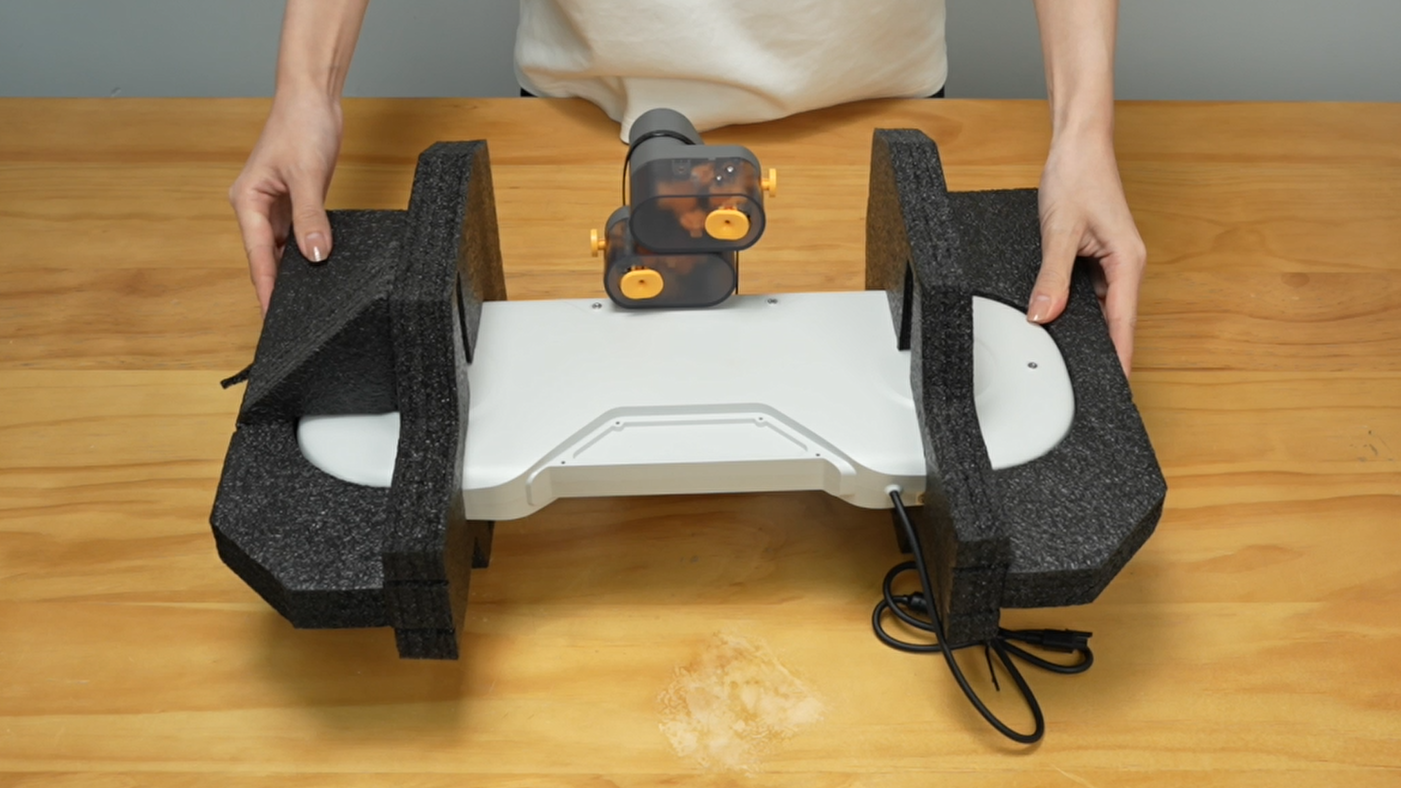
Step 3. Place the AMS Lite body foam.
¶ Packing operation
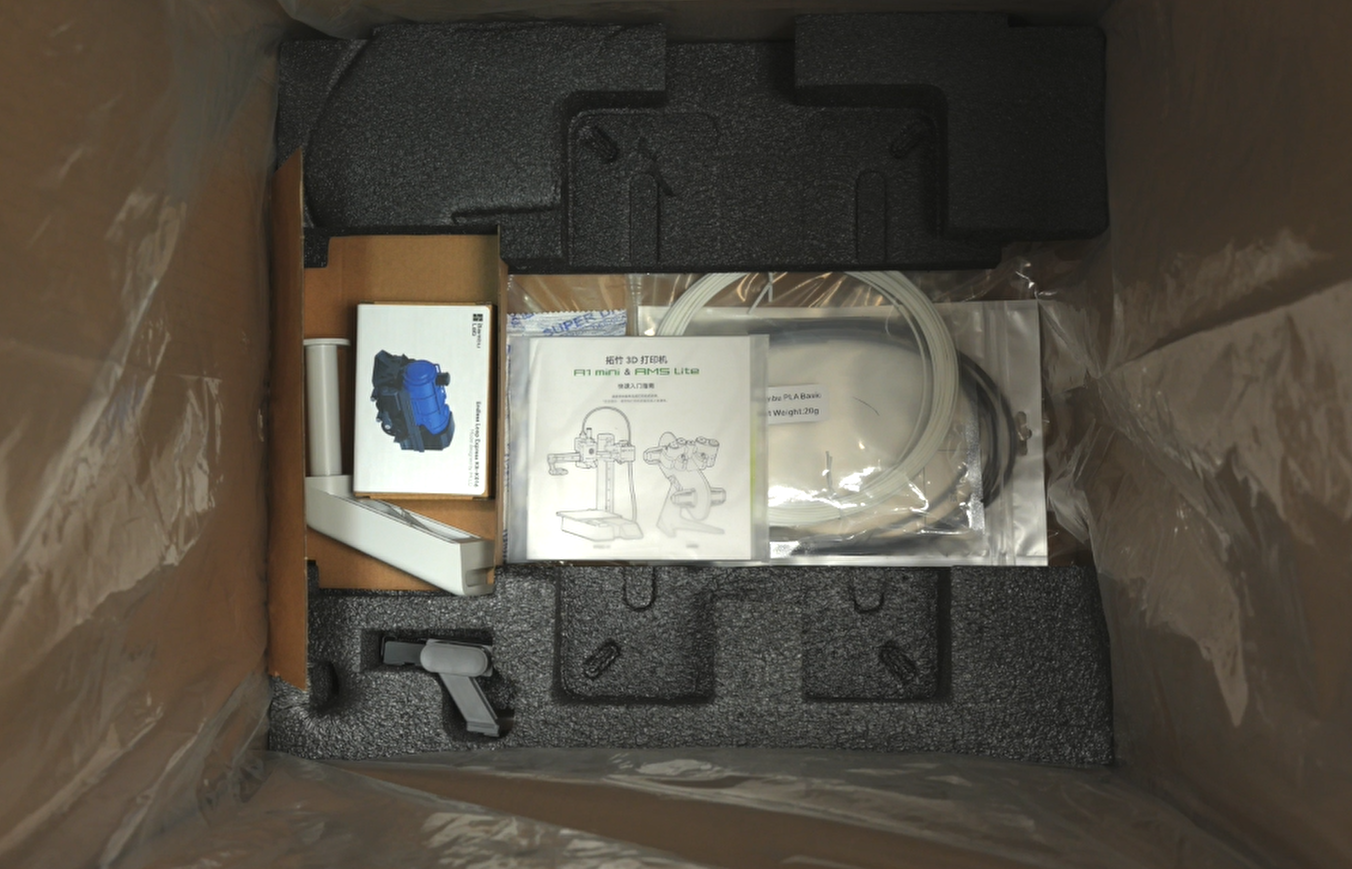
Step 1. Place some accessories such as PTFE tubes and instruction at the bottom of the carton.
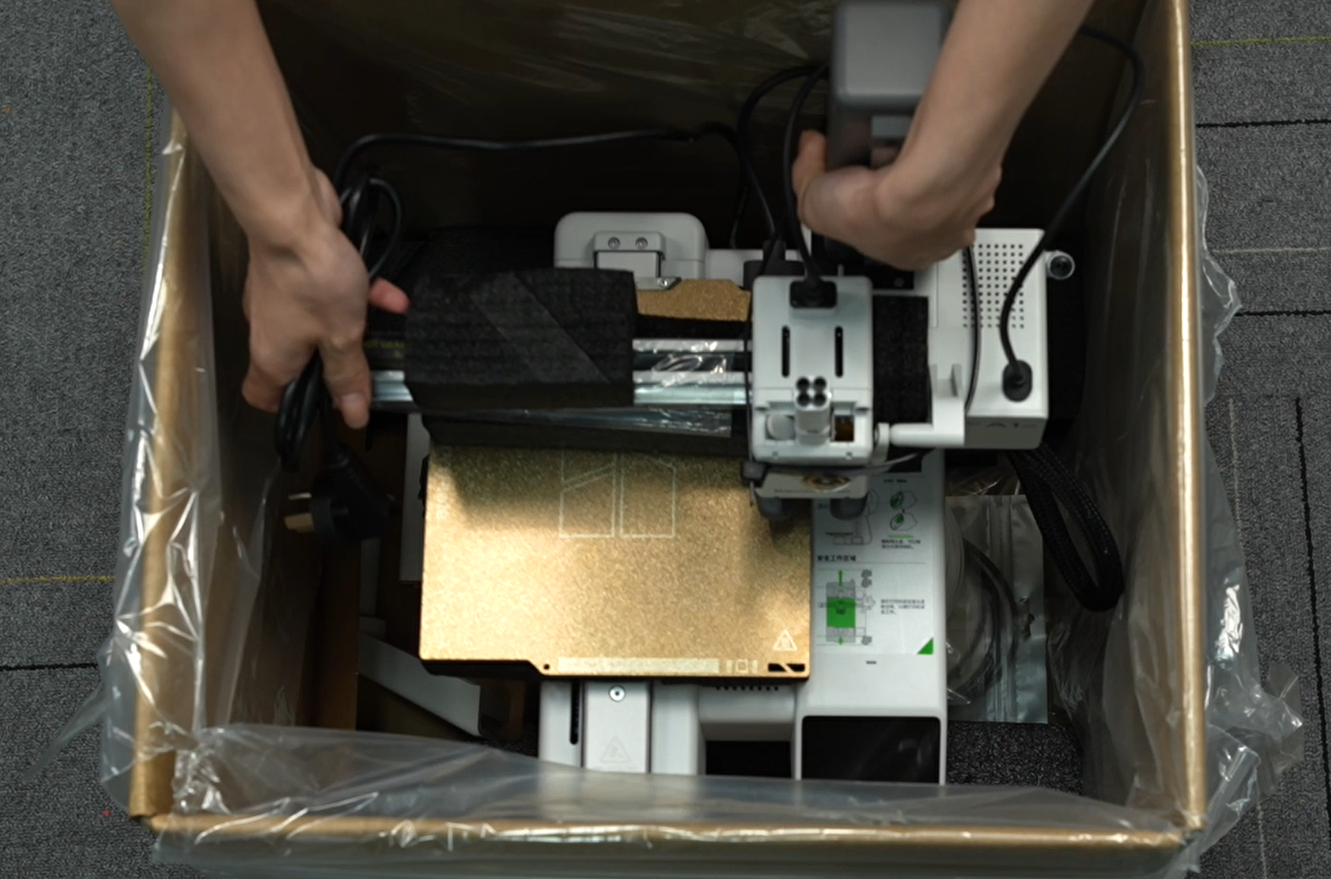
Step 2. Put the printer back into the carton.
Step 3. Place the foam cardboard.
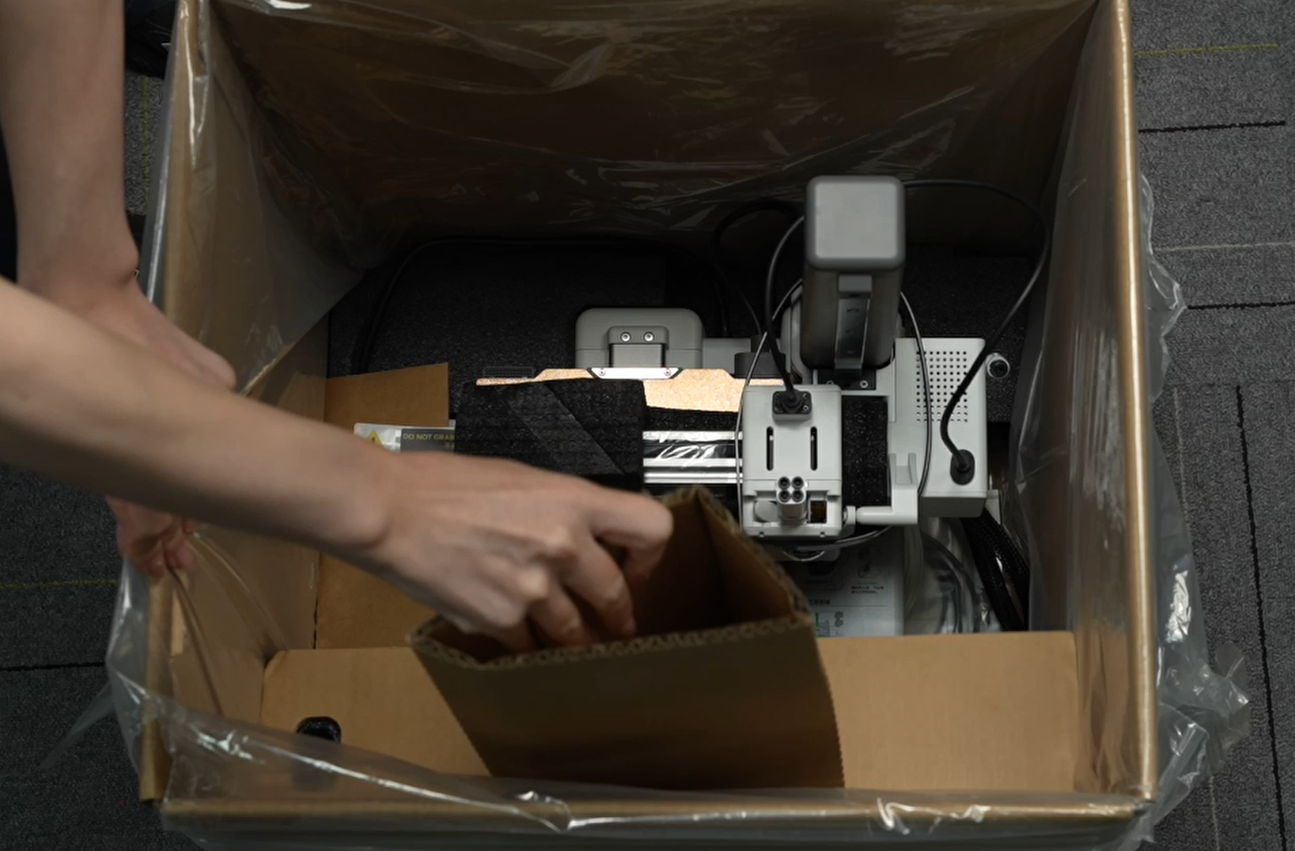 |
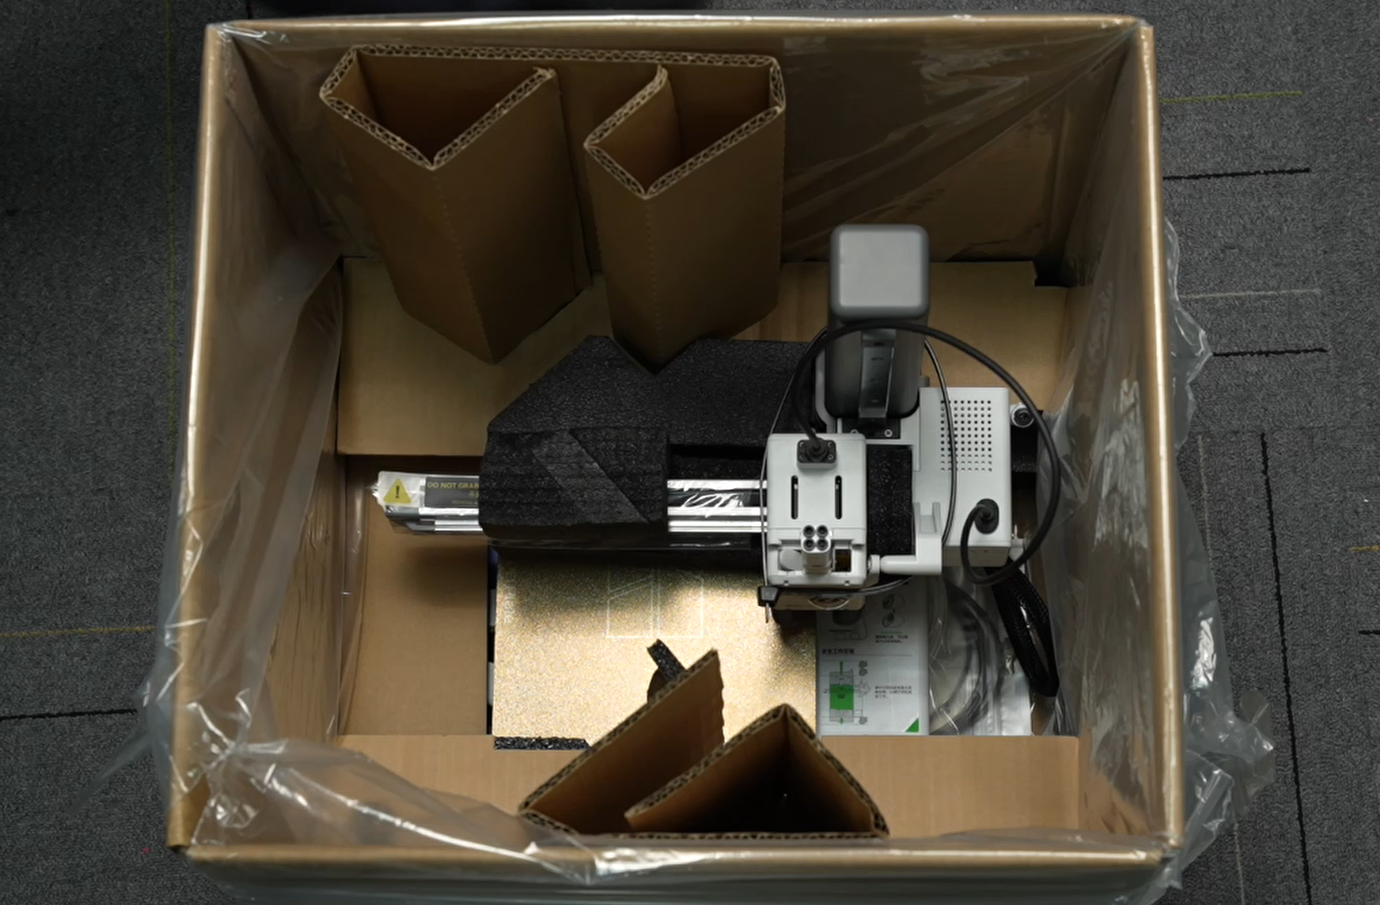 |
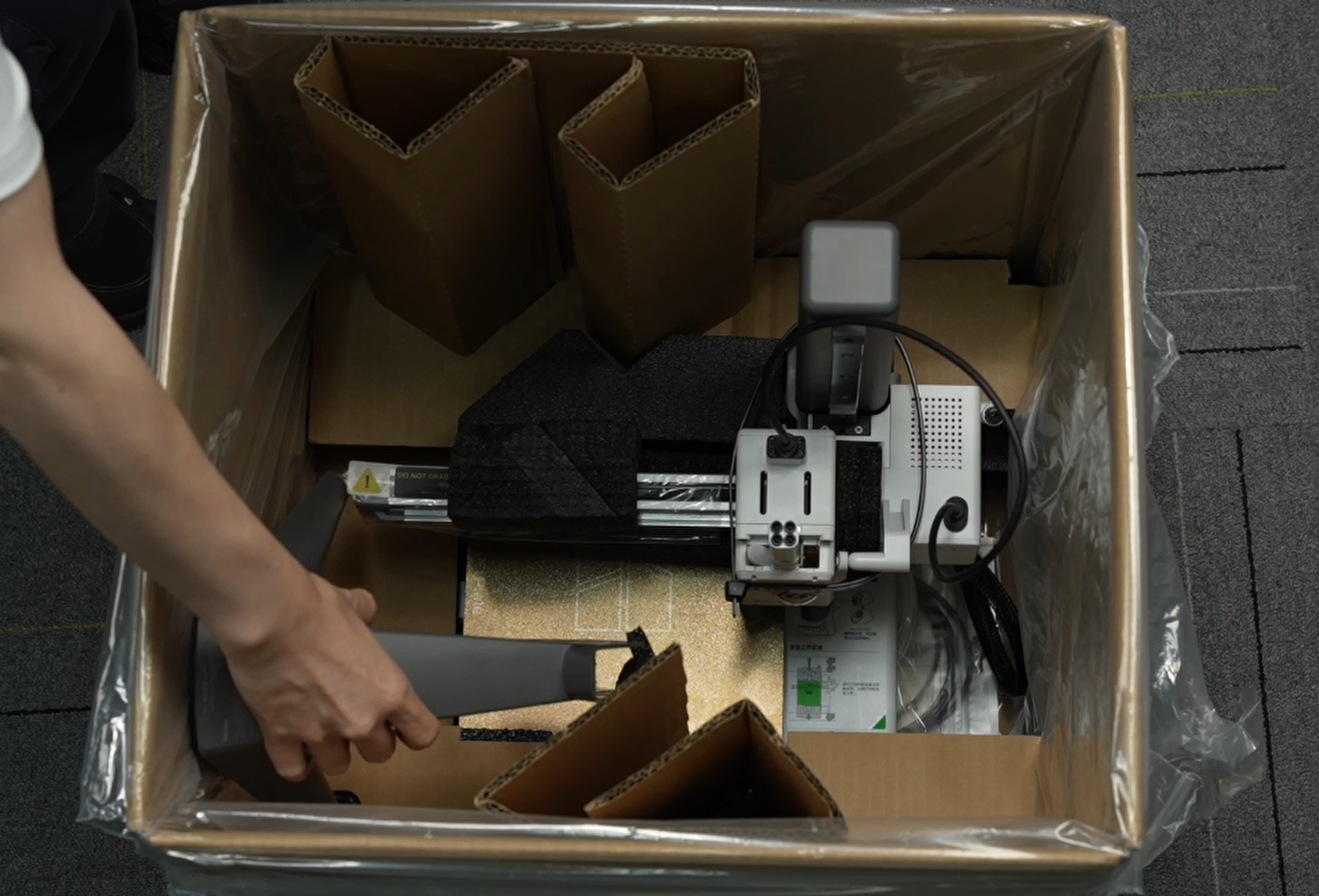
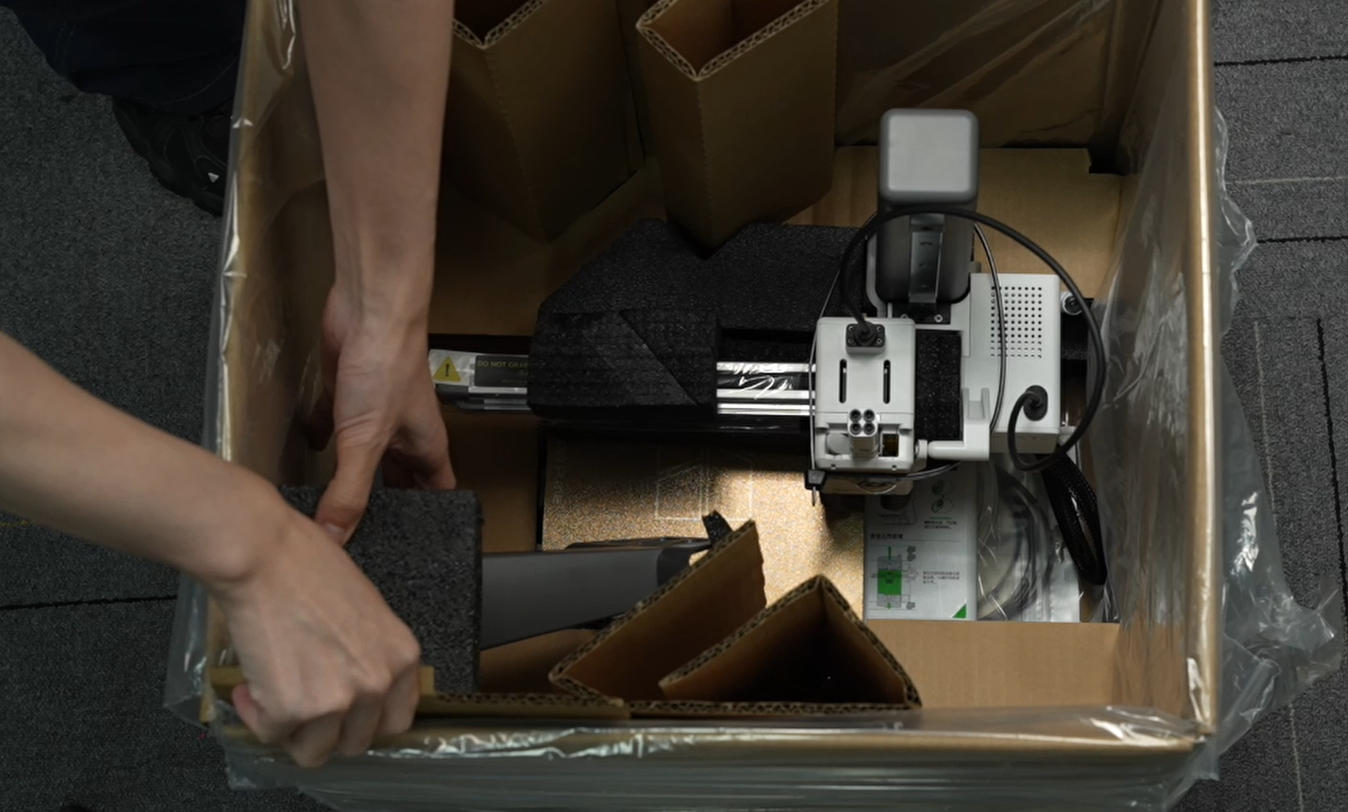
Step 4. Place the AMS Lite holder and foam cardboard.
 |
 |
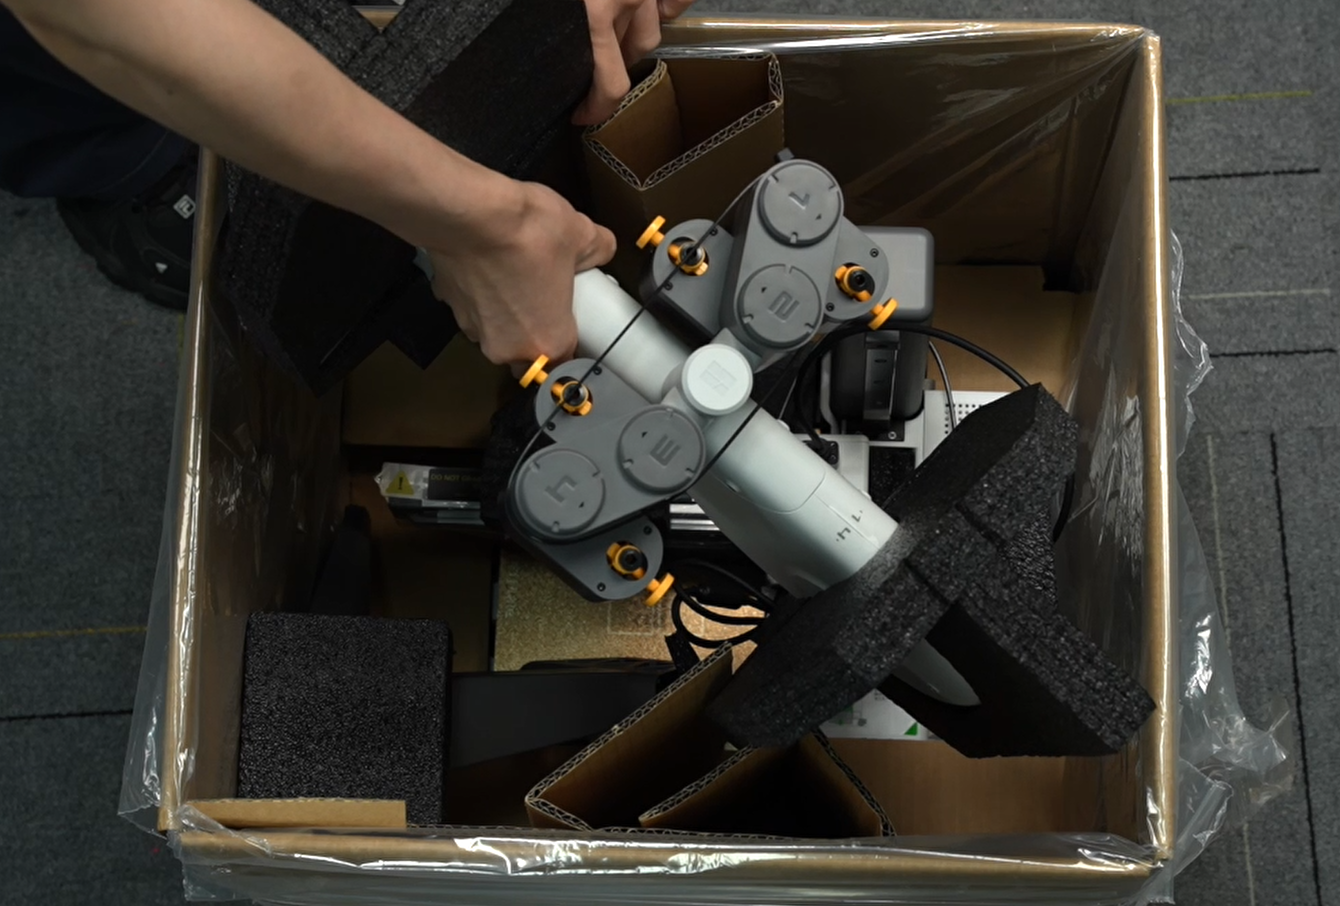
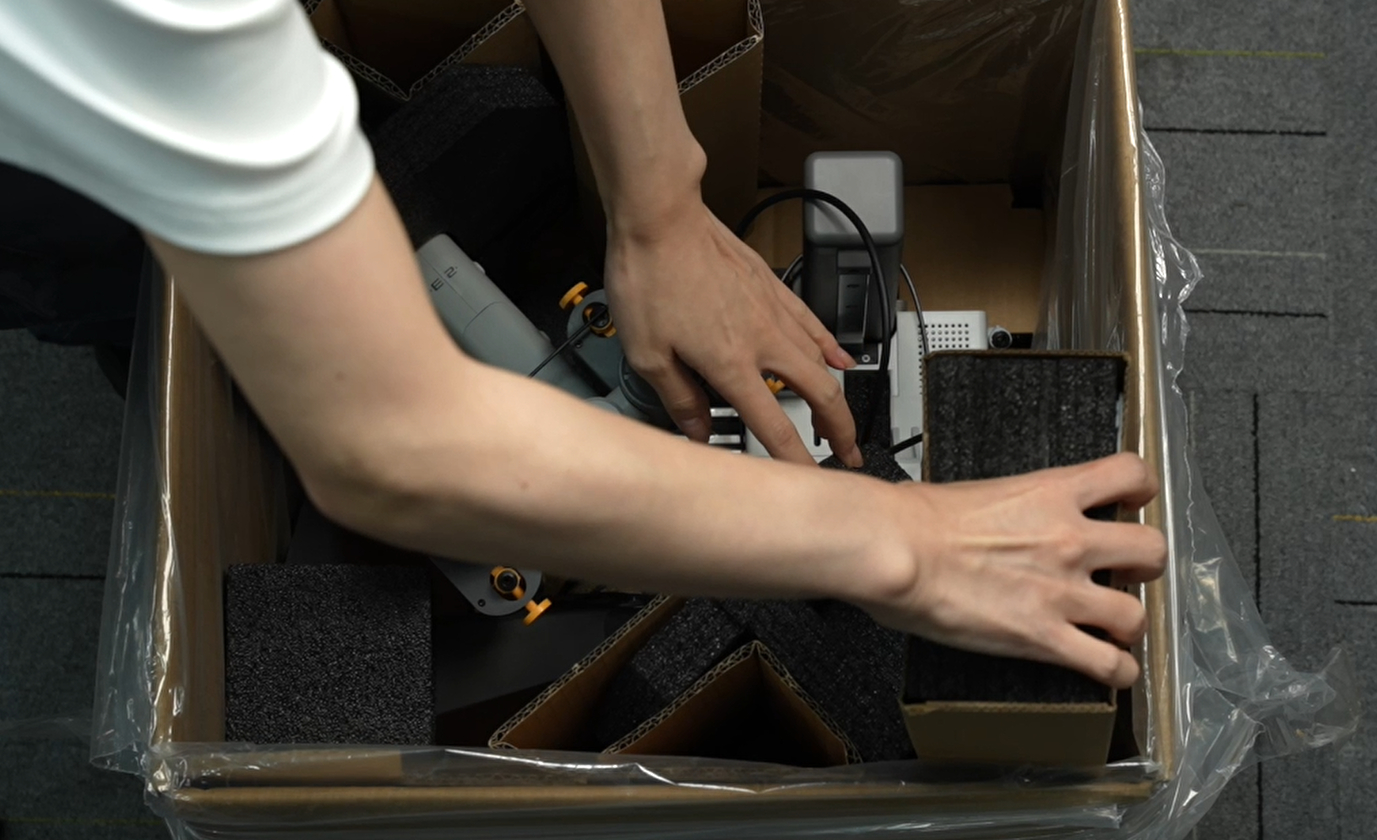
Step 5. Place the AMS Lite body and accessory box.
 |
 |
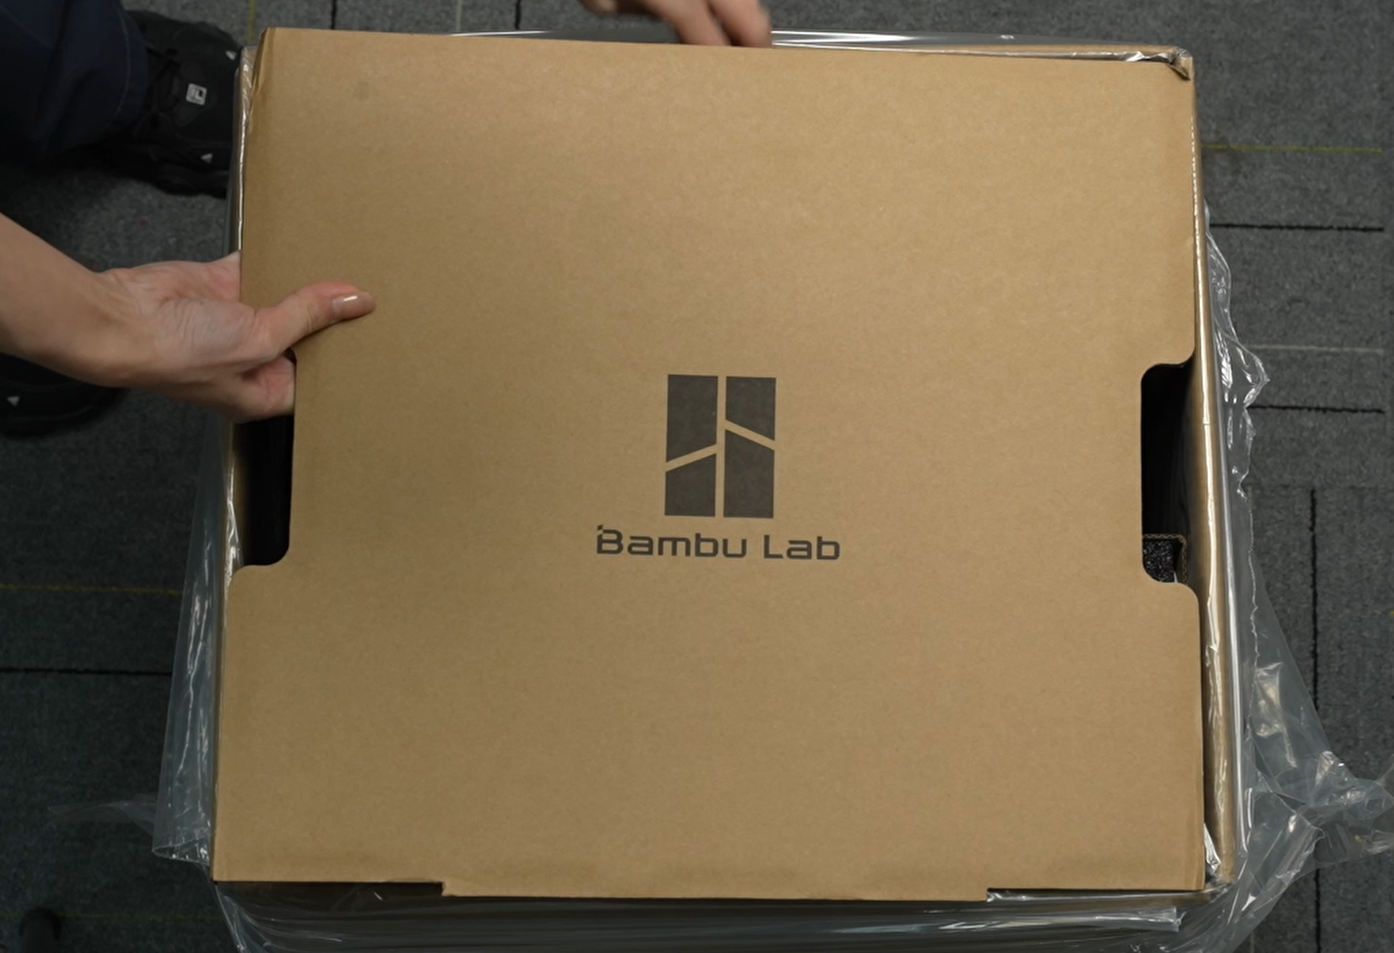
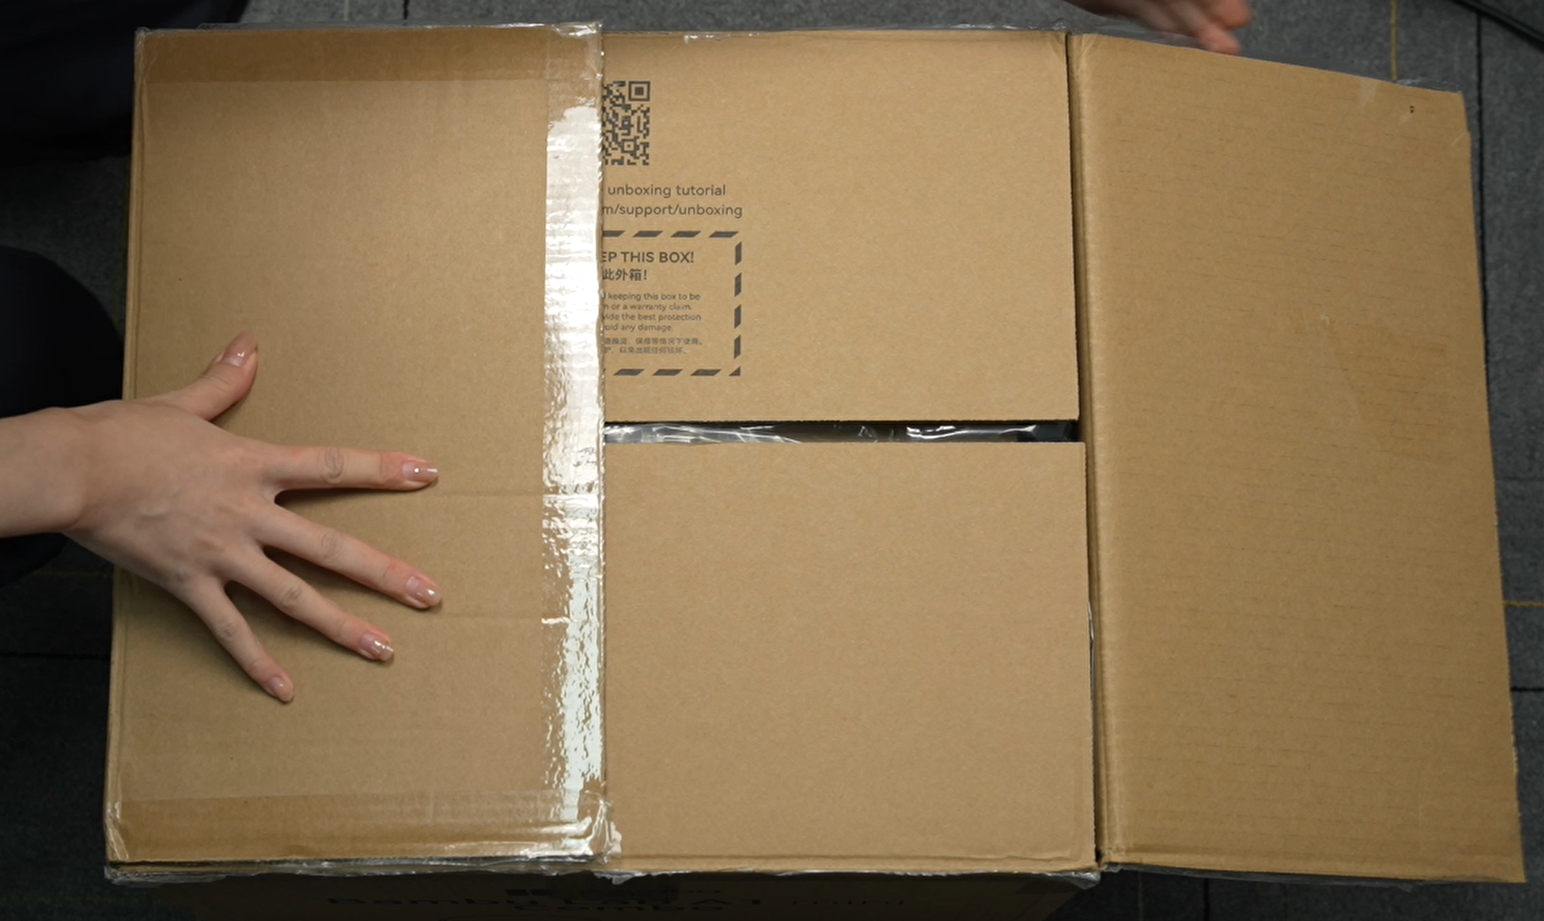
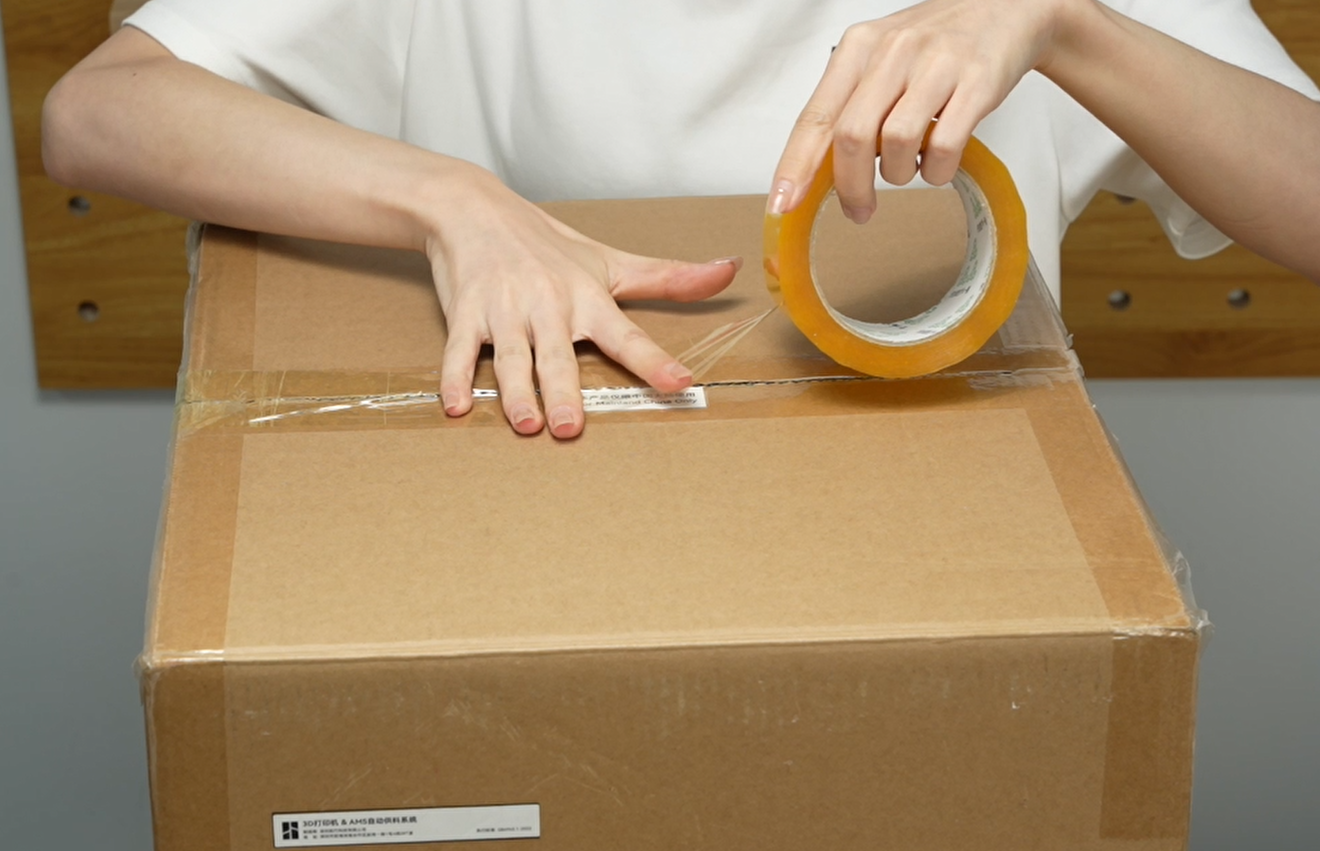
Step 6. Close the carton after covering it with cardboard and secure it with tape.
 |
 |
 |
¶ End Notes
We hope the detailed guide provided has been helpful and informative.
To ensure a safe and effective execution, if you have any concerns or questions about the process described in this article, we recommend submitting a technical ticket regarding your issue. Please include a picture or video illustrating the problem, as well as any additional information related to your inquiry.