The heatbed of the Bambu Lab A1 mini has been adjusted before leaving the factory. After completing the operation according to the instructions in the Quick Start, you can print directly. However, if the heatbed is abnormal due to transportation, or the heatbed is disassembled or replaced due to product maintenance, then we need to ensure that the heatbed of the printer is flat through bed tramming.
¶ Prepare for Bed Tramming
Before starting the bed tramming procedure, it's important to prepare the printer.
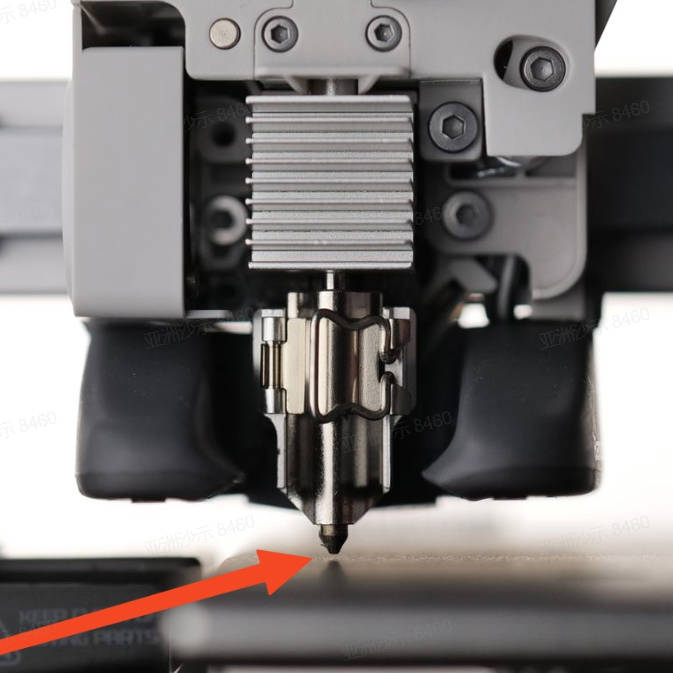
1. Remove the hotend sock and ensure that the nozzle is clean and free from any filament on the tip. If needed, heat up the nozzle and wipe the nozzle to ensure it is clean;
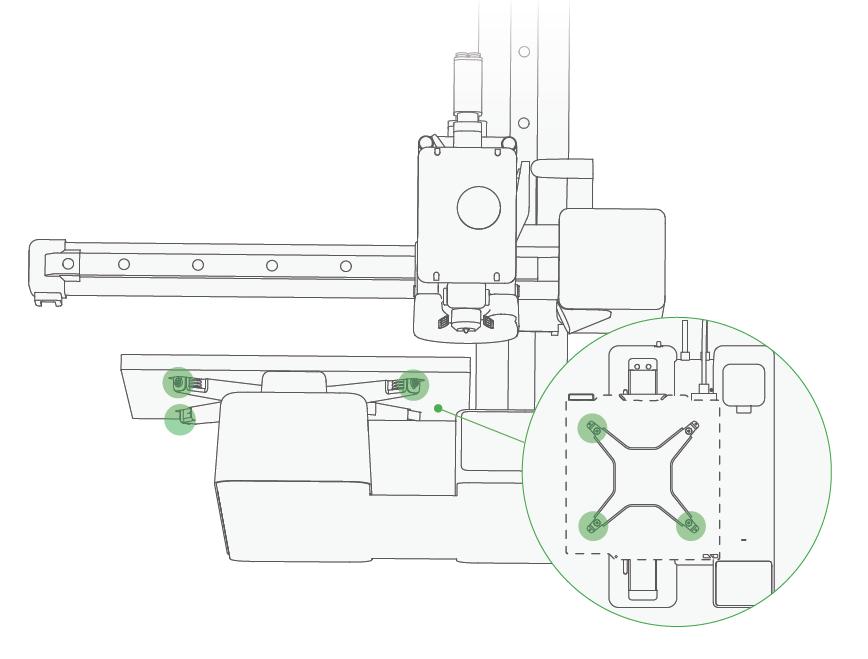
2. Make sure the 3 heatbed locking screws under the heatbed are fully loosened;
 |
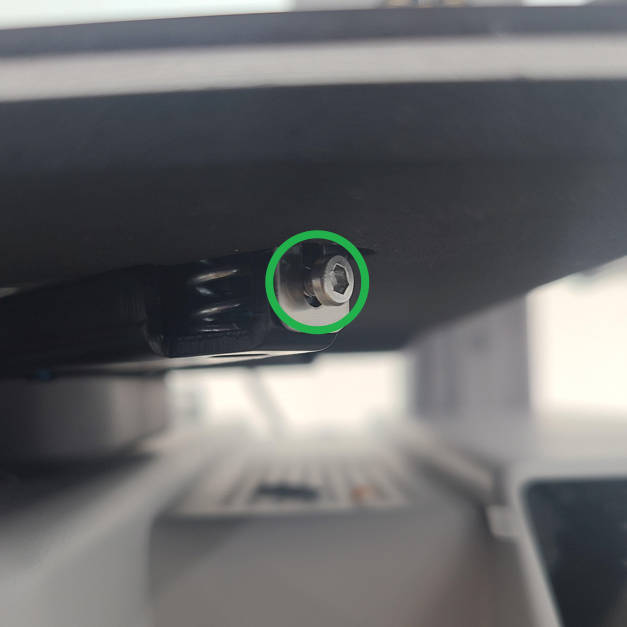 |
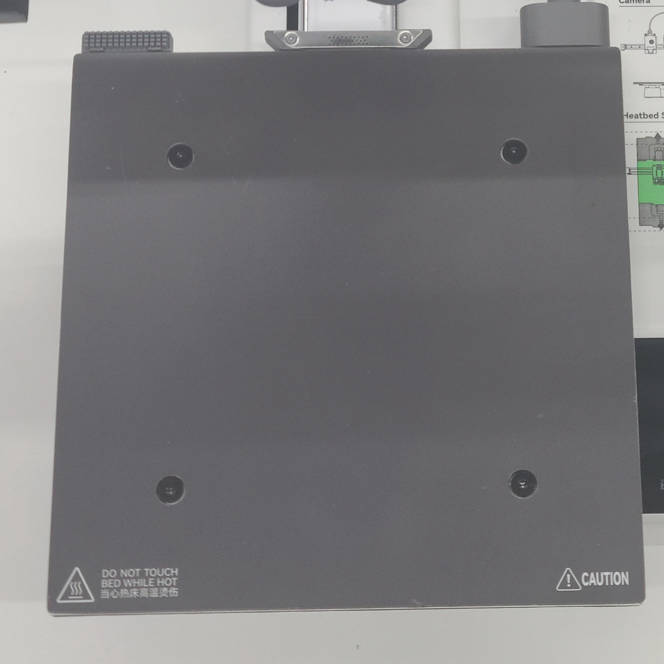
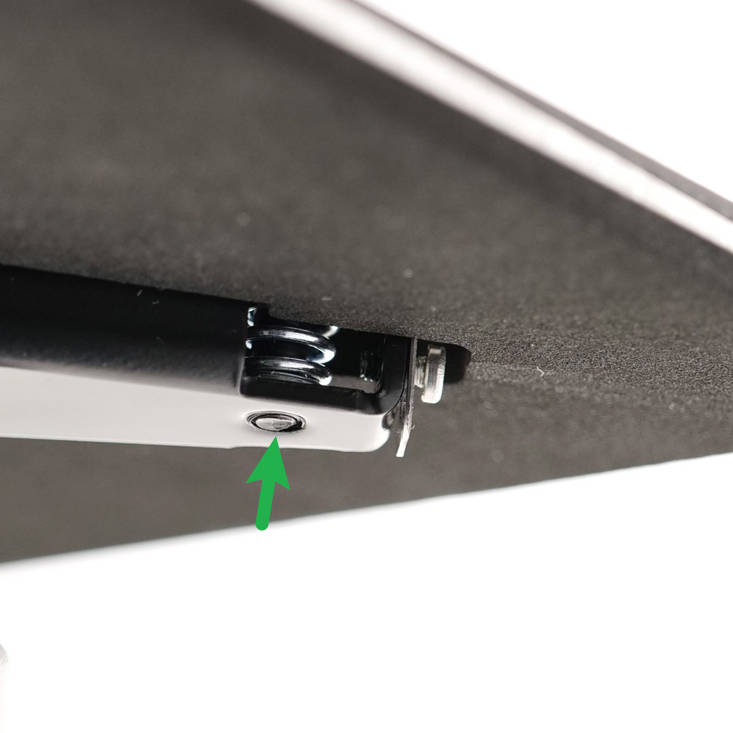
3. Remove the build plate and clean the surface of the heatbed, then tighten the heatbed leveling screw until the bottom end of the screws sit flush with the bottom bracket.
 |
 |
¶ Start the Bed Tramming
To begin the bed leveling process, first, download the attached g-code file, transfer it to a MicroSD Card, and then power on the printer.
a1mini_manual_bed_screws_adjust_assist.gcode
After the printer completes the startup and can successfully identify the file, select the above Gcode file and click to run it, just like you would start a new print.
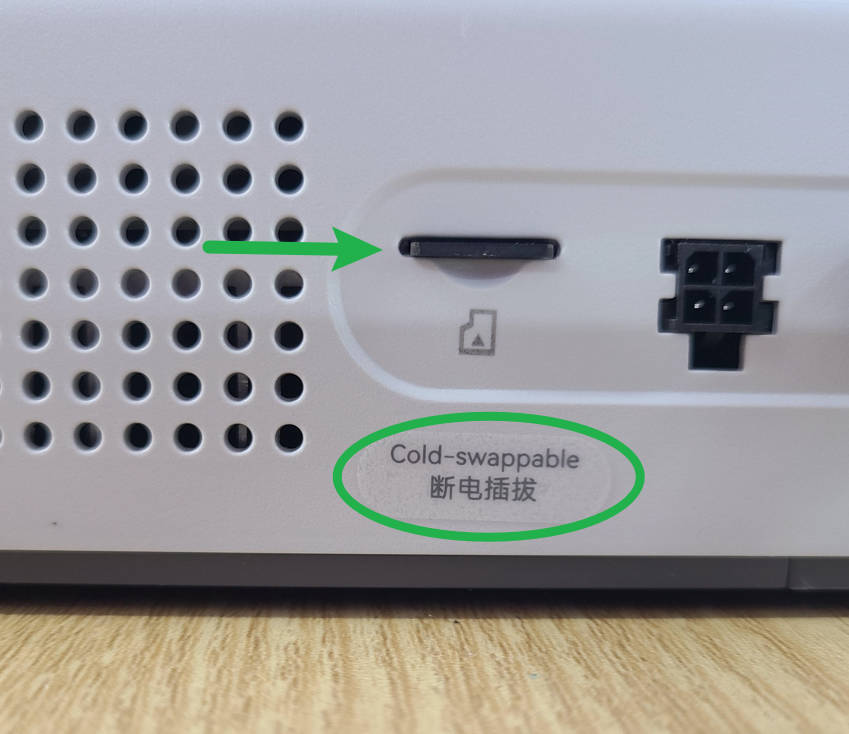
Please note that A1 mini SD card is not hot-swappable. Please turn off the power before inserting or removing the SD card to avoid any potential damage or corruption.
 |
 |
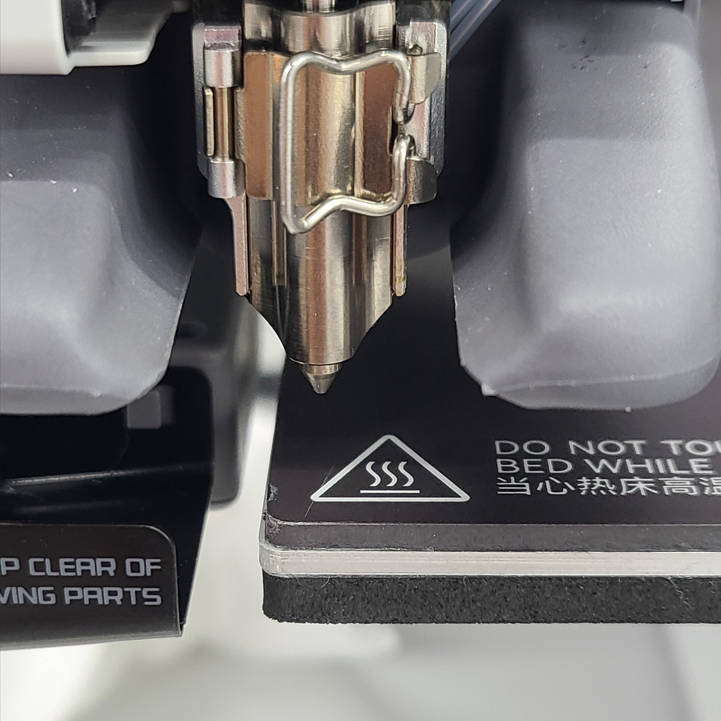
After the g-code file is loaded, the printer will home, then move over to the front left corner and wait for 30 seconds. When this happens, carefully turn the corresponding bed leveling screw until the printing surface barely touches the nozzle.
 |
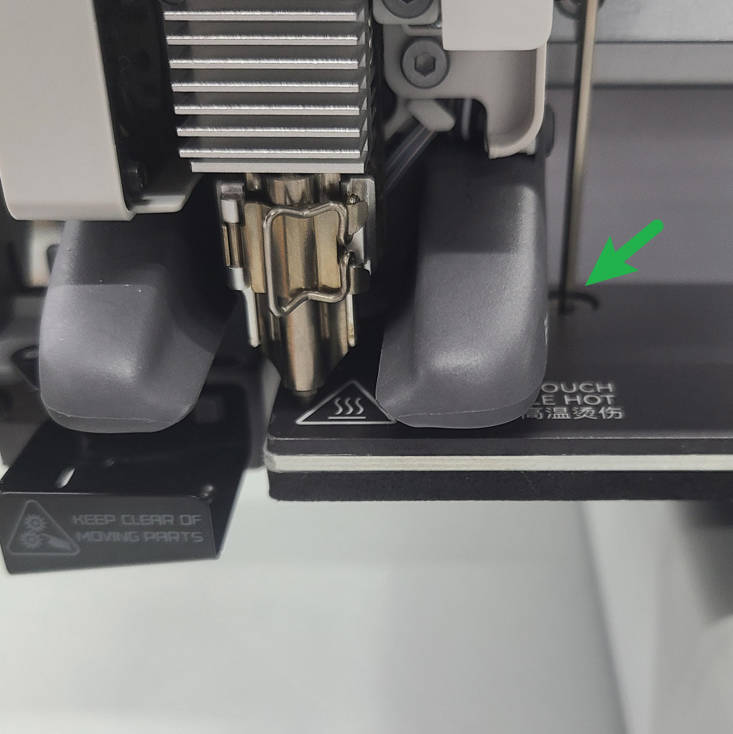 |
Reminder: Tightening the leveling screws clockwise will increase the distance between the heatbed and the nozzle; conversely, loosening the leveling screws counterclockwise will make the heatbed closer to the nozzle.
Please make sure that the nozzle is just touching the printing surface. The nozzle should not push against the printing surface, and there should be no gap between the nozzle and the bed.
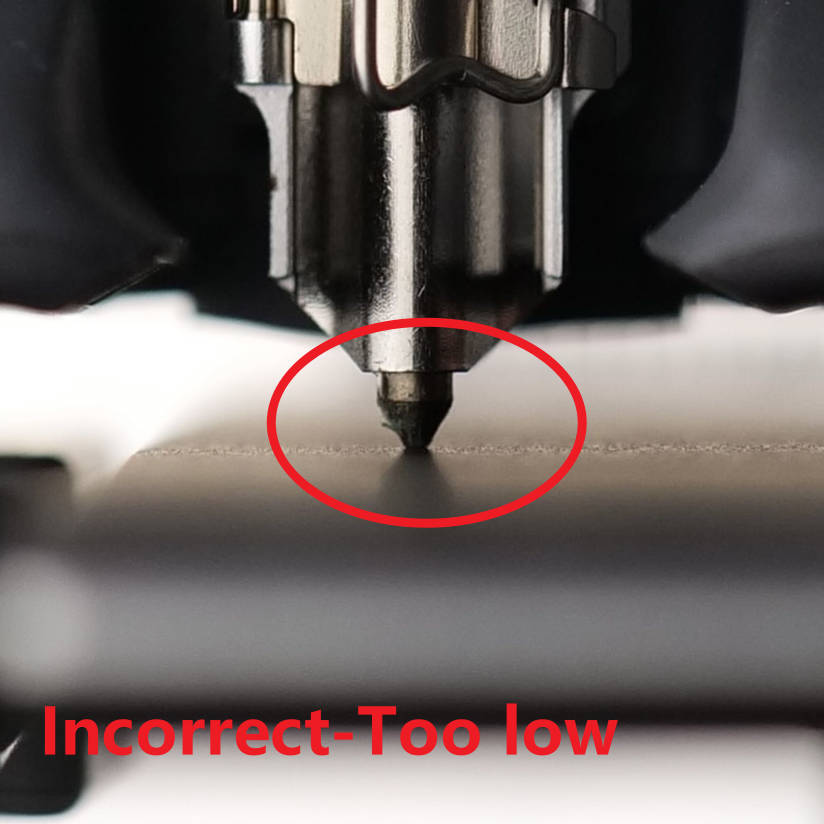 |
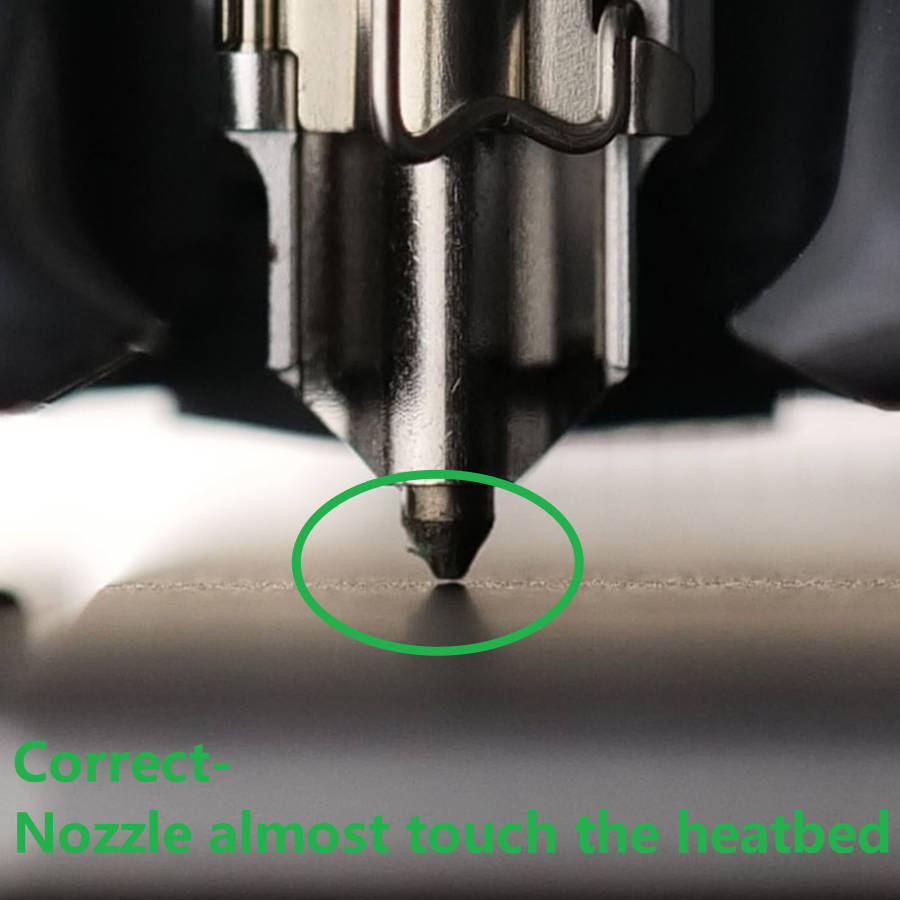 |
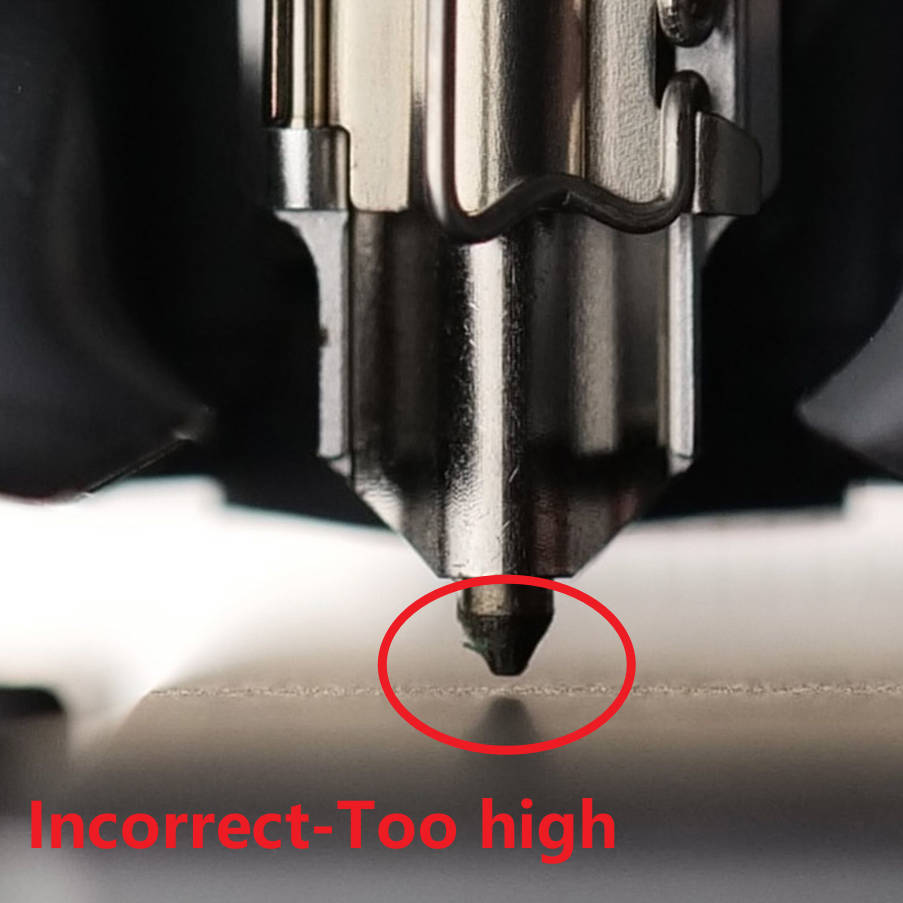 |
When you find that the nozzle starts to actively lift, be sure to stop the leveling action and remove the hex key because the tool head will start to move.
After 30 seconds, the nozzle will move to the front right corner of the heatbed. Repeat the procedure until the nozzle barely touches the bed. The same will happen on the rear part of the bed.
When the first leveling is done, the process will be repeated two more times, to allow you to fine-tune the adjustment and double-check the distance between the nozzle and the bed. The entire Gcode running time is about 8 minutes.
Please tighten the 3 screws that secure the heatbed.

It’s recommended to insert the key first, then hold the key and the build plate with your hand to prevent the screws from falling out.
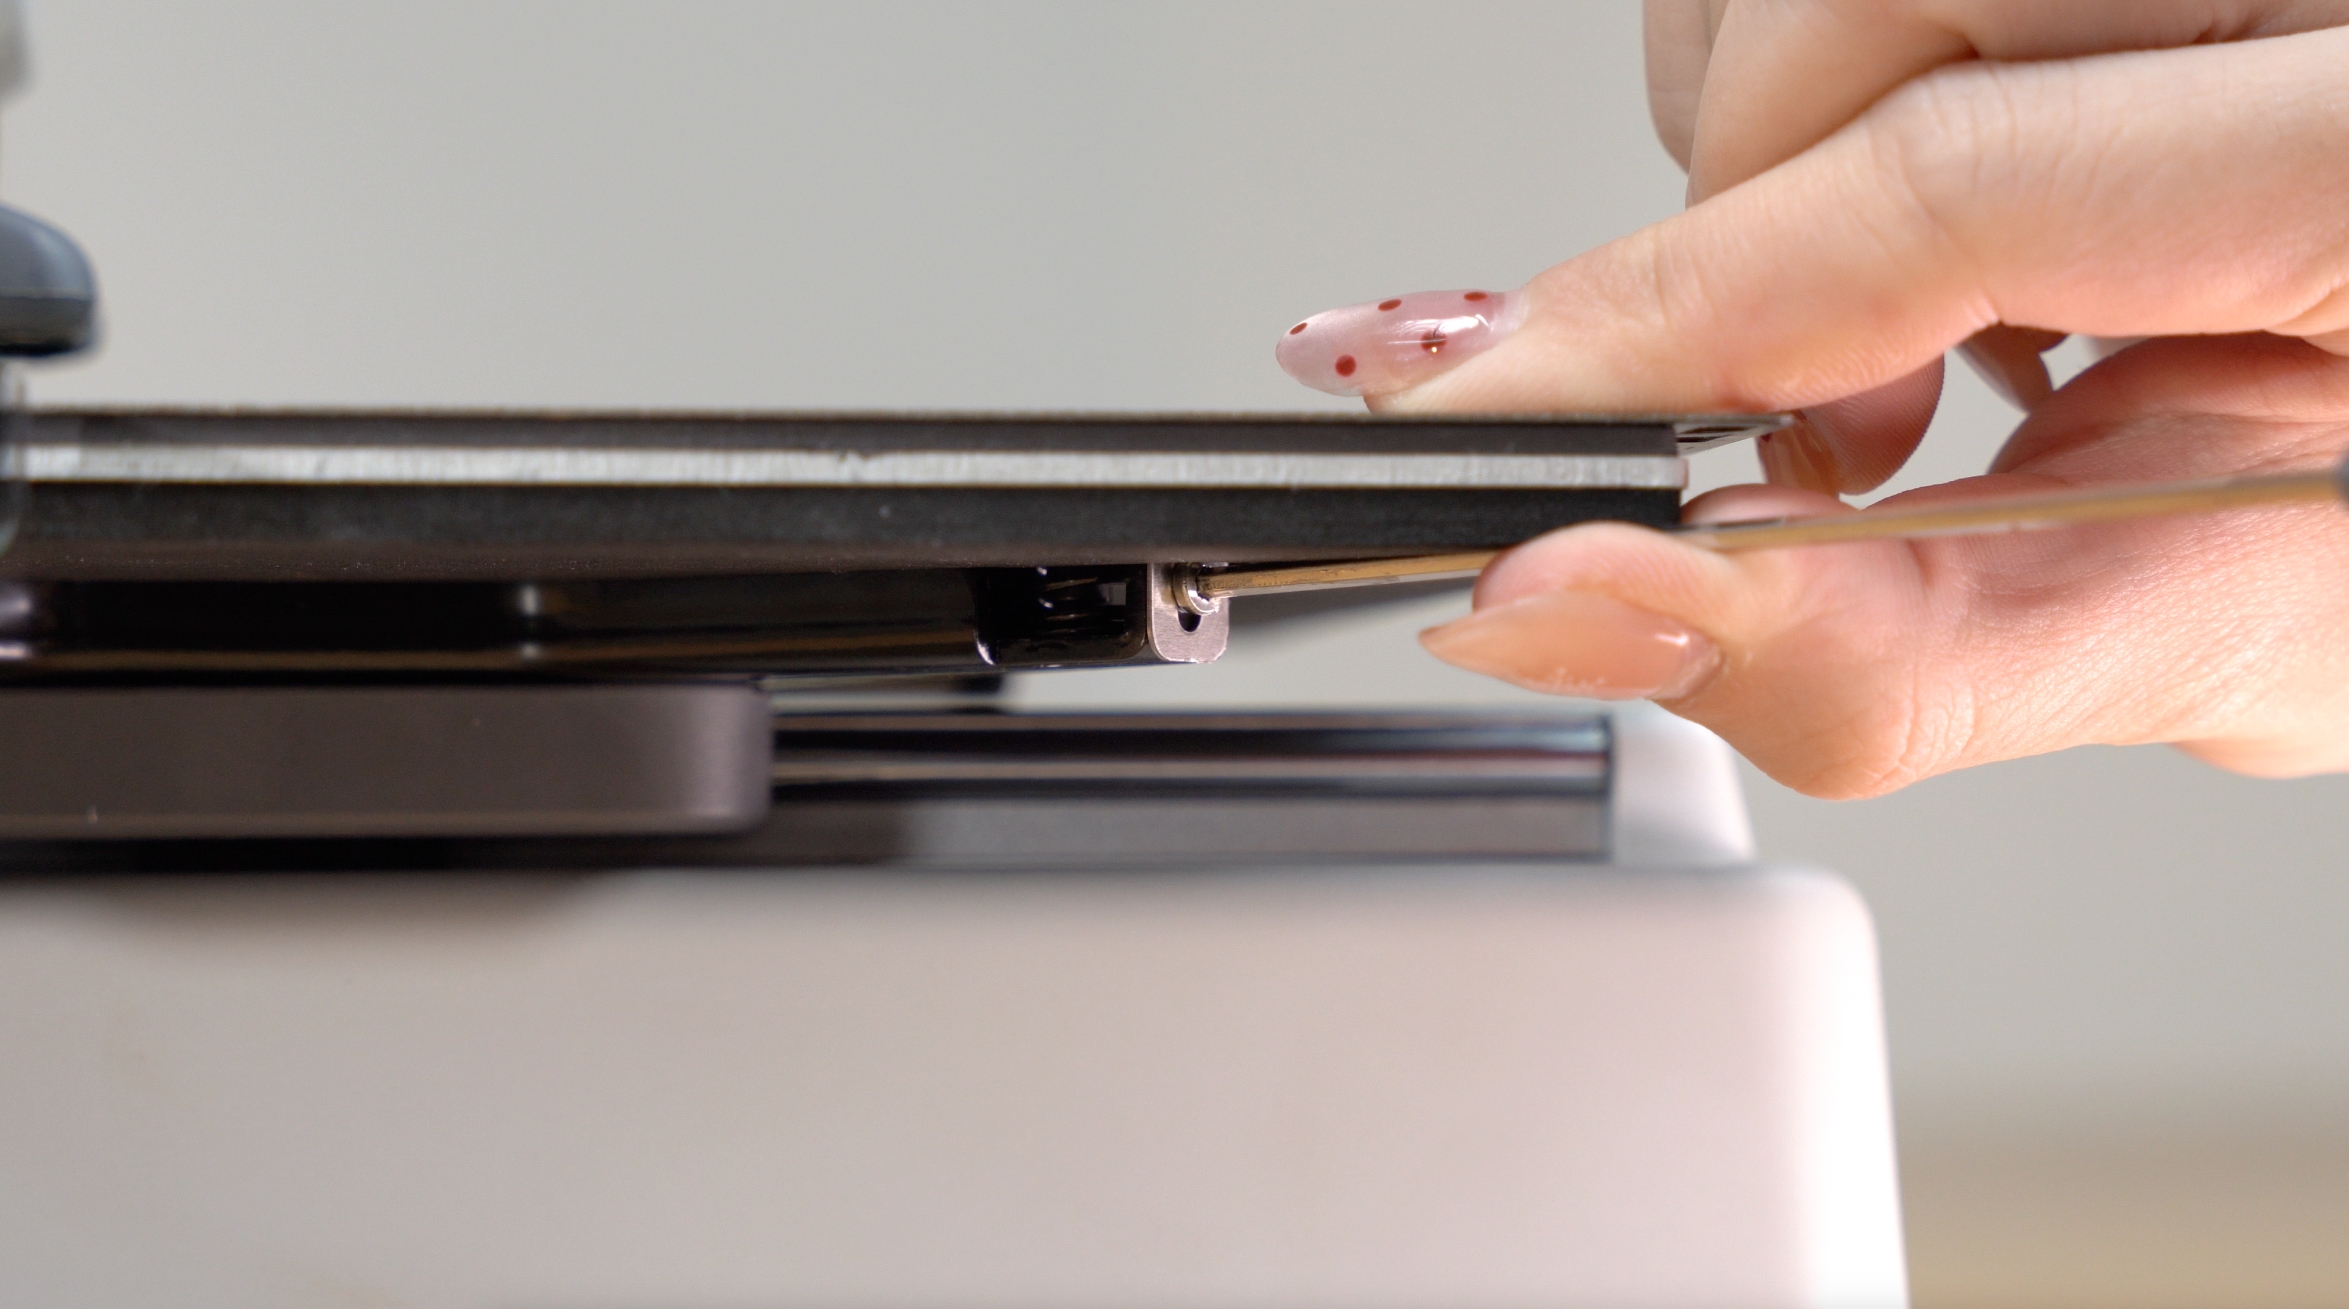
The A1 mini Bed Tramming is completed.
¶ Calibration
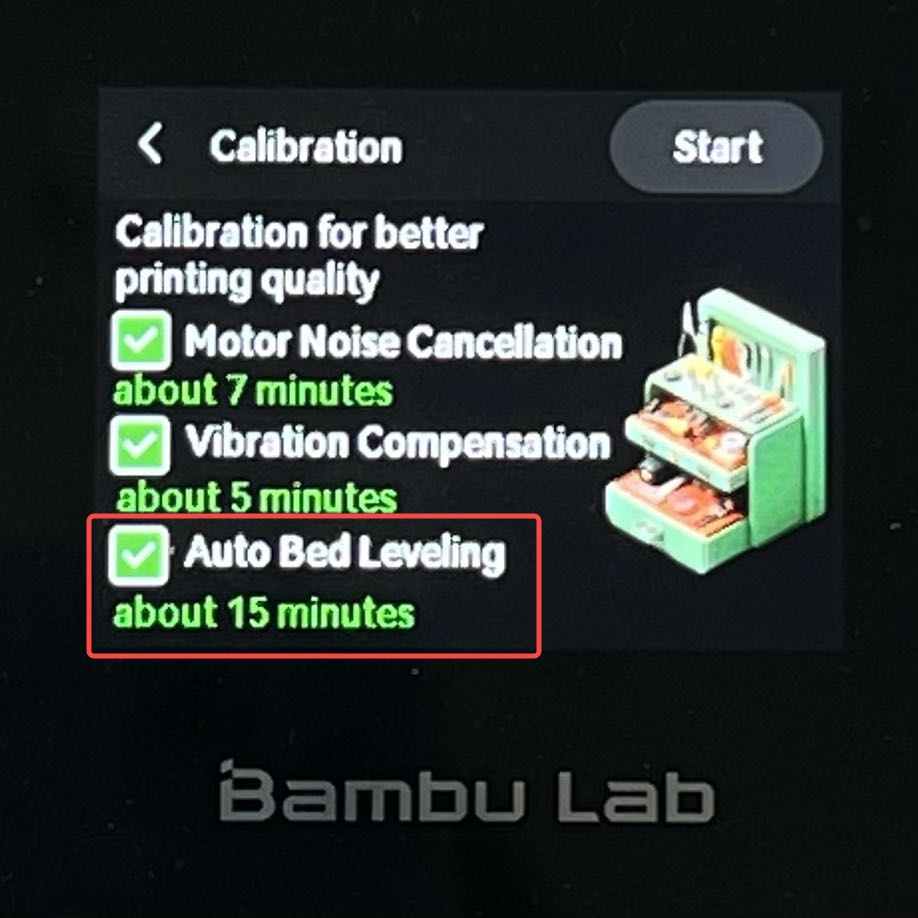
From the printer screen, touch Settings > Maintenance > Calibration to start the calibration. If everything looks good and no errors or warnings appear during the calibration, the leveling was successful. If there are still problems, contact the service team for further assistance.
¶ End Notes
We hope the detailed guide provided has been helpful and informative.
To ensure a safe and effective execution, if you have any concerns or questions about the process described in this article, we recommend submitting a technical ticket regarding your issue.
Please include a picture or video illustrating the problem, as well as any additional information related to your inquiry.